Introduction
This manual provides instructions for the installation and use of the Generic Wall Mount for remote controls. This holder is specifically designed to fit remote controls for Home Decorators Collection and Hampton Bay ceiling fans, including models TX029-RS and TR227A, as well as certain universal remote upgrades. Its purpose is to keep your remote control securely stored and easily accessible, preventing misplacement.
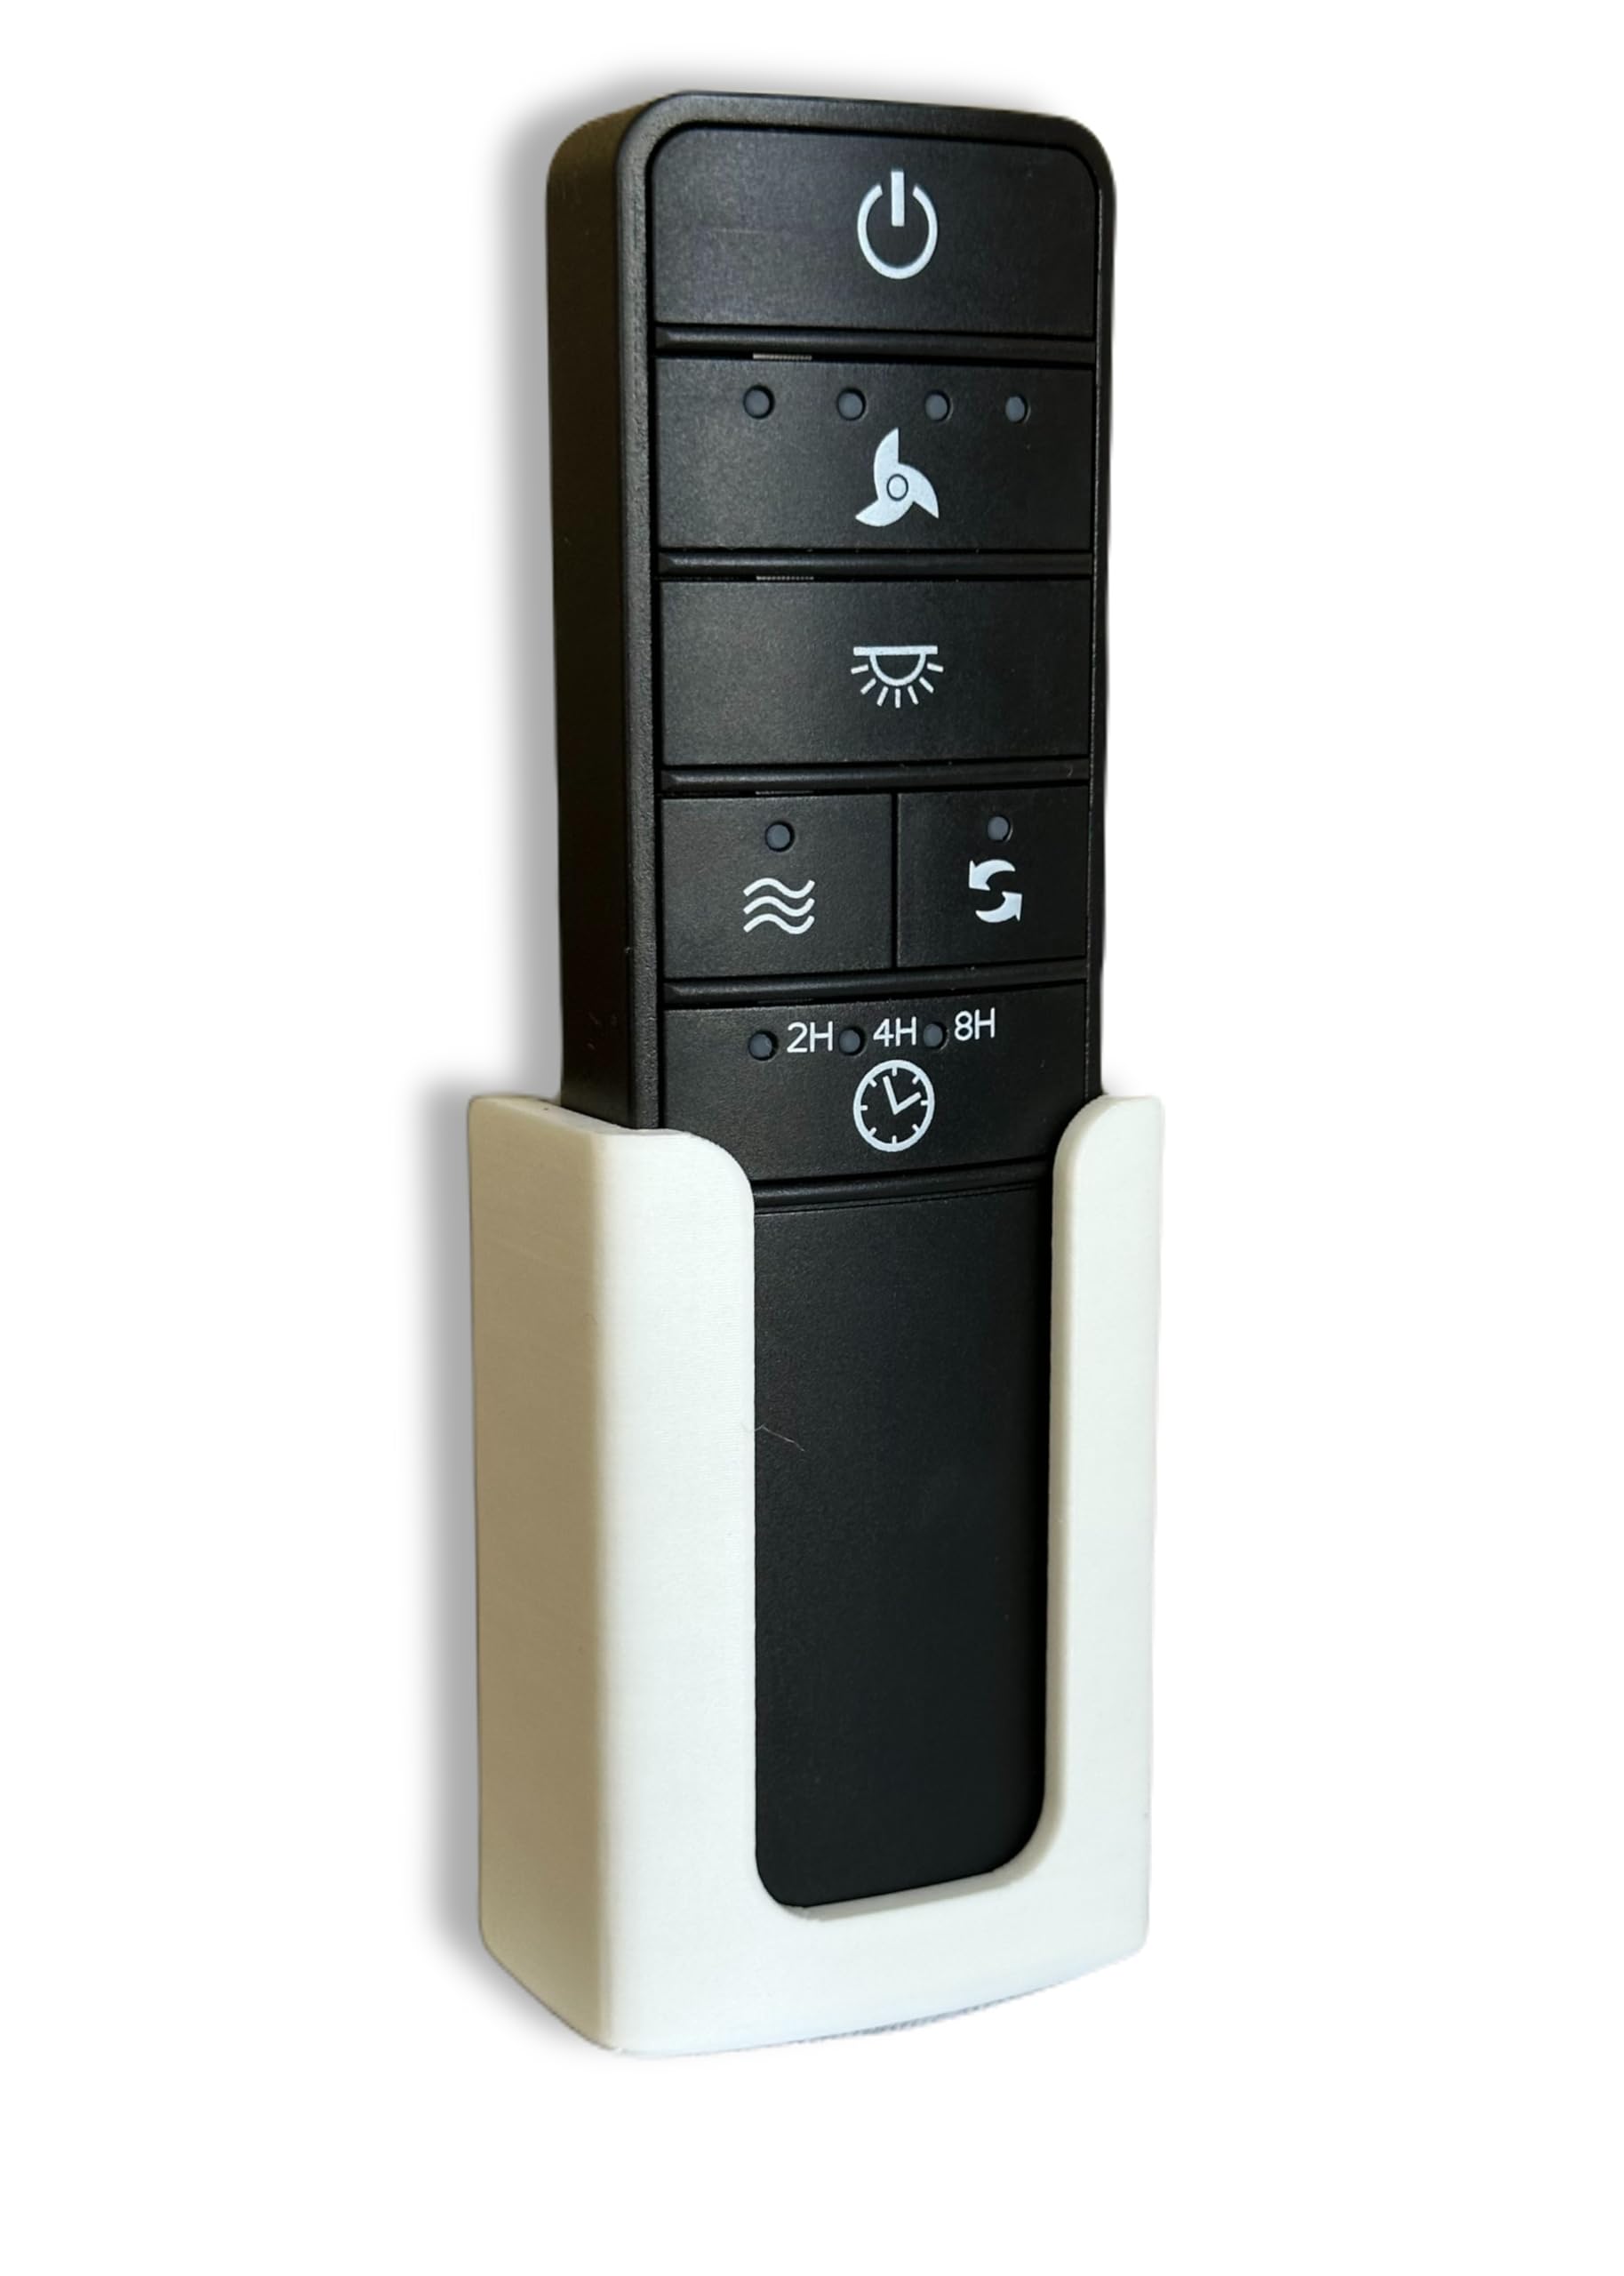
Figure 1: Generic Wall Mount Remote Holder (White)
Package Contents
Please verify that all items listed below are included in your package:
- 1 x Generic Wall Mount Remote Holder
- 1 x 3D Command Adhesive Strip
- 2 x Mounting Screws (optional installation method)

Figure 2: Wall Mount Remote Holder and Adhesive Strip
Setup and Installation
The wall mount offers two installation methods: using the included 3D Command Adhesive Strip for a drill-free setup, or using screws for a more permanent fixture.
Method 1: Adhesive Strip Installation (Recommended for easy removal)
- Clean the Surface: Ensure the desired wall surface is clean, dry, and smooth.
- Apply Adhesive: Peel the protective backing from one side of the 3D Command Adhesive Strip and firmly press it onto the back of the remote holder.
- Mount the Holder: Peel the remaining protective backing from the adhesive strip. Position the holder on the wall and press firmly for 30 seconds to ensure a strong bond.
- Wait: Allow the adhesive to set for at least 1 hour before placing the remote control into the holder.
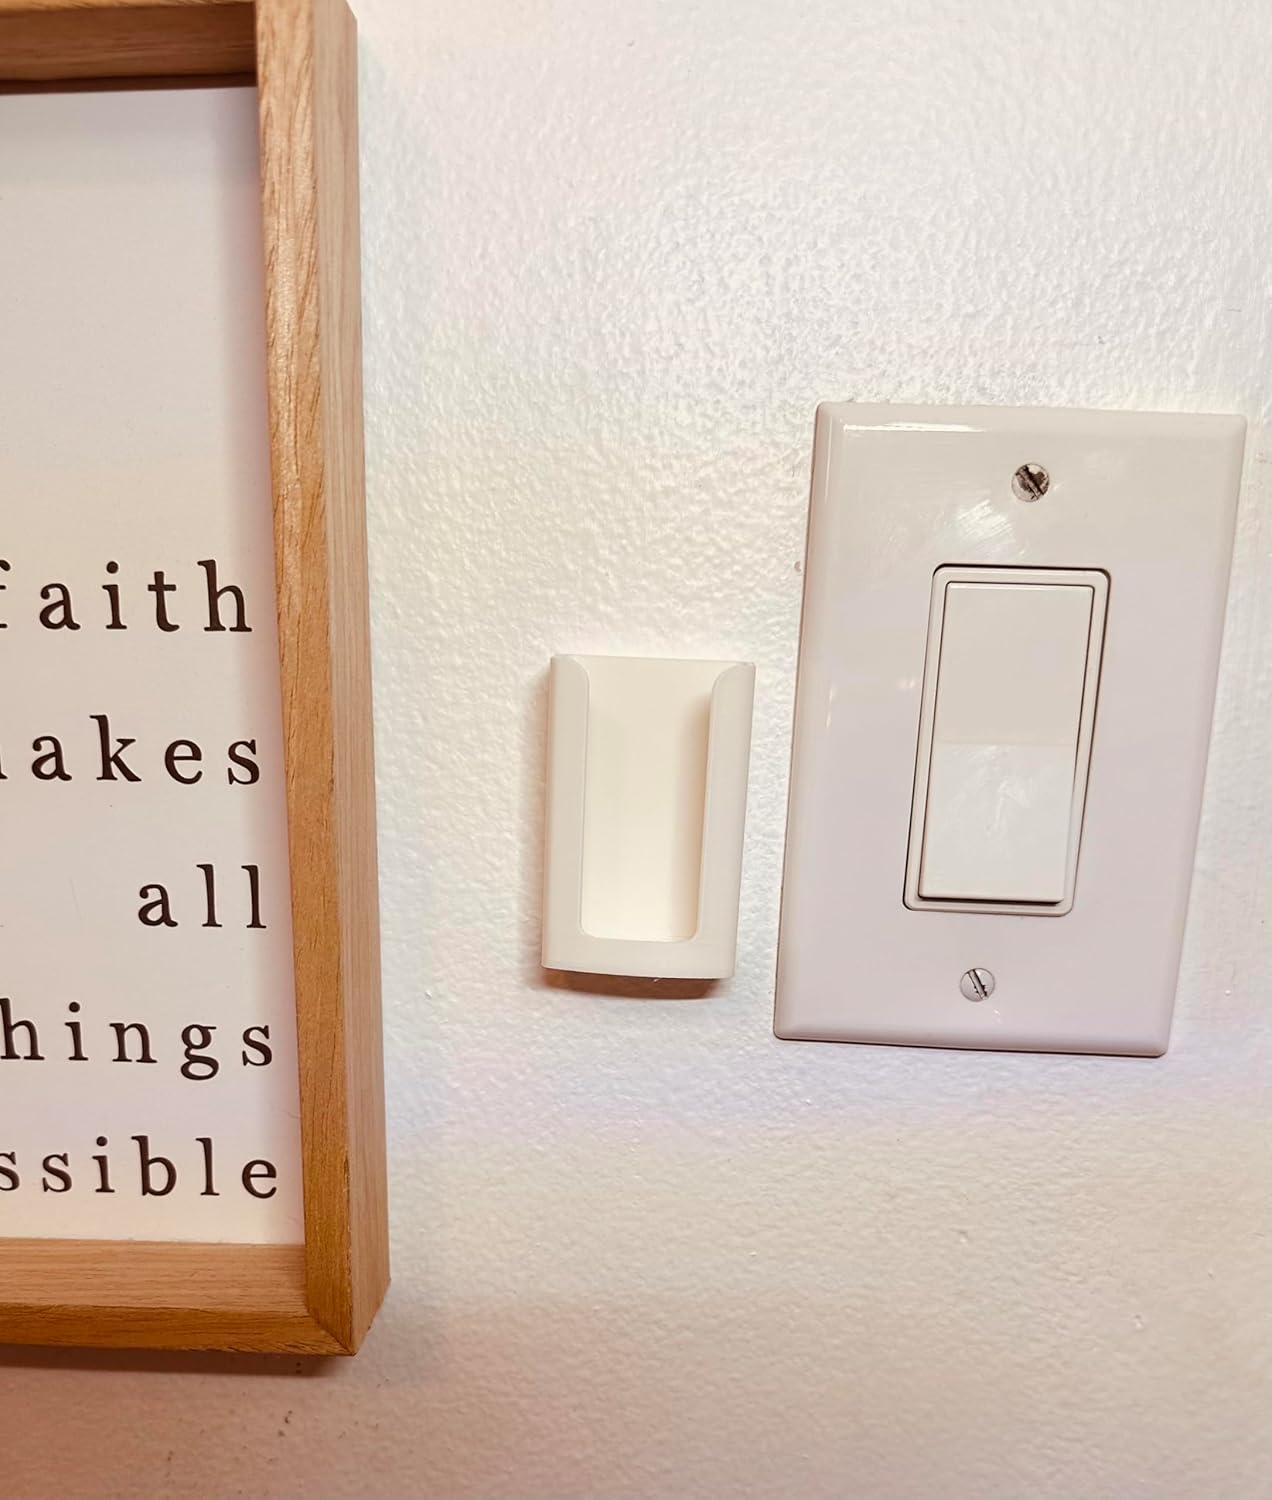
Figure 3: Wall Mount installed using adhesive strip
Method 2: Screw Installation (For permanent mounting)
- Mark Drill Points: Hold the remote holder against the wall at the desired location. Use a pencil to mark the positions for the two screw holes.
- Drill Pilot Holes: Using an appropriate drill bit for your wall type, drill pilot holes at the marked positions.
- Secure the Holder: Align the remote holder with the pilot holes and insert the provided screws. Tighten the screws until the holder is firmly secured to the wall. Do not overtighten.
Installation Video Guide
Video 1: This video demonstrates the screw installation process for a similar remote control wall mount holder. While the holder shown is black, the installation steps are applicable to this product.
Operating Instructions
Once installed, the remote holder is ready for use.
- Inserting the Remote: Gently slide your compatible remote control into the holder. Ensure it sits snugly.
- Removing the Remote: To use the remote, simply pull it upwards from the holder.
- Operating in Holder: For convenience, many users find it possible to operate the remote control's functions (e.g., turning on/off, adjusting fan speed or light) while it remains in the wall mount.

Figure 4: Remote control securely placed in the holder
Maintenance
To maintain the appearance and functionality of your remote holder:
- Cleaning: Wipe the holder with a soft, damp cloth. Avoid using harsh chemicals or abrasive cleaners, as these may damage the material.
- Adhesive Longevity: If using the adhesive strip, ensure the surface remains clean and dry. Extreme temperature fluctuations may affect adhesive performance over time.
Troubleshooting
| Problem | Solution |
|---|---|
| Holder is not sticking to the wall. | Ensure the wall surface is clean, dry, and smooth before applying the adhesive strip. For best results, apply pressure for 30 seconds and allow 1 hour for the adhesive to cure before placing the remote. If the issue persists, consider using a new 3D Command Adhesive Strip or the screw installation method. |
| Remote does not fit in the holder. | This holder is custom-fit for specific remote models (Home Decorators Collection, Hampton Bay TX029-RS, TR227A, and similar universal remotes). Verify your remote's compatibility. |
Specifications
- Product Dimensions: 1 x 1 x 3 inches
- Item Weight: 0.317 ounces
- Material: High-quality PLA plastic
- Color: White
- Compatible Devices: Remote controls for Home Decorators Collection, Hampton Bay ceiling fans (e.g., TX029-RS, TR227A), and some universal remote upgrades.
- Installation: 3D Command Adhesive Strip (included) or screws (included)
- Manufacturer: Generic
- Model Number: x01
Warranty and Support
Specific warranty information is not provided in the product details. For any product-related inquiries or support, please contact the seller directly through the platform where the purchase was made.


