
Introduction
Thank you for choosing the Akicon Bathroom Exhaust Fan with Humidity Switch and 3CCT LED Light. This manual provides essential information for the safe installation, operation, and maintenance of your new exhaust fan. Please read these instructions thoroughly before installation and retain them for future reference.

Image: The Akicon Bathroom Exhaust Fan with its integrated LED light and the accompanying humidity sensor switch.
Safety Information
WARNING: To reduce the risk of fire, electric shock, or injury to persons, observe the following:
- Always disconnect power at the service panel before wiring or servicing this unit. Ensure the main power supply is turned off.
- Installation and electrical wiring must be done by qualified person(s) in accordance with all applicable codes and standards, including fire-rated construction codes.
- A neutral wire is required for the humidity switch to function correctly.
- This unit is intended for general ventilating use only. Do not use to exhaust hazardous or explosive materials and vapors.
- Duct work must be installed to the outside.
- Never place a switch where it can be reached from a tub or shower.
Product Features
- Adjustable Airflow: Selectable airflow settings of 50, 80, or 100 Cubic Feet per Minute (CFM) to suit various bathroom sizes and ventilation needs.
- Quiet Operation: Operates at a low sound level, below 1.2 sones, ensuring a quiet bathroom environment.
- Energy-Efficient DC Motor: Equipped with a DC motor for powerful performance and reduced energy consumption. Features a soft start and stop mechanism for motor protection.
- Integrated 3CCT LED Light: Features a 15W main LED light with three color temperature options (2700K Warm White, 4000K Natural White, 5500K Day White).
- Night Light Function: Includes a 7W 2700K night light for soft illumination.
- Humidity Sensor Switch: Automatically detects room humidity levels and activates the fan when humidity exceeds a preset threshold, turning off once levels normalize.
- Adjustable Humidity and Timer Settings: The humidity sensor and timer offer 5 levels each (Humidity: 90%, 80%, 70%, 60%, 50%; Timer: 5, 15, 30, 45, 60 minutes) for customized ventilation control.
- Manual Override: Allows for manual operation of the fan and light, bypassing the humidity sensor if desired.
Visual Features Overview

Image: Illustration showing the three selectable color temperatures for the LED light: 2700K Warm White, 4000K Natural White, and 5500K Day White.

Image: Diagrams illustrating recommended room sizes (Small, Medium, Large) for 50, 80, and 100 CFM airflow settings, with a detail of the CFM selection switch.
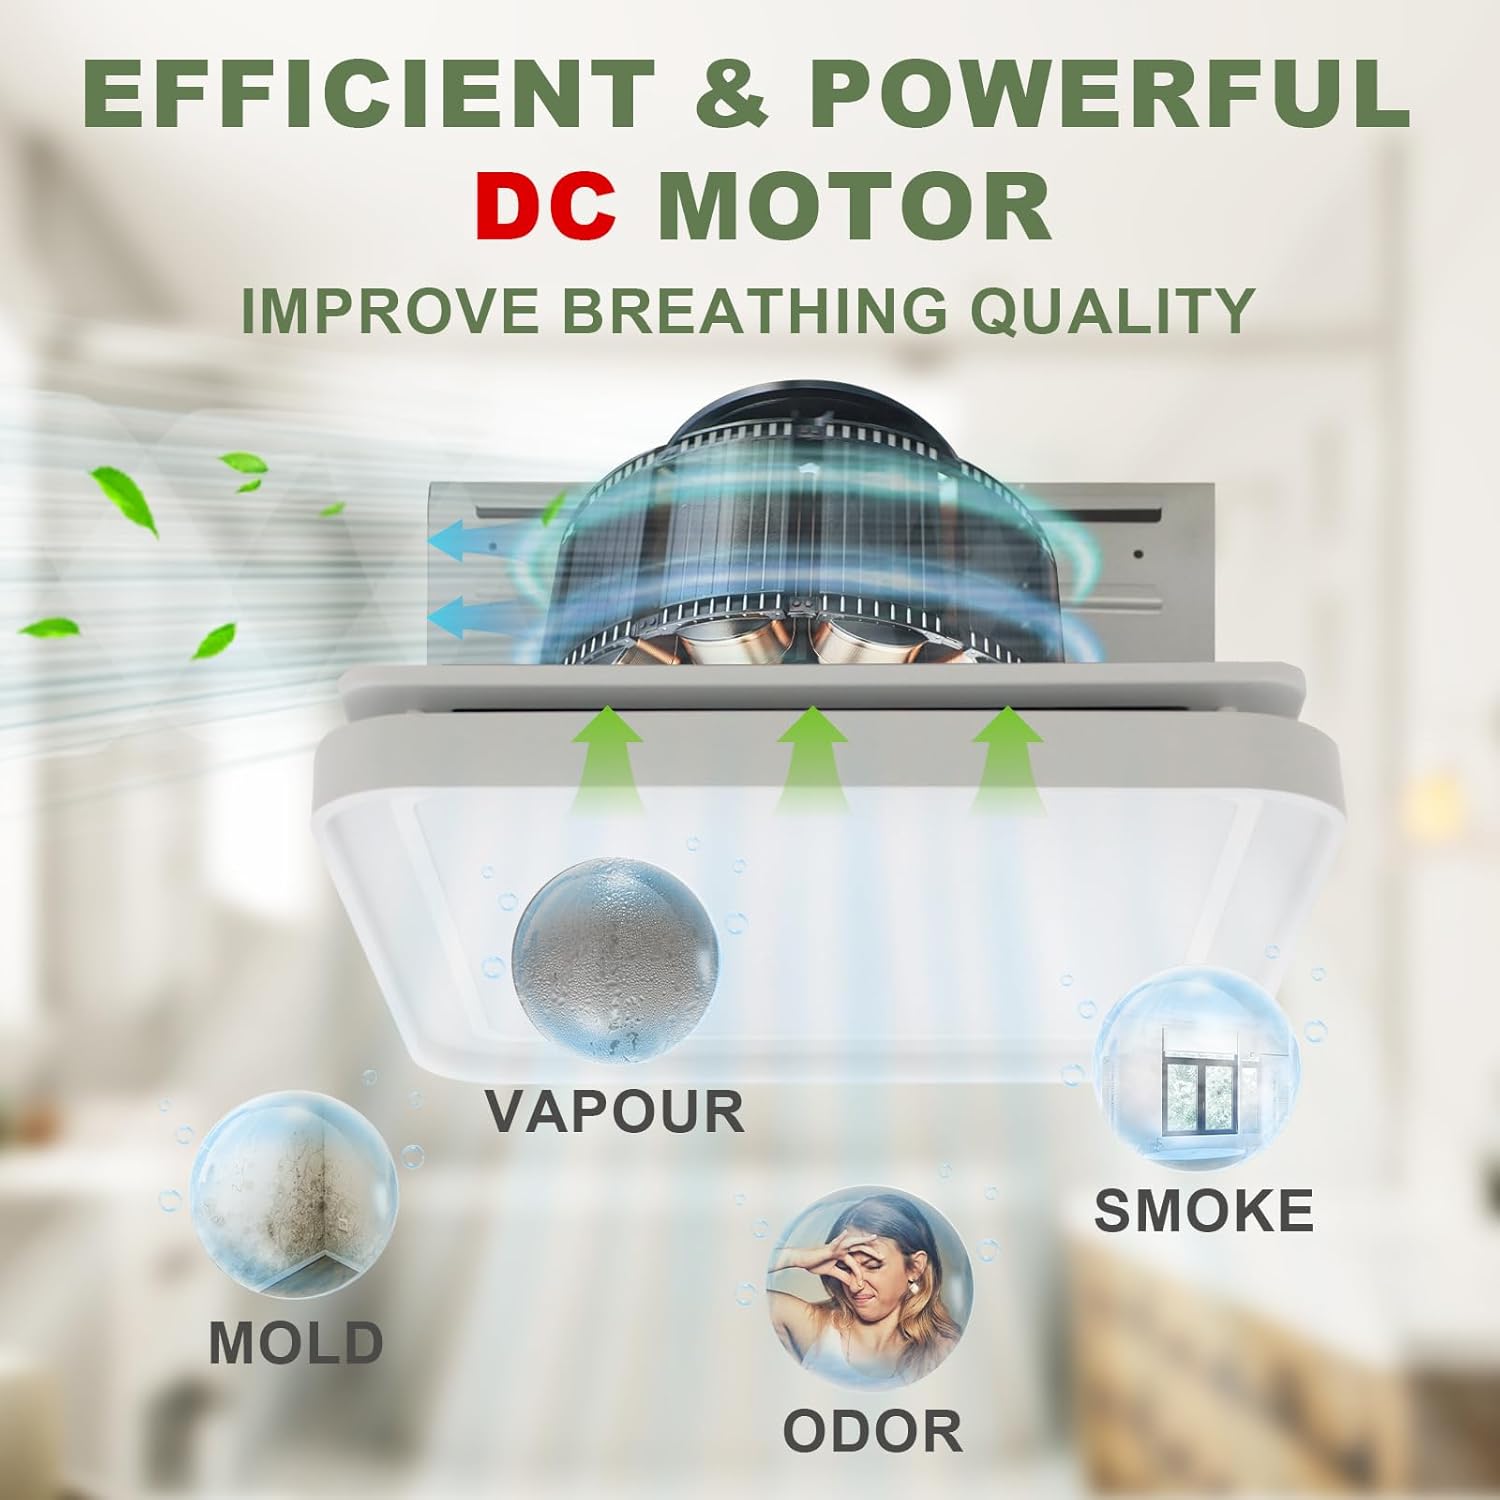
Image: Graphic depicting the exhaust fan's DC motor effectively removing vapor, mold, odor, and smoke from the bathroom environment.

Image: Detailed view of the humidity switch, highlighting its LED indicator, humidity sensor, fan switch, LED light switch, and night light switch.
Installation
Installation should be performed by a qualified electrician in compliance with all local and national electrical codes. Ensure power is disconnected at the circuit breaker before beginning installation.
Wiring Diagram

Image: A detailed wiring diagram showing connections for the humidity switch to the junction box, including lines for night lamp, lighting LED, fan, and neutral wire. Grounding instructions for plastic and metal junction boxes are also provided.
- Power Disconnection: Always cut off power at the main circuit breaker before attempting any wiring.
- Neutral Wire: A neutral wire is essential for the proper operation of the humidity switch.
- Grounding: Ensure proper grounding. If the junction box is plastic, follow the dashed green line for grounding. If metal, follow the solid green line.
- Ducting: Connect the fan's exhaust port to appropriate ductwork leading to the outside.
- Mounting: The fan is designed for flush mount installation. Secure the fan housing firmly to the ceiling joists or suitable support structure.
Humidity Switch Dimensions

Image: Technical drawing displaying the dimensions of the humidity switch, including its height (4-1/8"), width (3-1/4"), and depth (1-3/4" and 1/3"-1/10").
Operating Instructions
The Akicon exhaust fan and light are controlled by the included humidity sensor switch. This switch offers both automatic and manual modes for optimal control.
Humidity Switch Functions
- Fan Switch: Press the fan button to manually turn the fan ON or OFF.
- LED Light Switch: Press the light bulb button to cycle through the 3 CCT options (2700K, 4000K, 5500K) within 2 seconds.
- Night Light Switch: Press the crescent moon button to turn the night light ON or OFF.
- Humidity Sensor: The switch automatically detects humidity. When humidity exceeds the set level, the fan will activate.
- Timer: The fan can be set to run for a specific duration (5, 15, 30, 45, 60 minutes) after manual activation or humidity-triggered operation.
Auto Mode vs. Manual Mode

Image: Diagram explaining the Auto Mode and Manual Mode operations of the humidity sensor switch, including how the fan responds to humidity levels and manual button presses.
- Auto Mode: When the switch is in auto mode, the fan will operate when the humidity level exceeds the set value. It will stop approximately 5 minutes after the humidity drops below the set value.
- Manual Mode: Pressing the fan button switches the fan to manual operation. If the fan is turned ON manually, it will switch to auto mode after running for a specified timer duration. If turned OFF manually, it will switch to auto mode after 10 minutes.
- Note: If the timer is set to OFF, the fan will not switch to auto mode after manual light operation. If the humidity condition is set to OFF, the device will not enter auto mode.
Maintenance
Regular maintenance ensures optimal performance and longevity of your exhaust fan. Always disconnect power before performing any maintenance.
- Cleaning the Grille: Periodically remove the grille and wash it with mild soap and water. Rinse thoroughly and dry before reattaching.
- Cleaning the Fan Blades: With power disconnected, gently wipe the fan blades with a damp cloth to remove dust and debris. Avoid bending the blades.
- Ductwork Inspection: Annually inspect the ductwork for any obstructions or damage. Ensure proper airflow.
- Light Cover: Clean the light cover with a soft, damp cloth. Do not use abrasive cleaners.
Troubleshooting
If you experience issues with your Akicon exhaust fan, refer to the following common problems and solutions:
| Problem | Possible Cause | Solution |
|---|---|---|
| Fan does not turn on | No power supply Loose wiring Humidity sensor not triggered | Check circuit breaker Verify wiring connections (ensure power is off) Manually activate fan or adjust humidity threshold |
| Fan is noisy | Loose mounting Dirty fan blades Obstruction in ductwork | Ensure fan housing is securely mounted Clean fan blades (power off) Check and clear ductwork |
| Light does not work | No power supply Loose wiring LED light failure | Check circuit breaker Verify wiring connections (power off) Contact customer support for replacement |
| Humidity sensor not working | Sensor disabled Incorrect settings Sensor malfunction | Ensure humidity condition is not set to OFF Adjust humidity threshold settings Contact customer support |
If the problem persists after attempting these solutions, please contact Akicon customer support.
Specifications
| Feature | Detail |
|---|---|
| Brand | Akicon |
| Model Style | Akicon Bathroom Exhaust Fan with Humidity Switch |
| Airflow (CFM) | 50-80-100 (Selectable) |
| Sones | Below 1.2 |
| Motor Type | DC Motor |
| Main LED Light Power | 15W |
| LED Color Temperature (CCT) | 2700K / 4000K / 5500K (Selectable) |
| Night Light Power | 7W |
| Night Light Color Temperature | 2700K |
| Control Method | Touch (via Humidity Switch) |
| Installation Type | Flush Mount |
| Room Type | Bathroom |
Warranty and Support
Akicon products are manufactured to high-quality standards and are backed by a limited warranty. For specific warranty details, please refer to the warranty card included with your product or visit the official Akicon website.
For technical assistance, troubleshooting, or to inquire about replacement parts, please contact Akicon customer support:
- Website: Akicon Official Store
- Email: Refer to product packaging or website for contact information.
- Phone: Refer to product packaging or website for contact information.


