
Rohnson Milky Harvest R-5901
Rohnson Milky Harvest
Plant-Based Milk Maker - Model: R-5901
1. Introduction
Welcome to the Rohnson Milky Harvest user manual. This appliance is designed to help you easily prepare a variety of fresh, healthy beverages and meals at home, including plant-based milks, smoothies, juices, hot drinks, and porridge. Please read this manual thoroughly before first use to ensure safe and optimal operation.
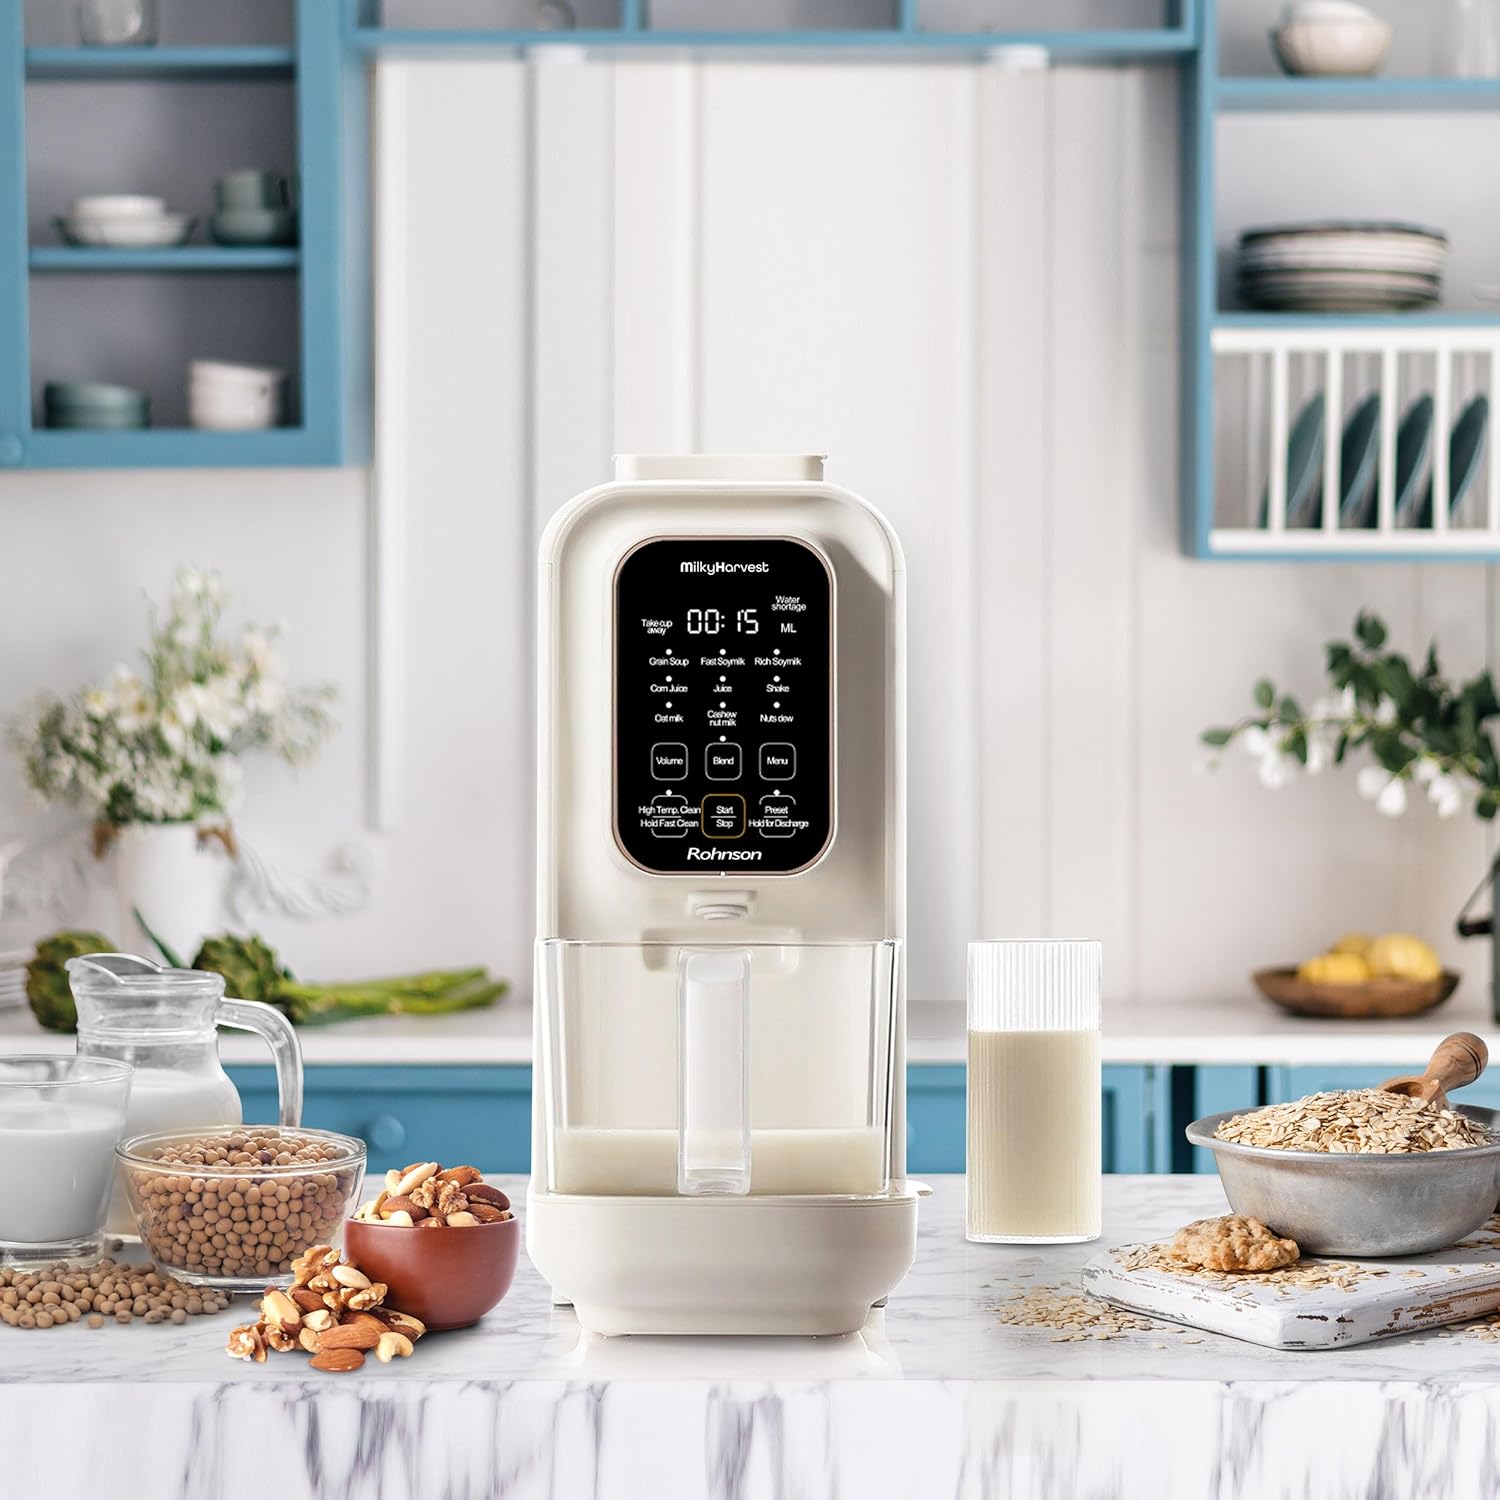
Figure 1.1: Rohnson Milky Harvest in a kitchen environment, ready for use.
2. Safety Information
Always follow basic safety precautions when using electrical appliances to reduce the risk of fire, electric shock, and/or injury to persons.
- Do not immerse the main unit in water or other liquids.
- Ensure the voltage rating on the appliance matches your local power supply.
- Keep out of reach of children.
- Do not operate the appliance if the cord or plug is damaged.
- Always unplug the appliance when not in use and before cleaning.
- Avoid contact with moving parts, especially the blades.
- Do not open the lid during operation, especially when hot.
- Use only manufacturer-recommended accessories.
3. Product Overview and Components
Familiarize yourself with the different parts of your Rohnson Milky Harvest.
3.1 Main Unit

Figure 3.1: Front view of the Rohnson Milky Harvest.
3.2 Control Panel

Figure 3.2: Detailed view of the intuitive touch control panel.
3.3 Internal Components and Accessories
- Water Reservoir: Located at the back of the unit, for water input.
- Stainless Steel Blades: 5 powerful blades for efficient blending and nutrient extraction.
- Milk Collection Cup (1.2 L): For collecting the prepared beverage.
- Measuring Cup: Graduated for precise ingredient measurement (20/40/60/80/100 ml).
- Cleaning Brush: For manual cleaning of components.
- Waste Water Tray: Collects water during the self-cleaning process.
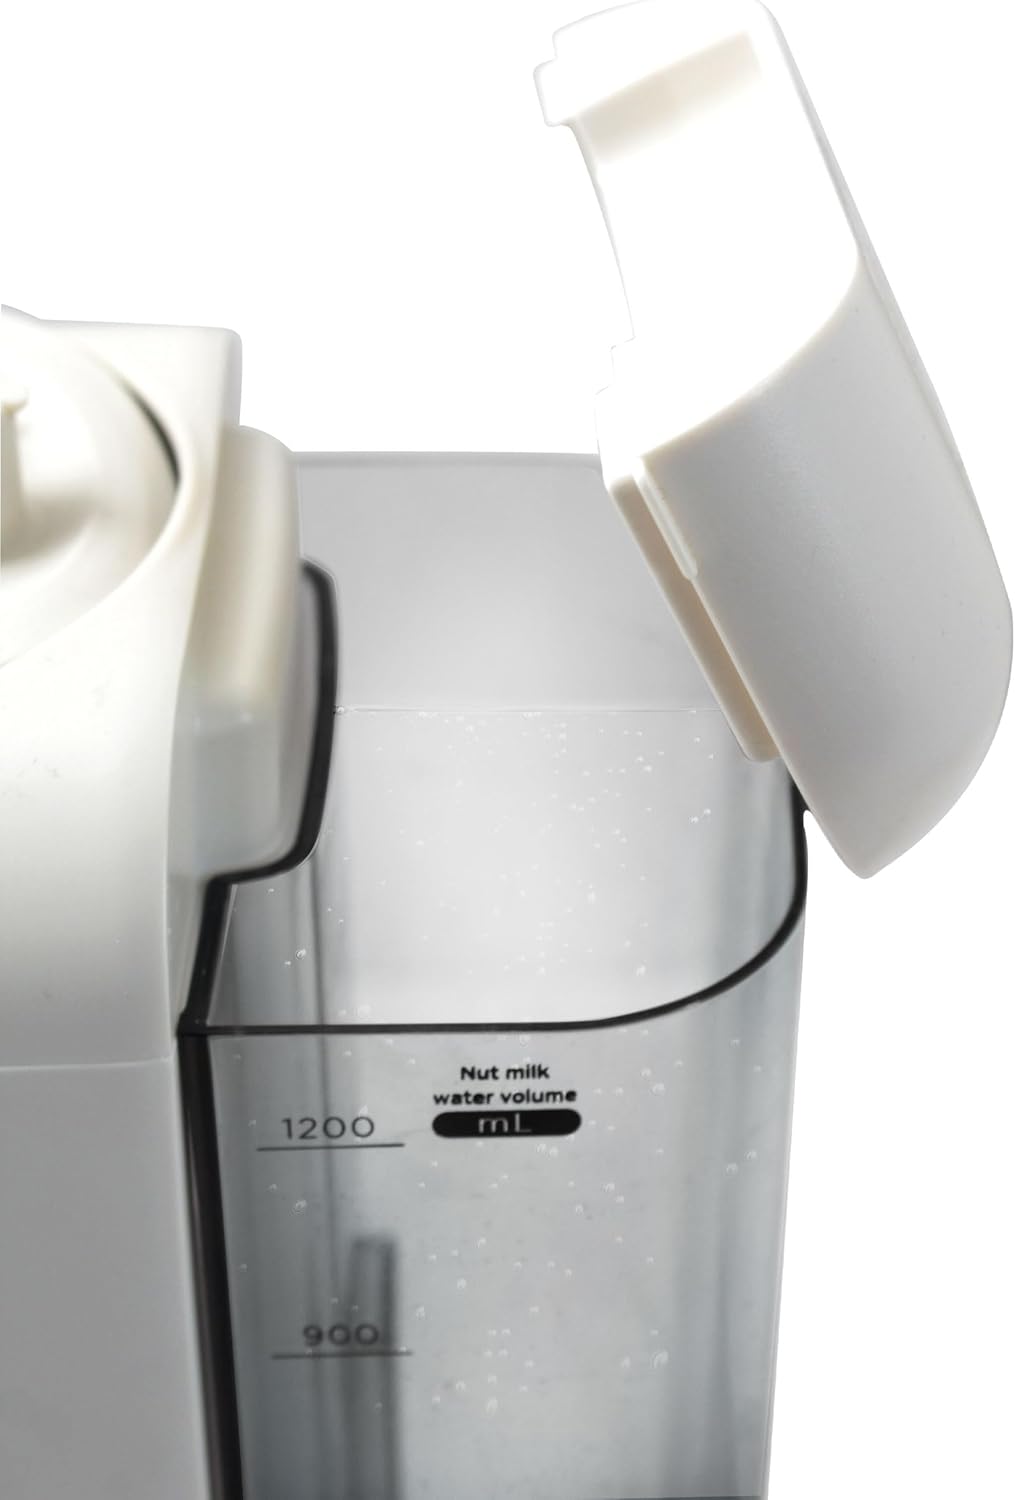
Figure 3.3: Water reservoir with volume markings.

Figure 3.4: Powerful 5-blade system.
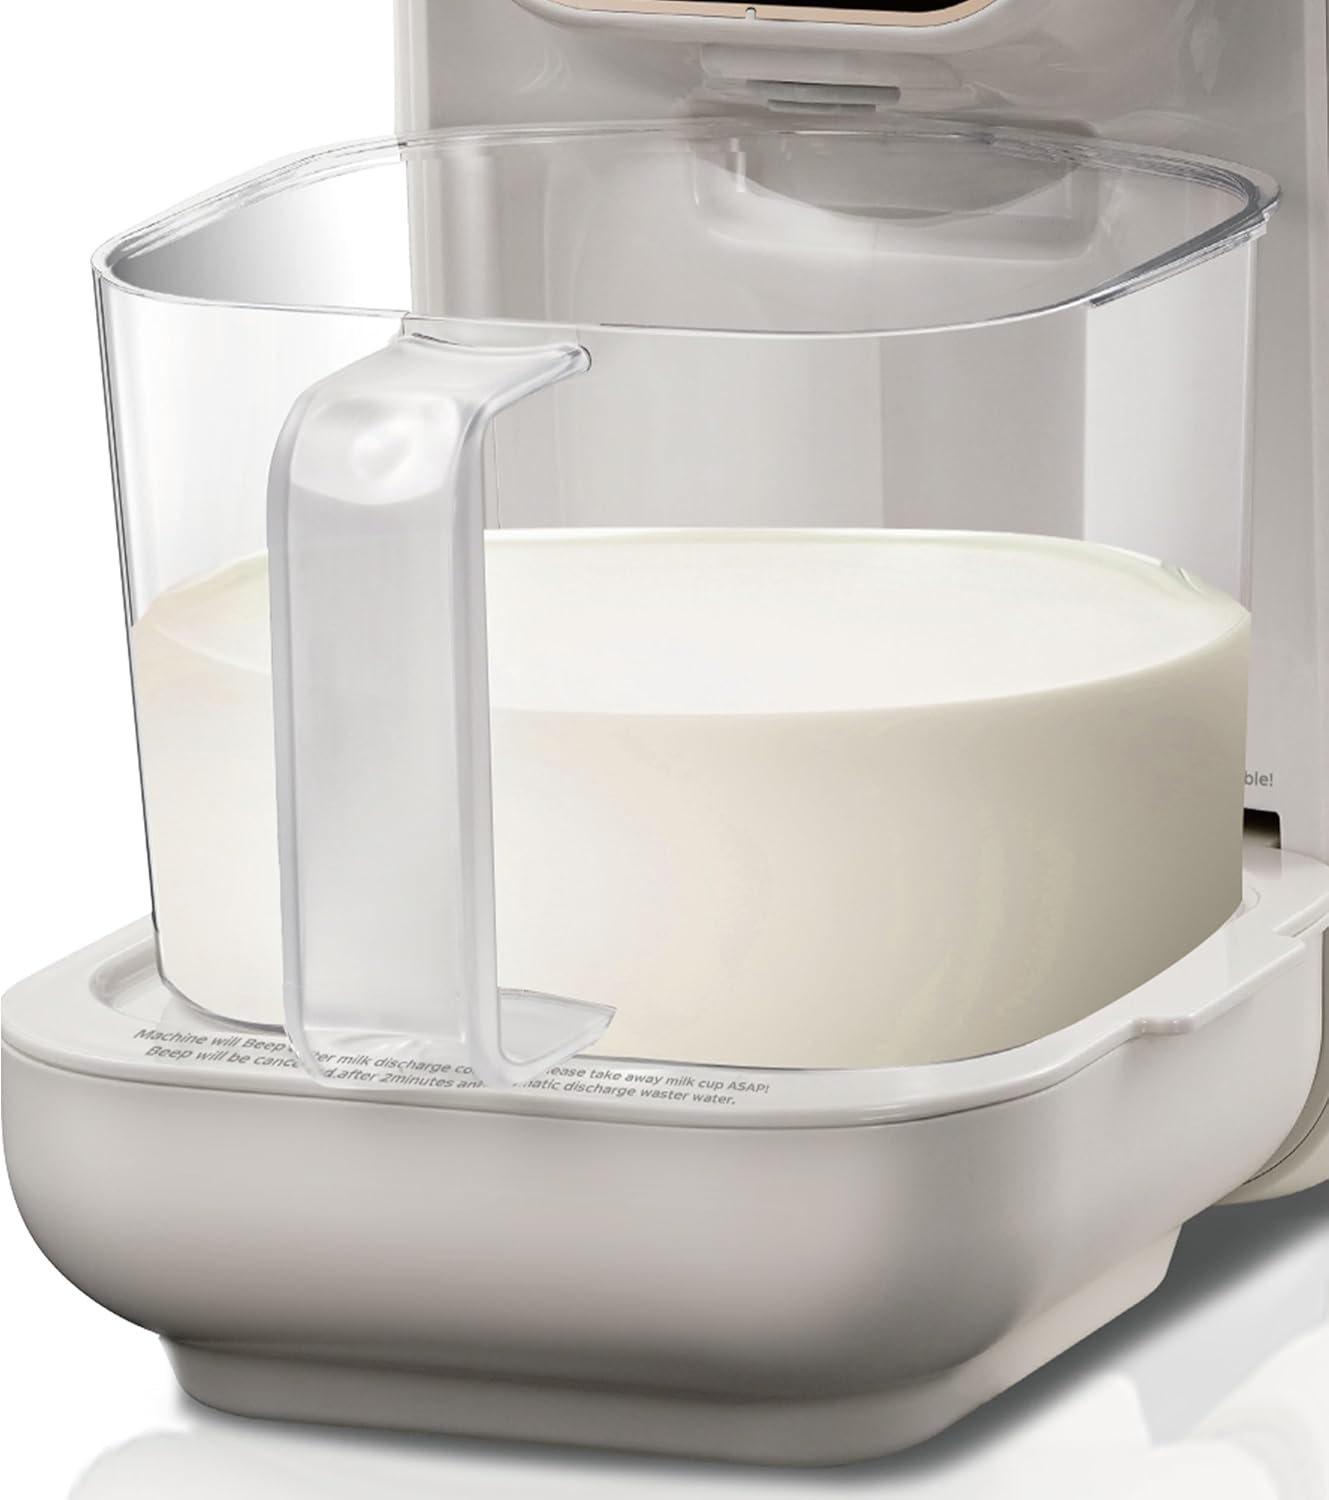
Figure 3.5: Milk collection cup.
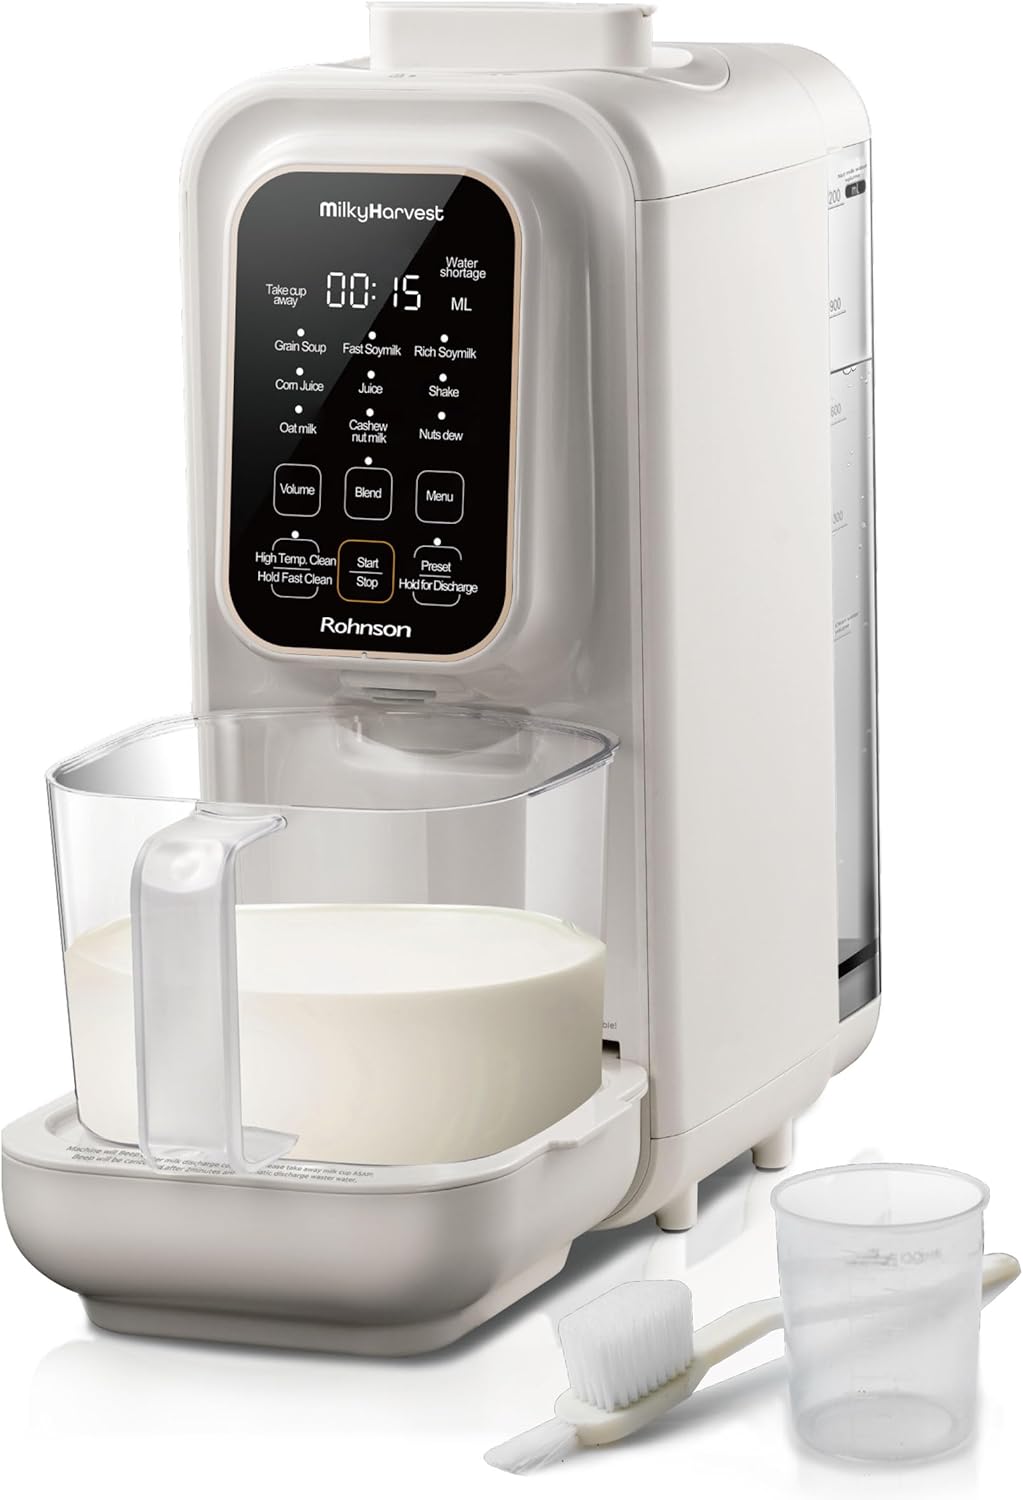
Figure 3.6: Included accessories: measuring cup and cleaning brush.

Figure 3.7: Waste water tray.
4. Setup
- Unpack: Carefully remove all components from the packaging.
- Initial Cleaning: Before first use, clean all removable parts (milk collection cup, waste water tray, lid) with warm soapy water. Wipe the main unit with a damp cloth.
- Placement: Place the Rohnson Milky Harvest on a stable, flat, and dry surface. Ensure there is adequate ventilation around the unit.
- Assemble: Ensure the milk collection cup is correctly placed in its designated slot and the waste water tray is inserted.
- Power Connection: Plug the power cord into a suitable electrical outlet (220V).
5. Operating Instructions
The Rohnson Milky Harvest offers various modes for different beverage types.
5.1 Basic Operation
- Add Ingredients: Open the lid and add your desired ingredients (e.g., soybeans, almonds, oats, water) into the main chamber. Ensure ingredients do not exceed the maximum fill line.
- Close Lid: Securely close the lid.
- Select Program: Use the touch control panel to select your desired program (e.g., Oat Milk, Soy Milk, Juice, Porridge).
- Adjust Volume (Optional): If available for the selected program, adjust the output volume (e.g., 300ml, 600ml, 900ml, 1200ml) using the 'Volume' button.
- Start: Press the 'Start/Stop' button to begin the program. The machine will automatically process the ingredients.
- Collection: Once the program is complete, the prepared beverage will be dispensed into the milk collection cup.
5.2 Program Functions
| Program | Description | Typical Use |
|---|---|---|
| Grain Soup | For preparing hot porridge or thick grain-based soups. | Breakfast porridge, savory grain soups. |
| Fast Soymilk | Quick preparation of soy milk. | Everyday soy milk. |
| Rich Soymilk | For a richer, creamier soy milk. | Premium soy milk. |
| Corn Juice | For corn-based beverages. | Sweet corn drinks. |
| Juice | For fresh fruit and vegetable juices. | Refreshing fruit/veg juices. |
| Shake | For cold shakes and smoothies. | Smoothies, milkshakes. |
| Oat Milk | Dedicated program for oat milk. | Homemade oat milk. |
| Cashew Nut Milk | Dedicated program for cashew milk. | Homemade cashew milk. |
| Nuts Dew | For various nut-based beverages (e.g., almond milk). | Almond milk, hazelnut milk. |
5.3 Programmable Timer
The Rohnson Milky Harvest features a programmable timer (2-12 hours) allowing you to set a delayed start for your beverage preparation. This is ideal for having fresh milk or porridge ready when you wake up.
- Add ingredients and water as usual.
- Select your desired program.
- Press the 'Preset' button and use the controls to set the desired delay time.
- Press 'Start/Stop' to confirm the preset. The machine will start automatically after the set delay.
6. Cleaning and Maintenance
Regular cleaning ensures the longevity and hygiene of your appliance.
6.1 Automatic Self-Cleaning
The Rohnson Milky Harvest features an automatic high-temperature cleaning function.
- After dispensing the beverage, ensure the milk collection cup is removed.
- Ensure the waste water tray is correctly in place.
- Add clean water to the main chamber up to the indicated cleaning level.
- Press the 'High Temp. Clean' or 'Hold Fast Clean' button on the control panel. The machine will perform a cleaning cycle.
- Once the cycle is complete, remove and empty the waste water tray.
6.2 Manual Cleaning
For thorough cleaning, especially after preparing thick mixtures:
- Always unplug the appliance before cleaning.
- Remove the milk collection cup and waste water tray. Wash them with warm soapy water and rinse thoroughly.
- Use the provided cleaning brush to clean around the blades and inside the main chamber. Be careful of the sharp blades.
- Wipe the exterior of the main unit with a damp cloth. Do not use abrasive cleaners or immerse the main unit in water.
- Ensure all parts are completely dry before reassembling or storing the appliance.
7. Troubleshooting
If you encounter issues with your Rohnson Milky Harvest, refer to the table below for common problems and solutions.
| Problem | Possible Cause | Solution |
|---|---|---|
| Appliance does not turn on. | Not plugged in; power outage; faulty outlet. | Check power cord connection; check circuit breaker; try a different outlet. |
| Program does not start. | Lid not properly closed; milk collection cup not in place; water shortage. | Ensure lid is securely closed; verify milk cup placement; add sufficient water. |
| Unusual noise during operation. | Too many ingredients; hard ingredients; foreign object. | Reduce ingredient quantity; ensure ingredients are suitable for blending; check for foreign objects (unplug first). |
| Beverage not smooth enough. | Insufficient blending time; too little liquid. | Select a longer program if available or run a blend cycle; ensure proper liquid-to-solid ratio. |
| Self-cleaning not effective. | Insufficient water; heavy residue. | Ensure water is at the cleaning level; perform manual cleaning for stubborn residue. |
8. Specifications
| Feature | Specification |
|---|---|
| Brand | Rohnson |
| Model Name | Milky Harvest R-5901 |
| Color | Stainless Steel |
| Capacity | 1.2 Liters |
| Wattage | 2000 watts |
| Voltage | 220 Volts |
| Material | Stainless steel |
| Special Features | Programmable Timer (2-12h), Automatic Self-Cleaning |
| Item Weight | 5.38 Kilograms |
| Package Dimensions | 48.5 x 45.6 x 21.1 cm |
9. Warranty and Support
For warranty information and customer support, please refer to the warranty card included with your product or visit the official Rohnson website. Keep your purchase receipt as proof of purchase for any warranty claims.
Ask a question about this manual
Ask about setup, troubleshooting, compatibility, parts, safety, or missing instructions. Manuals+ will review the question and use this page’s manual context to help answer it.