
1. Introduction
This manual provides detailed instructions for the installation, operation, and maintenance of your Milfra Smart Dimmer Switch (2-Gang, Digital Display). Please read this manual thoroughly before installation and use to ensure proper functionality and safety.
Key Features:
- Digital Display: Intuitive interface for brightness indication.
- Versatile Compatibility: Supports Single-Pole, 3-Way, and 4-Way wiring configurations.
- Smart Control: Works with the Smart Life app for remote control and scheduling.
- Voice Assistant Integration: Compatible with Siri, Alexa, and Google Home for convenient voice commands.
- Smooth Dimming: Offers 1%-100% dimming capability for adjustable light intensity.
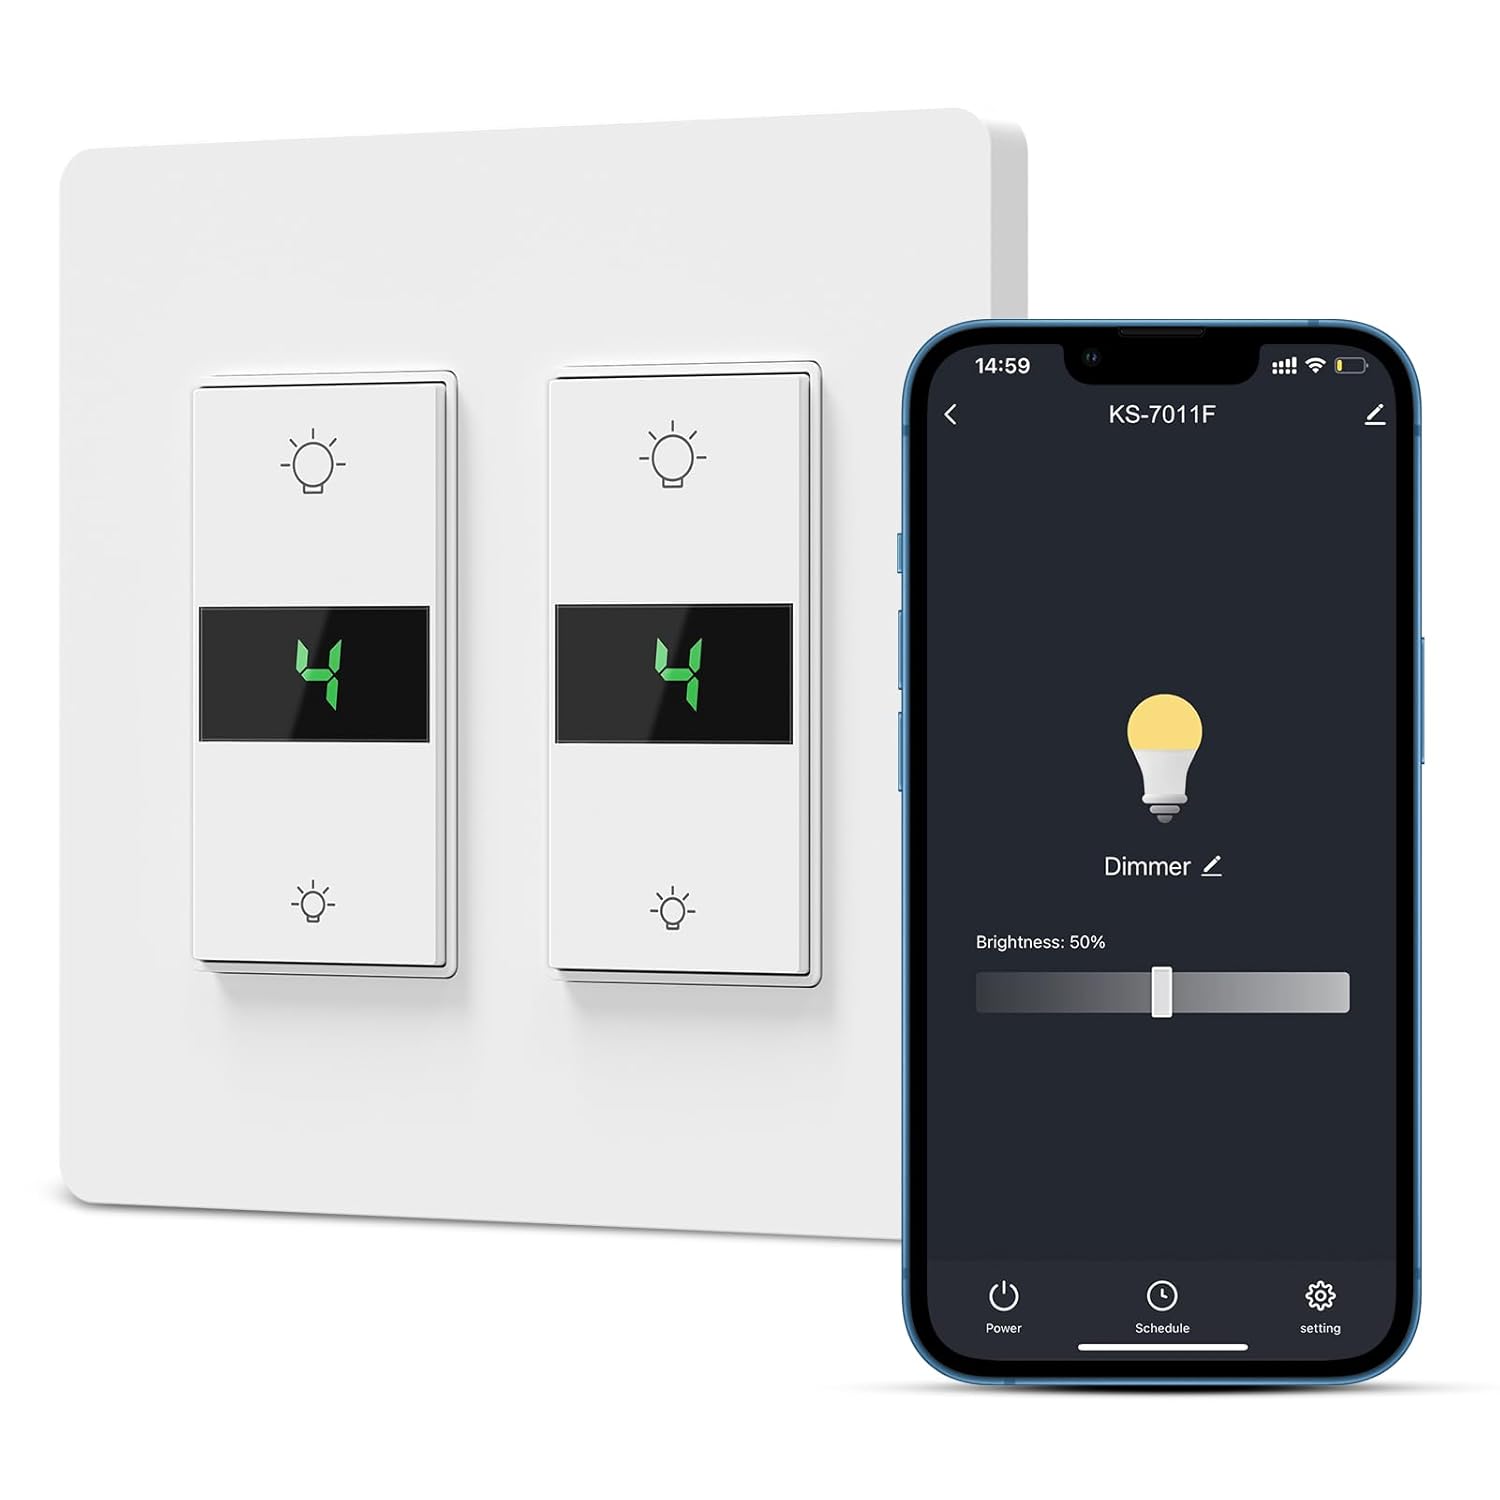
Image 1.1: Milfra Smart Dimmer Switch (2-Gang) and its accompanying mobile application interface.
2. Safety Information
WARNING: Risk of Electric Shock. Improper installation can lead to serious injury or death. Always consult a qualified electrician if you are unsure about any part of the installation process. Turn off power at the circuit breaker before installation.
- Neutral Wire Required: This smart dimmer switch requires a neutral wire for operation. If your electrical box does not have a neutral wire, this switch is not compatible.
- 2.4 GHz Wi-Fi Only: The switch connects to 2.4 GHz Wi-Fi networks. It is not compatible with 5 GHz Wi-Fi networks.
- Compatible Bulb Types: This dimmer switch is designed for use with non-smart dimmable LED/CFL bulbs (max 150W) and incandescent/halogen bulbs (max 450W). Do not use with non-dimmable bulbs or smart bulbs.
- Indoor Use Only: This device is intended for indoor use in dry locations.
- Operating Voltage: 120 Volts AC, 60 Hz.

Image 2.1: Important considerations for compatibility and wiring before installation.
3. Package Contents
Verify that all items listed below are included in your package. If any items are missing or damaged, please contact customer support.
- Milfra Smart Dimmer Switch (2-Gang)
- 1-Gang Face Plate (x2)
- Screws (x4)
- Wire Nuts (x10)
- User Manual (this document)
- Single Pole Label (x2)
- 4 Way / 3 Way Label (x2)

Image 3.1: Contents included in the product package.
4. Specifications
| Feature | Specification |
|---|---|
| Product Dimensions | 0.54 x 3.94 x 2.64 inches |
| Weight | 14.39 ounces |
| Model Number | Smart Dimmer Switch-2 Gang |
| Operation Mode | ON-OFF-ON |
| Current Rating | 10 Amps |
| Operating Voltage | 120 Volts |
| Contact Type | Normally Closed |
| Connector Type | Clamp |
| Terminal | Screw |
| Circuit Type | 3-way (compatible with Single-Pole, 3-Way, 4-Way) |
| Actuator Type | Touch |
| Manufacturer | Milfra |

Image 4.1: Product dimensions and wiring diagram.
5. Installation (Setup)
Before beginning installation, ensure you have read the safety information in Section 2. It is highly recommended to consult a qualified electrician if you are unfamiliar with electrical wiring.
Pre-Installation Checklist:
- Turn off Power: Locate your circuit breaker and turn off the power to the switch you are replacing. Verify power is off using a voltage tester.
- Neutral Wire: Confirm that a neutral wire (usually white) is present in your electrical box. This switch requires a neutral wire.
- Wi-Fi Network: Ensure you have a 2.4 GHz Wi-Fi network available.
- Compatible Bulbs: Confirm your light bulbs are dimmable and compatible (non-smart LED/CFL max 150W, incandescent/halogen max 450W).
Wiring Instructions:
The Milfra Smart Dimmer Switch supports Single-Pole, 3-Way, and 4-Way configurations. Refer to the detailed PDF installation guide provided with your product for specific wiring diagrams. General steps include:
- Remove your existing switch from the wall box.
- Identify the Line (hot), Load, Neutral, and Ground wires. Use the included labels for identification.
- Connect the corresponding wires from the wall box to the Milfra Smart Dimmer Switch using the provided wire nuts. Ensure all connections are secure.
- Carefully push the wired switch back into the wall box.
- Attach the faceplate.
- Restore power at the circuit breaker.

Image 5.1: Wiring diagrams for various switch configurations.
6. App Setup and Pairing
To enable smart features, download the Smart Life app and pair your device.
Downloading the App:
Search for "Smart Life" in your smartphone's app store (Apple App Store or Google Play Store) and download the application. Register or log in to your account.
Pairing the Device:
- Ensure your smartphone is connected to a 2.4 GHz Wi-Fi network.
- Open the Smart Life app and tap the "+" icon to add a device.
- Select "Lighting" > "Dimmer Switch (Wi-Fi)" or allow the app to auto-discover the device.
- Enter Pairing Mode: Long press the ON/OFF button (touch glass area) on the switch for 7-10 seconds until the digital display flashes. This indicates the switch is in pairing mode.
- Follow the on-screen instructions in the app to complete the pairing process.

Image 6.1: Button analysis diagram, including reset and pairing instructions.
7. Operating Instructions
Manual Control:
- ON/OFF: Press the central touch glass area to turn the lights on or off.
- Brightness Adjustment: Press the "Brightness +" button (top light icon) to increase brightness, and the "Brightness -" button (bottom light icon) to decrease brightness. The digital display will show the current brightness level.
App Remote Control:
Once paired with the Smart Life app, you can control your lights from anywhere with an internet connection.
- Turn On/Off: Tap the power icon in the app.
- Adjust Brightness: Use the dimmer slider in the app to set the desired light intensity (1%-100%).
- Scheduling: Set schedules for lights to turn on/off or dim at specific times.
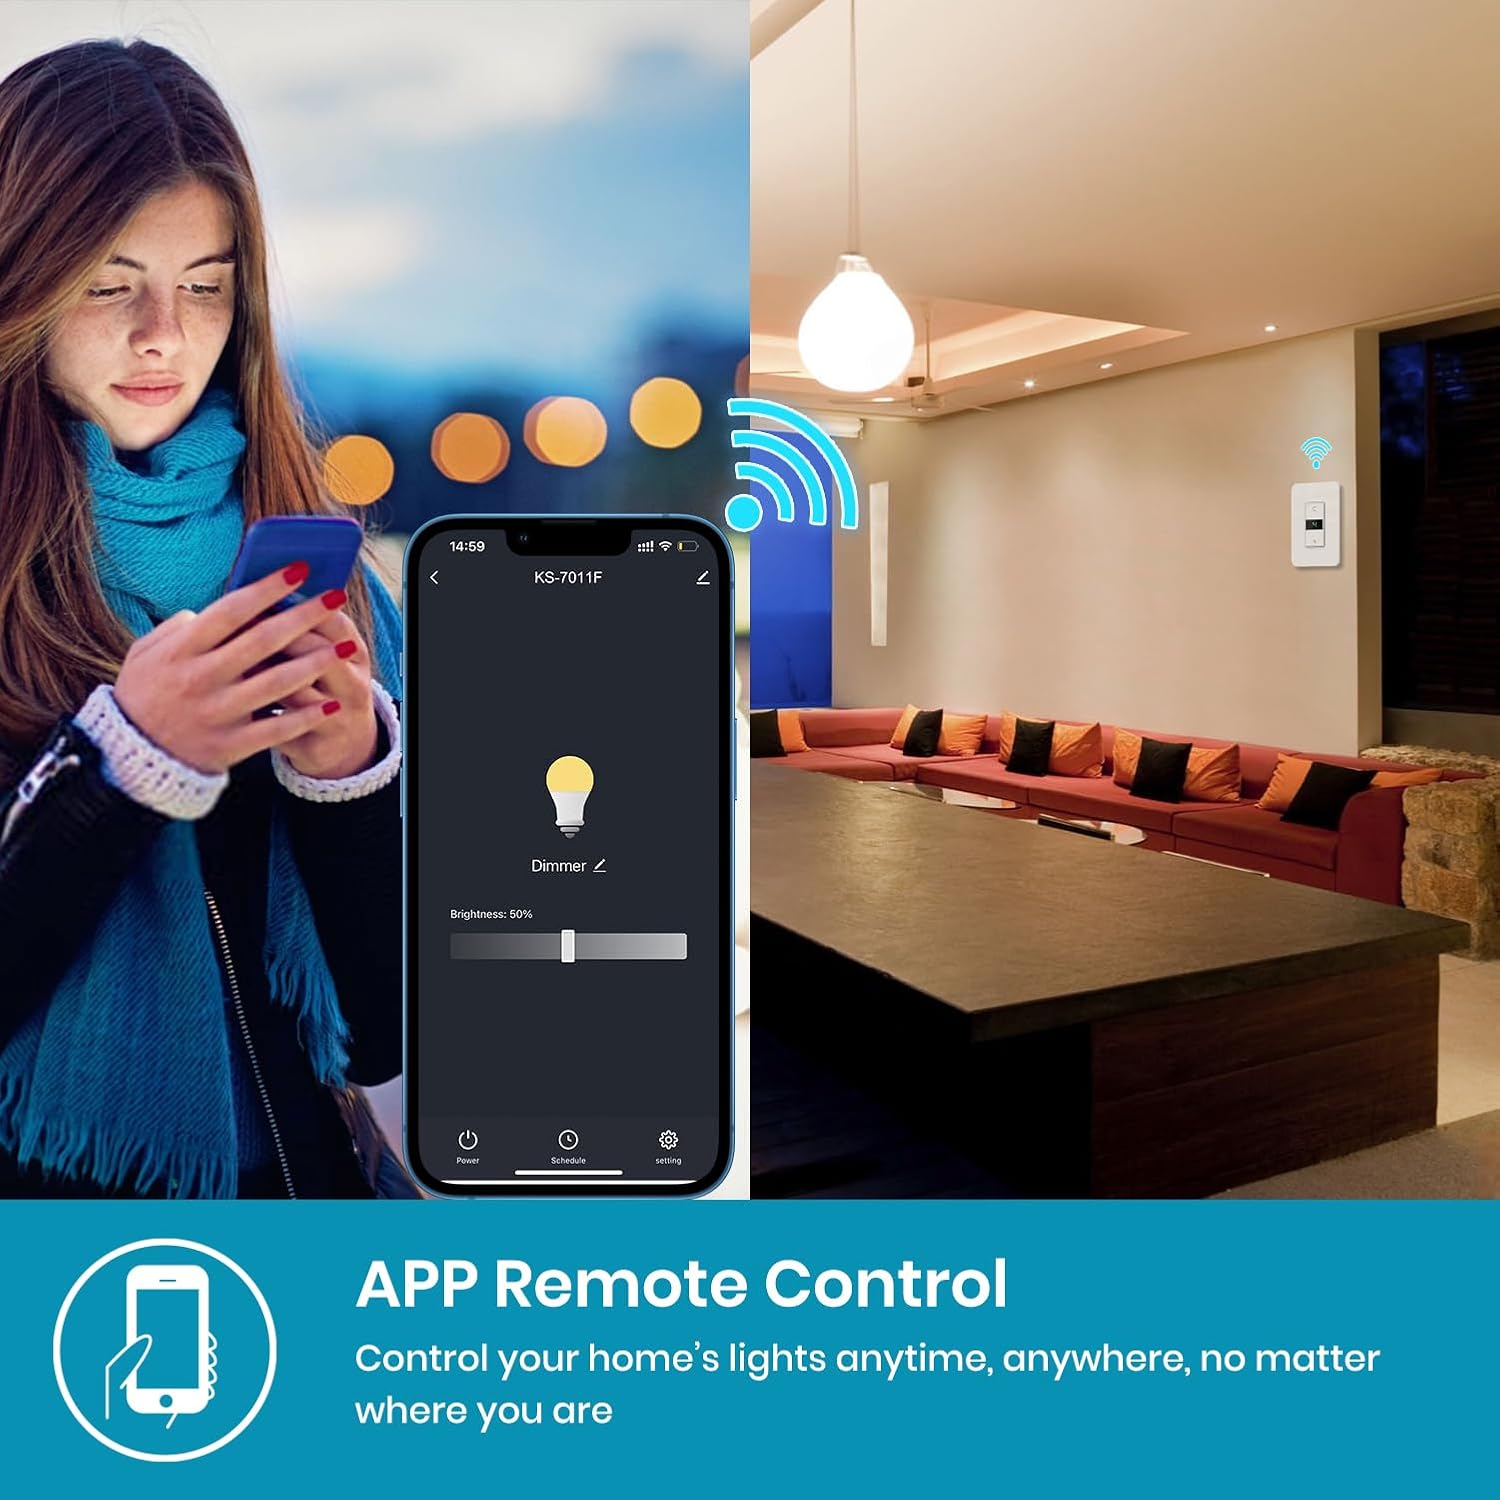
Image 7.1: Remote control via the Smart Life application.
Voice Control:
Integrate your Milfra Smart Dimmer Switch with Amazon Alexa, Google Home, or Siri for hands-free control.
- Linking Accounts: Follow the instructions in the Smart Life app to link your account with Alexa, Google Home, or Siri.
- Voice Commands: Use commands such as:
- "Alexa, turn on the living room light."
- "Hey Google, dim the kitchen light to 50%."
- "Hey Siri, set the bedroom light to 80%." (Note: Siri commands must be set up as shortcuts in the Home app.)

Image 7.2: Voice control integration with smart assistants.
Adjusting for Light Flickering:
If your lights flicker or turn off during operation at low brightness levels, you may need to adjust the minimum brightness setting within the Smart Life app. Increase the minimum brightness until the flickering stops and the light remains stable.

Image 7.3: App interface for adjusting minimum brightness to prevent flickering.
8. Maintenance
The Milfra Smart Dimmer Switch requires minimal maintenance.
- Cleaning: To clean the switch, gently wipe the surface with a soft, dry cloth. Do not use abrasive cleaners, solvents, or excessive moisture, as this may damage the device or pose an electrical hazard.
- Protective Film: Remove the protective film from the digital display screen after installation for optimal visibility.
9. Troubleshooting
If you encounter issues with your Milfra Smart Dimmer Switch, refer to the following common problems and solutions.
| Problem | Possible Cause / Solution |
|---|---|
| Switch does not power on or respond. |
|
| Lights flicker or turn off at low brightness. |
|
| Cannot connect to Wi-Fi or app. |
|
| Voice control not working. |
|
| Touch buttons are unresponsive or require multiple presses. |
|
If these solutions do not resolve your issue, please contact Milfra customer support for further assistance.
10. Warranty and Support
Milfra is committed to providing high-quality products and excellent customer service.
Warranty:
This product comes with a 1-year quality guarantee from the date of purchase. This warranty covers manufacturing defects and malfunctions under normal use. It does not cover damage caused by improper installation, misuse, accidents, or unauthorized modifications.
Customer Support:
Milfra offers 10-year after-sales service, including online support for installation guidance, app instructions, troubleshooting, and other related services. For assistance, please contact Milfra customer support through the contact information provided on our official website or through your purchase platform.
Please have your product model and purchase date available when contacting support to expedite the process.