1. Product Overview
This manual provides detailed instructions for the assembly, usage, and maintenance of your chartustriable 103-inch Wall Unit TV Stand. This large farmhouse-style entertainment center is designed to accommodate TVs up to 80 inches and features ample storage with sliding barn door cabinets and an integrated power outlet.
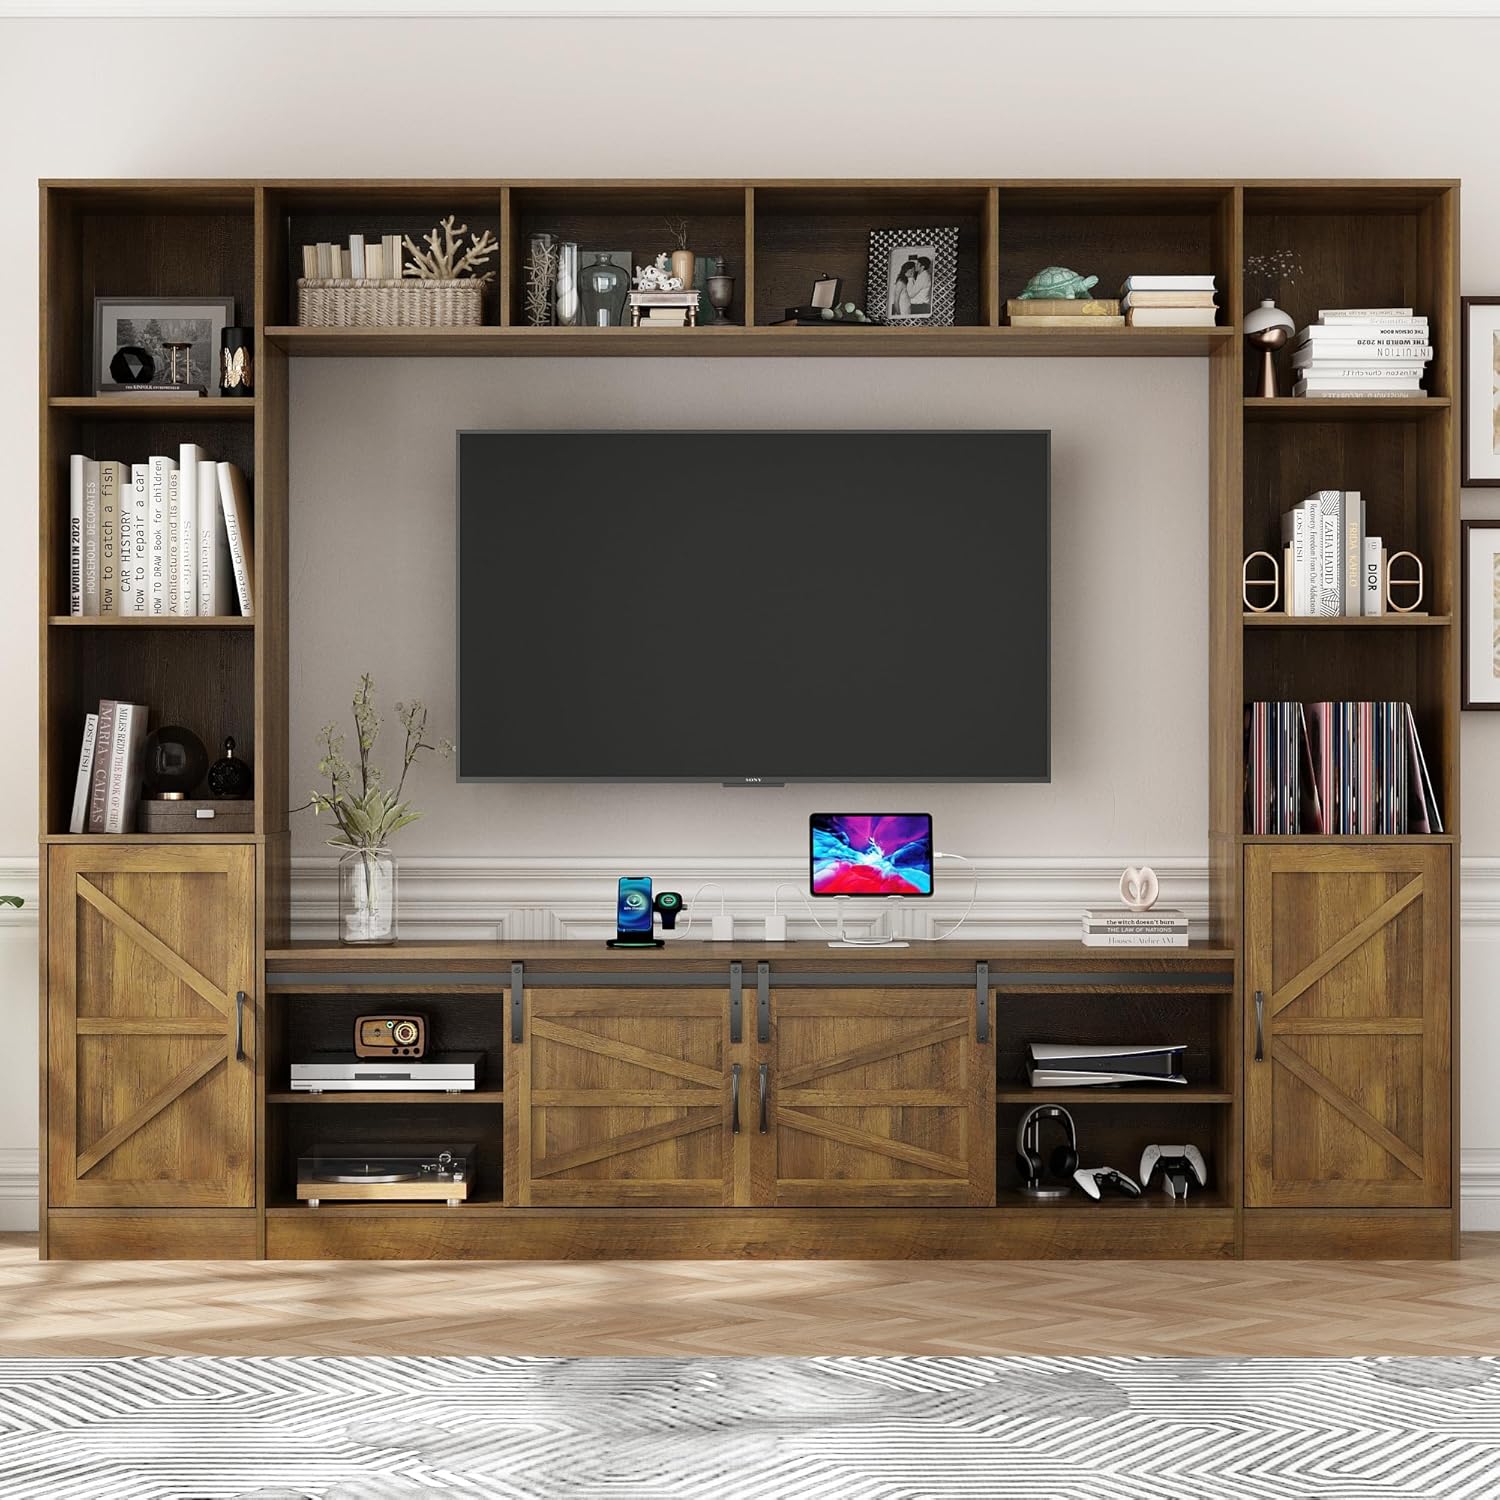
Image 1: The chartustriable 103-inch Wall Unit TV Stand, showcasing its rustic brown finish and comprehensive storage design.
2. Safety Information
- Careful Lifting: The assembled product is heavy. It is strongly recommended that more than one person lift the product vertically after assembly to prevent injury or damage.
- Sharp Edges: Exercise caution around sharp edges during assembly and handling.
- Assembly Personnel: 2-3 people are recommended for assembly.
- Package Delivery: The product is shipped in 2 parcels, which may arrive at different times. Please wait patiently for all packages before beginning assembly.
- Anti-Tipping Device: An anti-tipping device is included. It is crucial to install this device to secure the unit to the wall and prevent accidental tipping, especially in households with children or pets.
3. Product Dimensions and Features
The wall unit TV stand offers generous dimensions and integrated features for a complete entertainment and storage solution.
- Overall Dimensions: 15.8"D x 102.8"W x 78.1"H
- Internal TV Space: 15.8"D x 70"W x 43"H, suitable for 55/60/65/70/75/80 inch TVs.
- Material: Engineered Wood
- Number of Shelves: 15
- Integrated Design: Composed of a TV stand, bottom storage cabinet, side bookshelves, and a top display cabinet.
- Storage: Four sliding barn doors with adjustable shelves and 11 open compartments for books and display items.
- Power Outlet: Equipped with a charging station to provide power for TVs and other devices.

Image 2: Detailed dimensions of the wall unit, including overall size and internal TV compartment measurements.

Image 3: The integrated power outlet, designed for convenient charging of electronic devices.
4. Assembly Instructions
This unit requires assembly. Instructions and all necessary parts are provided. For a smooth assembly process, please follow the steps carefully and consider watching the official assembly video.
4.1. Pre-Assembly Checklist
- Verify all packages have arrived.
- Unpack all components and hardware. Lay them out on a clean, soft surface to prevent scratches.
- Identify all parts using the provided parts list (not included in this manual, refer to your package insert).
- Ensure you have the necessary tools (e.g., screwdriver, drill).
4.2. Assembly Video Guide
For a visual step-by-step guide, please refer to the official assembly video below. This video demonstrates the entire assembly process, from attaching individual panels to installing the sliding barn doors.
Video 1: Official Assembly Video for the chartustriable Wall Unit TV Stand. This video provides a comprehensive visual guide for the entire assembly process.
4.3. General Assembly Steps (Refer to video for details)
- Prepare Panels: Insert wooden dowels and cam lock bolts into the designated holes on the various panels.
- Assemble Base Units: Connect the side panels to the bottom and top panels of the TV stand and side cabinets using cam locks and screws.
- Install Back Panels: Secure the back panels to the assembled units.
- Connect Units: Join the central TV stand unit with the two side bookshelf units using connecting plates and screws.
- Attach Top Shelves: Place and secure the upper shelf components to form the display cabinet section.
- Install Power Outlet: Insert the power outlet strip into its designated slot on the TV stand and secure it with screws.
- Assemble Sliding Doors: Attach hinges and handles to the barn doors.
- Install Sliding Door Hardware: Mount the sliding tracks and rollers for the barn doors onto the TV stand.
- Hang Barn Doors: Carefully hang the assembled barn doors onto the tracks.
- Install Adjustable Shelves: Place the adjustable shelves into the desired positions within the cabinets and bookshelves using shelf pins.
- Secure Anti-Tipping Device: Attach the anti-tipping device to the top of the unit and secure it to a wall stud using appropriate hardware.
5. Usage and Operation
- TV Placement: Carefully place your television within the central compartment. Ensure it is centered and stable.
- Cable Management: Utilize the cable management holes in the back panel of the TV stand to route and organize power cords and media cables, keeping them tidy and out of sight.
- Power Outlet: Plug your TV, media players, and other electronic devices into the integrated power outlet for convenient access.
- Sliding Barn Doors: The barn doors slide smoothly along the track, allowing you to conceal or display items in the lower cabinets as needed.
- Adjustable Shelves: Customize the height of the shelves in the side cabinets and bookshelves to accommodate items of various sizes.
6. Maintenance
- Cleaning: Wipe the surfaces with a dry cloth to remove dust and debris. Avoid using harsh chemicals or abrasive cleaners, which can damage the finish.
- Spills: Immediately wipe up any spills with a soft, dry cloth to prevent moisture damage.
- Hardware Check: Periodically check all screws, bolts, and connections to ensure they remain tight. Retighten if necessary.
- Sunlight Exposure: Avoid prolonged exposure to direct sunlight to prevent fading or discoloration of the wood finish.
7. Specifications
| Feature | Detail |
|---|---|
| Brand | chartustriable |
| Model Number | CABINET |
| Material | Engineered Wood |
| Color | Rustic Brown |
| Overall Product Dimensions (L x W x H) | 102.8 x 15.8 x 78.1 inches |
| Item Weight | 260 pounds |
| TV Compatibility | Up to 80 inches |
| Number of Shelves | 15 |
| Special Feature | Adjustable Shelf, Power Outlet |
| Product Care Instructions | Wipe with Dry Cloth |
8. Troubleshooting
If you encounter any issues during assembly or use, please review the assembly video and ensure all steps were followed correctly. For further assistance, please contact chartustriable customer support.
- Wobbly Unit: Ensure all cam locks and screws are fully tightened. Verify the unit is on a level surface. Install the anti-tipping device securely.
- Sliding Doors Not Smooth: Check that the tracks are clean and free of obstructions. Ensure the rollers are properly seated in the tracks.
- Missing Parts: If any parts are missing or damaged upon arrival, please contact chartustriable customer service immediately for replacements.
9. Warranty and Support
For information regarding product warranty, returns, or customer support, please refer to your purchase documentation or contact chartustriable directly. Contact details can typically be found on the seller's page or included in your product packaging.
Manufacturer: chartustriable
Date First Available: September 23, 2025


