1. Important Safety Information
Operating a laser engraver involves potential risks. Always adhere to the following safety guidelines to prevent injury and damage to the equipment.
- Eye Protection: Always wear certified laser safety glasses when the laser is active. Never look directly into the laser beam.
- Ventilation: Ensure adequate ventilation to remove fumes and smoke generated during engraving. The ACMER P3 features an integrated fume extraction system, but additional room ventilation may be required.
- Fire Hazard: Laser engraving can ignite flammable materials. Never leave the machine unattended during operation. Keep a fire extinguisher nearby.
- Enclosure: The ACMER P3 is an enclosed laser engraver designed for enhanced safety. Keep the enclosure closed during operation.
- Emergency Stop: Familiarize yourself with the location and operation of the emergency stop switch.
- Material Compatibility: Only engrave materials suitable for laser processing. Avoid materials that produce toxic fumes or are highly reflective.
- Children and Pets: Keep children and pets away from the laser engraver at all times.

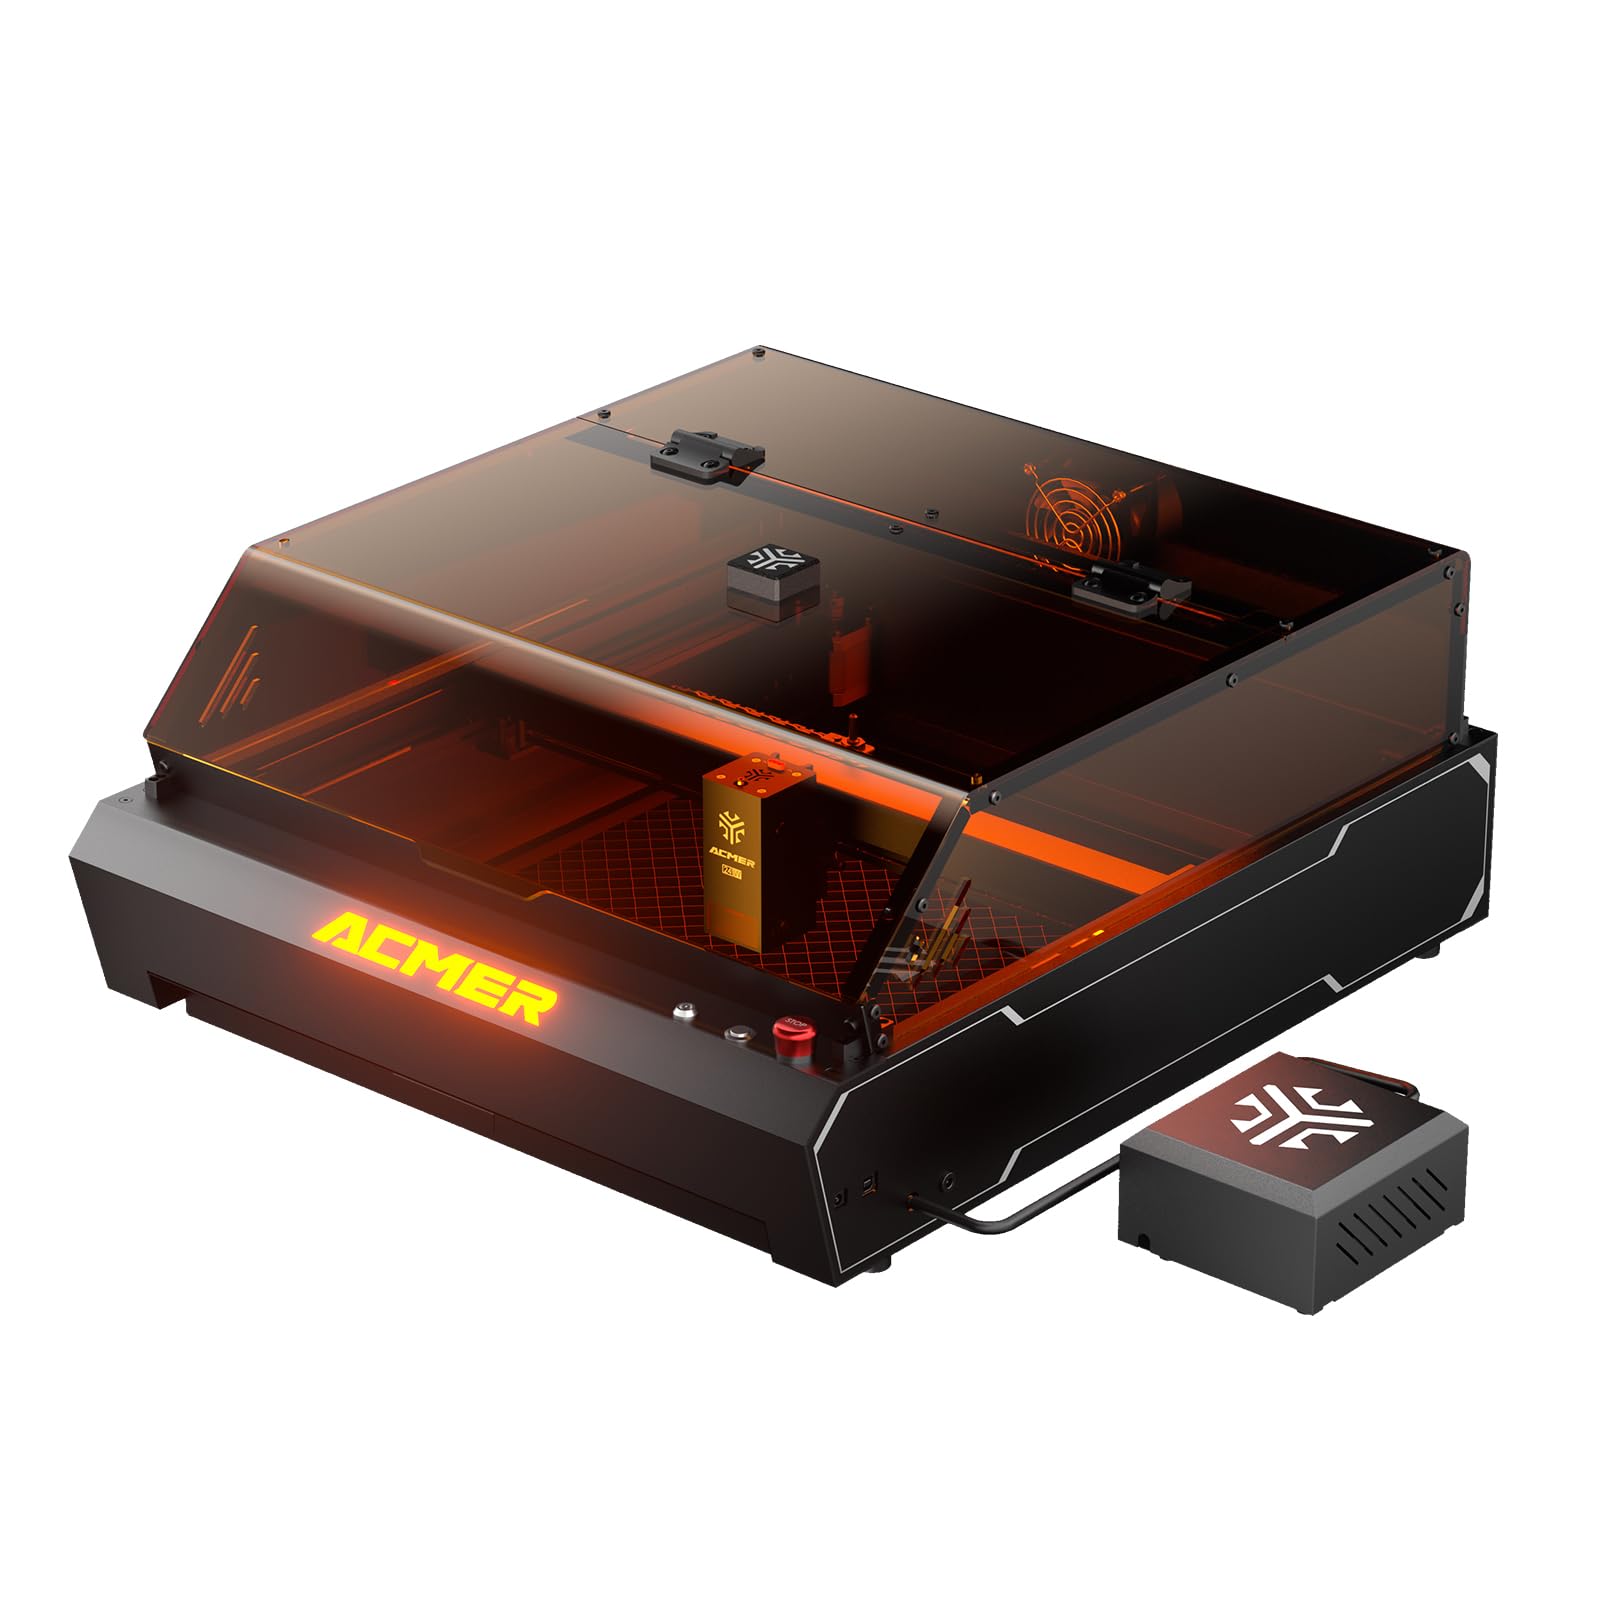
2. Product Overview
The ACMER P3 is a versatile 2-in-1 enclosed laser engraver, integrating both a 2W Infrared (IR) laser and a 10W Diode laser. This dual-laser system allows for engraving and cutting a wide range of materials with high precision and speed.
Key Features:
- Dual Laser Module: Seamlessly switch between a 2W IR laser (0.02*0.02 mm spot size, ideal for metal engraving) and a 10W Diode laser (0.06*0.08 mm spot size, perfect for wood, acrylic, and other materials).
- CoreXY Structure: Ensures ultra-precision at high speeds, minimizing blur during engraving and cutting.
- High-Speed Performance: Achieves engraving speeds up to 48,000mm/min with an acceleration of 2000mm/s².
- Integrated HD Camera: Provides real-time preview and accurate positioning for precise alignment of designs.
- Integrated Fume Extraction System: Features an aerodynamic design and a 4000 RPM exhaust fan to effectively remove smoke and reduce dust.
- Micro-Airflow Mode: Generates a weak airflow to prevent smoke backflow, protecting the lens and extending the laser module's service life by 20%.
- Wide Material Compatibility: Engrave and cut over 300 types of materials, including wood, metal, acrylic, leather, plastic, and glass.

3. Setup Guide
3.1 Unpacking
- Carefully remove all components from the packaging.
- Verify that all parts listed in the packing list are present and undamaged.
- Retain the original packaging for future transport or storage.
3.2 Assembly
The ACMER P3 comes largely pre-assembled. Follow these general steps for final setup:
- Place the engraver on a stable, level surface.
- Connect the power cable to the engraver and a suitable power outlet.
- Ensure the safety lock key is inserted and turned to the 'ON' position (as noted by a user, ensure the lock key is turned to the right for power).
- Connect the fume extraction hose to the exhaust port and direct it to a safe outdoor area or an appropriate filtration system.
- Install the laser module if not already pre-installed, following the specific instructions in the quick start guide.

3.3 Software Installation
The ACMER P3 is compatible with various software. It is recommended to use LightBurn for advanced control and design, or the ACMER APP/LaserGRBL for basic operations.
- Download the latest version of your preferred software (LightBurn, ACMER APP, or LaserGRBL) from the official ACMER website or the software provider's website.
- Follow the on-screen instructions to install the software on your computer (Windows/macOS/Linux) or mobile device (iOS/Android).
- Connect the engraver to your computer via USB or Wi-Fi as per software instructions.

4. Operating Instructions
4.1 Material Preparation
- Place the material to be engraved or cut onto the honeycomb bed inside the engraver.
- Ensure the material is flat and securely positioned to prevent movement during operation.
- Utilize the user-friendly pull-out drawer for easy material replacement and to avoid damage.

4.2 Laser Module Selection
The ACMER P3 automatically detects the installed laser module. Select the appropriate laser type (IR or Diode) within your software based on the material you are processing:
- 10W Diode Laser: Best for engraving and cutting wood, acrylic, leather, paper, fabric, and some plastics.
- 2W IR Laser: Ideal for engraving metals, certain plastics, and materials where the diode laser is less effective.
4.3 Positioning and Preview
The integrated HD camera allows for precise positioning and real-time preview of your design on the material.
- In your software, activate the camera preview function.
- Adjust your design's position on the virtual workspace to align with the material shown in the camera feed.
- The camera provides a 400x400mm visible area for accurate monitoring.


4.4 Engraving/Cutting Process
- Once your design is positioned, set the appropriate laser power, speed, and passes in your software based on the material and desired effect. Refer to material settings guides for recommendations.
- Ensure the enclosure lid is closed and all safety precautions are observed.
- Initiate the engraving or cutting process from your software.
- Monitor the process through the viewing window and the real-time camera feed.
- The integrated fume extraction system will activate to manage smoke and debris.


5. Maintenance
Regular maintenance ensures optimal performance and extends the lifespan of your ACMER P3.
5.1 Cleaning the Laser Lens
The laser lens should be cleaned periodically to maintain engraving quality.
- Ensure the machine is powered off and disconnected from the power source.
- Carefully access the laser lens according to the specific instructions in the quick start guide.
- Use a lint-free cloth and a small amount of lens cleaning solution (e.g., isopropyl alcohol) to gently wipe the lens. Avoid abrasive materials.
5.2 Cleaning the Enclosure and Fume Extraction System
Keep the interior of the enclosure and the fume extraction system clean to ensure efficient operation.
- Power off and disconnect the machine.
- Wipe down the interior surfaces of the enclosure with a damp cloth to remove dust and debris.
- Regularly inspect and clean the exhaust fan and ducting for any blockages or buildup.
- Clean the honeycomb bed as needed to remove residue.
5.3 General Inspection
Periodically inspect the machine for any loose connections, worn parts, or unusual noises.
- Check all cables and connections for security.
- Ensure the CoreXY belts are properly tensioned and free from damage.
- Lubricate moving parts if recommended by the manufacturer.
6. Troubleshooting
This section addresses common issues you might encounter with your ACMER P3.
| Problem | Possible Cause | Solution |
|---|---|---|
| Machine does not power on | Power cable disconnected; Safety lock key not engaged. | Check power cable connection. Ensure the safety lock key is inserted and turned to the 'ON' position (right). |
| Laser not firing or weak output | Dirty laser lens; Incorrect power settings; Laser module not properly installed. | Clean the laser lens. Verify power settings in software. Re-install laser module. |
| Poor engraving quality (blurry, inconsistent) | Incorrect focus; Material movement; Incorrect speed/power settings; Dirty lens. | Ensure proper focus. Secure material on the bed. Adjust speed and power settings. Clean the laser lens. |
| Software connection issues | Incorrect port selection; Driver issues; USB cable fault. | Verify correct COM port in software. Reinstall drivers. Try a different USB cable. |
| Excessive smoke or odor | Fume extraction system blocked; Inadequate room ventilation; Engraving unsuitable material. | Check and clean fume extraction system. Ensure proper room ventilation. Verify material compatibility. |
7. Specifications
Technical specifications for the ACMER P3 2 in 1 Laser Engraver.
| Feature | Detail |
|---|---|
| Model Number | ACMER P3 2 in 1 |
| Laser Type | 2W IR Laser (1064nm) & 10W Diode Laser (455nm) |
| IR Laser Spot Size | 0.02 x 0.02 mm |
| Diode Laser Spot Size | 0.06 x 0.08 mm |
| Engraving Speed | Up to 48,000 mm/min |
| Acceleration | 2000 mm/s² |
| Structure | CoreXY |
| Integrated Camera | HD Camera (5 Million Pixels) for positioning and real-time preview |
| Visible Area | 400 x 400 mm |
| Fume Extraction | Integrated system with 4000 RPM exhaust fan |
| Micro-Airflow Mode | Yes, for lens protection |
| Safety Features | 8 Layers (Over-temperature, Tilt, Class 1 Laser, Limit, Flame Detection, Emergency Stop, Safety Lock, Metal Frame) |
| Compatible Materials | ABS, Stainless Steel, Acrylic, Aluminum, Wood, Metal, Plastic, Glass, Leather, Plywood, MDF, Bamboo (300+ materials) |
| Compatible Software | ACMER APP, LightBurn, LaserGRBL |
| Operating Mode | Automatic |
| Dimensions (Package) | 74.2 x 65 x 35.6 cm |
| Weight (Item) | 24.2 kg |
| Color | Black |
8. Warranty Information
ACMER products are covered by a limited warranty. Please refer to the warranty card included with your product or visit the official ACMER website for detailed warranty terms and conditions. The warranty typically covers manufacturing defects and malfunctions under normal use.
9. Customer Support
For technical assistance, troubleshooting beyond this manual, or warranty claims, please contact ACMER customer support:
- Visit the official ACMER website for FAQs, support resources, and contact forms.
- Refer to the contact information provided in your product packaging.
When contacting support, please have your product model number (ACMER P3 2 in 1) and purchase details ready.