
LAMTTO RC12A
LAMTTO Motorcycle Display Audio User Manual
Model: RC12A | Brand: LAMTTO
1. Product Overview
The LAMTTO Motorcycle Display Audio system is a portable 6.25-inch IPS touch screen device designed to enhance your riding experience by integrating smartphone functionalities directly onto your motorcycle. It supports wireless Apple CarPlay and Android Auto, allowing access to navigation, music, calls, and messages via voice or touch control. The unit features an IP67 dust and waterproof rating and includes tire pressure monitoring for enhanced safety.

Image 1.1: The LAMTTO Motorcycle Display Audio unit, showing the main screen, mounting bracket, and two tire pressure monitoring sensors.
2. Safety Information
- Always ensure the device is securely mounted and does not obstruct your view or control of the motorcycle.
- Do not attempt to operate the touch screen or make complex adjustments while riding. Utilize voice control features for safer interaction.
- The unit is rated IP67 for dust and water resistance, meaning it is protected from dust ingress and can withstand immersion in water up to 1 meter for 30 minutes. However, avoid prolonged submersion or high-pressure water jets.
- Ensure all wiring connections are secure and properly insulated to prevent short circuits or electrical hazards.
- Regularly check tire pressure sensors for proper installation and function.

Image 2.1: The display unit is designed with IP67 dust and waterproof capabilities, allowing for use in various weather conditions.
3. Package Contents
Verify that all items listed below are included in your package:
- Motorcycle Display Audio Unit (Main Unit)
- Main Unit Holder (Mounting Bracket)
- Power Cable + Monitoring Sensors (2x Tire Pressure Monitoring Sensors)
- Hex Wrench
- Phillips Screwdriver
- Japanese Instruction Manual (User Manual)
- Wired Remote Control

Image 3.1: Illustration of the complete package contents, including the display unit, mounting hardware, cables, sensors, and tools.
4. Setup and Installation
4.1 Mounting the Unit
Attach the main unit holder to your motorcycle's handlebars using the provided hex wrench. Ensure the bracket is tightened securely and the display unit is positioned for optimal visibility without obstructing controls. The unit is designed for handlebar mounting.
4.2 Wiring Connections
The system operates on a 12-24V power supply, making it compatible with most motorcycle models. Connect the power cable to your motorcycle's battery (ACC BAT+ and GND). The power cable terminals are designed for waterproof connections. Ensure all connections are firm and insulated.

Image 4.1: Wiring diagram illustrating the connection points for the main unit, wired remote, and tire pressure sensors to the motorcycle's electrical system.
4.3 Tire Pressure Sensor Installation
Install the two tire pressure monitoring sensors onto your motorcycle's tire valves. The sensors are designed to automatically sync with the main unit upon power-up. Ensure they are securely fastened to prevent loss during riding.

Image 4.2: The display unit showing real-time tire pressure readings from the installed sensors.
5. Connectivity
5.1 Wireless Apple CarPlay / Android Auto Connection
The unit supports wireless Apple CarPlay (for iOS 10 and above) and Android Auto (for Android 11 and above). AQUOS smartphones are not supported.
- Turn on Wi-Fi and Bluetooth on your smartphone.
- On your smartphone, search for and connect to the device's Bluetooth name (e.g., "BTRX-XXX").
- Allow the connection prompt on your smartphone.
- CarPlay or Android Auto will initiate. This process may take 10-20 seconds.

Image 5.1: Steps for connecting an iPhone to enable Apple CarPlay functionality.

Image 5.2: Steps for connecting an Android smartphone to enable Android Auto functionality.
Once connected, you can use your smartphone's navigation apps (e.g., Google Maps, Apple Maps, Waze) directly on the display. This ensures you always have the latest map data without needing separate updates for the display unit.

Image 5.3: The display unit showing navigation from a connected smartphone, highlighting compatibility with various map applications.
5.2 Bluetooth Headset Connection
The unit supports Bluetooth 5.0 for connecting to wireless headsets, enabling hands-free music playback, calls, and navigation audio.
- Ensure your wireless headset is in pairing mode.
- On the display unit, navigate to Bluetooth settings and search for available devices.
- Select your headset from the list to pair.

Image 5.4: Connection method for wireless earphones, allowing audio from the display unit to be heard through your headset.
6. Operating Instructions
6.1 Basic Operation
The 6.25-inch IPS touch screen allows for intuitive control. The display automatically adjusts brightness based on ambient light conditions for optimal visibility during day and night.

Image 6.1: A gloved hand interacting with the 6.25-inch IPS touch screen for navigation.

Image 6.2: The display supports voice control commands through connected smartphone assistants like Siri and Google Assistant.
6.2 Wired Remote Control
The included wired remote control provides convenient access to essential functions without needing to touch the main display.
- Cycle Button:
- Short press: Answer a call.
- Long press (10 seconds): Turn off power.
- Phone Button:
- Short press: End a call.
- Home Button:
- Short press: Enter home page / smartphone connection interface.
- Long press (2.5 seconds): Activate rain mode.
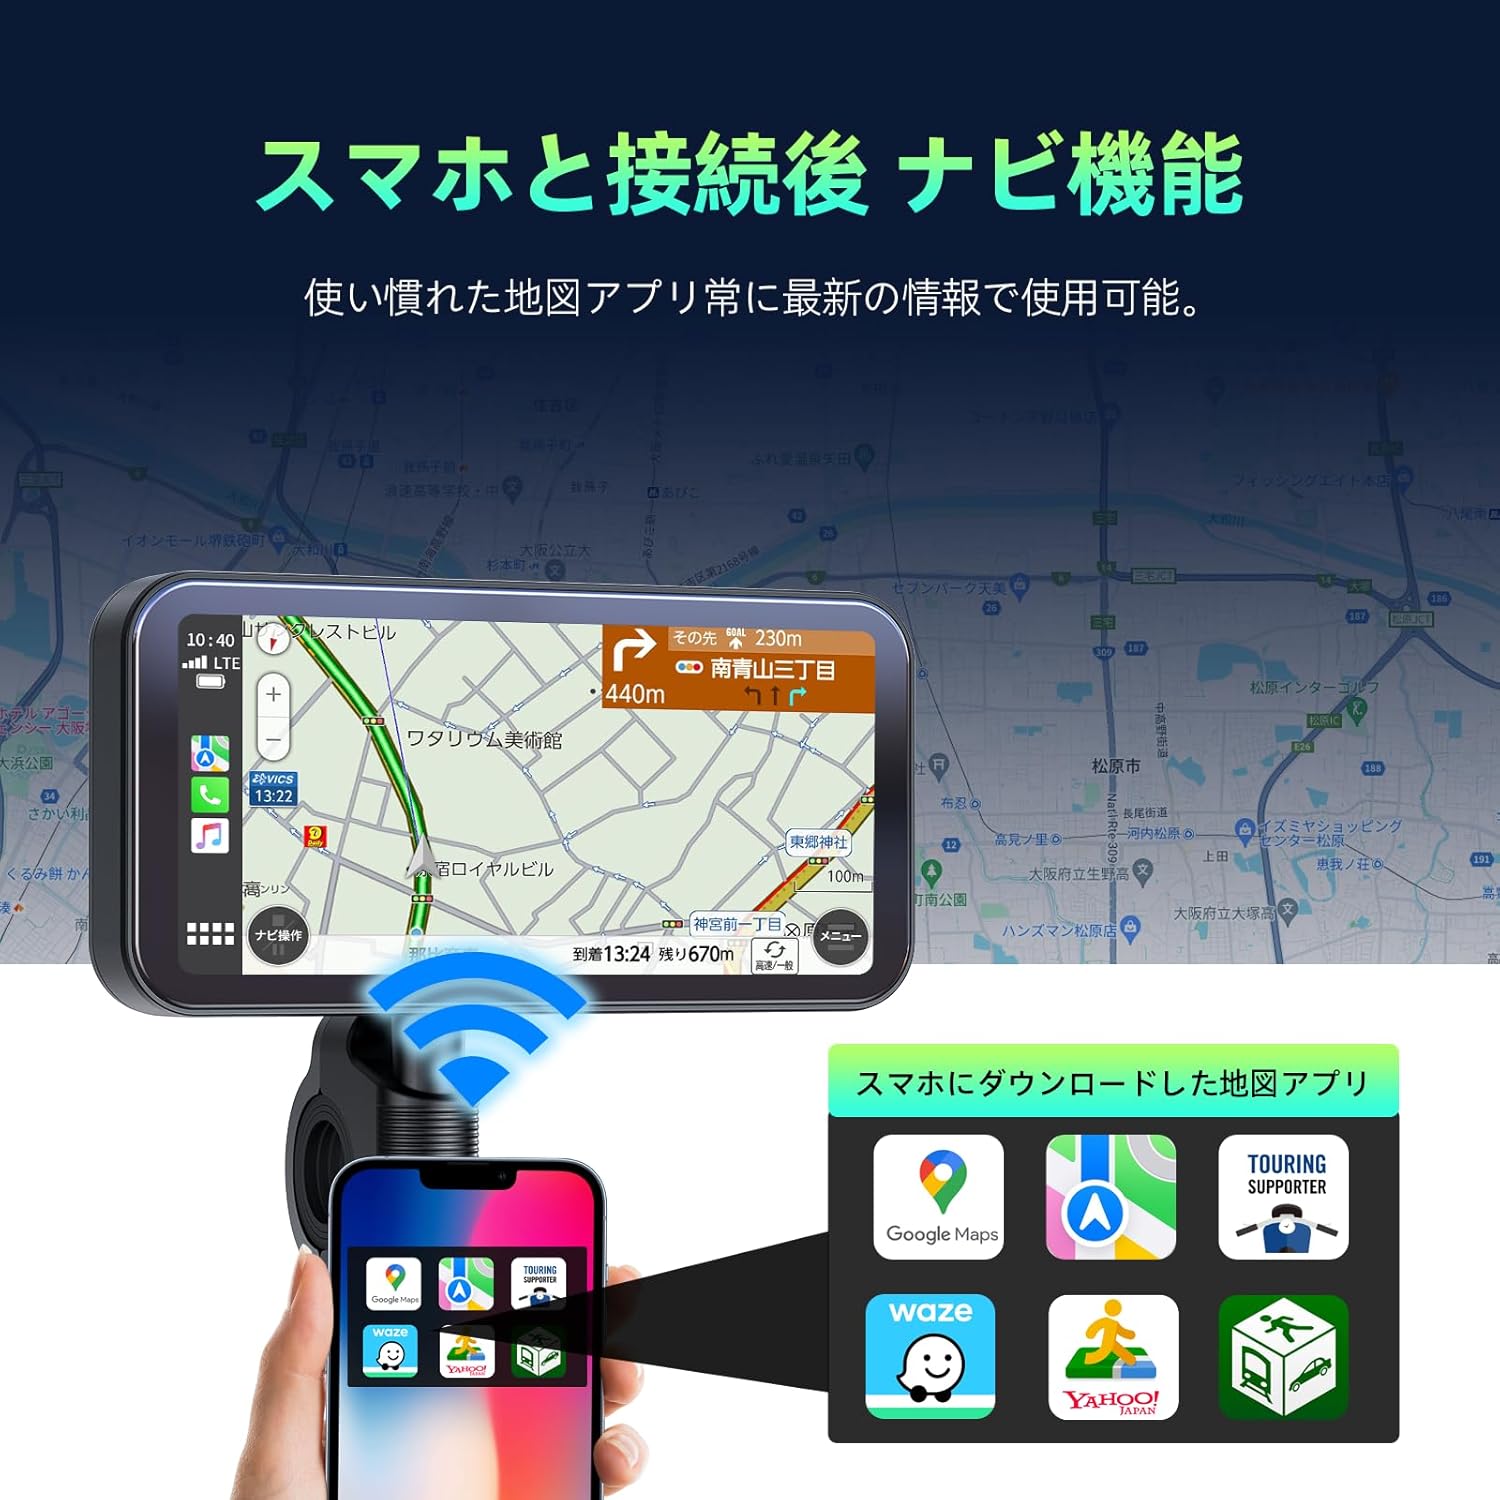
Image 6.3: The wired remote control, detailing the functions of its buttons for easy access while riding.
6.3 Rain Mode
In rain mode, the touch screen functionality is disabled to prevent accidental inputs from raindrops. All operations must be performed via the wired remote control.

Image 6.4: Visual representation of normal mode versus rain mode, where touch input is deactivated to prevent unintended actions.
6.4 Tire Pressure Monitoring System (TPMS)
The integrated TPMS continuously monitors your tire pressure and displays it on the screen. This feature contributes to rider safety, improved fuel efficiency, and extended tire lifespan. The sensors are designed to sync automatically.

Image 6.5: The display showing real-time tire pressure data for both front and rear tires.
7. Maintenance
- Clean the display screen with a soft, damp cloth. Avoid abrasive cleaners or solvents.
- Periodically check all cable connections for wear or damage.
- Ensure the mounting bracket remains secure.
- Keep the tire pressure sensors clean and free from debris.
8. Troubleshooting
| Problem | Possible Cause / Solution |
|---|---|
| Slow connection/pairing with smartphone. | Initial connection may take 10-20 seconds. Ensure Wi-Fi and Bluetooth are enabled on your smartphone and the device is discoverable. Restarting both devices may help. |
| Tire pressure sensors not displaying readings. | Ensure sensors are securely installed and not obstructed. Check if the sensors are correctly paired. If issues persist, try re-pairing or replacing sensor batteries if applicable (check product specifications for battery type). Some users reported interference with brake calipers; ensure proper clearance. |
| Touch screen unresponsive in rain. | This is normal behavior in rain mode to prevent accidental inputs. Use the wired remote control for all functions. Long press the Home button (2.5 seconds) to toggle rain mode. |
| Power cable seems thin/fragile. | Handle wiring with care during installation. Ensure connections are robust and properly insulated to prevent damage or short circuits. |
| Smartphone overheating when mounted. | Using this display unit offloads processing from your smartphone, reducing the likelihood of overheating compared to directly mounting the phone for navigation. Ensure your phone is not in direct sunlight for extended periods if it's still mounted elsewhere. |
9. Specifications
| Feature | Detail |
|---|---|
| Brand | LAMTTO |
| Model Number | RC12A |
| Screen Size | 6.25 inches |
| Display Type | IPS Touch Screen |
| Connectivity Technology | Bluetooth 5.0, Wireless Apple CarPlay, Wireless Android Auto |
| Waterproof/Dustproof Rating | IP67 |
| Operating Voltage | 12-24 V |
| Special Features | Tire Pressure Monitoring, Touch Screen, Wireless Apple CarPlay & Android Auto, Bluetooth, Waterproof |
| Product Dimensions (L x W x H) | 13 x 10 x 20 cm |
| Product Weight | 1 g (Note: This weight seems unusually low and might refer to a specific component or be a typo in the source data. Refer to actual product for accurate weight.) |
10. Warranty and Support
For warranty information and technical support, please refer to the documentation included with your purchase or contact LAMTTO customer service directly. Details regarding warranty period and claims procedures are typically provided by the manufacturer or authorized seller.
You can also visit the LAMTTO Store on Amazon for additional product information and support resources.
Ask a question about this manual
Ask about setup, troubleshooting, compatibility, parts, safety, or missing instructions. Manuals+ will review the question and use this page’s manual context to help answer it.