
HOMCOM ES837-623V81ND0731
HOMCOM Shoe Cabinet with 2 Doors
Model: ES837-623V81ND0731
Introduction
This manual provides instructions for the assembly, operation, and maintenance of your HOMCOM 2-door shoe cabinet. Please read all instructions carefully before assembly and use to ensure safe and correct operation.

Safety Information
- Handle and assemble all components with care to prevent injury or damage.
- Ensure all screws and fasteners are securely tightened during assembly.
- Regular cleaning and maintenance are required to preserve the product's condition.
- Do not exceed the maximum weight capacities specified in the 'Specifications' section.
- This unit is designed for indoor use only.
- Always use the provided anti-tip hardware to secure the cabinet to a wall, especially in households with children or pets.
Package Contents
Before beginning assembly, verify that all parts listed below are present and undamaged. If any parts are missing or damaged, please contact customer support.
- Cabinet panels (sides, top, bottom, back, doors)
- Adjustable shelves
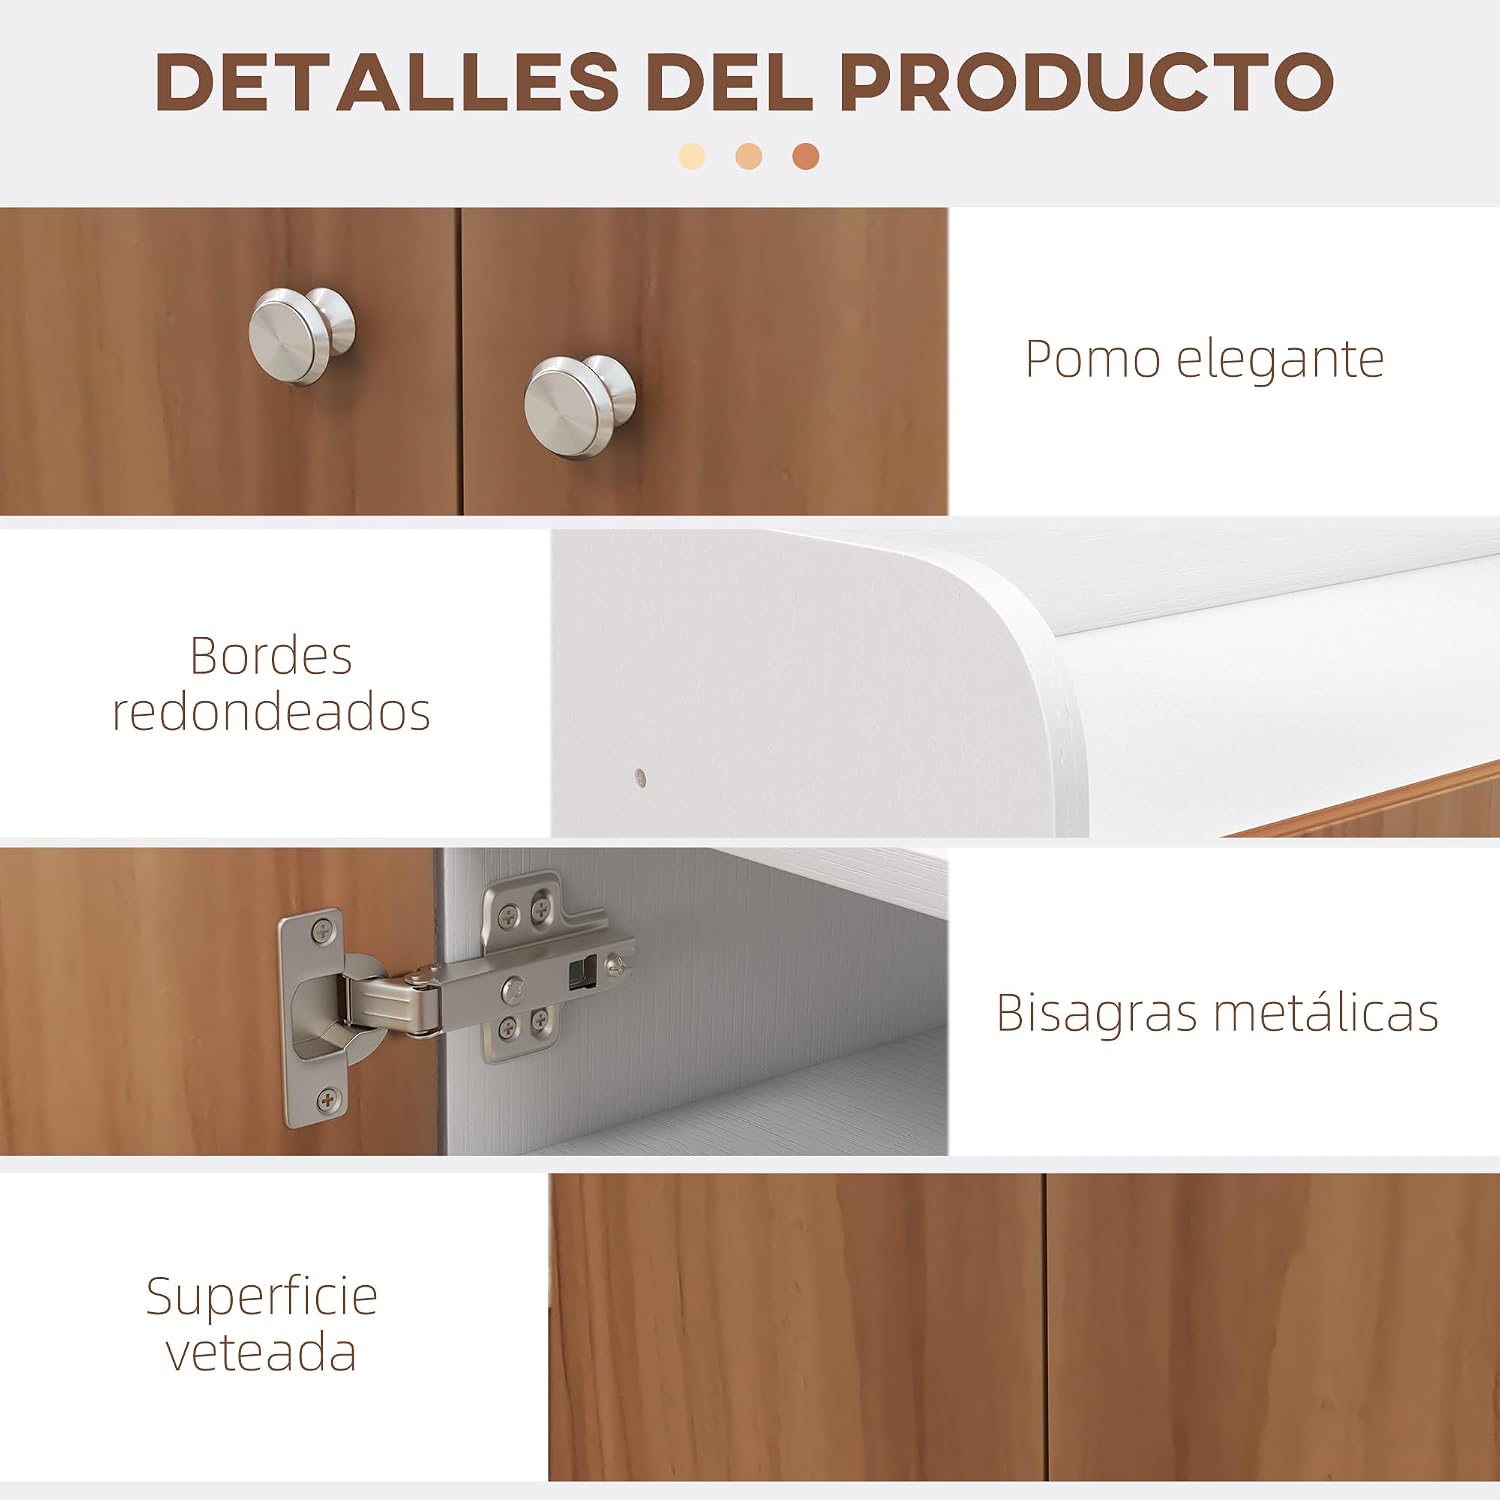
- Door handles
- Hinges and associated hardware
- Assembly screws and fasteners
- Anti-tip hardware
Setup and Assembly
Assembly is required for this shoe cabinet. It is recommended to assemble the unit on a soft, clean surface to prevent scratches. Two people are recommended for assembly.
- Prepare Components: Unpack all parts and identify them using the provided diagram (if available in the physical manual). Ensure all hardware is present.
- Assemble Frame: Connect the side panels to the bottom and top panels using the designated screws and dowels. Ensure the back panel groove is correctly aligned.
- Install Shelves: Insert the adjustable shelf pins into the desired holes on the side panels. Place the shelves onto these pins. The shelves can be adjusted to accommodate different shoe sizes.
- Attach Doors: Secure the hinges to the cabinet doors and then attach the doors to the main cabinet frame. Adjust the hinges as needed to ensure proper door alignment and closure.
- Install Handles: Attach the door handles to the front of the cabinet doors.
- Secure Anti-tip Device: For safety, attach the anti-tip hardware to the back of the cabinet and secure it to a wall stud. This prevents the cabinet from tipping over.


Operating Instructions
The HOMCOM shoe cabinet is designed for organizing footwear and small items in your entryway or other rooms.
- Shoe Storage: The cabinet features two main compartments behind doors and open shelves on the right side. It can store approximately 12 pairs of shoes, depending on shoe size and type.
- Adjustable Shelves: The internal shelves are adjustable. To change shelf height, remove the shelf, reposition the shelf pins to the desired level, and then reinsert the shelf.
- Top Surface: The top surface can be used for decorative items, keys, or other small belongings. Ensure items placed on top do not exceed the specified weight capacity.


Maintenance
Proper maintenance will extend the life of your shoe cabinet.
- Cleaning: Wipe the surfaces with a dry cloth. For stubborn marks, a slightly damp cloth can be used, followed immediately by a dry cloth. Avoid abrasive cleaners or harsh chemicals.
- Inspection: Periodically check all screws and fasteners to ensure they remain tight. Retighten if necessary.
- Door Alignment: If doors become misaligned, adjust the hinges as described in the assembly instructions or consult a professional.
Troubleshooting
| Problem | Possible Cause | Solution |
|---|---|---|
| Doors do not close properly or are misaligned. | Hinges are not adjusted correctly or screws are loose. | Adjust the hinge screws to align the doors. Ensure all hinge screws are tightened. Refer to the assembly instructions for hinge adjustment details. |
| Cabinet feels unstable or wobbly. | Assembly screws are loose or the unit is not level. Anti-tip device not installed. | Check and tighten all assembly screws. Ensure the cabinet is placed on a flat, level surface. Install the anti-tip device securely to a wall stud. |
| Shoes do not fit on shelves. | Shelves are set at an unsuitable height. | Adjust the height of the shelves using the adjustable shelf pins to accommodate larger shoes or boots. Some larger shoe sizes may need to be placed diagonally. |
Specifications
| Brand | HOMCOM |
| Model Number | ES837-623V81ND0731 |
| Color | Natural Wood |
| Material | Melamine |
| Overall Dimensions (L x W x H) | 83 cm x 30 cm x 90 cm |
| Max Total Weight Capacity | 35 kg |
| Max Top Shelf Weight Capacity | 10 kg |
| Max Shelf Weight Capacity (each) | 5 kg |
| Number of Doors | 2 |
| Number of Shelves | 8 |
| Assembly Required | Yes |
| Care Instructions | Clean with a dry cloth |
Warranty and Support
No specific warranty information is provided in the product details. For support, missing parts, or warranty inquiries, please contact your retailer or the manufacturer, HOMCOM, directly. Refer to your purchase documentation for contact details.
Product Videos
No official product videos from the seller were found for this item.
Related documentsES837-623V81ND0731


Ask a question about this manual
Ask about setup, troubleshooting, compatibility, parts, safety, or missing instructions. Manuals+ will review the question and use this page’s manual context to help answer it.