Introduction
Thank you for choosing the Riokko Electric Mason Jar Vacuum Sealer Kit. This innovative 2-in-1 device is designed to simplify food preservation by creating an airtight vacuum seal on both wide and regular mouth mason jars. Its intelligent automatic stop function ensures efficient and reliable sealing, helping to keep your food fresh for extended periods. This manual provides detailed instructions for setup, operation, maintenance, and troubleshooting to ensure you get the most out of your vacuum sealer.
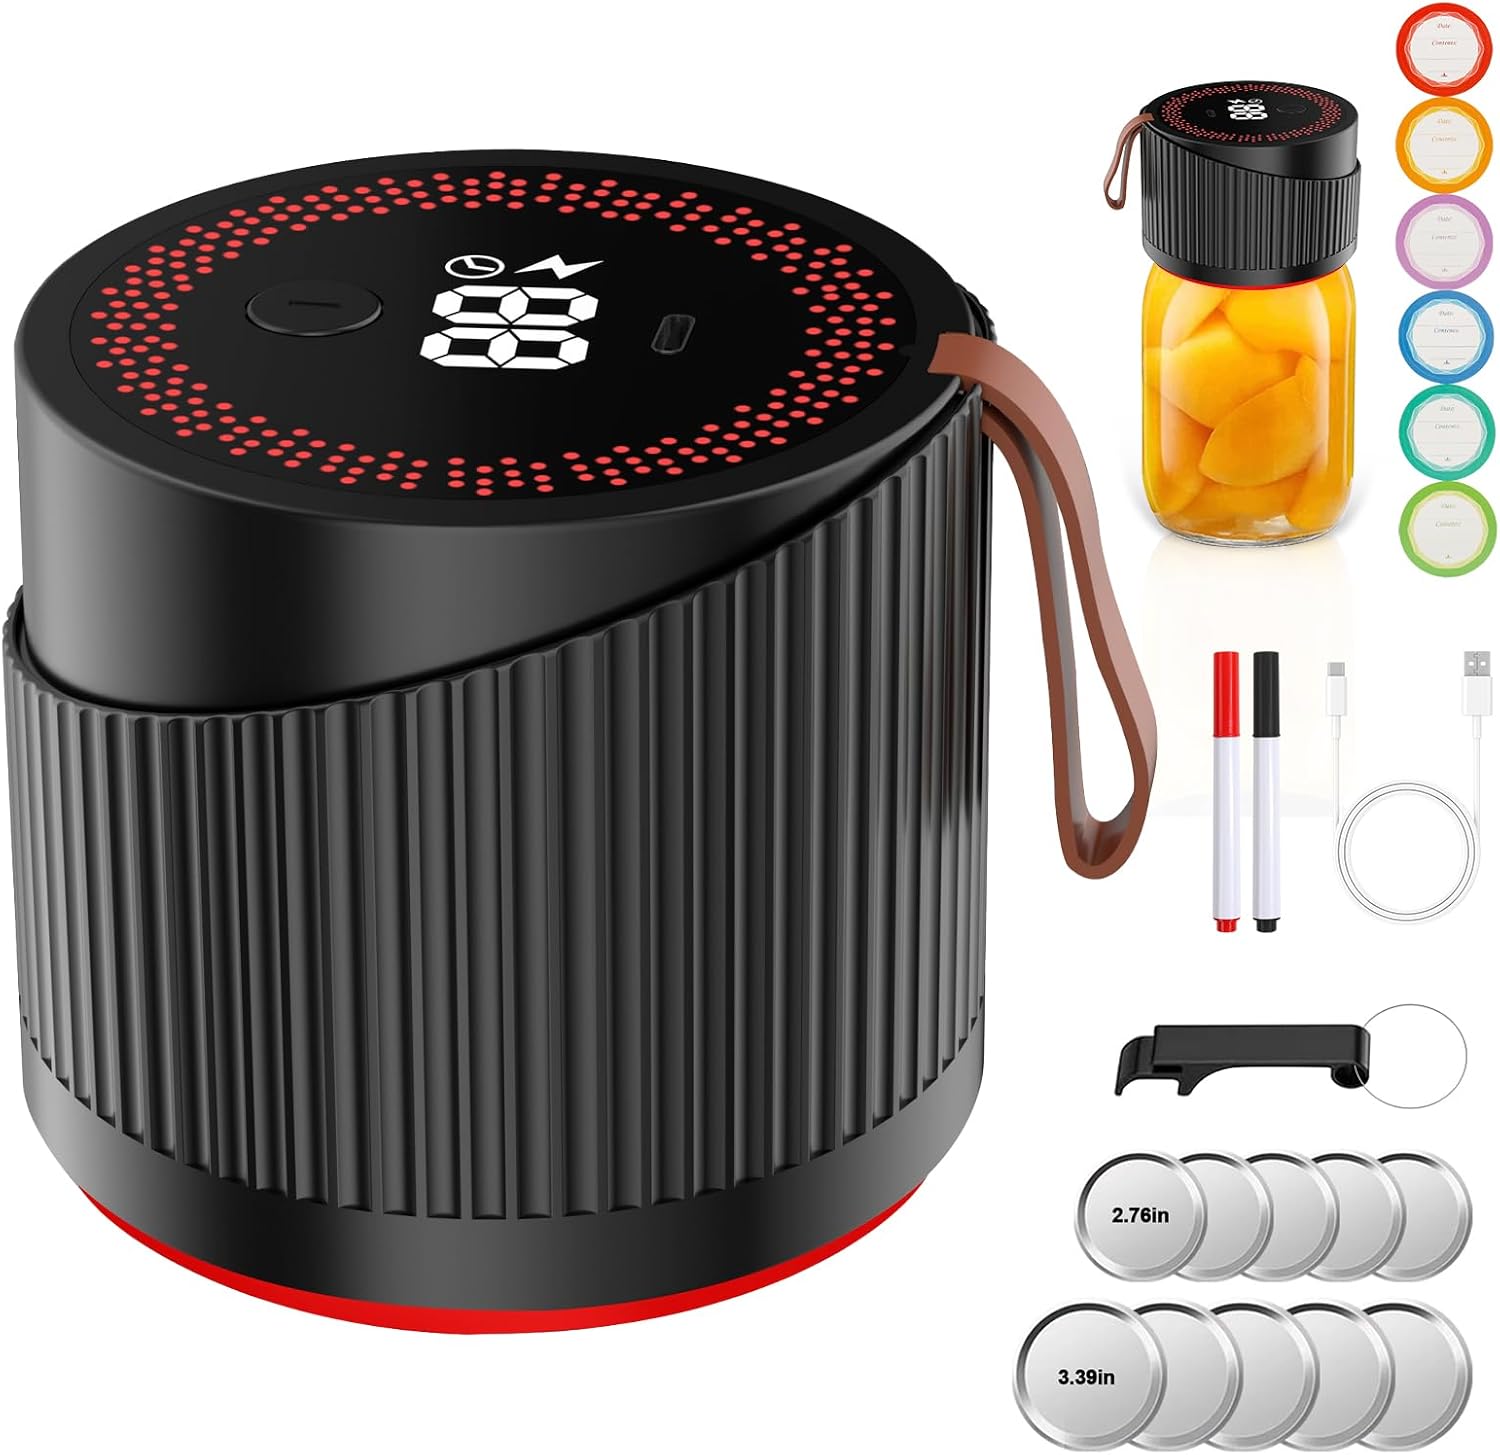
Image: The Riokko Electric Mason Jar Vacuum Sealer Kit, showing the main unit, various jar lids, charging cable, watercolor pens, and a can opener.
Package Contents
Before you begin, please ensure all components are present in your package:
- 1 x Electric Mason Jar Vacuum Sealer Unit
- 5 x Wide Mouth Mason Jar Lids
- 5 x Regular Mouth Mason Jar Lids
- 1 x Type-C Charging Cable
- 2 x Watercolor Pens
- 12 x Label Stickers
- 1 x Can Opener / Lid Remover

Image: All components included in the Riokko Mason Jar Vacuum Sealer Kit, neatly laid out.
Setup and Charging
- Initial Charge: Before first use, fully charge the vacuum sealer. Connect the provided Type-C charging cable to the charging port on the unit and plug the other end into a compatible USB power adapter (not included). The LED display will indicate charging status. A full charge can last up to 30 days of typical use.
- Familiarize Yourself: Observe the unit's design. It features an integrated sealing mechanism for both wide and regular mouth jars, eliminating the need for disassembly. The top surface includes an LED display for battery life and working time, and a start button.

Image: A diagram illustrating the dimensions (3.9in width, 3.55in height) and key features of the electric mason jar vacuum sealer, including the working time/battery display, start button, Type-C charging cable port, and external vacuum system connector.
Operating Instructions
Follow these steps to effectively vacuum seal your mason jars:
- Prepare the Jar and Lid:
- Ensure the rim of the mason jar and the lid are clean and dry. Any moisture or food particles can compromise the seal.
- For solid foods (e.g., nuts, dried fruit), leave approximately 1/2 inch of space from the top of the jar.
- For liquid foods (e.g., jams, pickles), leave approximately 1 inch of space from the top of the jar.
- Place the appropriate mason jar lid (wide or regular mouth) onto the jar.
- Position the Sealer: Align the electric mason jar sealer directly over the lid on the jar. Press down firmly on the sealer until it is securely seated on the jar. It is important to press down until it cannot be pressed down further to ensure proper alignment and sealing.
- Start Sealing: Click the start button on the top of the sealer. The LED display will show the working time. The sealer will automatically begin to extract air from the jar.
- Automatic Stop: The intelligent sensing technology will detect when a sufficient vacuum has been achieved and will automatically stop the sealing process. This typically takes around 20 seconds for an optimal seal.
- Remove Sealer: Once the sealer stops, click the button again to stop the operation (the display area will show the current battery level), then gently lift the sealer upwards to remove it from the jar. The lid should now be firmly sealed.

Image: A visual guide demonstrating the four steps for using the vacuum sealer: 1. Place lid on jar (ensure rim is dry). 2. Align and press sealer firmly onto the jar. 3. Click button to start sealing (LED displays working time). 4. Click button to stop and remove sealer (display shows battery level).

Image: Instructions on how to correctly prepare jars for vacuum sealing: 1. Wipe the rim and lid clean. 2. Leave 1/2-inch space for solid foods. 3. Leave 1 inch of space for liquid foods.
Maintenance
Proper maintenance ensures the longevity and optimal performance of your vacuum sealer:
- Cleaning: Wipe the exterior of the unit with a soft, damp cloth. Do not immerse the unit in water or use abrasive cleaners. Ensure the sealing ring inside the unit is clean and free of debris.
- Sealing Ring Inspection: Periodically check the silicone sealing ring inside the unit. If it appears dislodged from its track, gently push it back into place. A properly seated ring is crucial for an effective seal.
- Battery Care: Recharge the unit when the battery indicator on the LED display is low. Avoid completely draining the battery frequently to prolong its lifespan. Store the unit in a cool, dry place when not in use.
- Lid Removal: Use the provided can opener/lid remover to safely break the vacuum seal and remove lids. Repeatedly prying lids off by hand can bend or damage them, requiring replacement.

Image: A comparison showing the upgraded integrated sealing silicone ring of this vacuum sealer (left) which prevents shifting, versus other designs (right) where the sealing ring can shift, affecting the sealing effect.
Troubleshooting
If you encounter issues with your vacuum sealer, refer to the following common problems and solutions:
| Problem | Possible Cause | Solution |
|---|---|---|
| Sealer does not create a vacuum or seal is weak. |
|
|
| Unit does not turn on or charge. |
|
|
| Sealer stops prematurely or runs too long. |
|
|
Specifications
| Feature | Detail |
|---|---|
| Brand | Riokko |
| Model Number | KZ-84 |
| Material | Plastic |
| Color | Black |
| Product Dimensions (L x W x H) | 3.5"L x 3.5"W x 3.9"H |
| Item Weight | 2.35 pounds |
| Power Source | Battery Powered (1800mAh Lithium Metal battery) |
| Operation Mode | Automatic |
| Compatibility | Wide Mouth and Regular Mouth Mason Jars |
Warranty and Support
For specific warranty details, please refer to the documentation included with your purchase or visit the official Riokko website. If you require further assistance, have questions about your product, or need to report an issue, please contact Riokko customer support through their official channels. Contact information can typically be found on the product packaging or the brand's website.