
1. Product Overview
The Fockety Smart Door Lock TD-F39ER offers advanced security and convenience with multiple unlocking methods. This manual provides essential information for installation, operation, and maintenance of your smart lock.

Image 1.1: Overview of the Fockety Smart Door Lock and its key features.
Key Features:
- Multiple Unlocking Methods: Facial recognition, fingerprint, password, IC card, Tuya App, and traditional keys.
- 3D Face Recognition: Enhanced security with advanced facial recognition technology.
- High-Definition Camera: Integrated camera for monitoring and enhanced security.
- Indoor Independent Deadbolt: Provides additional security when locked from the interior.
- High Capacity Storage: Supports up to 300 user profiles for face, card, fingerprint, and password data.
- Tuya App Integration: Remote control, unlocking, and visitor management.
- Rechargeable Battery: Convenient power source with low voltage alarm.
2. Package Contents
Before installation, please verify that all components are present and undamaged.

Image 2.1: Included components of the smart door lock system.
List of Components:
- Exterior Lock Panel (with 3D face recognition module and keypad)
- Interior Lock Panel (with battery compartment and manual open knob)
- Mortise Lock Body
- Strike Plate and Strike Box
- 2 x IC Cards
- 2 x Mechanical Keys
- Rechargeable Lithium-ion Battery Pack
- Installation Screws and Hardware Kit
- User Manual (this document)
3. Setup and Installation
Careful installation is crucial for the proper functioning of the smart door lock. It is recommended to follow these steps precisely.
3.1 Door Preparation and Dimensions
Ensure your door meets the required dimensions for the mortise lock body. Refer to the diagram below for measurements.

Image 3.1: Mortise lock body dimensions.
3.2 Mortise Lock Installation
- Prepare the door according to the dimensions in Image 3.1.
- Insert the mortise lock body into the prepared cavity on the door edge.
- Secure the mortise lock body with the provided screws.
3.3 Exterior and Interior Panel Installation
- Connect the necessary cables from the exterior panel through the door to the interior side.
- Align the exterior panel with the mortise lock and secure it.
- Connect the cables to the interior panel.
- Attach the interior panel to the door, ensuring it aligns correctly with the mortise lock and exterior panel. Secure with screws.
3.4 Battery Installation
- Open the battery compartment on the interior panel.
- Insert the fully charged lithium-ion battery pack, ensuring correct polarity.
- Close the battery compartment.
3.5 Initial Setup and User Registration
After installation, power on the lock. Follow the on-screen prompts on the 4.0-inch IPS screen for initial setup. This typically involves setting an administrator password and then registering users.
- Administrator Setup: Create the primary administrator account using a fingerprint, face, or PIN code. This administrator has full control over user management.
- Registering Fingerprints: Place your finger on the semiconductor fingerprint sensor multiple times as prompted until registration is complete.
- Registering Faces: Position your face within the camera's view as instructed for 3D facial recognition enrollment.
- Registering PIN Codes: Enter your desired PIN code on the keypad and confirm.
- Registering IC Cards: Present the IC card to the designated sensor area on the lock.

Image 3.2: Methods for user registration and unlocking.
3.6 Tuya App Integration
Download the Tuya Smart app from your device's app store. Follow the in-app instructions to add your Fockety Smart Door Lock. This enables remote control and monitoring features.
4. Operating Instructions
The Fockety Smart Door Lock offers various convenient ways to unlock and manage access.
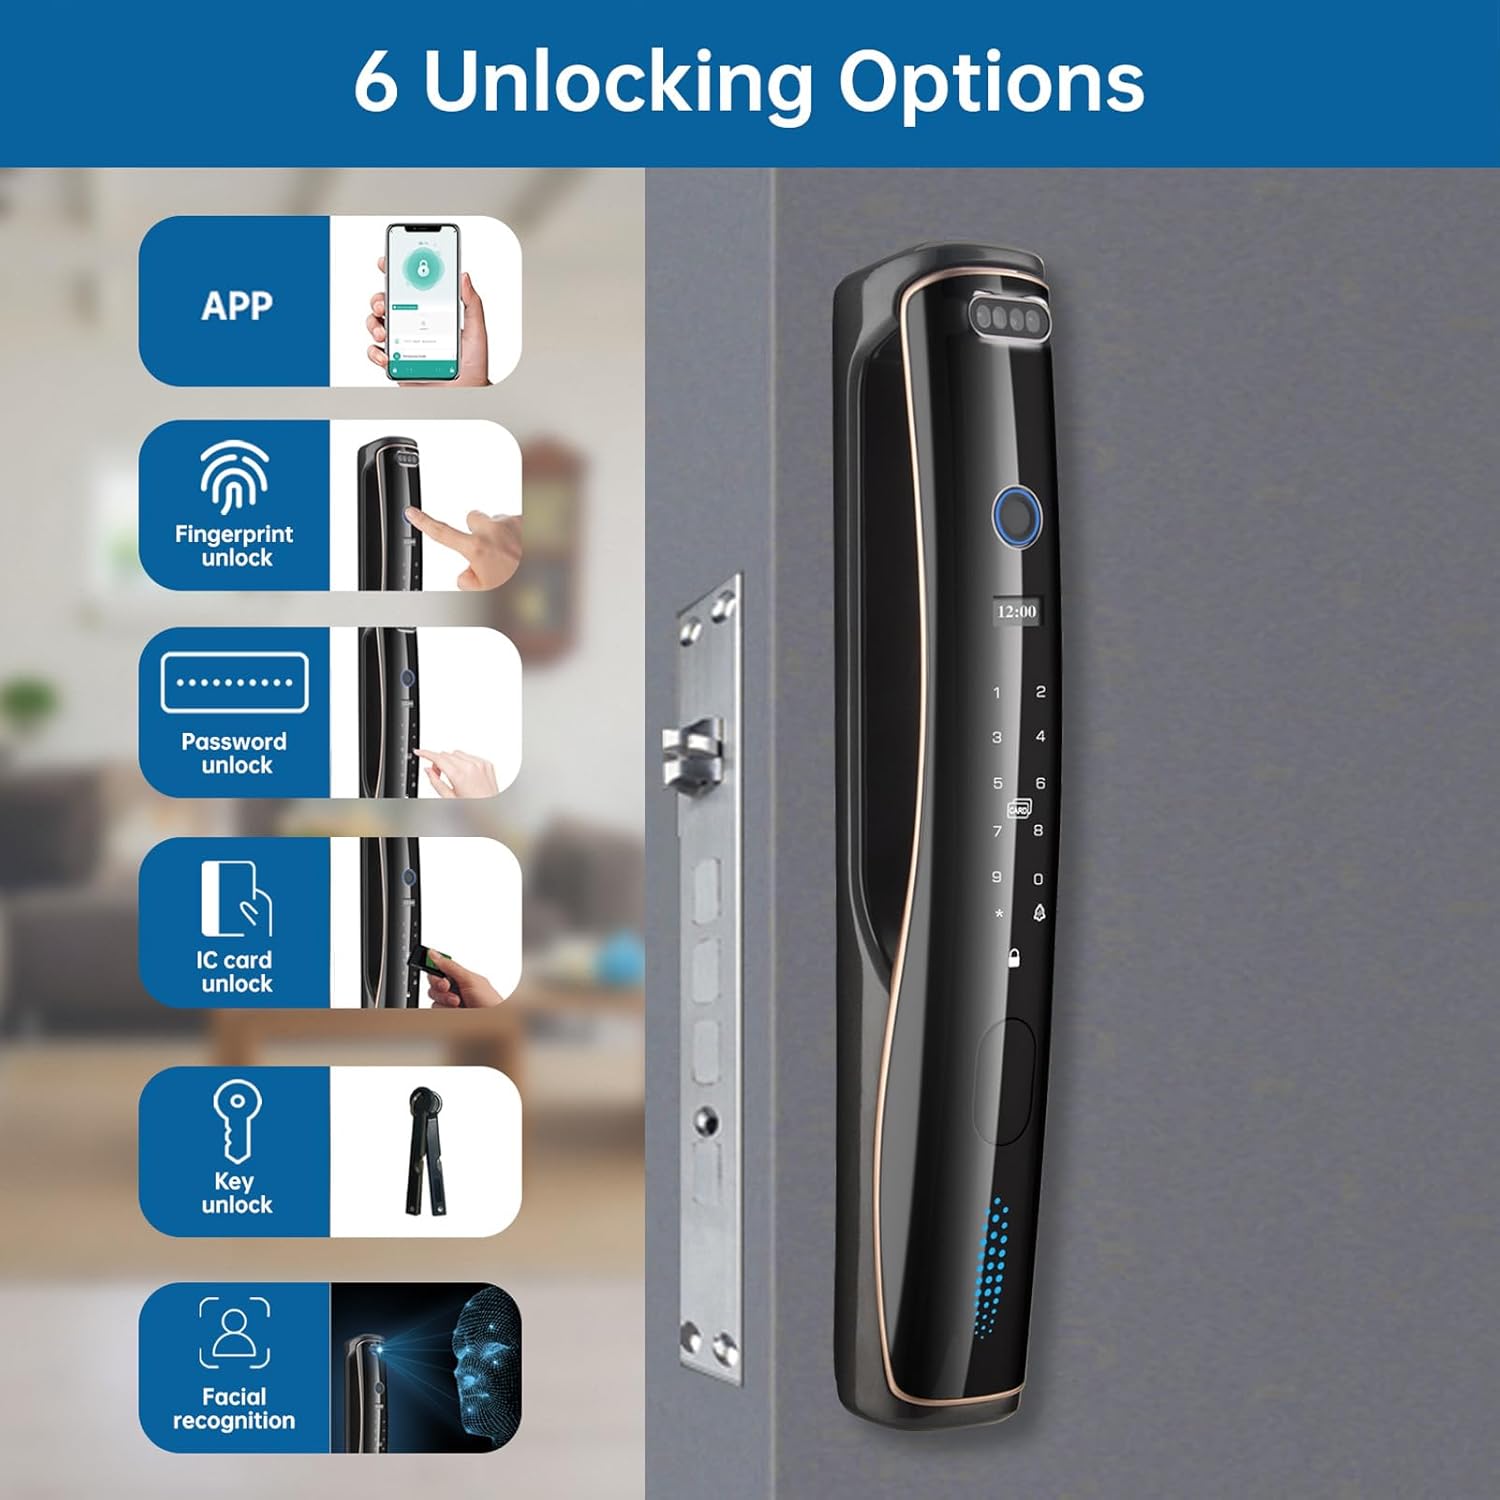
Image 4.1: Six unlocking options for the smart door lock.
4.1 Unlocking Methods
- Facial Recognition: Stand in front of the lock, allowing the 3D face recognition module to scan your face. The lock will unlock automatically upon successful recognition.
- Fingerprint: Place your registered finger on the semiconductor fingerprint sensor. The lock will unlock in less than 1 second upon successful verification.
- PIN Code: Enter your registered PIN code on the keypad, then press the '#' key to confirm.
- IC Card: Present your registered IC card to the card reader area on the lock.
- Tuya App: Open the Tuya Smart app on your smartphone, select your lock, and use the remote unlock function. This requires the lock to be connected to Wi-Fi.
- Mechanical Key: In case of emergency or power failure, insert the mechanical key into the hidden keyhole and turn to unlock.
4.2 Locking Methods
- Automatic Locking: The lock will automatically engage after the door closes.
- Manual Locking: From the interior, turn the manual open/close knob to engage the deadbolt. When the deadbolt is engaged from the interior, the lock cannot be opened from the outside, even with valid credentials.

Image 4.2: Interior manual open/close knob.
4.3 App Management Features
Through the Tuya App, you can:
- Remotely unlock the door.
- View access logs to see who entered and when.
- Manage user profiles (add, modify, or delete fingerprints, faces, PINs, and cards).
- Receive real-time notifications for door activity.
- Communicate with visitors via the integrated camera and microphone (if supported by app version).
5. Maintenance
Regular maintenance ensures the longevity and optimal performance of your smart door lock.
5.1 Battery Management
- The lock is powered by a rechargeable lithium-ion battery. When the battery level is low, the lock will issue a low voltage alarm.
- Recharge the battery using the provided charging cable via the emergency USB port on the exterior panel.
- Ensure the battery is fully charged before re-inserting it.
5.2 Cleaning
- Wipe the lock's surfaces with a soft, dry cloth.
- Do not use abrasive cleaners, solvents, or harsh chemicals, as these can damage the finish and electronic components.
- Keep the fingerprint sensor and camera lens clean for accurate performance.
5.3 Firmware Updates
Periodically check the Tuya App for any available firmware updates for your lock. Keeping the firmware updated ensures you have the latest features and security enhancements.
6. Troubleshooting
If you encounter issues with your Fockety Smart Door Lock, refer to the following common problems and solutions.
| Problem | Possible Cause | Solution |
|---|---|---|
| Lock does not respond / No power | Battery is depleted or incorrectly installed. | Recharge or replace the battery. Ensure it is installed correctly. Use mechanical key for emergency access. |
| Fingerprint not recognized | Finger is dirty, wet, or sensor is obstructed. Fingerprint not registered correctly. | Clean your finger and the sensor. Try re-registering your fingerprint. Ensure proper placement on the sensor. |
| Face recognition fails | Poor lighting conditions. Face not positioned correctly. Face not registered. | Ensure adequate lighting. Position your face directly in front of the camera. Re-register your face if necessary. |
| PIN code not working | Incorrect PIN entered. PIN not registered. | Verify the PIN code. Ensure you press '#' after entering the code. Re-register the PIN if needed. |
| IC card not unlocking | Card not registered or damaged. | Ensure the card is registered. Try another registered card. Re-register the card. |
| Tuya App connectivity issues | Poor Wi-Fi signal. Lock not paired with app. App permissions. | Check your Wi-Fi connection. Ensure the lock is correctly paired in the Tuya App. Verify app permissions on your smartphone. |
| Cannot identify individual users in app | App limitation or user profile not fully configured. | Ensure each user profile is uniquely named or identified during registration. Consult Tuya App support for advanced user management features. |
7. Specifications
Detailed technical specifications for the Fockety Smart Door Lock TD-F39ER.
| Feature | Specification |
|---|---|
| Model | TD-F39ER |
| Material | Aluminum Alloy |
| Unlocking Methods | Fingerprint, PIN Code, Dynamic Password, IC Card, Key, Tuya App, Facial Recognition |
| Power Supply | 1 Lithium-ion Battery 2000mAh (included) |
| Working Voltage | 7.0V-8.4V |
| Alarm Voltage | 7.2V (Low Battery Alarm) |
| Standby Static Current | 80uA (lock plate only, no module) |
| Motor Rotation Current Range | 2.5A-4.5A (Battery current should support 5A) |
| Emergency Interface | USB Port (for emergency power/charging) |
| Management User Quantity | 5 (Fingerprint, Card, Password) |
| Regular User Quantity | 295 (Fingerprint, Card, Password, Face) |
| Screen | 4.0-inch IPS screen |
| Item Weight | 8.73 pounds (approx. 3.96 kg) |
| Package Dimensions | 18.9 x 9.45 x 5.51 inches (approx. 48 x 24 x 14 cm) |
8. Support and Warranty
For any questions or assistance with your Fockety Smart Door Lock, please contact customer support.
Customer Support:
If you have any inquiries regarding the product, installation, or operation, please reach out to our customer service team. We aim to respond within 24 hours and provide a satisfactory solution.
Product Video:
Video 8.1: An overview of the Smart Door Lock's features and unlocking methods. This video demonstrates the product in action, showcasing its design and functionality.
While specific warranty details are not provided in this document, customer satisfaction is a priority. Please contact us if you are not satisfied with the product quality.