1. Important Safety Instructions
Please read all instructions carefully before using the Girmi AP31 Steam Cleaner. Failure to follow these instructions may result in electric shock, fire, or serious personal injury.
- Electrical Safety: Ensure the voltage matches your power supply. Do not immerse the appliance, cord, or plug in water or other liquids. Always unplug the appliance when not in use and before cleaning.
- Steam Safety: Steam is extremely hot and can cause severe burns. Never direct steam at people, pets, or electrical appliances. Keep hands and face away from the steam nozzle during operation.
- Water Tank: Only fill the water tank with clean tap water. Do not add detergents, perfumes, or other chemicals to the water tank, as this can damage the appliance or create hazardous fumes.
- Operation: Do not operate the steam cleaner if it has been dropped, damaged, or is not working properly. Keep the appliance out of reach of children.
- Maintenance: Allow the appliance to cool completely before performing any maintenance or cleaning.
2. Product Overview
The Girmi AP31 Steam Cleaner is a versatile and powerful appliance designed for chemical-free cleaning and sterilization throughout your home. Its compact and portable design makes it easy to use in various rooms and on multiple surfaces.
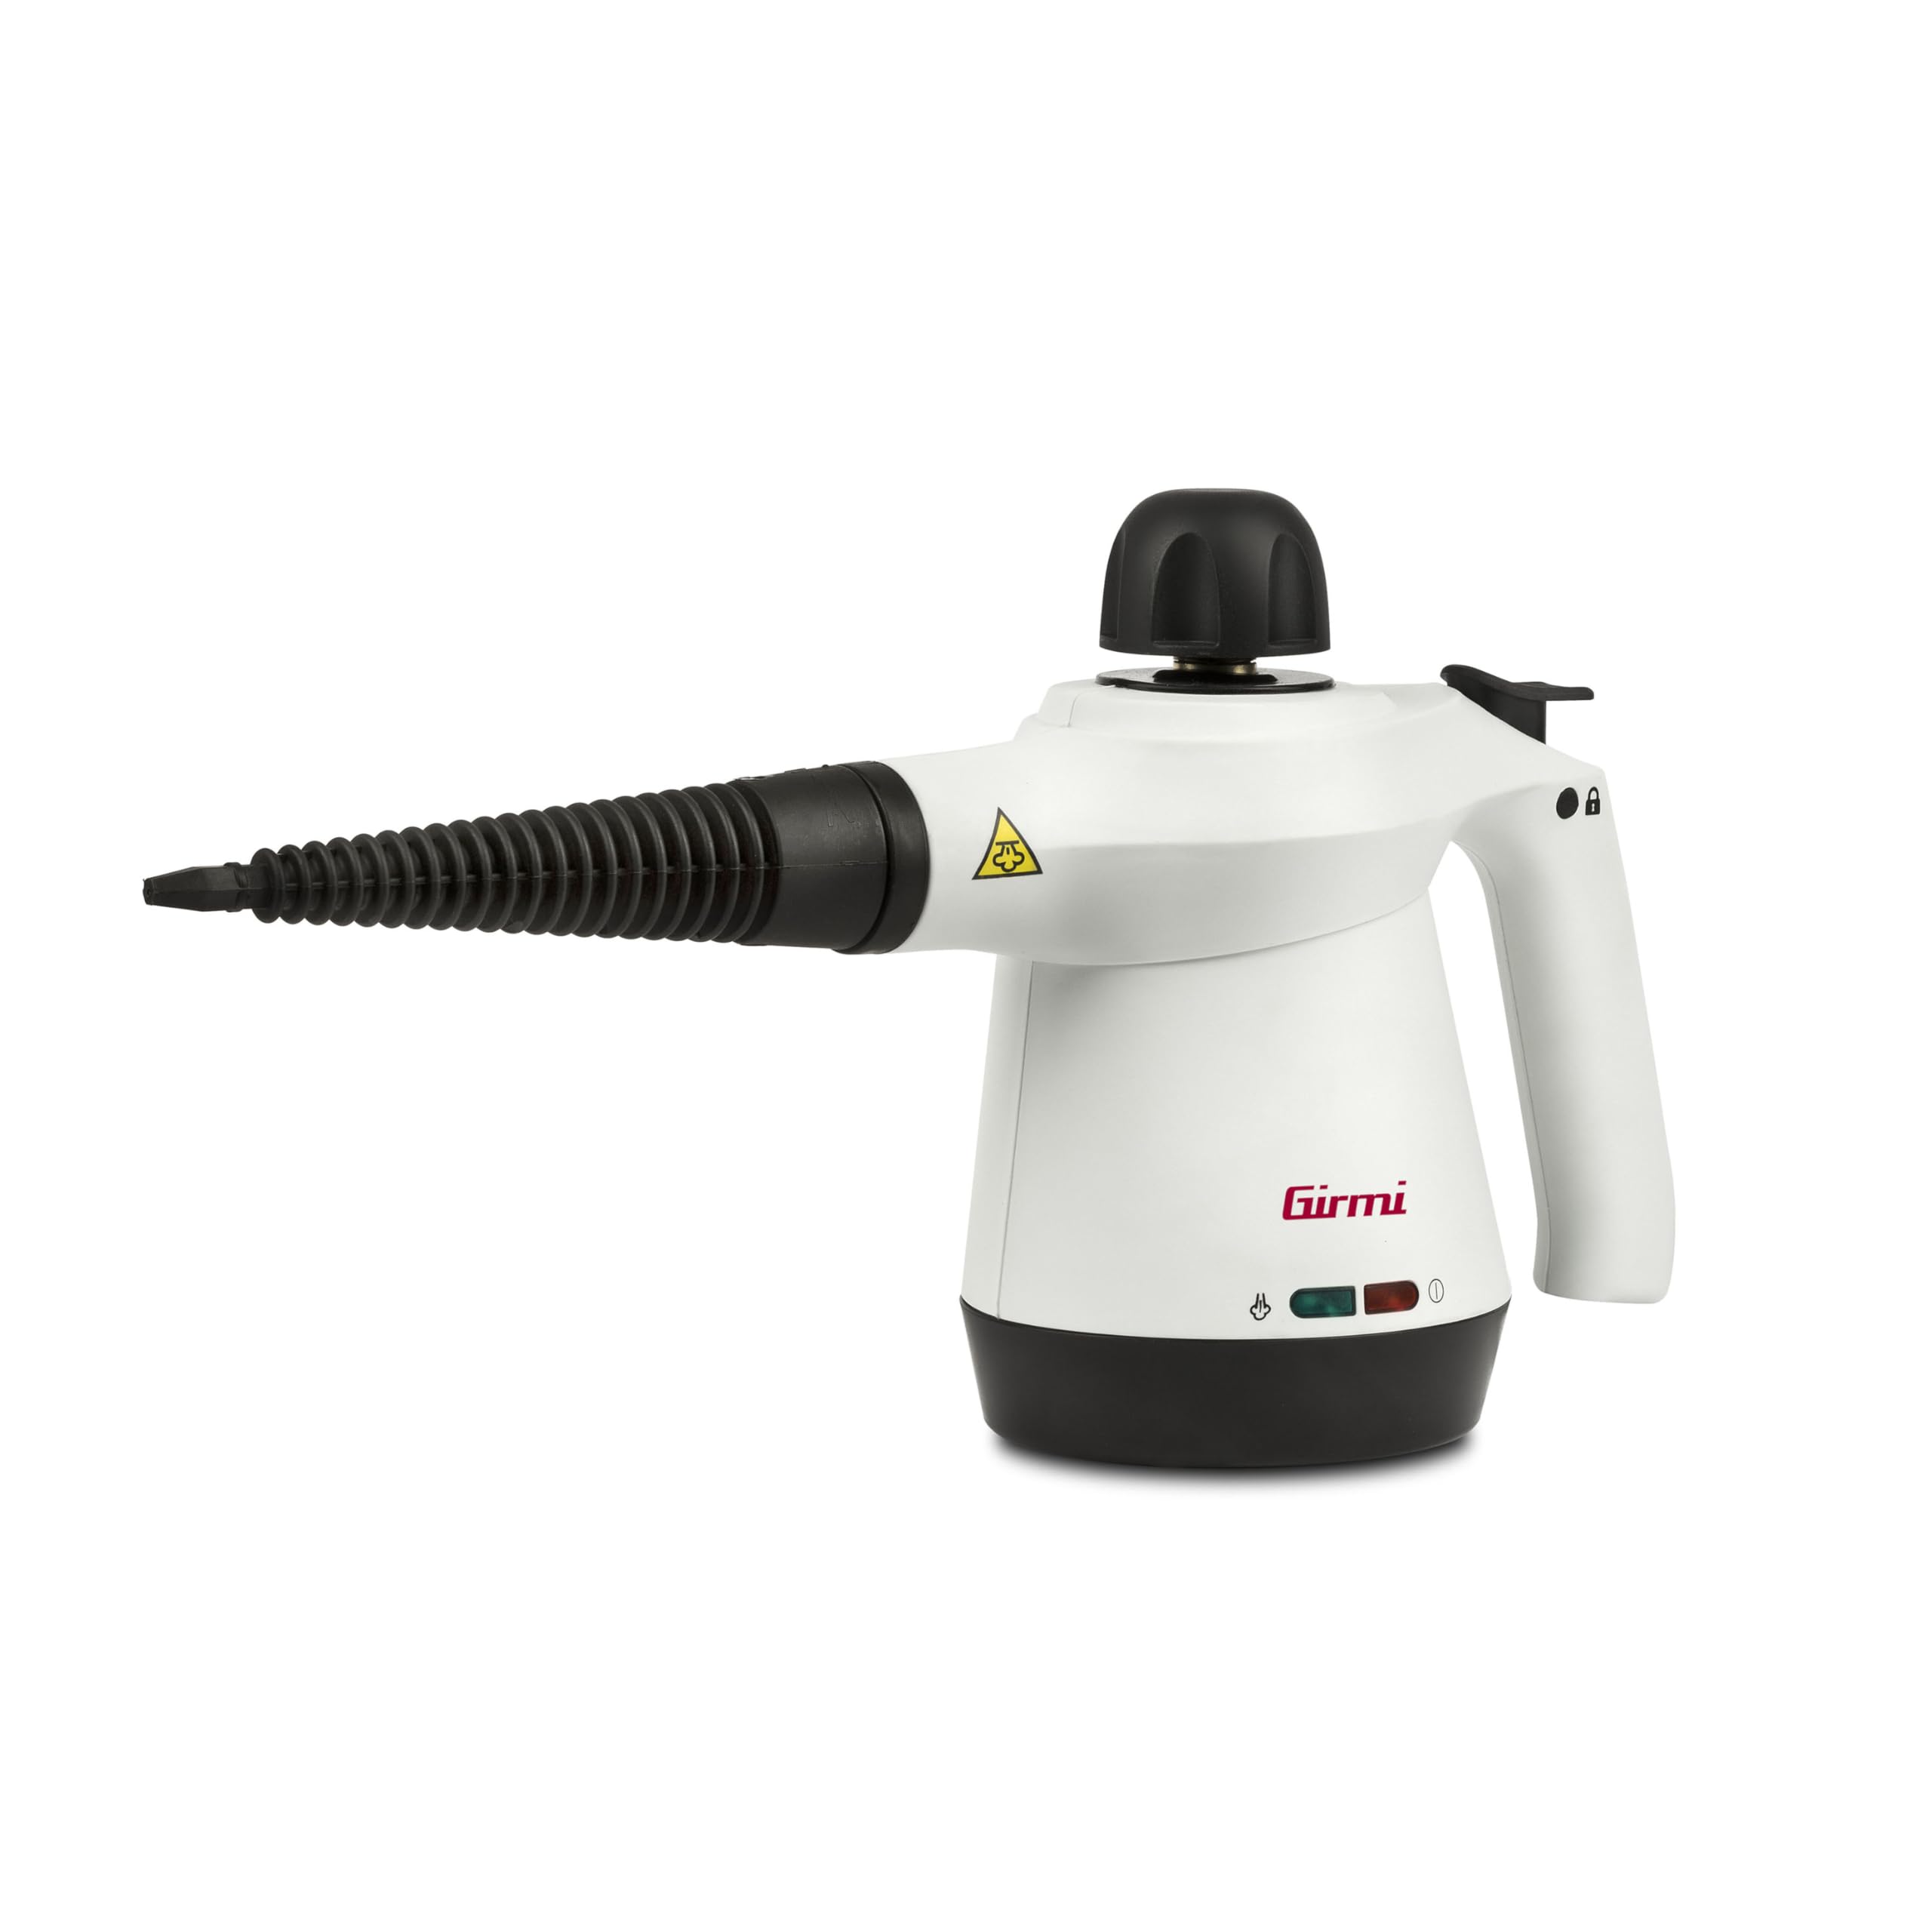
Image 2.1: Front view of the Girmi AP31 Steam Cleaner.
Included Components:
The following accessories are included to enhance your cleaning experience:
- Nozzle
- Brush
- Flexible Hose
- Squeegee
- 90° Angled Nozzle
- Round Brush
- Measuring Cup
- Funnel
- Cloth

Image 2.2: The Girmi AP31 Steam Cleaner displayed with all its accessories.
3. Setup
3.1 Unpacking
- Carefully remove all components from the packaging.
- Check that all listed accessories are present and undamaged.
- Retain the packaging for future storage or transport.
3.2 Filling the Water Tank
Before first use, or when the water tank is empty:
- Ensure the steam cleaner is unplugged and cool.
- Unscrew the safety cap on top of the unit by pressing down and turning counter-clockwise.
- Using the provided measuring cup and funnel, carefully pour up to 350ml of clean tap water into the tank. Do not overfill.
- Securely replace the safety cap by pressing down and turning clockwise until it clicks into place.
3.3 Attaching Accessories
Select the appropriate accessory for your cleaning task and attach it firmly to the steam nozzle. Ensure a secure connection to prevent steam leakage.
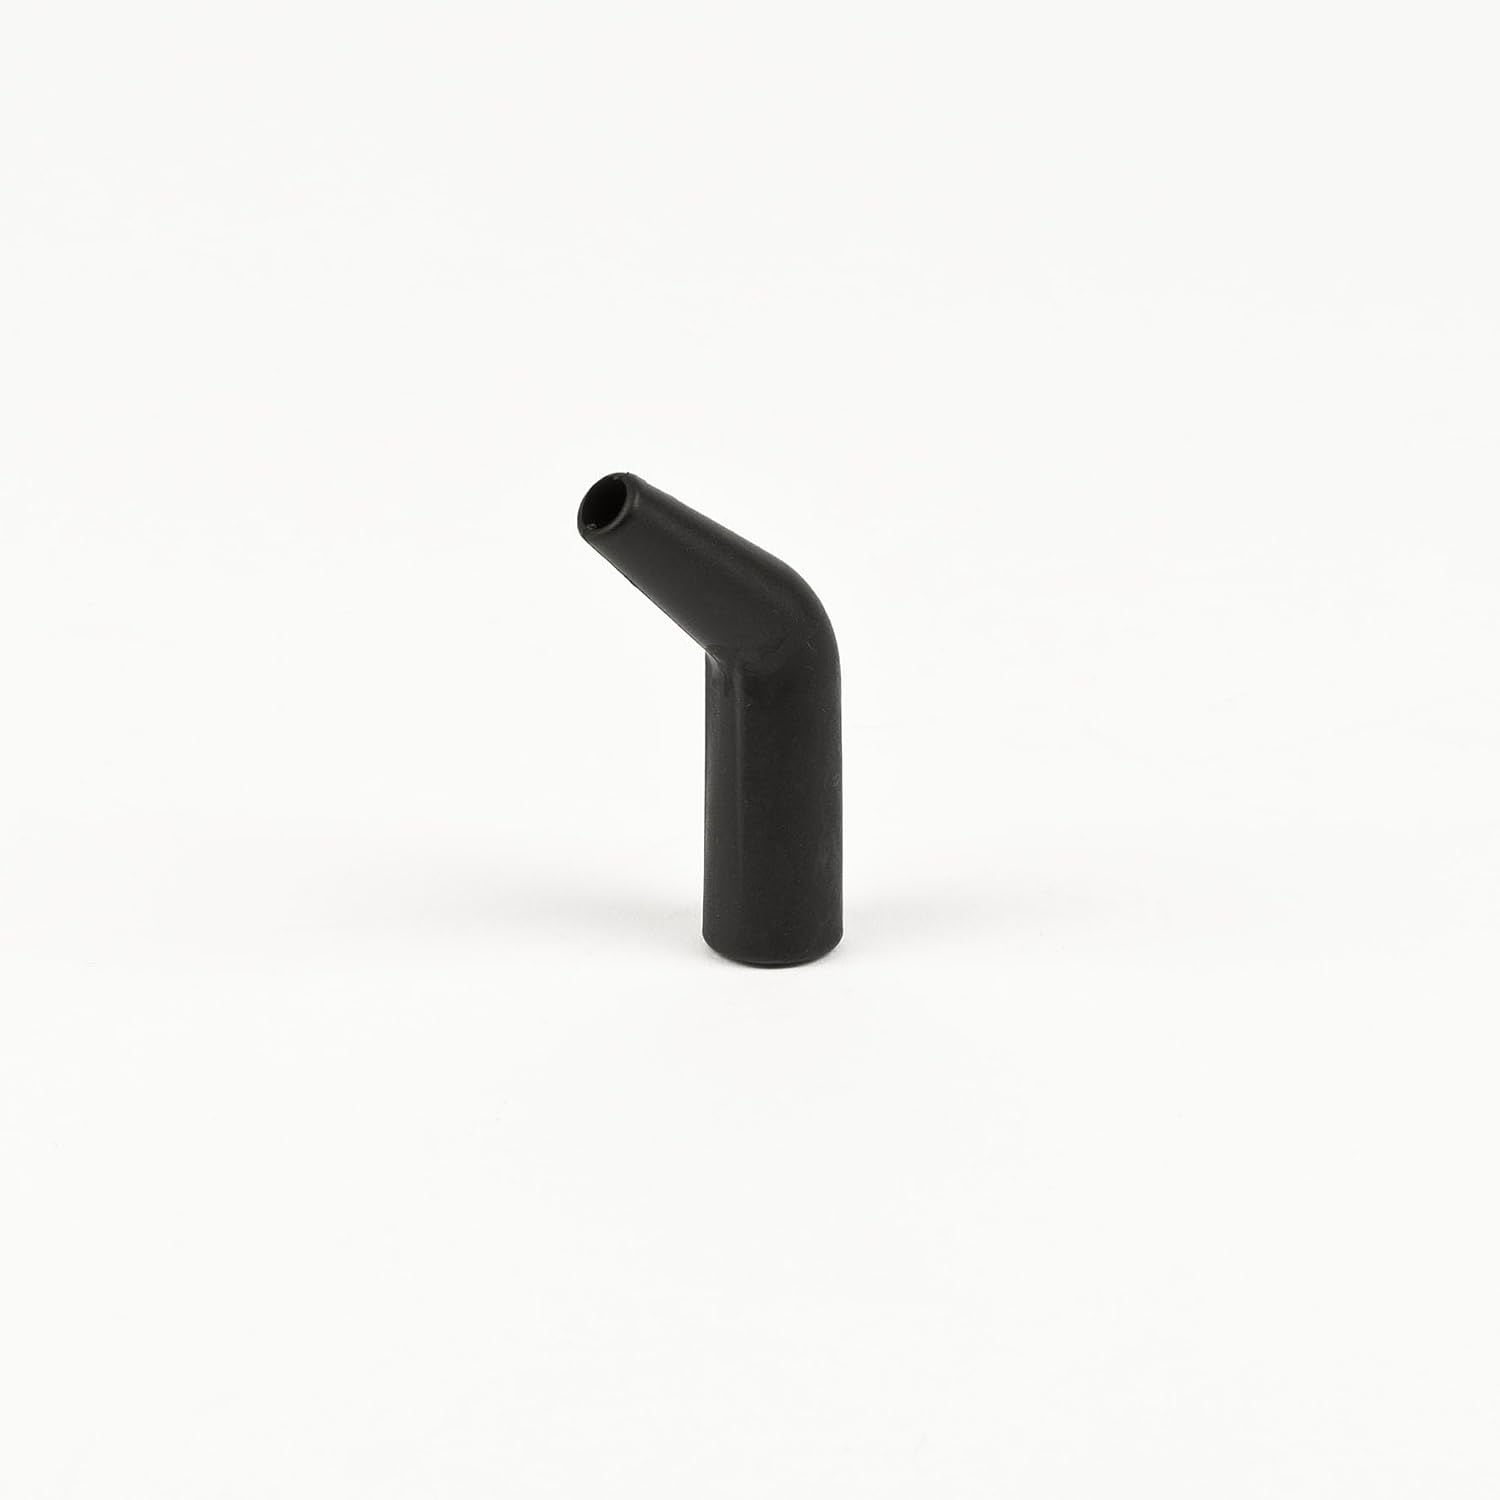
Image 3.1: The 90° angled nozzle, useful for hard-to-reach areas.
4. Operating Instructions
4.1 Powering On and Heating Up
- After filling the water tank and attaching the desired accessory, plug the steam cleaner into a suitable electrical outlet.
- The power indicator light will illuminate, indicating the unit is heating up.
- Allow approximately 1.5 to 4 minutes for the unit to reach operating temperature. The ready indicator light will illuminate when the steam cleaner is ready for use.
4.2 Using the Steam Jet
- Unlock the steam trigger by sliding the safety lock to the 'unlocked' position.
- Press and hold the steam trigger to release a continuous jet of steam.
- Direct the steam jet towards the surface you wish to clean. For stubborn dirt, hold the nozzle closer to the surface.
- Release the steam trigger to stop the steam flow.
- Always re-engage the safety lock when not actively steaming to prevent accidental discharge.
4.3 Cleaning Different Surfaces
The Girmi AP31 is suitable for various surfaces including tiles, floors, windows, countertops, kitchen appliances, curtains, and walls. Always test on an inconspicuous area first.
- Hard Surfaces (Tiles, Countertops): Use the brush or squeegee attachment. Move the steam cleaner slowly over the surface.
- Windows/Glass: Use the squeegee attachment. Steam the surface, then wipe with the squeegee for streak-free results.
- Fabrics (Curtains, Upholstery): Use the cloth attachment. Hold the nozzle a short distance from the fabric and steam gently. Do not saturate.
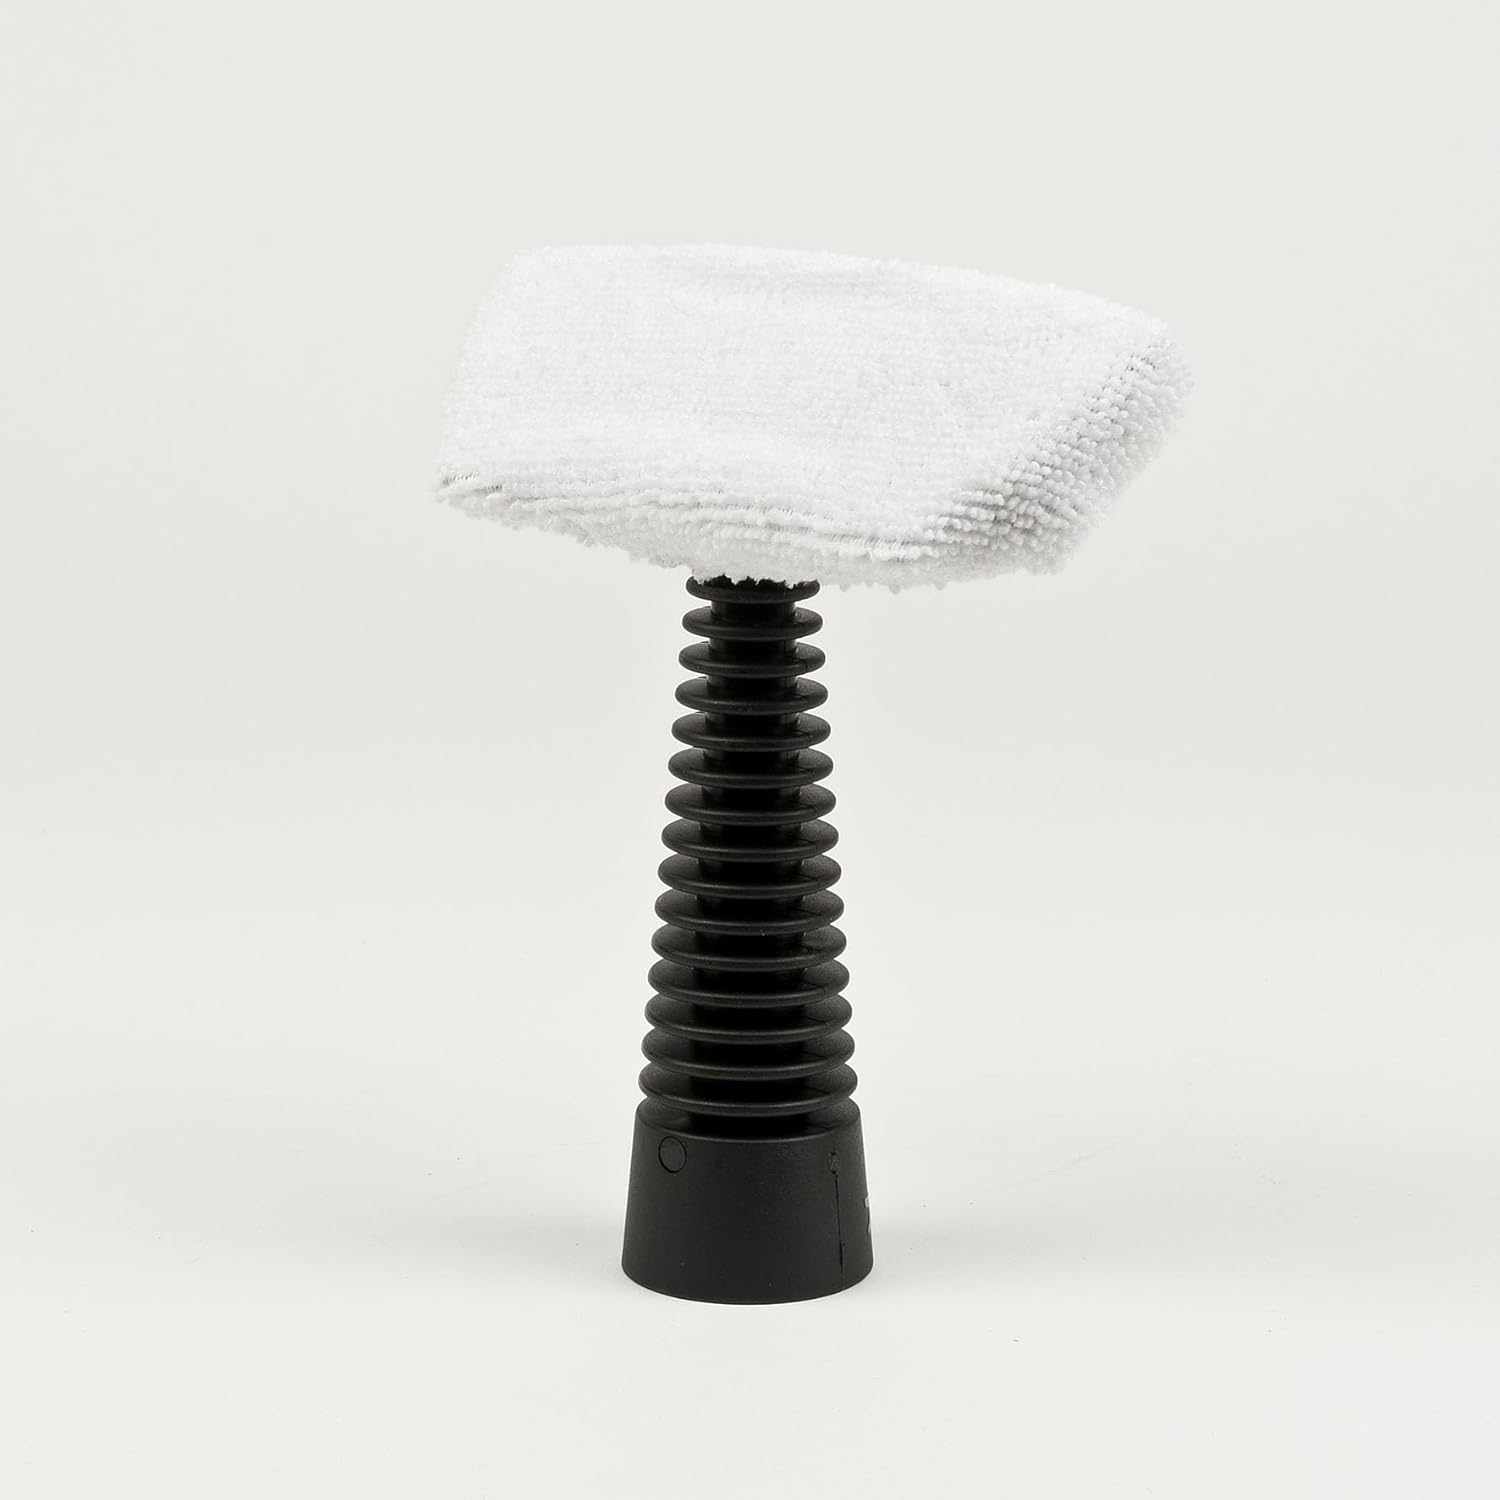
Image 4.1: Brush attachment with a cleaning cloth for various surfaces.
5. Maintenance and Care
Regular maintenance ensures optimal performance and extends the lifespan of your steam cleaner.
5.1 After Each Use
- Unplug the appliance and allow it to cool completely (at least 30 minutes).
- Carefully unscrew the safety cap and empty any remaining water from the tank.
- Wipe the exterior of the unit with a damp cloth.
- Clean all accessories with water and mild soap, then rinse and allow to air dry.
5.2 Descaling
Depending on water hardness, mineral deposits may build up inside the tank. To descale:
- Mix a solution of equal parts water and white vinegar.
- Pour the solution into the water tank (do not exceed 350ml).
- Allow the solution to sit for several hours or overnight.
- Empty the tank and rinse thoroughly with clean water several times.
- Operate the steam cleaner with clean water for a few minutes to flush out any remaining vinegar.
5.3 Storage
Store the steam cleaner and its accessories in a cool, dry place, away from direct sunlight and out of reach of children.
6. Troubleshooting
If you encounter issues with your Girmi AP31 Steam Cleaner, refer to the following table:
| Problem | Possible Cause | Solution |
|---|---|---|
| No steam is produced. | No water in the tank, unit not heated, or safety cap not fully closed. | Fill the water tank, allow sufficient heating time, or ensure the safety cap is securely fastened. |
| Water leaks from the nozzle. | Accessory not properly attached, or unit not fully heated. | Ensure accessories are firmly attached. Wait for the ready indicator light to illuminate before use. |
| Steam pressure is low. | Insufficient water, or mineral buildup. | Refill the water tank. Perform descaling as described in Section 5.2. |
| Unit does not power on. | Not plugged in, or power outlet issue. | Check power cord connection. Test the outlet with another appliance. |
7. Technical Specifications
| Specification | Value |
|---|---|
| Brand | Girmi |
| Model Number | AP3101 |
| Power | 950-1100 W |
| Voltage | 230 Volts (AC) |
| Tank Capacity | 350 Milliliters |
| Operating Time | 10 minutes |
| Heating Time | 1.5-4 minutes (to reach pressure) |
| Product Dimensions (L x W x H) | 28 x 12 x 23.5 cm |
| Item Weight | 190 g |
| Special Feature | Fast Heating |
| Power Source | Corded Electric |
8. Warranty and Support
For warranty information or technical support, please refer to the warranty card included with your product or contact Girmi customer service. Keep your purchase receipt as proof of purchase.


