1. Introduction
Thank you for choosing the VEVOR 16-Inch Dual Layer Commercial Electric Pizza Oven. This appliance is designed for baking pizzas and other items with efficiency and precision. Constructed from food-grade stainless steel, it features dual baking chambers, each capable of accommodating pizzas up to 16 inches. The oven incorporates three heating tubes for 360-degree uniform baking and offers intelligent temperature and time control for optimal cooking results.
Please read this instruction manual thoroughly before operating the oven to ensure safe and proper use, and retain it for future reference.
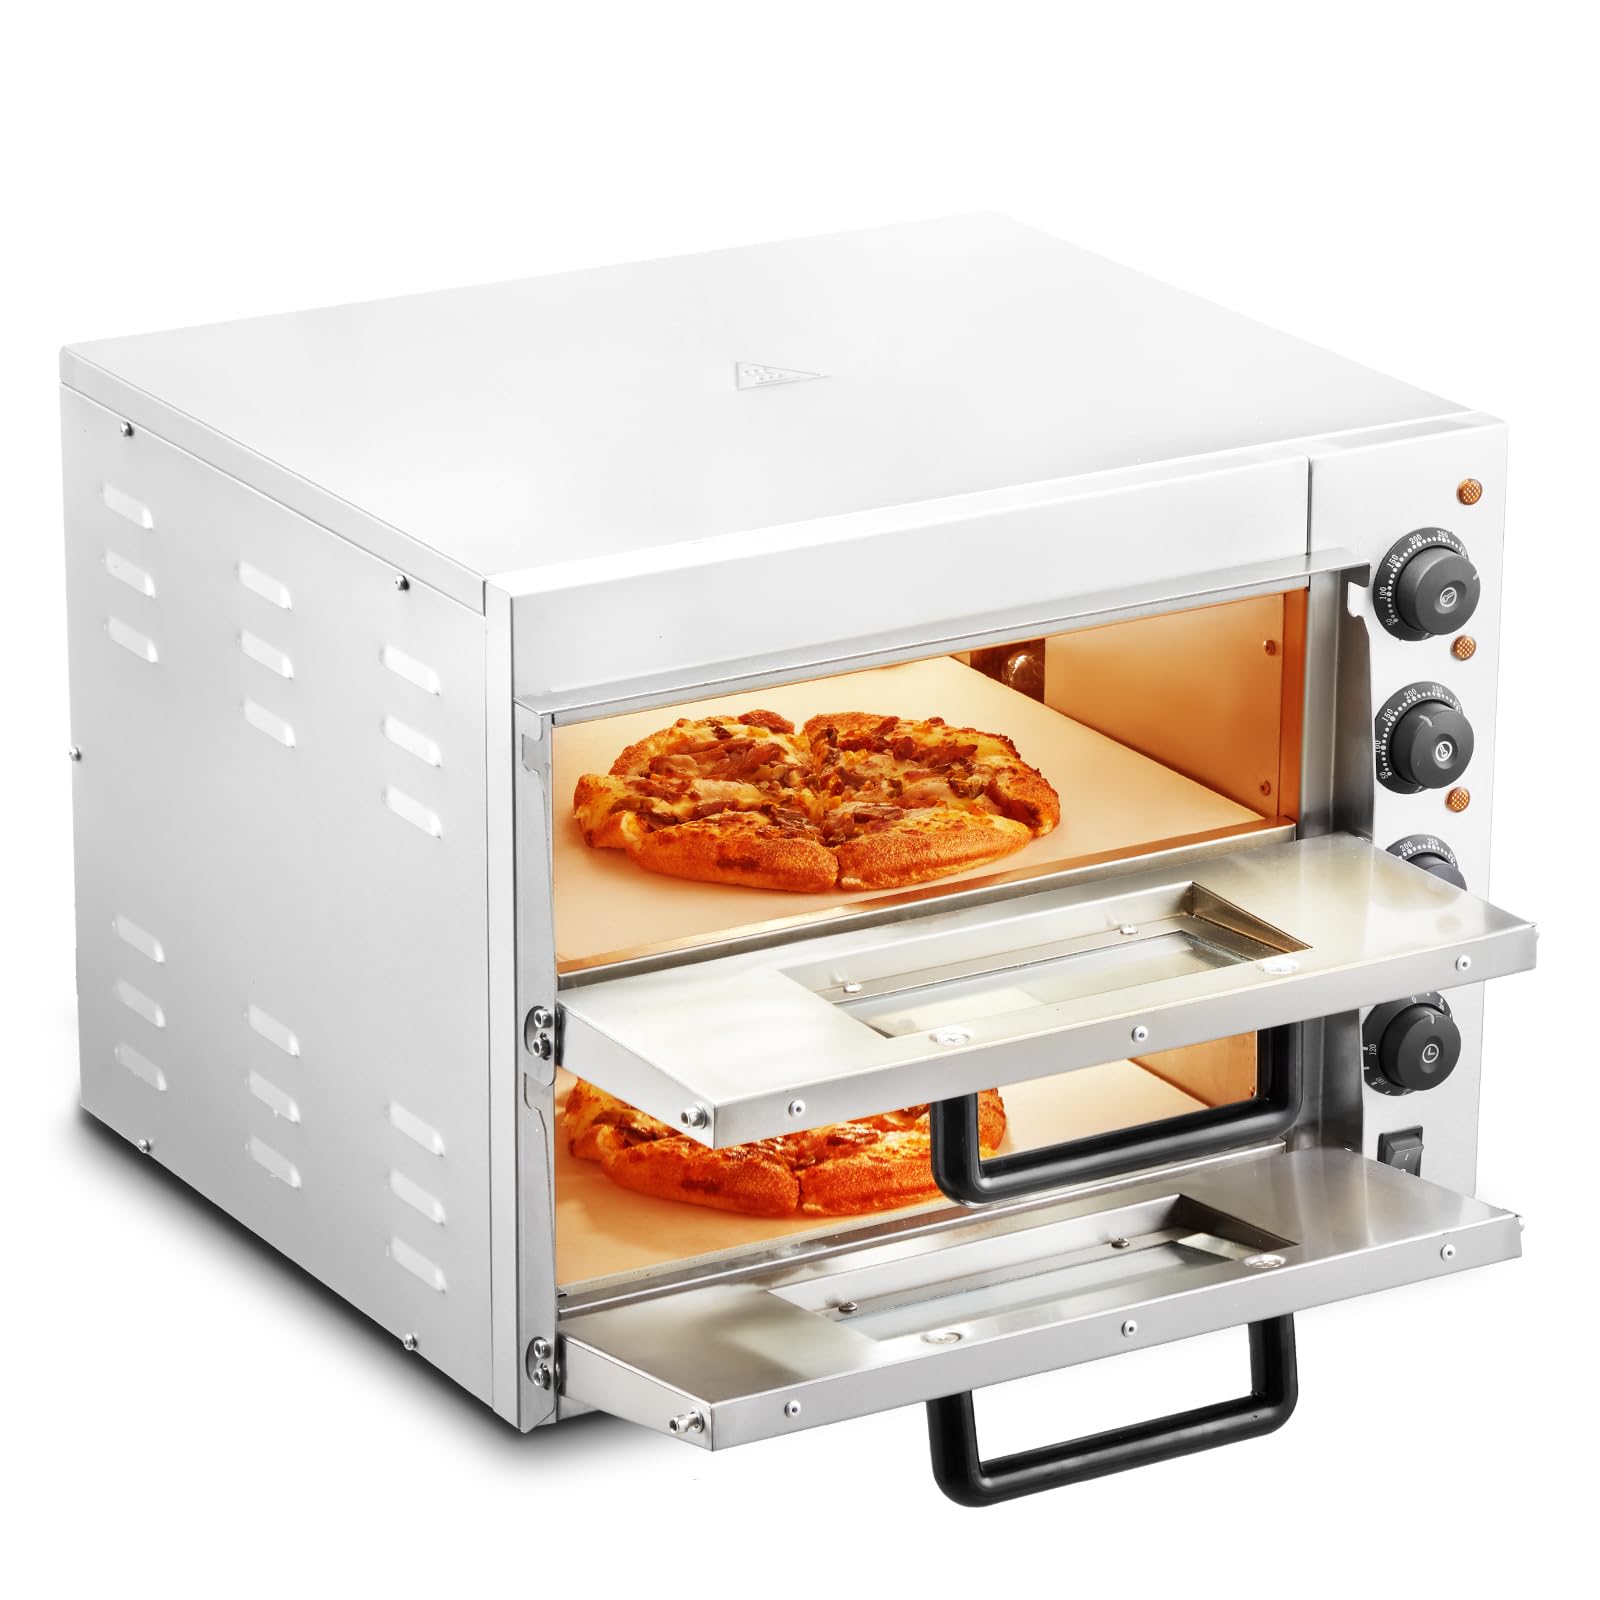
This image shows the VEVOR 16-Inch Dual Layer Commercial Electric Pizza Oven, highlighting its compact countertop design and dual baking chambers.
2. Safety Instructions
- Read all instructions before using the appliance.
- Ensure the power supply voltage matches the rating label on the oven.
- This oven requires two separate power circuits. Connect each power cord to a dedicated 15A (or higher) circuit to prevent circuit overload.
- Place the oven on a stable, heat-resistant, non-flammable surface. Maintain adequate clearance from walls and other appliances for ventilation.
- Do not touch hot surfaces. Use oven mitts or the provided door handles.
- Do not immerse the appliance, cord, or plugs in water or other liquids.
- Unplug from the outlet when not in use and before cleaning. Allow to cool before adding or removing parts.
- Do not operate any appliance with a damaged cord or plug, or after the appliance malfunctions or has been damaged in any manner.
- Close supervision is necessary when any appliance is used by or near children.
- Do not use outdoors.
- Do not place on or near a hot gas or electric burner, or in a heated oven.
- Do not use the appliance for anything other than its intended use.
3. What's in the Box
Carefully unpack all components and check for any damage. Ensure all items are present before discarding packaging materials.
- 1 x VEVOR Commercial Electric Pizza Oven (Model FY-EP-2)
- 2 x 16-Inch Pizza Stones
- 2 x Door Handles
4. Setup
- Placement: Position the oven on a flat, stable, and heat-resistant surface. Ensure there is sufficient space around the oven for proper ventilation (at least 4 inches on all sides and top).
- Handle Installation: Attach the provided door handles to each oven door using the included screws. Ensure they are securely fastened.
- Pizza Stone Placement: Carefully slide one pizza stone into each baking chamber. Ensure they are seated correctly on the internal supports.
- Power Connection: The oven is equipped with two power cords. Connect each power cord to a separate, grounded electrical outlet. It is crucial to use two independent 15A (or higher) circuits to prevent tripping circuit breakers, as noted in user feedback.
- Initial Burn-Off: Before first use, operate the oven empty at its maximum temperature (662°F / 350°C) for approximately 30 minutes to burn off any manufacturing residues. This may produce a slight odor; ensure the area is well-ventilated.
5. Operating Instructions
The VEVOR pizza oven features independent temperature controls for each deck and a timer function for precise cooking.

This image displays the control panel, featuring four independent knobs for adjusting upper, middle, and bottom temperatures, and setting the cooking timer.
5.1. Controls Overview
- Temperature Knobs: Three knobs control the upper, middle (shared between decks), and bottom heating elements. Temperature range: 122°F to 662°F (50-350°C).
- Timing Function Knob: Sets the cooking time from 0 to 120 minutes. The oven will automatically shut off heating when the timer expires.
- Power Switch: Turns the entire oven on or off.
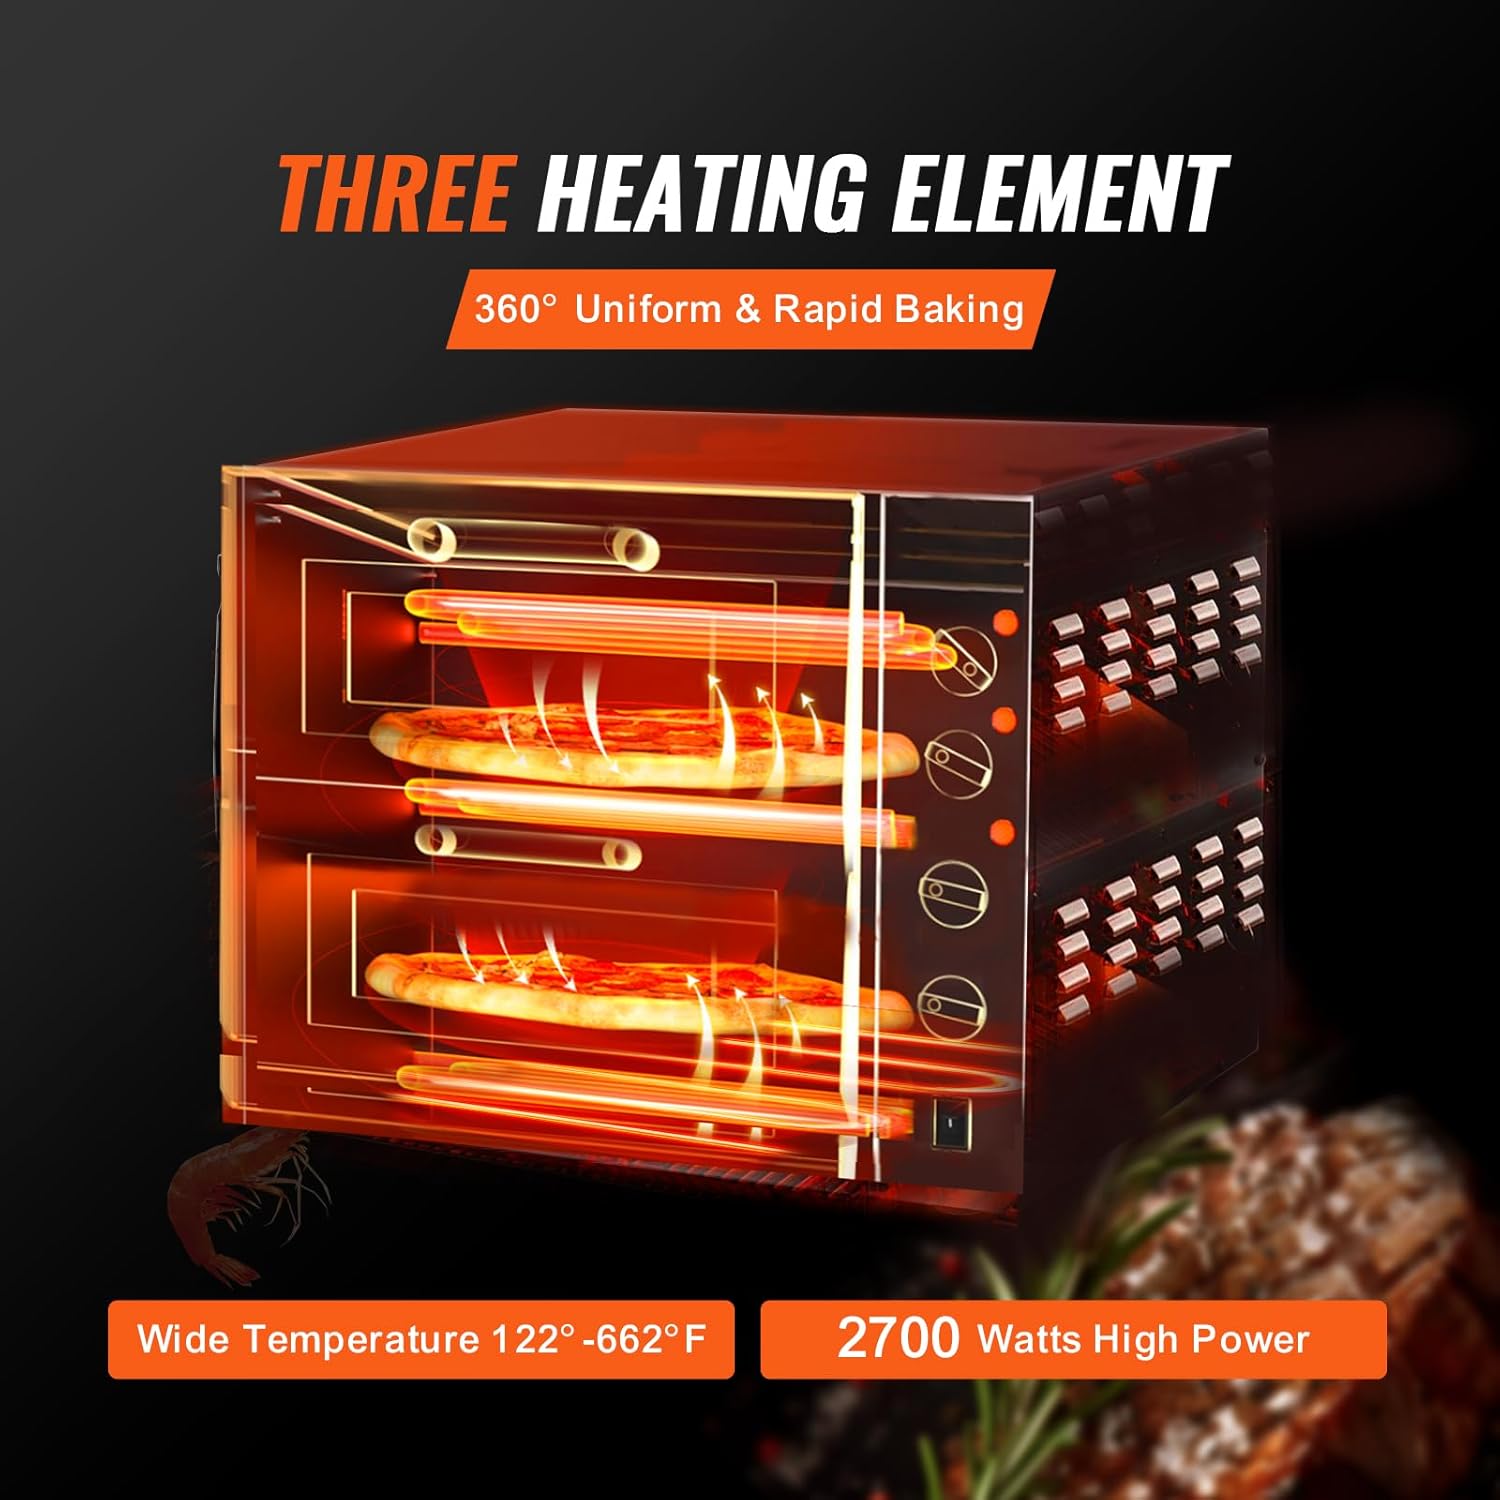
This diagram illustrates the internal structure of the oven, showing the three heating elements designed for 360-degree uniform and rapid baking.
5.2. Baking Process
- Power On: Flip the main power switch to the 'ON' position.
- Set Temperature: Rotate the temperature knobs to your desired baking temperature for the upper, middle, and bottom elements. For optimal pizza baking, a common starting point is 200°C (392°F) for the bottom and 275°C (527°F) for the top, as suggested by user experience. Adjust as needed for different recipes.
- Preheat: Allow the oven to preheat for 20-30 minutes until it reaches the set temperature. The indicator lights will show when heating elements are active.
- Load Food: Carefully place your pizza or other food items onto the pizza stone using a pizza peel.
- Set Timer: Turn the timer knob to your desired cooking duration (e.g., 7 minutes for a medium-thick crust pizza). The timer will count down and alert you when finished.
- Monitor Cooking: Use the visual doors to monitor the cooking progress. Adjust temperature or time if necessary.
- Remove Food: Once cooked, carefully remove the food using appropriate utensils.
- Power Off: After use, turn the power switch to 'OFF' and unplug the oven.
5.3. Versatile Baking
This oven is suitable for baking a variety of items beyond pizza, including pretzels, potatoes, bread, cakes, pies, pastries, and chicken wings.

This image highlights the oven's versatility, showcasing its ability to cook various food items such as pizza, steak, toast, and chicken wings.
6. Maintenance
6.1. Cleaning
- Always unplug the oven and allow it to cool completely before cleaning.
- Exterior: Wipe the stainless steel exterior with a damp cloth and mild detergent. Do not use abrasive cleaners or scouring pads, as they can scratch the surface.
- Interior: For the interior, wipe down with a damp cloth. For stubborn stains, a non-abrasive oven cleaner can be used sparingly, ensuring to wipe thoroughly with a clean, damp cloth afterward to remove all residue.
- Pizza Stones: The pizza stones are easily removable for cleaning. Scrape off any baked-on food residue with a spatula or stiff brush. Do not use soap or detergent on the pizza stone, as it can be absorbed and affect the taste of food. For deep cleaning, bake the stone at high temperature to burn off residue, then scrape.
- Do not immerse the oven in water.

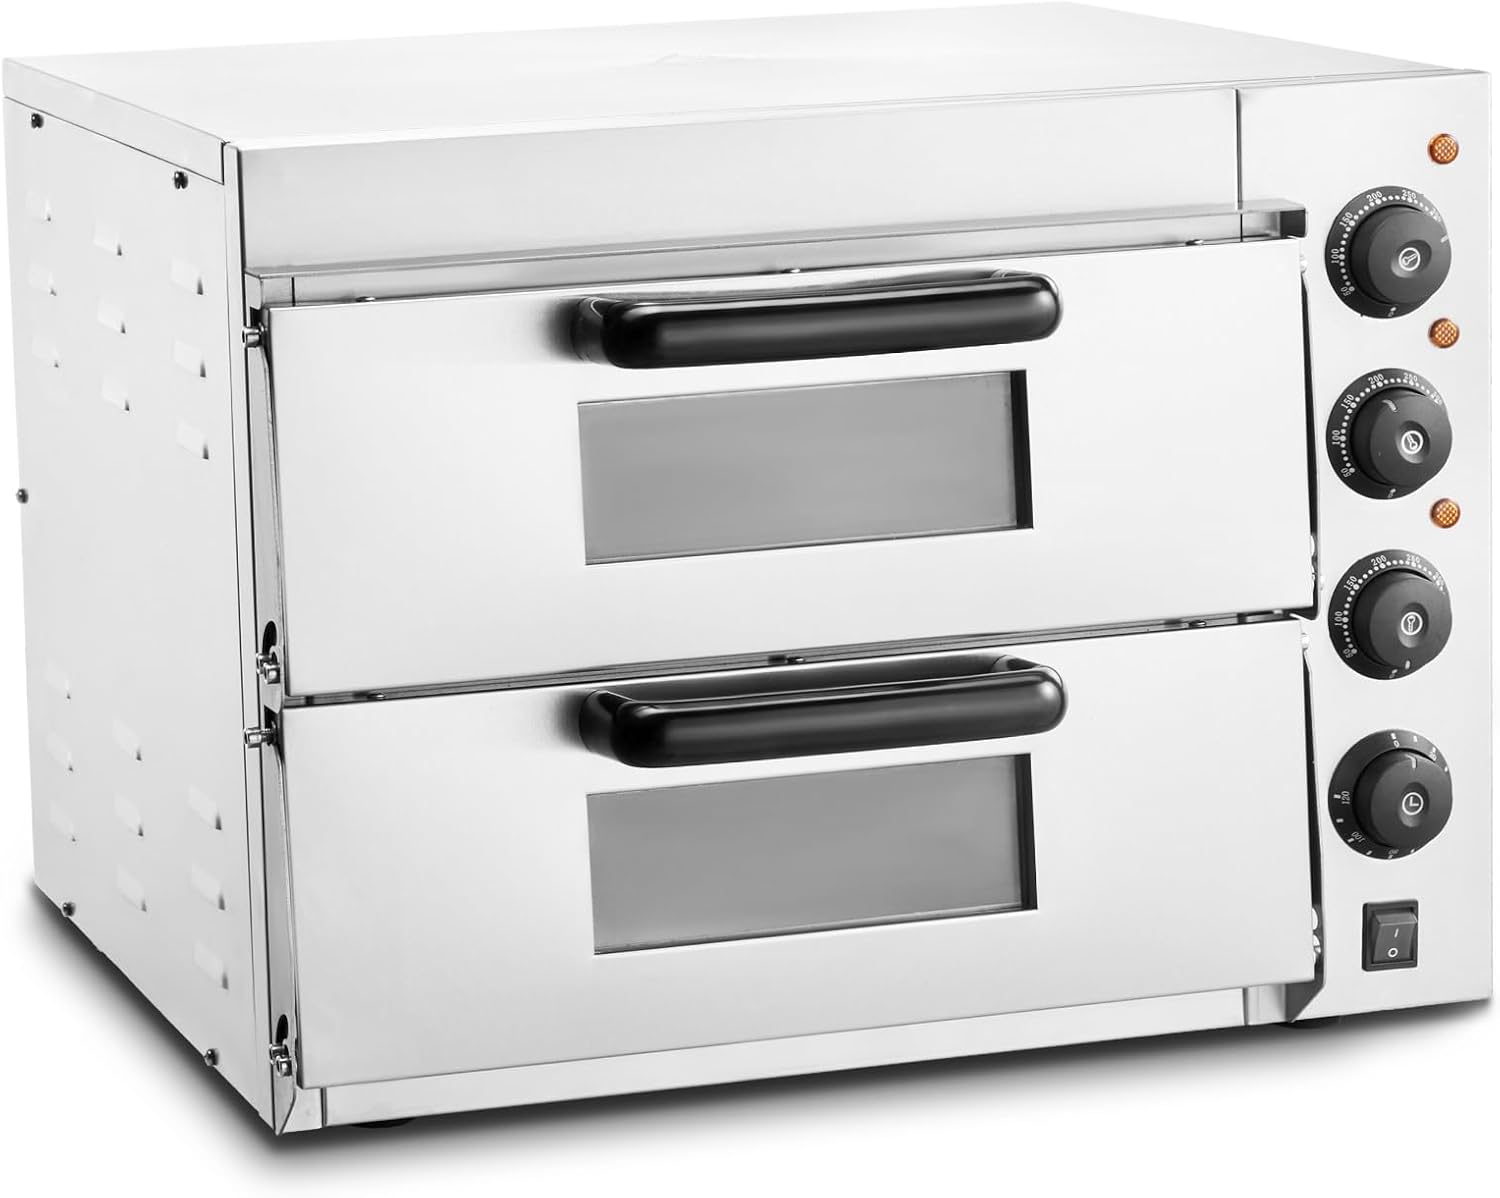
The oven's construction from durable stainless steel is shown, along with a visual door for monitoring cooking progress and emphasizing its easy-to-clean surfaces.
7. Troubleshooting
| Problem | Possible Cause | Solution |
|---|---|---|
| Oven does not turn on. | No power supply; power switch off; circuit breaker tripped. | Ensure both power cords are securely plugged in. Check if the power switch is on. Reset the circuit breaker if tripped. Verify that each cord is on a separate circuit. |
| Oven not reaching desired temperature. | Incorrect temperature setting; insufficient preheating time; ambient temperature too low. | Verify temperature knobs are set correctly. Allow sufficient preheating time (20-30 minutes). Ensure oven is not in a cold environment. |
| Food cooking unevenly. | Uneven temperature distribution; food placed incorrectly. | Adjust upper and bottom temperature knobs to balance heat. Ensure food is centered on the pizza stone. Rotate food halfway through cooking if necessary. |
| Timer not functioning. | Timer knob not set; mechanical issue. | Ensure the timer knob is rotated past the '0' mark to activate. If the issue persists, contact customer support. |
| Smoke or odor during first use. | Initial burn-off of manufacturing residues. | This is normal during the first use. Ensure adequate ventilation. The odor should dissipate after the initial burn-off period. |
8. Specifications
This diagram provides a visual representation of the oven's dimensions and lists its key specifications, including model number, power, temperature range, and weight.
| Feature | Detail |
|---|---|
| Model Number | FY-EP-2 |
| Power | 2700W |
| Voltage | 220 Volts |
| Temperature Range | 122°F - 662°F (50-350°C) |
| Timer Range | 0 - 120 minutes |
| Product Dimensions (L x W x H) | 22.1"D x 18.8"W x 17.1"H (559 x 475 x 433 mm) |
| Item Weight | 67 pounds (30.4 kg) |
| Material Type | Stainless Steel |
| Control Type | Knob Control |
| Included Components | 1 x Commercial Pizza Oven, 2 x 16 Inch Pizza Stone, 2 x Door Handle |
9. Official Product Videos
Product Overview and Features
This video provides a general overview of the VEVOR 16-Inch Dual Layer Commercial Electric Pizza Oven, demonstrating its features and operation.
Cooking Demonstration
This video demonstrates the cooking capabilities of the VEVOR pizza oven, showcasing its ability to bake various items.
10. Warranty and Support
For warranty information and customer support, please refer to the documentation included with your purchase or visit the official VEVOR website. Keep your purchase receipt for warranty claims. The product typically includes a standard manufacturer's warranty, and additional protection plans may be available for purchase.
For technical assistance or service inquiries, please contact VEVOR customer support through their official channels.


