1. Introduction
Thank you for choosing the SENECESLI Projector Model SENECESLIwqfr48o2dx. This portable movie projector is designed to deliver a high-clear visual experience with 8K decoding support, dual-band WiFi, Bluetooth 5.0, and AI voice control, all powered by Android 9.0 OS. This manual provides essential information for setting up, operating, and maintaining your projector to ensure optimal performance.

Image 1.1: Visual comparison highlighting the clarity of 8K resolution.
2. Safety Information
Please read all safety instructions carefully before using the projector. Keep this manual for future reference.
- Power Supply: Use only the provided power cord and adapter. Ensure the voltage matches your local power supply.
- Ventilation: Do not block ventilation openings. Maintain adequate space around the projector for proper airflow to prevent overheating.
- Placement: Place the projector on a stable, level surface. Avoid placing it in direct sunlight, near heat sources, or in environments with high humidity or dust.
- Cleaning: Disconnect the power before cleaning. Use a soft, dry cloth. Do not use liquid or aerosol cleaners.
- Water and Moisture: Do not expose the projector to rain, moisture, or immerse it in water.
- Servicing: Do not attempt to service this product yourself. Refer all servicing to qualified service personnel.
- Eye Safety: Do not look directly into the projector lens when the lamp is on, as the bright light can cause eye damage.
3. Package Contents
Verify that all items are present in the package:
- 1x SENECESLI Projector
- 1x HD Cable
- 1x Power Cord (US Plug)
- 1x Bluetooth Remote Control
- 1x User Manual (this document)
4. Product Overview
Familiarize yourself with the main components of your SENECESLI Projector and its remote control.
4.1 Projector Unit

Image 4.1: Front view of the SENECESLI Projector.
The projector features a compact design with a prominent lens at the front, ventilation grilles on the sides, and various input/output ports on the rear (e.g., HDMI, USB, power input).
4.2 Remote Control

Image 4.2: SENECESLI Projector Remote Control.
The remote control allows for easy navigation and control of the projector's functions. Key buttons include:
- Power Button: Turns the projector on or off.
- Navigation Pad (OK button in center): For menu navigation and selection.
- Back Button: Returns to the previous screen.
- Home Button: Returns to the main home screen.
- Volume Up/Down: Adjusts audio volume.
- Mute Button: Mutes or unmutes audio.
- Settings Button: Accesses projector settings.
- AI Voice Control Button: Activates voice commands.
- Source/Input Button: Selects input sources.
5. Setup
5.1 Initial Placement
Place the projector on a stable surface at the desired distance from your projection screen or wall. Ensure there are no obstructions in the projection path.
5.2 Power Connection
- Connect the power cord to the projector's power input port.
- Plug the other end of the power cord into a suitable electrical outlet.
- Press the power button on the projector or remote control to turn it on.
5.3 Focus and Keystone Correction
After powering on, adjust the focus ring on the projector lens until the image is clear. If the image appears trapezoidal, use the keystone correction feature to adjust it to a rectangular shape.

Image 5.1: Four-Point Keystone Correction for image alignment.
The projector supports four-point keystone correction, allowing for precise horizontal and vertical adjustments up to ±45 degrees. Access this setting via the projector's menu.
5.4 Remote Control Battery Installation
Open the battery compartment on the back of the remote control and insert two AAA batteries (not included), ensuring correct polarity. Close the compartment.
Video 5.1: A short demonstration of the projector in operation, displaying an image on a screen.
6. Operating Instructions
This section details how to use the various features of your projector.
6.1 Navigating the Android 9.0 OS
The projector runs on Android 9.0, providing access to a user-friendly interface and the Google Play Store for applications.

Image 6.1: Android 9.0 Operating System Interface.
Use the remote control's navigation pad to browse menus and select applications. The Home button will always return you to the main Android interface.
6.2 Connecting to WiFi
The projector supports 2.4G and 5G dual-band WiFi for stable and fast internet connectivity.
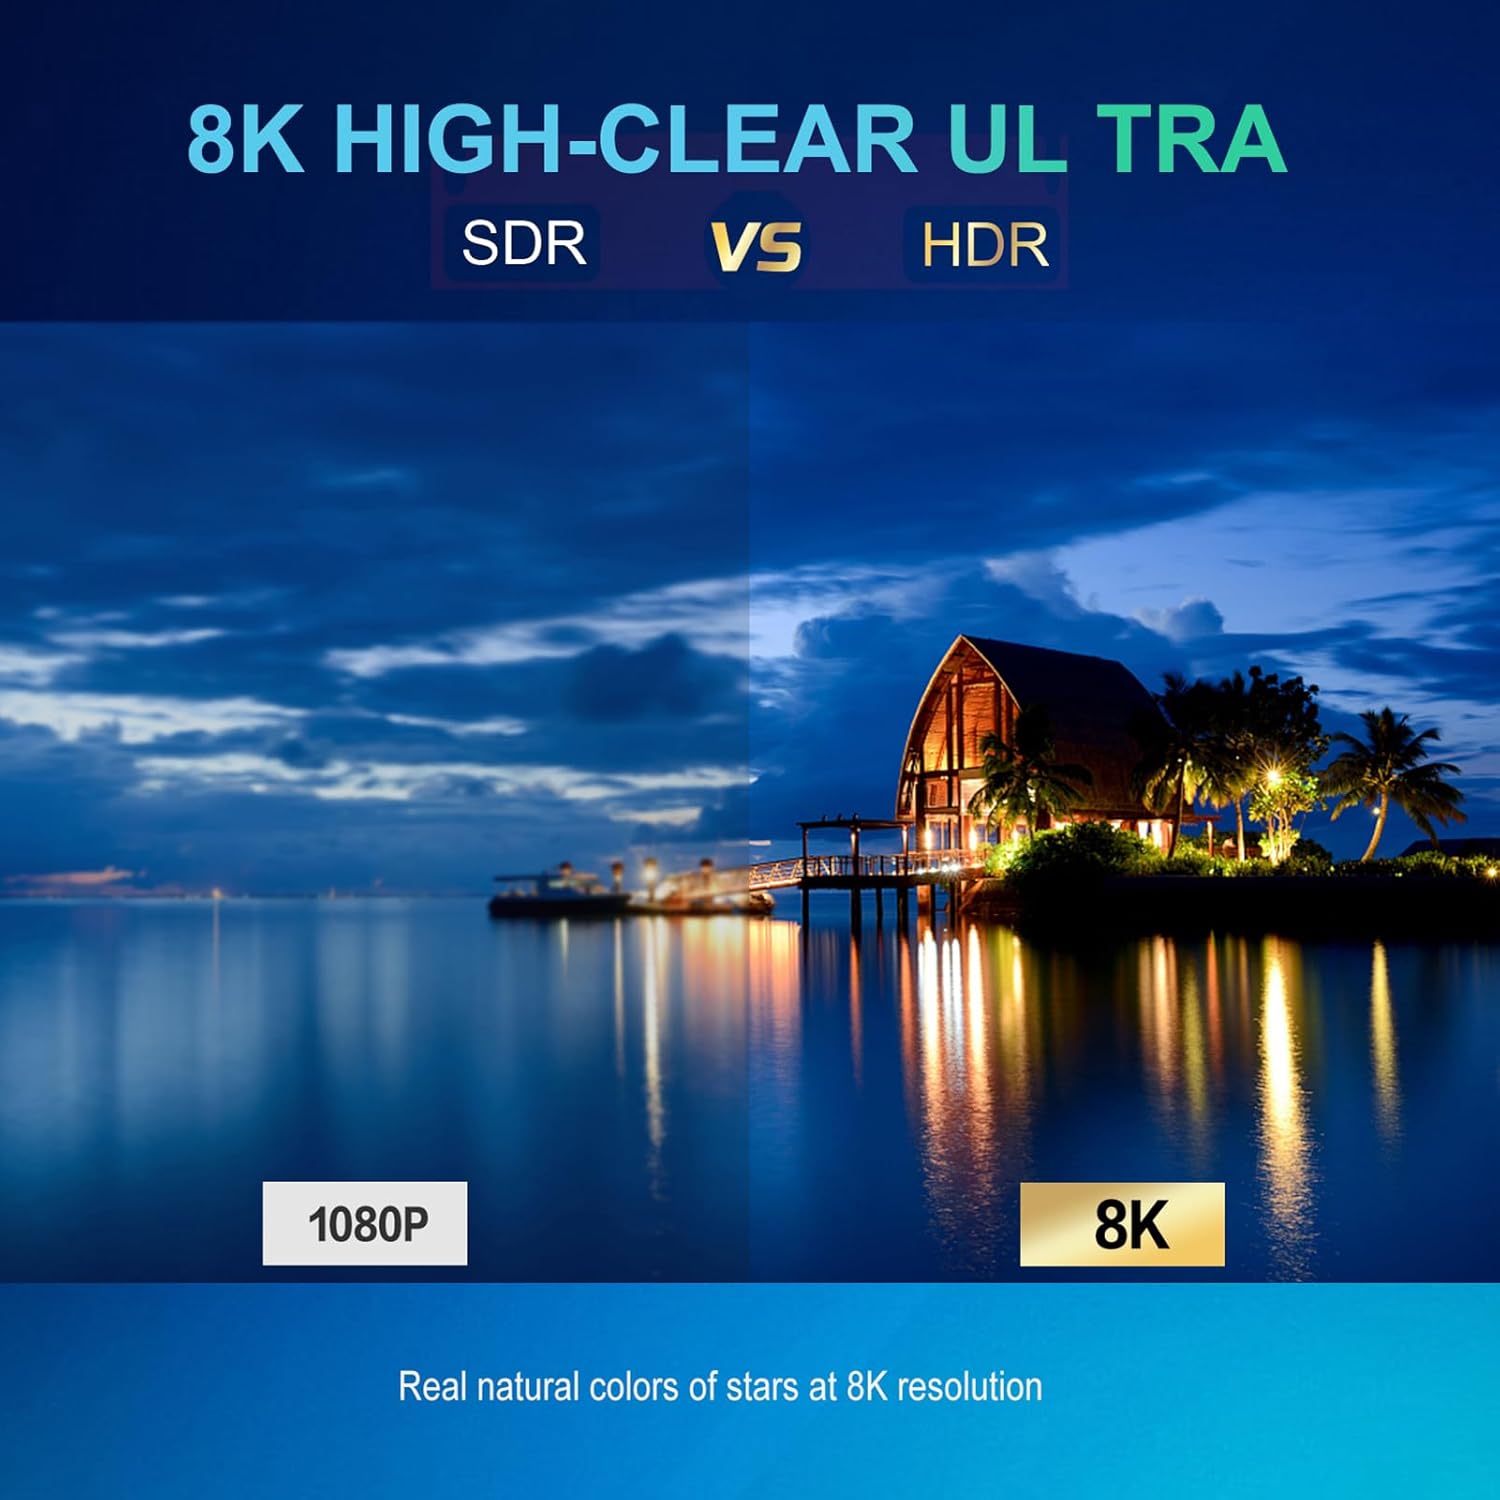
Image 6.2: Dual-band 2.4G+5G WiFi connectivity.
- Go to Settings > Network & Internet.
- Turn on Wi-Fi.
- Select your desired network from the list and enter the password if prompted.
6.3 Bluetooth Connectivity
The projector features built-in Bluetooth 5.0 for connecting external audio devices like speakers or headphones.

Image 6.3: Bluetooth 5.0 connectivity with external audio devices.
- Go to Settings > Connected Devices > Pair new device.
- Ensure your Bluetooth device is in pairing mode.
- Select your device from the list to connect.
6.4 Screen Mirroring
After connecting to WiFi, you can mirror content from your smartphone or computer to the projector. The specific steps may vary depending on your device (e.g., Miracast for Android, AirPlay for iOS).
6.5 AI Voice Control
Utilize the AI voice control feature for hands-free operation. Press the dedicated voice control button on your remote and speak your commands clearly.
7. Maintenance
Proper maintenance ensures the longevity and optimal performance of your projector.
- Lens Cleaning: Use a soft, lint-free cloth specifically designed for optical lenses to gently wipe the projector lens. Do not use abrasive materials or harsh chemicals.
- Ventilation Ports: Regularly check and clean the ventilation ports to prevent dust buildup, which can lead to overheating. Use a soft brush or compressed air.
- Storage: When not in use for extended periods, store the projector in a cool, dry place, protected from dust and extreme temperatures.
8. Troubleshooting
If you encounter issues with your projector, refer to the following common problems and solutions:
| Problem | Possible Cause | Solution |
|---|---|---|
| No Power | Power cord not connected; Power outlet faulty; Projector off. | Ensure power cord is securely connected. Test power outlet. Press power button. |
| No Image | Input source not selected; Cable connection loose; Lens cap on. | Select correct input source. Check HDMI/USB cable connections. Remove lens cap. |
| Blurry Image | Focus not adjusted; Keystone not corrected. | Adjust the focus ring. Use keystone correction in settings. |
| No Sound | Volume muted/low; External audio device not connected/paired. | Increase volume. Check mute status. Ensure Bluetooth device is paired or external speakers are connected. |
| WiFi Connection Issues | Incorrect password; Out of range; Router issues. | Verify WiFi password. Move projector closer to router. Restart router. |
9. Specifications
Detailed technical specifications for the SENECESLI Projector Model SENECESLIwqfr48o2dx:
- Brand: SENECESLI
- Model Number: SENECESLIwqfr48o2dx
- Processor: Amlogic T972 quad-core Cortex-A55 processor @ 1.9 GHz
- GPU: Arm Mali-G31MP2 GPU
- Memory: 2GB RAM + 16GB eMMC flash (Samsumg EMMC)
- Lamp: 400 ANSI lumens
- Contrast Ratio: 1000:1
- Connectivity: 2.4G/5G 2T2R WiFi, Bluetooth 5.0, Ethernet
- Operating System: Android 9.0 OS
- Video Engine: Amlogic Video Engine (AVE-10) with dedicated hardware decoders up to 4Kx2K@75fps
- Display Size: 30 inches to 150 inches
- Native Display Resolution: 1920 x 1080 (Full HD)
- Supported Decode Resolution: Up to 4K UHD (3840×2160), 8K high-clear decoding
- LED Life: 30,000 hours
- Item Weight: 6.16 pounds
- Product Dimensions: 12.99 x 9.84 x 5.51 inches
- Special Features: Adjustable (Keystone Correction)
- Recommended Uses: Indoor/Outdoor
10. Warranty and Support
For warranty information and customer support, please refer to the documentation provided at the time of purchase or visit the official SENECESLI website. If you require technical assistance or have questions not covered in this manual, please contact SENECESLI customer service.