
Introduction
Thank you for purchasing the RetroAudio Model JM-101 Vinyl Record Player. This portable 3-speed turntable is designed to provide an enjoyable audio experience, combining vintage aesthetics with modern features like Bluetooth connectivity. Please read this manual thoroughly before use to ensure proper operation and to maximize the lifespan of your device.
Important Safety Instructions
- Read all instructions before operating the device.
- Keep this manual for future reference.
- Do not use this apparatus near water.
- Clean only with a dry cloth.
- Do not block any ventilation openings. Install in accordance with the manufacturer's instructions.
- Do not install near any heat sources such as radiators, heat registers, stoves, or other apparatus (including amplifiers) that produce heat.
- Protect the power cord from being walked on or pinched, particularly at plugs, convenience receptacles, and the point where they exit from the apparatus.
- Only use attachments/accessories specified by the manufacturer.
- Unplug this apparatus during lightning storms or when unused for long periods of time.
- Refer all servicing to qualified service personnel. Servicing is required when the apparatus has been damaged in any way, such as power-supply cord or plug is damaged, liquid has been spilled or objects have fallen into the apparatus, the apparatus has been exposed to rain or moisture, does not operate normally, or has been dropped.
Package Contents
Upon unpacking, please ensure all items listed below are present and in good condition:
- RetroAudio Model JM-101 Turntable Unit
- Power Cord (5V 1A DC)
- User Manual
Product Overview (Components)
Familiarize yourself with the various parts of your record player:
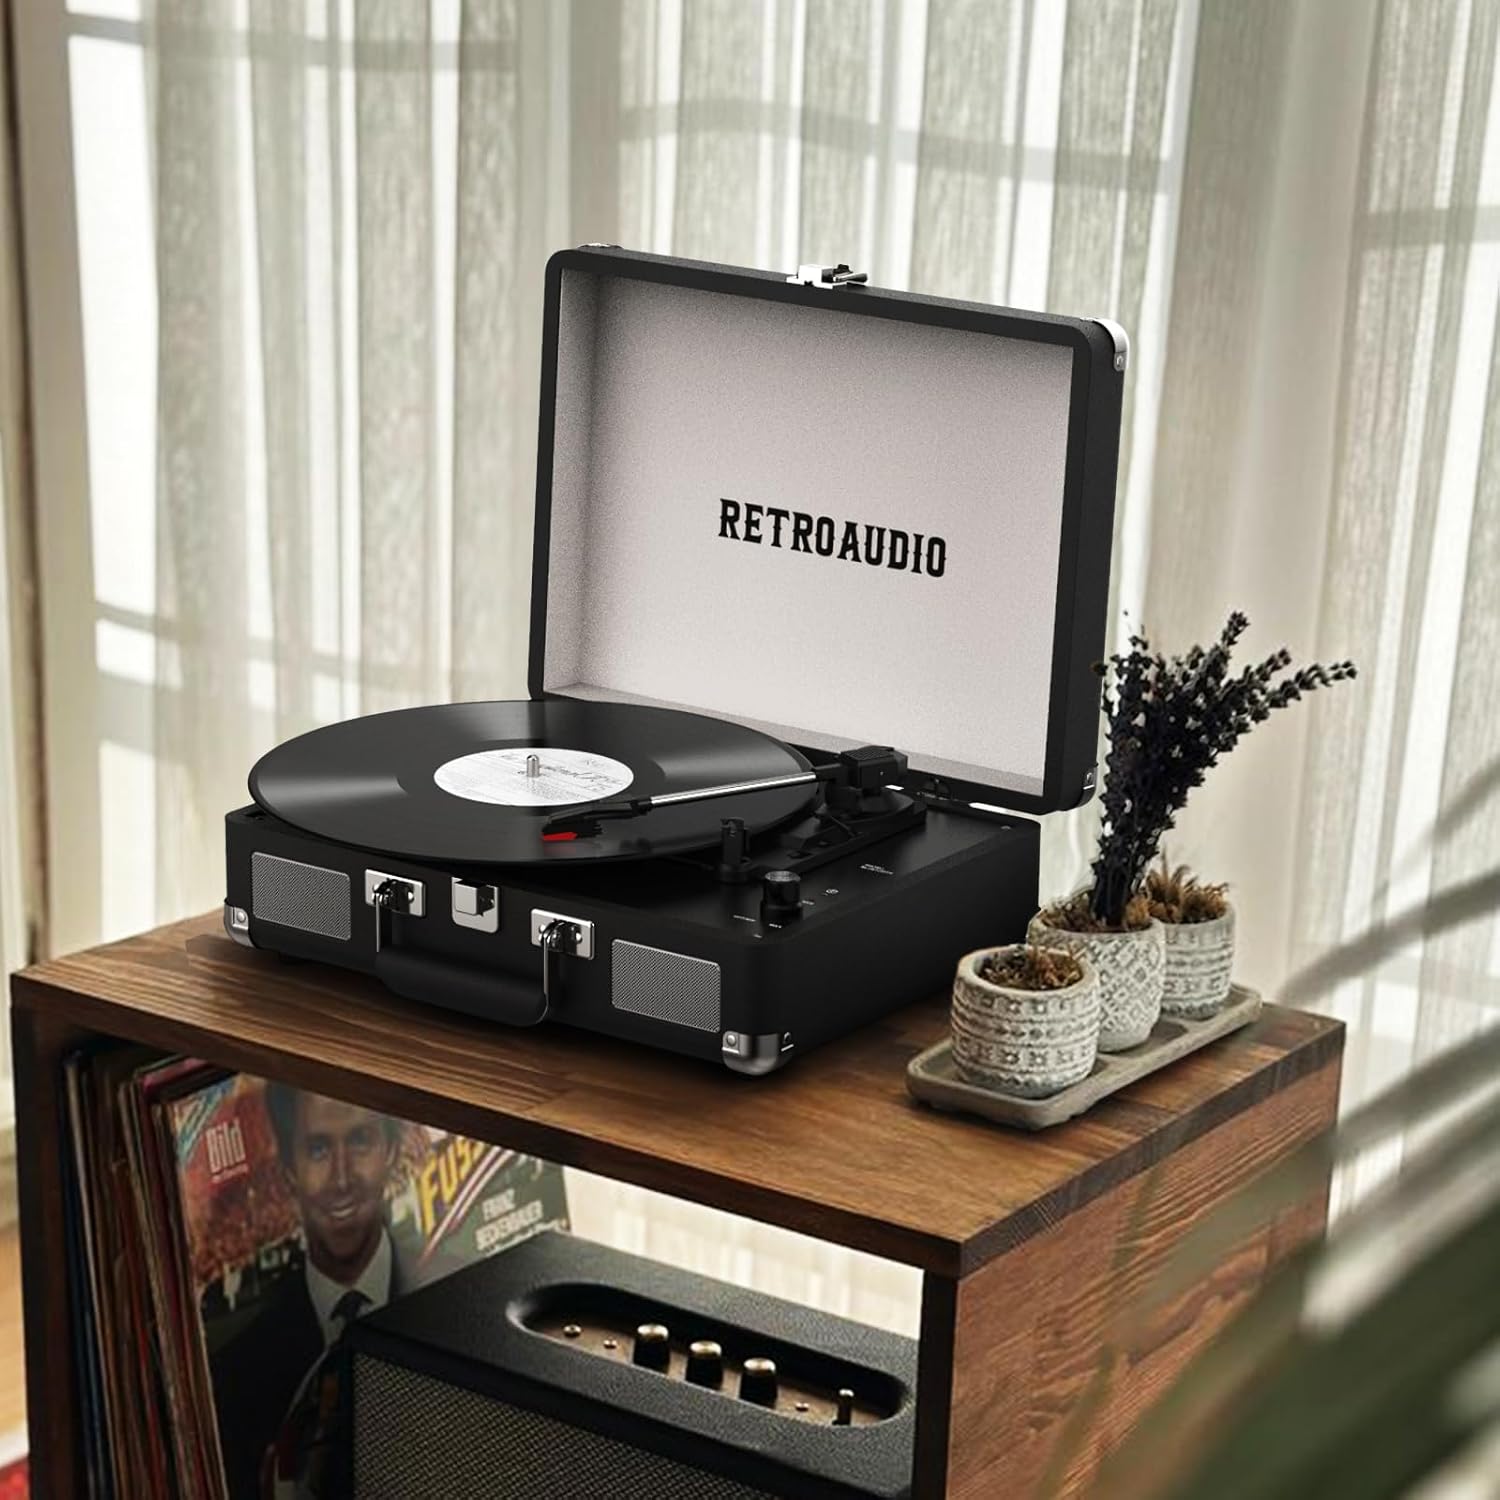
Image: Top-down view of the RetroAudio JM-101 record player with numbered labels indicating various components.
- 45RPM Adapter: Used when playing 45 RPM records.
- Tonearm Lever: Lifts and lowers the tonearm.
- PHONO/BLUETOOTH Switch: Selects between Phono (record playing) and Bluetooth modes.
- 33.3/45/78RPM Switch: Selects the playback speed for records.
- Tonearm: Holds the stylus and tracks the record grooves.
- Bluetooth Indicator Light: Illuminates when Bluetooth is active.
- Power Indicator Light: Illuminates when the unit is powered on.
- Volume Knob: Adjusts the audio output level.
- Turntable: The rotating platter where records are placed.
- Needle (Stylus): The component that reads the record grooves.

Image: Close-up view of the control panel, showing the volume knob and PHONO/BLUETOOTH switch.
Rear Panel Connections:
- Ear Jack (AUX Out): 3.5mm output for connecting headphones.
- RCA OUT LINE: RCA stereo output for connecting to external speakers or an amplifier.
- Power In (5V 1A): DC input for the power adapter.

Image: Rear view of the record player highlighting the RCA output and power input ports.
Setup
- Unpack the Unit: Carefully remove the record player from its packaging. Retain all packaging materials for future transport or storage.
- Power Connection: Connect the provided power cord to the 'Power In (5V 1A)' port on the rear of the unit and plug the adapter into a wall outlet. The Power Indicator Light (7) will illuminate.
- Placement: Place the record player on a stable, level surface to prevent vibrations that could affect playback quality.
- Lid: Open the lid of the suitcase-style player.
Operating Instructions
Playing Vinyl Records
- Select Mode: Set the PHONO/BLUETOOTH Switch (3) to the 'PHONO' position.
- Place Record: Carefully place a vinyl record on the turntable (9).
- Select Speed: Adjust the 33.3/45/78RPM Switch (4) to match the speed of your record (33 1/3, 45, or 78 RPM). For 7-inch 45 RPM records, place the 45RPM Adapter (1) on the turntable spindle before placing the record.
- Unlock Tonearm: Release the tonearm lock.
- Position Tonearm: Gently lift the tonearm (5) using the Tonearm Lever (2). Move the tonearm over the desired starting groove of the record.
- Lower Tonearm: Slowly lower the tonearm using the Tonearm Lever (2) onto the record. The record will begin to play.
- Adjust Volume: Rotate the Volume Knob (8) to achieve the desired listening level.
- Stop Playback: To stop playing, lift the tonearm using the Tonearm Lever (2), return it to its rest, and secure it with the tonearm lock.
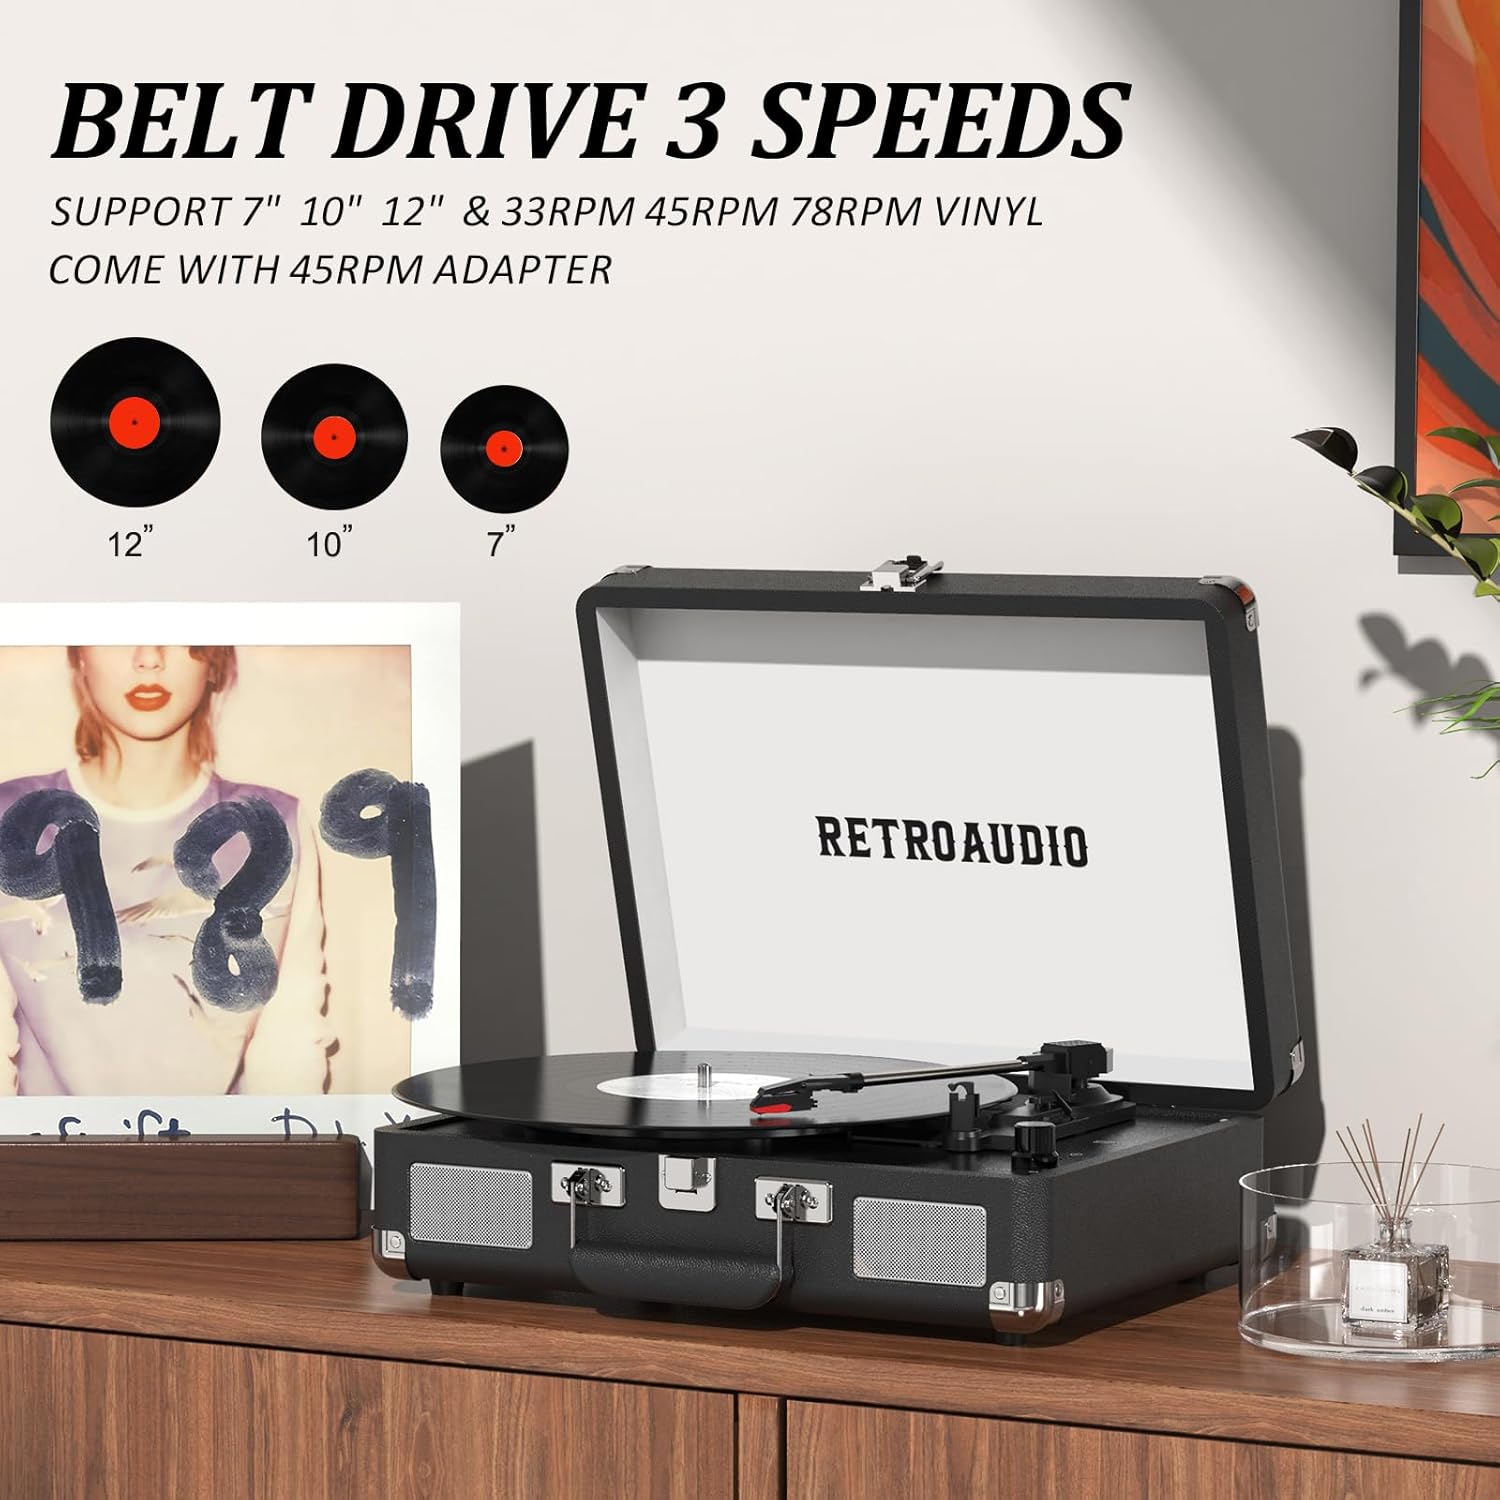
Image: The RetroAudio record player with a vinyl record spinning, illustrating the support for 7", 10", and 12" records.

Image: A close-up of the 45 RPM adapter, used for playing smaller records.
Bluetooth Pairing
- Select Mode: Set the PHONO/BLUETOOTH Switch (3) to the 'BLUETOOTH' position. The Bluetooth Indicator Light (6) will flash, indicating it is in pairing mode.
- Enable Bluetooth on Device: On your smartphone, tablet, or other Bluetooth-enabled device, enable Bluetooth and search for available devices.
- Connect: Select 'Turntable' from the list of available devices. Once connected, the Bluetooth Indicator Light (6) will stop flashing and remain solid.
- Play Music: You can now play audio from your device through the record player's built-in speakers. Adjust volume using the Volume Knob (8) on the record player and/or your connected device.

Image: The record player connected via Bluetooth to a smartphone, demonstrating wireless audio streaming.
External Audio Connection
The RetroAudio JM-101 offers options for connecting to external audio systems:
- RCA Line Out: Use RCA cables (not included) to connect the 'RCA OUT LINE' ports (12) on the rear of the record player to the audio input of an external amplifier or powered speakers. This allows for louder sound output.
- Ear Jack (AUX Out): Plug 3.5mm headphones into the 'Ear Jack' (11) for private listening.

Image: The record player positioned between two external speakers, demonstrating the RCA output connection for enhanced audio.
Maintenance
- Cleaning the Stylus: Gently clean the stylus (needle) regularly with a soft brush designed for stylus cleaning. Brush from back to front to remove dust and debris.
- Cleaning the Unit: Wipe the exterior of the record player with a soft, dry cloth. Avoid using harsh chemicals or abrasive cleaners.
- Record Care: Keep your vinyl records clean and free of dust. Store them vertically in their sleeves to prevent warping.
- Storage: When not in use, ensure the tonearm is locked in place and the lid is closed to protect the turntable from dust and damage.
Troubleshooting
| Problem | Possible Cause | Solution |
|---|---|---|
| No power | Power cord not connected; outlet not active | Ensure power cord is securely plugged into the unit and a working outlet. |
| No sound from speakers | Volume too low; PHONO/BLUETOOTH switch in wrong position; external speakers not connected/powered | Increase volume. Set switch to PHONO for records or BLUETOOTH for streaming. Check external speaker connections and power. |
| Record skipping | Dirty or damaged record; dirty stylus; unit not level | Clean record. Clean stylus. Ensure the record player is on a stable, level surface. |
| Bluetooth not connecting | Unit not in Bluetooth mode; device too far; already connected to another device | Set switch to BLUETOOTH. Ensure device is within range. Disconnect from other Bluetooth devices. |
Specifications
- Brand: RetroAudio
- Model: JM-101
- Playback Speeds: 33 1/3, 45, 78 RPM
- Connectivity: Bluetooth, RCA Line Out, 3.5mm AUX Out (Headphone Jack)
- Speakers: 2 Built-in Stereo Speakers
- Dimensions (L x W x H): 13.1" x 10" x 4"
- Weight: 3.42 Kilograms
- Material: Engineered Wood, Metal, PU Leather
- Power Source: Corded Electric (5V DC)
Official Product Videos
Portable RetroAudio Record Player with Built-in Speaker
Video: This video demonstrates the basic operation of the RetroAudio record player, including placing a record and using the built-in speakers. It highlights the portable design and ease of use.
RetroAudio Portable Suitcase Record Player
Video: This video showcases the portable suitcase design of the RetroAudio record player, demonstrating how to open, set up, and close the unit for transport or storage.
Warranty and Support
The RetroAudio Model JM-101 Vinyl Record Player comes with a 1-year warranty from the date of purchase, covering manufacturing defects. For warranty claims, technical support, or any questions regarding your product, please contact RetroAudio customer service through the retailer's platform or visit our official website.
For further assistance, please refer to the contact information provided with your purchase or visit RetroAudio's official store page.