1. Introduction
This manual provides detailed instructions for the setup, operation, and maintenance of your ZERFUN D-300 4-Channel UHF Rechargeable Wireless Microphone System. This professional system includes four rechargeable handheld cardioid microphones and a metal receiver box, designed for various applications such as home karaoke, meetings, parties, and public speaking events.
Key features include independent volume, echo, treble, and bass control on microphones, an LCD display on the receiver, frequency lock, and versatile output options (XLR, 1/4-inch, 1/8-inch).
2. Package Contents
Please verify that all items listed below are included in your package:
- ZERFUN Rechargeable Wireless Microphone x 4
- D-300 Receiver Box x 1
- Power Adapter x 1
- 6.35mm to 6.35mm Cable x 1
- 3.5mm to 3.5mm Cable x 1
- Audio Cable x 1 (RCA to 3.5mm)
- Microphone Charging Cable x 2
- Microphone Windscreen x 4
- Antiskid Ring x 4
- User Manual x 1

Figure 2.1: ZERFUN D-300 System Package Contents
3. Product Overview
The ZERFUN D-300 system consists of a receiver unit and four handheld wireless microphones. The receiver features an LCD display for monitoring channel and frequency information, along with individual volume and ID lock controls for each microphone channel.

Figure 3.1: ZERFUN D-300 Wireless Microphone System
3.1 Receiver Unit
The receiver unit is the central hub for the wireless microphones. It displays real-time information for each channel and provides controls for managing microphone settings.

Figure 3.2: Receiver Front Panel Details
- Microphone Volume State Indicator: Shows the current volume level for each microphone.
- Microphone Channel Display: Indicates the active channel (A, B, C, D).
- Microphone Audio Level Indicator: Visual representation of the audio input level.
- Microphone Signal Indicator: Displays the strength of the wireless signal.
- Microphone Channel State Indicator: Shows the operational status of the channel.
- Microphone Lock Display: Indicates if the frequency is locked.
- Microphone Volume Adjust Button (VOL): Adjusts the output volume for the corresponding channel.
- Microphone Lock Button (ID▲): Locks or unlocks the frequency for the corresponding channel.
- Power Switch: Turns the receiver unit on or off.
3.2 Handheld Microphones
The system includes four rechargeable handheld microphones with individual controls for sound customization.

Figure 3.3: Microphone Controls
- VOL Control (±15 Level): Adjusts the microphone's output volume.
- CHANNEL Control (±50 Channel): Selects the operating channel.
- ECHO Control (±15 Level): Adjusts the echo effect.
- TREBLE Control (±12 Level): Adjusts the high-frequency response.
- BASS Control (±12 Level): Adjusts the low-frequency response.

Figure 3.4: Microphone Features
- Steel Mesh Head: Durable protection for the microphone capsule.
- Cardioid Dynamic Pickup: Unidirectional pickup pattern to isolate vocals from background noise.
- Clear LED Display: Shows channel and frequency information.
- USB-C Charging Port: For convenient recharging of the built-in battery.
4. Setup Instructions
4.1 Powering the Receiver
- Connect the provided power adapter to the DC12V input on the receiver's rear panel.
- Plug the power adapter into a suitable power outlet.
- Press the Power Switch on the receiver's front panel to turn on the unit. The LCD display will illuminate.
4.2 Charging Microphones
Each microphone contains a built-in rechargeable battery. Use the provided microphone charging cables to recharge them.
- Connect the charging cable to the USB-C port on the microphone.
- Connect the other end of the charging cable to a USB power source (e.g., computer, USB wall adapter).
- Charging time is approximately 3-4 hours for a full charge.
- A fully charged microphone provides 8-10 hours of working time.
4.3 Connecting to Audio Devices
The ZERFUN D-300 receiver offers multiple output options for connecting to various audio equipment.

Figure 4.1: Receiver Output Options
4.3.1 XLR Outputs (Individual Channels)
For professional setups requiring individual control over each microphone, use the balanced XLR outputs.
- Connect an XLR cable (not included) from each of the four balanced XLR outputs (BALANCED-1, BALANCED-2, BALANCED-3, BALANCED-4) on the receiver's rear panel to the corresponding input channels on your audio mixer or amplifier.
- Ensure the audio mixer/amplifier is powered off before making connections.

Figure 4.2: Connecting via XLR to Audio Mixer
Optimum Boot Order:
- Audio Mixer
- Audio Amplifier
- Speaker
- Receiver
- Microphone
Optimum Shutdown Order:
- Microphone
- Receiver
- Speaker
- Audio Amplifier
- Audio Mixer
4.3.2 Mixed 1/4-inch or 1/8-inch Output
For simpler setups, the receiver provides a mixed output for all channels.
- Connect the provided 6.35mm to 6.35mm cable (1/4-inch) or 3.5mm to 3.5mm cable (1/8-inch) from the MIC OUT port on the receiver's rear panel to the microphone input on your amplifier, karaoke machine, or speaker.
- Ensure the input port on your device is specifically labeled for microphone input.
Optimum Boot Order (for TV/Speaker connection):
- TV
- Audio Amplifier
- Speaker
- Receiver
- Microphone
Optimum Shutdown Order (for TV/Speaker connection):
- Microphone
- Receiver
- Speaker
- Audio Amplifier
- TV
4.4 Frequency Synchronization
The system supports 50 compatible frequencies on each channel (4 x 50) for interference-free reception. The UHF frequencies range within 500 - 599 MHz, compliant with FCC regulations.
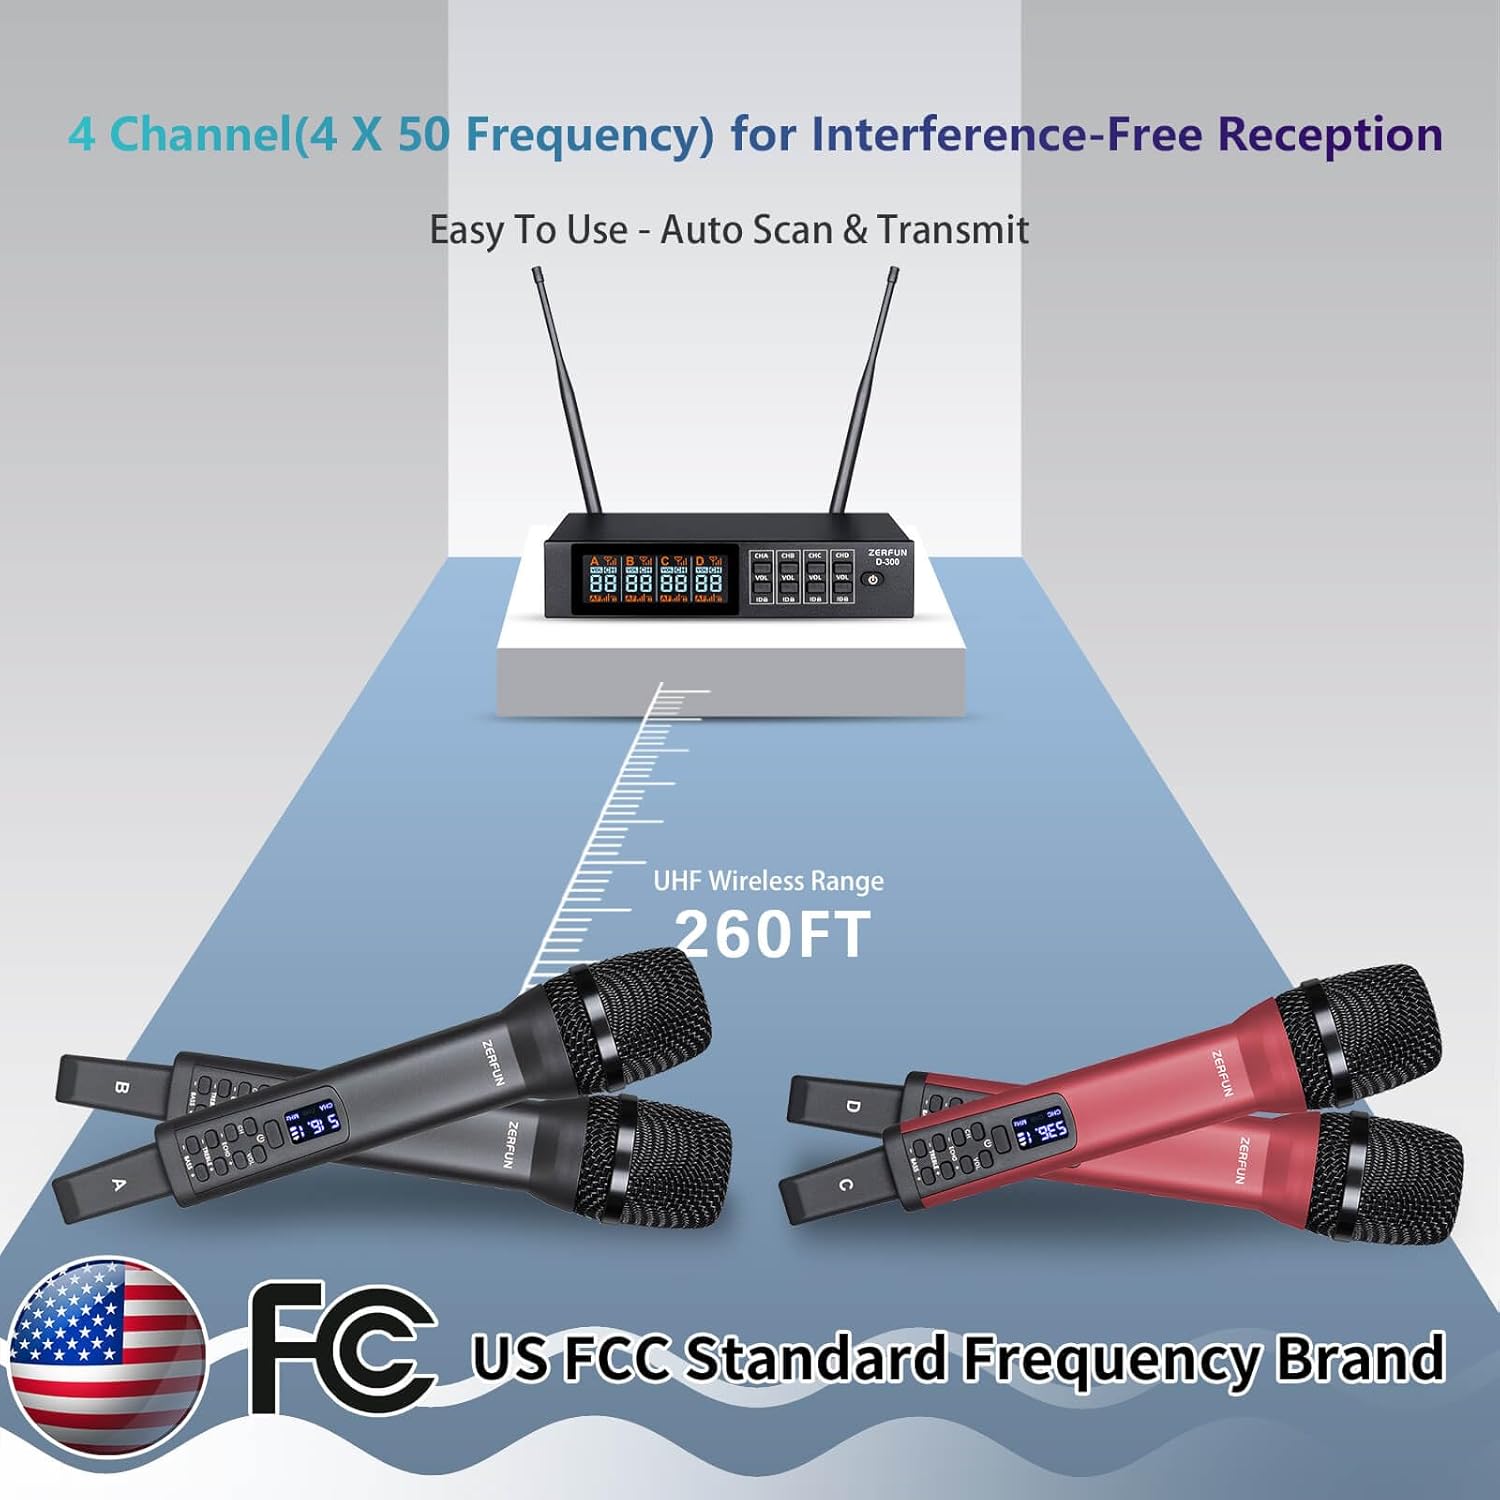
Figure 4.3: UHF Wireless Range and Frequency
The system features auto-scan and transmit setup for easy synchronization. Refer to the receiver's LCD display and microphone LED display to ensure they are on the same channel and frequency. Use the 'ID▲' button on the receiver to lock the frequency for a specific channel, preventing accidental changes.
5. Operating Instructions
5.1 Microphone Operation
- Power On/Off: Press and hold the power button on the microphone to turn it on or off. The LED display will show the current channel and frequency.
- Volume Adjustment: Use the 'VOL +' and 'VOL -' buttons to adjust the microphone's output volume (±15 levels).
- Channel Selection: Use the 'CH' button to cycle through available channels. Ensure the microphone channel matches the desired receiver channel.
- Echo Control: Use the 'ECHO +' and 'ECHO -' buttons to add or reduce the echo effect (±15 levels).
- Treble Control: Use the 'TREBLE +' and 'TREBLE -' buttons to adjust the high-frequency response (±12 levels).
- Bass Control: Use the 'BASS +' and 'BASS -' buttons to adjust the low-frequency response (±12 levels).
5.2 Receiver Operation
- Channel Volume Control: Use the 'VOL' buttons for each channel (CHA, CHB, CHC, CHD) to adjust the overall output volume for that specific microphone channel.
- Frequency Lock: Press the 'ID▲' button for a specific channel to lock its frequency. This prevents accidental changes during use. Press again to unlock.
- Monitoring: Observe the LCD display for microphone signal strength, audio levels, and channel status.
6. Maintenance
- Cleaning: Use a soft, dry cloth to clean the receiver and microphones. Avoid using liquid cleaners or solvents.
- Storage: Store the system in a cool, dry place away from direct sunlight and extreme temperatures when not in use.
- Battery Care: Recharge microphones regularly, even if not frequently used, to maintain battery health. Avoid fully discharging batteries for extended periods.
- Antennas: Ensure receiver antennas are securely attached and positioned for optimal signal reception.
7. Troubleshooting
| Problem | Possible Cause | Solution |
|---|---|---|
| No sound from microphone | Microphone not powered on Microphone battery low Microphone not paired with receiver Receiver volume too low Audio cable not connected correctly Connected device (mixer/amp) input volume too low | Ensure microphone is powered on Charge microphone battery Verify microphone and receiver are on the same channel/frequency Increase receiver channel volume Check all audio cable connections Increase input volume on connected audio device |
| Interference or static noise | Other wireless devices nearby Operating too far from receiver Obstructions between microphone and receiver Frequency conflict | Move away from other wireless devices Reduce distance between microphone and receiver (max 260 ft) Ensure clear line of sight Change microphone channel/frequency |
| Receiver display not working | Receiver not powered on Power adapter issue | Ensure receiver is powered on Check power adapter connection and functionality |
| Microphone controls unresponsive | Microphone frozen Battery issue | Power cycle the microphone (turn off and on) Ensure microphone battery is charged |
8. Specifications
| Feature | Detail |
|---|---|
| Model Number | D-300 |
| Brand | ZERFUN |
| Connectivity Technology | UHF |
| Number of Channels | 4 (with 50 compatible frequencies per channel) |
| UHF Frequency Range | 500 - 599 MHz (FCC compliant) |
| Wireless Range | Up to 260 feet |
| Microphone Form Factor | Handheld |
| Polar Pattern | Unidirectional (Cardioid) |
| Microphone Battery Type | Built-in Rechargeable Lithium Ion |
| Microphone Working Time | 8-10 Hours (fully charged) |
| Microphone Charging Time | 3-4 Hours |
| Receiver Material | Metal |
| Output Connectors | 4 x XLR (balanced), 1 x 1/4-inch (mixed), 1 x 1/8-inch (mixed) |
| Recommended Uses | Karaoke, Singing, Meetings, Parties, DJ, Church, Weddings |
| Compatible Devices | Amplifier, Audio Interface, Audio Mixer, Karaoke Machine, Speaker |
9. Warranty and Support
Genuine ZERFUN Wireless Microphone products come with supportive 24-Hours After-Sales Customer Service and a 12-month Manufacturer Assurance. For any inquiries or assistance, please contact ZERFUN customer support.


