
1. Important Safety Information
Warning: This product contains sharp edges. Use caution when handling and assembling. Heavy components may cause injury if not handled properly. Keep children and pets away from the greenhouse during assembly and use. The plastic cover may cause UV-related issues with prolonged exposure to sunlight. Always use the zipper door with caution to prevent entrapment or injury. Ensure the greenhouse is properly anchored and ventilated to prevent damage or injury.
- Always wear appropriate safety gear, such as gloves, during assembly.
- Ensure all connections are securely fastened before use.
- Do not climb on or hang from the greenhouse frame.
- In strong winds or severe weather, ensure the greenhouse is extra secured or consider temporary disassembly if necessary.
2. Product Overview
The VEVOR Walk-in Tunnel Greenhouse provides an ideal environment for cultivating plants, extending your growing season. It features a robust galvanized steel frame and a durable PE cover, designed for stability and plant protection.

Image 2.1: The VEVOR Walk-in Tunnel Greenhouse, showcasing its spacious interior and overall structure.
Key Features:
- Upgraded Heavy-Duty Galvanized Frame: Reinforced poles (1" diameter, 0.02" wall thickness) with diagonal bars, U-shaped stakes, and tie-downs for enhanced stability.
- Thick High-Density PE Cover: 140g/m² waterproof, sun-resistant, and insulating PE plastic cover with double-stitched seams and reinforced window seams. Extended edges can be weighted or buried for insulation.
- Spacious Walk-In Design: Dimensions of 14.60x6.36x6.30 ft (4.45x1.94x1.92 meters) provide ample space for various plants and easy access.
- Efficient Ventilation Design: Equipped with 8 windows and a large roll-up zipper door for optimal airflow. Windows feature velcro and mesh nets to deter pests.
- Versatile Use: Suitable for home gardens, farms, and small commercial planting needs.

Image 2.2: Interior view demonstrating the spacious walk-in design, allowing for easy access and plant maintenance.
3. Setup and Assembly
3.1 Pre-Assembly Checklist
- Verify all components are present according to the packing list.
- Ensure you have the necessary tools: 1 Allen Wrench, 1 Hex Wrench (included), and a pair of gloves (included).
- Choose a level, well-drained site for the greenhouse, away from strong winds and potential falling debris.
- Clear the assembly area of any obstacles.
3.2 Assembly Steps (General Guidance)
- Frame Assembly: Begin by connecting the base frame components. Follow the numbered parts in your specific instruction manual to assemble the galvanized steel pipes. Ensure all connections are tight.
- Arch Installation: Erect the arch sections, connecting them to the base frame. Pay attention to the orientation of each arch piece.
- Ridge Beam and Diagonal Braces: Install the ridge beams along the top of the arches and attach the diagonal braces for added structural integrity.
- Cover Placement: Carefully drape the PE cover over the assembled frame. It is recommended to have at least two people for this step to prevent tearing or damage. Ensure the door and window openings align correctly.
- Secure the Cover: Fasten the cover to the frame using the provided ties or straps. Ensure the extended edges of the cover are either weighted down with soil, rocks, or buried to enhance stability and insulation.
- Anchoring: Use the provided 4 ground stakes and 4 ropes to anchor the greenhouse securely to the ground. For sandy or loose soil, consider additional anchoring methods.

Image 3.1: Illustration of the upgraded galvanized pipe frame, highlighting the ridge beams and diagonal braces for stability.
4. Operating Instructions
4.1 Ventilation and Temperature Control
Proper ventilation is crucial for plant health and temperature regulation within the greenhouse.
- Windows: The greenhouse is equipped with 8 windows. Open them during warm periods to allow air circulation and prevent overheating. The mesh nets will help keep insects out.
- Roll-up Zipper Door: The large front door can be rolled up and secured to provide significant airflow. Use this feature on hot days or when working inside the greenhouse.
- Temperature Monitoring: Use a thermometer inside the greenhouse to monitor temperatures. Adjust ventilation as needed to maintain optimal growing conditions for your specific plants.

Image 4.1: Visual representation of the greenhouse's ventilation system, showing airflow through the 8 windows and the main door.
4.2 Seasonal Use
- Winter: The PE cover provides insulation to keep plants warm. Ensure all windows and the door are closed to retain heat. Consider additional heating sources if temperatures drop significantly.
- Summer: Maximize ventilation by opening all windows and the door to prevent excessive heat buildup. The UV-resistant cover helps protect plants from direct sun exposure.
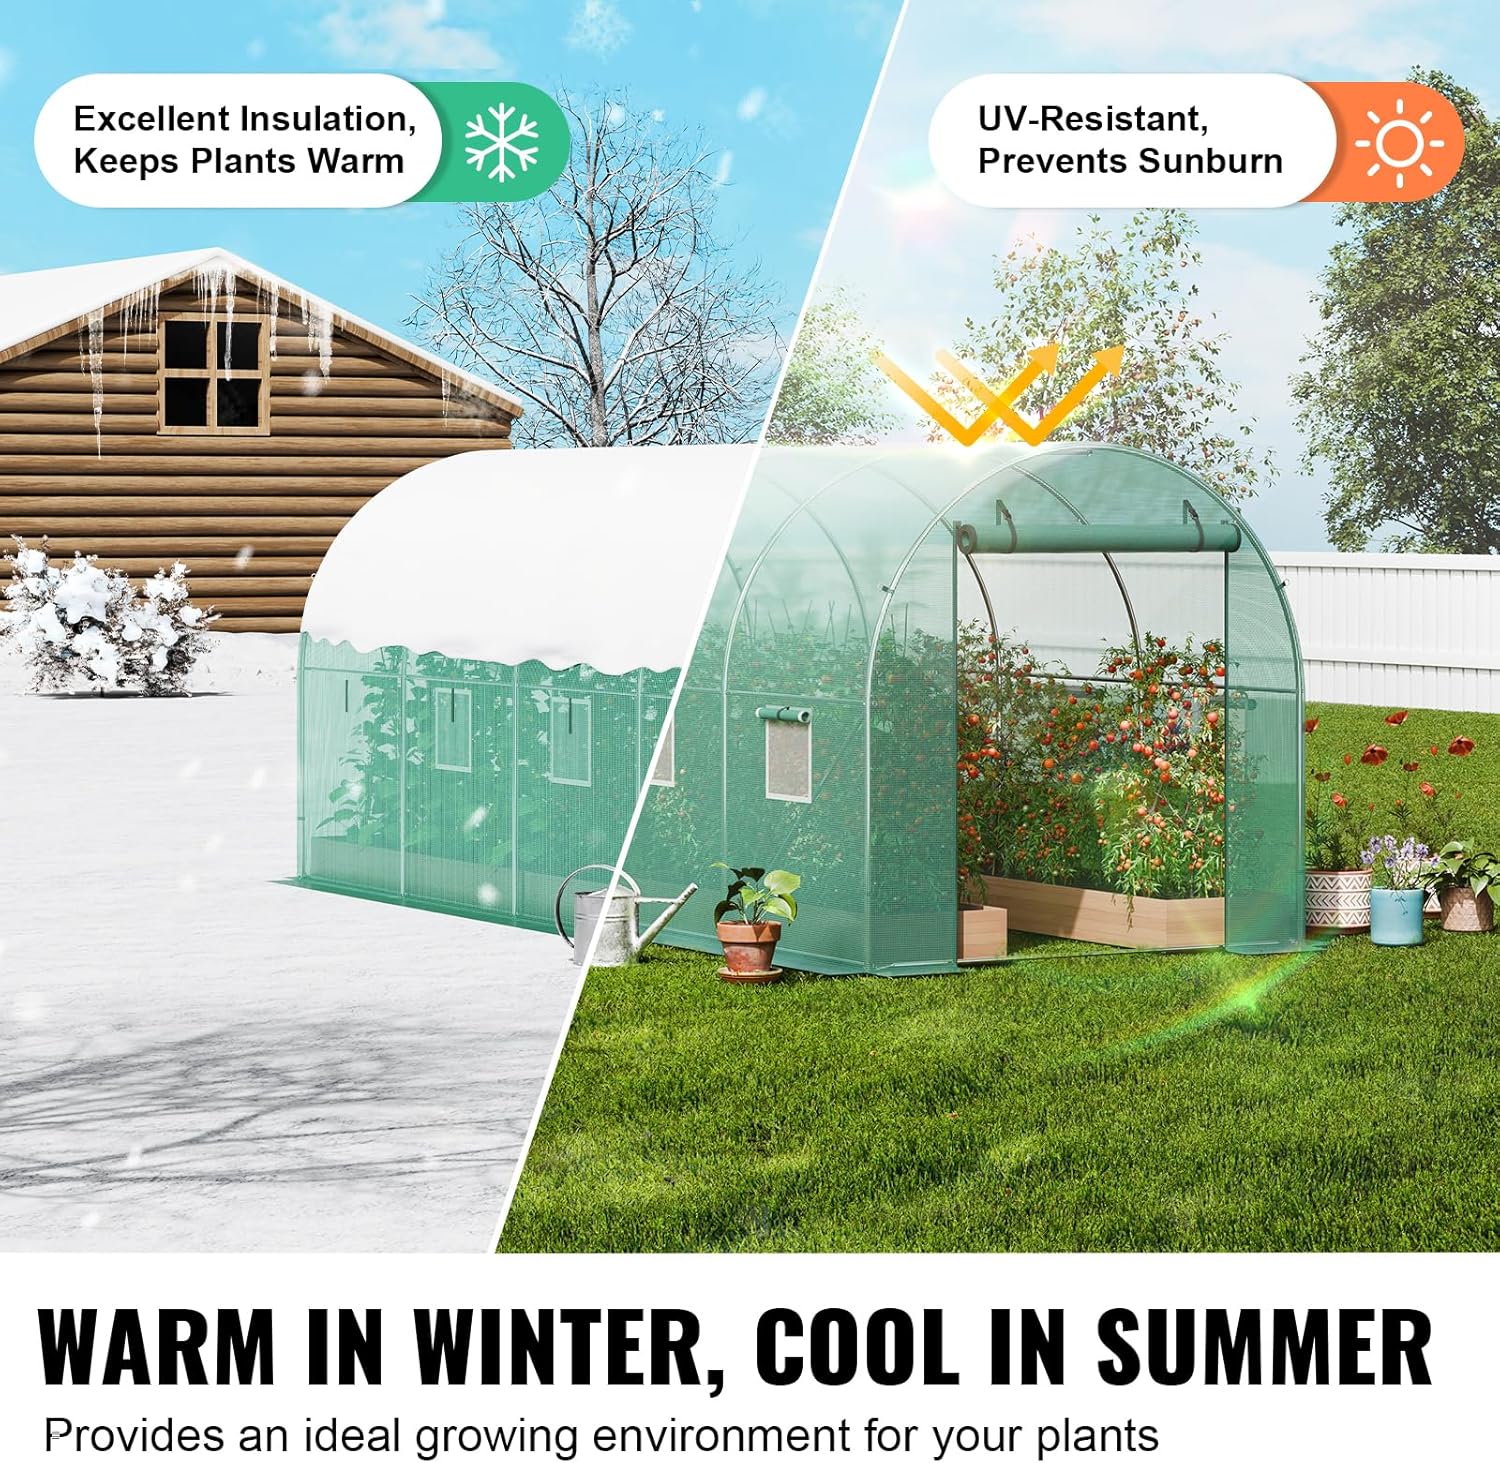
Image 4.2: Depiction of the greenhouse's ability to maintain warmth in winter and provide shade in summer, creating an ideal growing environment.
5. Maintenance
5.1 Cover Care
- Cleaning: Periodically clean the PE cover with mild soap and water to remove dirt, dust, and algae buildup, which can reduce light transmission. Rinse thoroughly.
- Inspection: Regularly inspect the cover for any tears, punctures, or signs of wear. Small tears can be repaired with greenhouse repair tape.
- Zipper Maintenance: Keep the zipper clean and lubricated to ensure smooth operation and prevent sticking.

Image 5.1: Detailed view of the PE cover's features, including its tear-resistant material, double-stitched seams for enhanced strength, and the upgraded zipper.
5.2 Frame Maintenance
- Corrosion Check: Although the frame is galvanized, regularly inspect for any signs of rust or corrosion, especially at connection points.
- Tighten Connections: Periodically check and tighten all bolts and connections to ensure the frame remains stable.
- Anchoring: Verify that ground stakes and ropes are still securely in place, especially after strong winds.
6. Troubleshooting
6.1 Common Issues and Solutions
- Issue: Greenhouse instability or movement in wind.
Solution: Ensure all ground stakes are fully inserted and ropes are taut. Consider adding additional weights (e.g., sandbags, bricks) to the extended cover edges. Verify all frame connections are tight. For very sandy soil, use larger or specialized ground anchors. - Issue: Cover tearing or developing holes.
Solution: Inspect for sharp edges on the frame that might be rubbing against the cover. Repair small tears immediately with greenhouse repair tape to prevent them from enlarging. Ensure the cover is not overly stretched during installation. - Issue: Zipper sticking or difficult to operate.
Solution: Clean the zipper teeth with a brush to remove dirt or debris. Apply a silicone-based lubricant or zipper wax to the teeth. Avoid forcing the zipper. - Issue: Excessive heat buildup inside the greenhouse.
Solution: Maximize ventilation by opening all windows and rolling up the main door. Consider adding a shade cloth over the greenhouse during peak summer hours. - Issue: Water pooling on the roof.
Solution: Ensure the cover is taut and properly secured to the frame, allowing water to run off. Check that the frame structure, especially the ridge beams, is correctly assembled and not sagging.
7. Specifications
Detailed specifications for the VEVOR Walk-in Tunnel Greenhouse, Model 2x4.5x2m (4) G.

Image 7.1: Overview of product dimensions and a list of included accessories.
| Specification | Detail |
|---|---|
| Model Number | 2x4.5x2m (4) G |
| Product Dimensions (L x W x H) | 14.6 x 6.4 x 6.3 ft (445 x 194 x 192 cm) |
| Item Weight | 40.8 lbs (18.5 kg) |
| Frame Material | Galvanized Steel |
| Nominal Wall Thickness (Poles) | 0.02 inches (0.5 mm) |
| Cover Material | 140g/m² Polyethylene (PE) |
| Number of Doors | 1 (Roll-up Zipper Door) |
| Number of Vents/Windows | 8 (with mesh nets) |
| Color | Green |
| UPC | 197988415244 |
| Included Accessories | 1 Instruction Manual, 4 Ropes, 2 Gloves, 4 Ground Stakes, 1 Allen Wrench, 1 Hex Wrench |
8. Warranty and Support
For any questions regarding your VEVOR Walk-in Tunnel Greenhouse, including assembly, operation, or parts replacement, please contact VEVOR customer support. Refer to your purchase documentation for specific warranty details.
- Online Support: Visit the official VEVOR website for FAQs and support resources.
- Contact Information: Refer to the contact details provided with your product packaging or on the VEVOR website.