Introduction
The Fix-A-Floor Squeezy All-in-One Repair Adhesive is designed for repairing loose, hollow, and creaky flooring. This product is suitable for various floor types including ceramic, porcelain, marble, stone, wood, laminate, LVT (Luxury Vinyl Tile), LVP (Luxury Vinyl Plank), and vinyl plank. Its low viscosity formula allows for effective penetration and strong bonding between the flooring and the substrate. This manual provides detailed instructions for proper use and application.
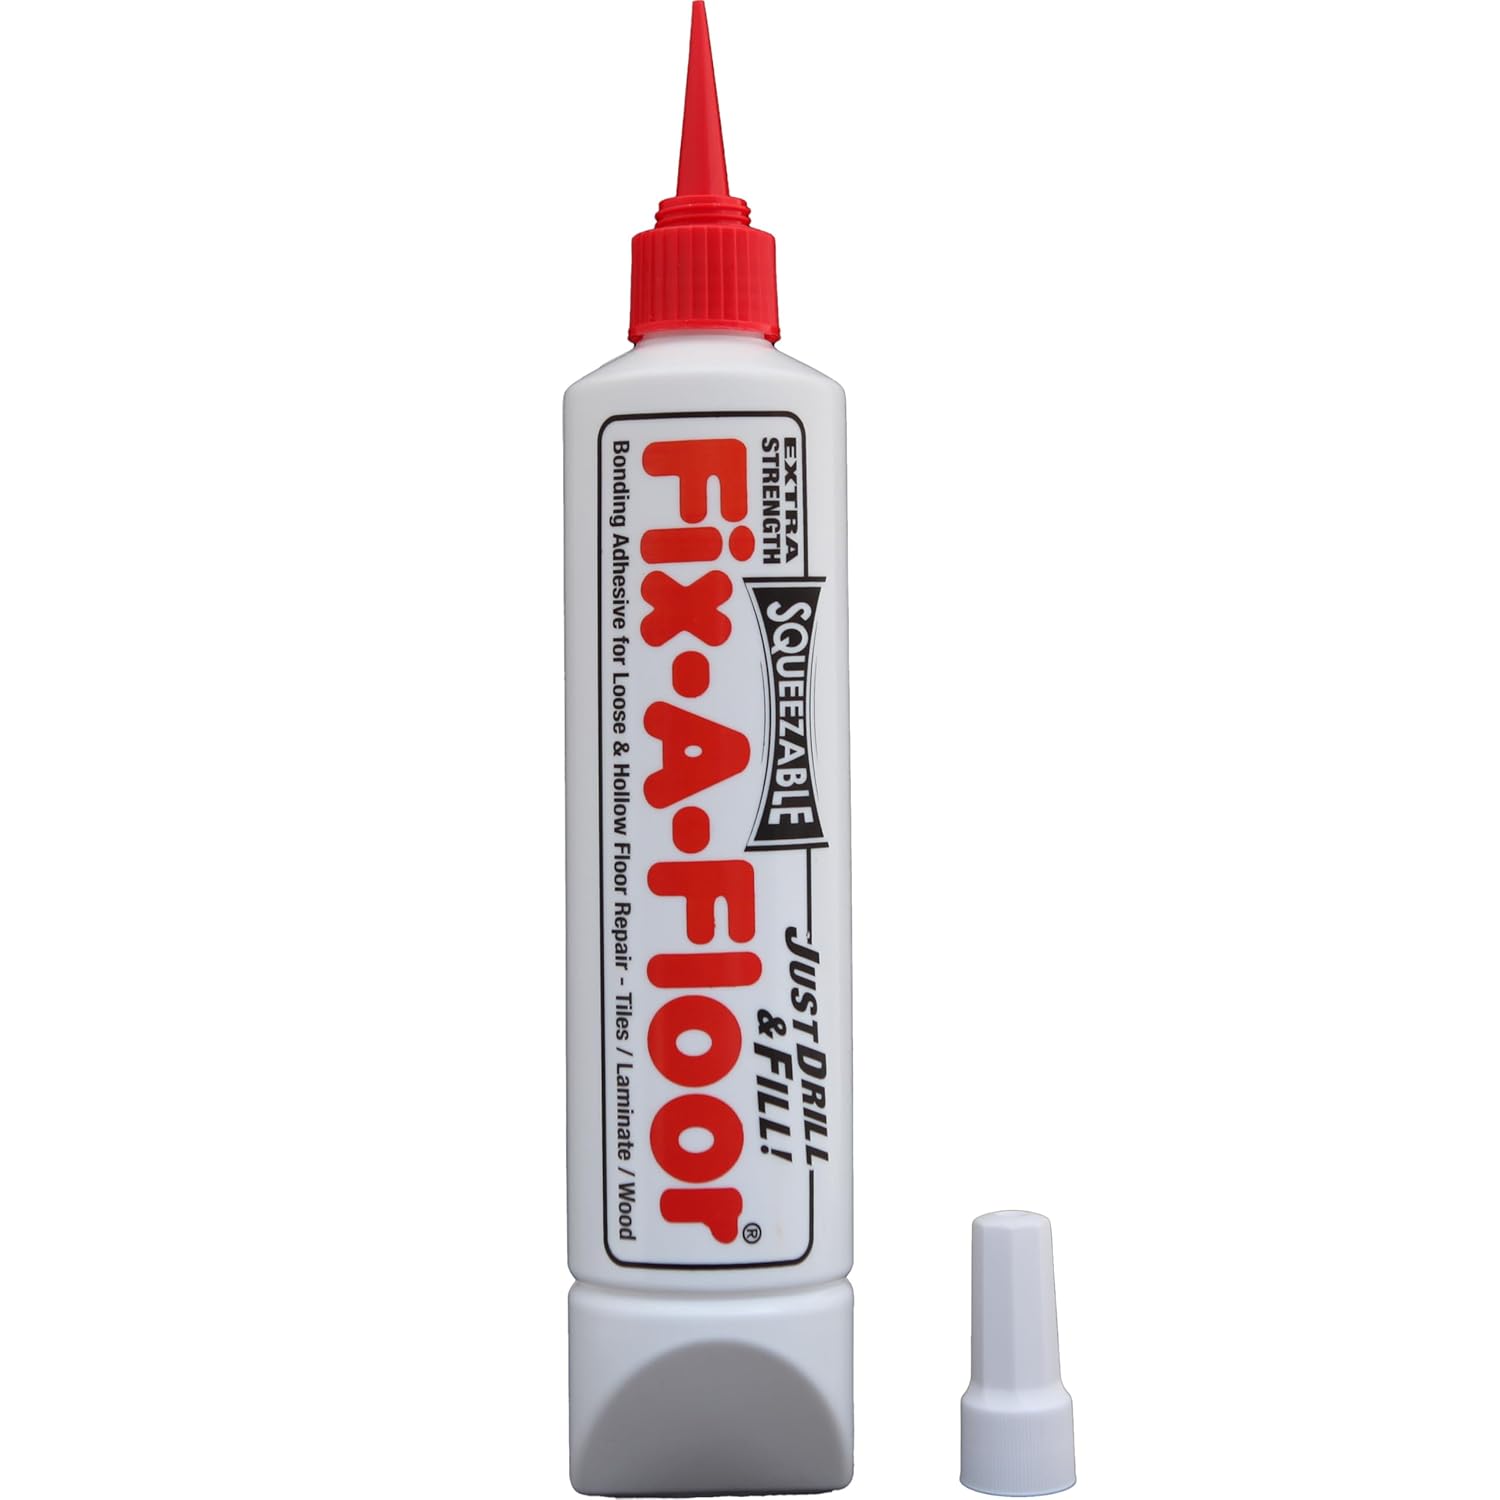
Image: The Fix-A-Floor Squeezy All-in-One Repair Adhesive bottle with its precision tip and cap.
Safety Information
- Always wear appropriate personal protective equipment, such as gloves and eye protection, during application.
- Ensure adequate ventilation in the work area.
- Keep out of reach of children and pets.
- Avoid contact with skin and eyes. In case of contact, rinse thoroughly with water.
- Do not ingest. If swallowed, seek immediate medical attention.
- Dispose of product and packaging according to local regulations.
What's in the Box
Each package of Fix-A-Floor Squeezy All-in-One Repair Adhesive contains:
- One (1) Fix-A-Floor 300ml Adhesive Bottle
- One (1) Stay-Fresh Cap
- One (1) Precision Tip
Preparation
- Locate Loose/Hollow Areas: Carefully walk across the floor to identify areas that sound hollow or feel loose. Mark these areas for repair.
- Clean the Surface: Ensure the floor surface is clean, dry, and free from dust, dirt, grease, or any other contaminants that could hinder adhesion.
- Drill Holes (if necessary): For tile, wood, or laminate flooring, drill small, inconspicuous holes (approximately 1/8 inch or 3mm) into the grout lines or directly into the flooring in the center of the loose area. The number of holes depends on the size of the area to be repaired. Ensure the drill bit does not penetrate too deeply into the subfloor.
- Prepare the Precision Tip: The precision tip can be customized. Using scissors, cut the tip to the desired opening size, starting with a smaller opening and enlarging if needed for better flow.

Image: A person indicating a loose or hollow area on a tiled floor.

Image: A drill being used to create a small hole in a tile for adhesive injection.

Image: Scissors being used to trim the precision tip of the adhesive bottle to the desired size.
Application Instructions
- Inject Adhesive: Insert the prepared precision tip into the drilled hole or directly into the seam of loose LVT/LVP/vinyl plank flooring. Gently squeeze the bottle to inject the adhesive. Continue injecting until the adhesive begins to seep out of adjacent holes or seams, indicating the void is filled.
- Clean Excess Adhesive: Immediately wipe away any excess adhesive from the surface with a damp cloth or sponge before it dries.
- Apply Weight: Place a heavy object (e.g., books, buckets of water, weights) over the repaired area to apply consistent pressure. This ensures proper contact and bonding while the adhesive cures.
- Curing Time: Allow the adhesive to cure for 5-24 hours. Curing time may vary depending on temperature, humidity, and the amount of adhesive applied. Avoid walking on or disturbing the repaired area during this period.
- Remove Weight and Patch Holes: After the curing time, remove the weights. If holes were drilled, fill them with appropriate grout, wood filler, or a matching repair compound.
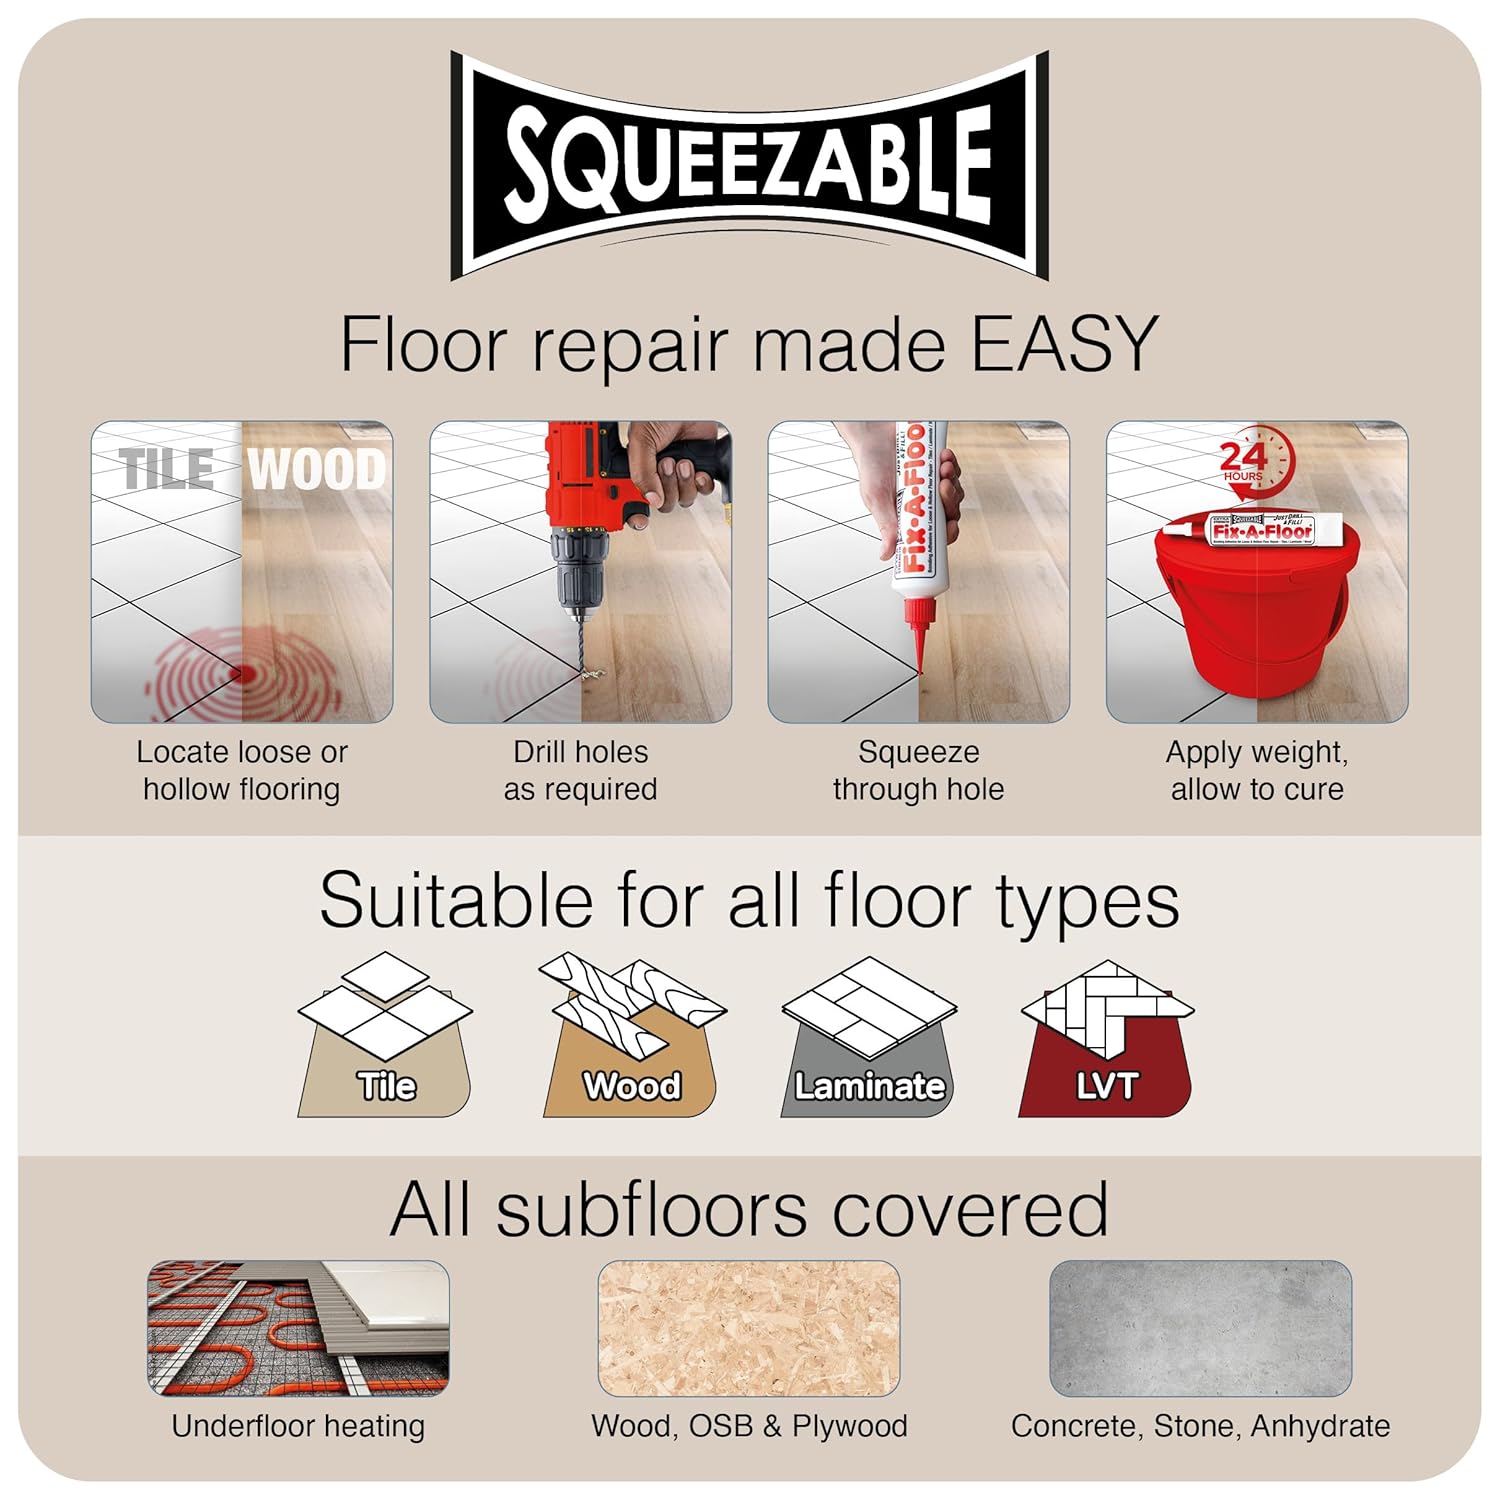
Image: A hand squeezing the Fix-A-Floor adhesive into a gap in the flooring.

Image: A person placing a bucket filled with water on a repaired floor area to apply weight during curing.
Maintenance
Once cured, the Fix-A-Floor adhesive provides a durable bond. Regular cleaning of your flooring can continue as usual. Avoid exposing the repaired area to excessive moisture or harsh chemicals immediately after application.
Troubleshooting
| Problem | Possible Cause | Solution |
|---|---|---|
| Adhesive not flowing | Tip too small or clogged; adhesive too cold. | Enlarge tip opening; clear any blockage; warm adhesive to room temperature. |
| Flooring still loose after curing | Insufficient adhesive applied; inadequate weight/pressure during curing; void too large. | Reapply adhesive, ensuring voids are fully filled; ensure consistent, heavy pressure during curing; consider professional assistance for very large voids. |
| Adhesive not curing properly | Low temperature or high humidity; insufficient curing time. | Ensure room temperature is within recommended range (typically 60-80°F / 15-27°C); allow full 24 hours for curing, especially in cooler or humid conditions. |
| Adhesive residue on surface | Excess adhesive not wiped immediately. | Wipe immediately with a damp cloth. If dried, carefully scrape with a plastic scraper or use a suitable adhesive remover, testing in an inconspicuous area first. |
Specifications
- Product Dimensions: 10.63 x 1.97 x 1.57 inches
- Item Weight: 11.29 ounces
- Model Number: FIXSQ1
- Material: Vinyl Acetate Copolymer
- Item Form: Liquid
- Special Features: Non-Toxic, Self-Leveling, Strong Bond
- Specific Uses: Repairs loose tiles, hollow tiles, laminate floors, LVT floors, LVP floors, creaky wood floors. Suitable for underfloor heated areas.
Warranty and Support
For information regarding product warranty or technical support, please refer to the manufacturer's official website or contact their customer service department. Contact details are typically provided on the product packaging or the brand's online resources.


