
Retevis RT17
Retevis RT17 Walkie Talkies User Manual
Model: RT17 | Brand: Retevis
Introduction
The Retevis RT17 Walkie Talkies are designed for reliable and efficient communication in various environments, including school security, warehousing, retail, and clinics. This manual provides comprehensive instructions for setting up, operating, maintaining, and troubleshooting your RT17 radios and the accompanying 6-way multi-gang charger.
What's in the Box
- 6x RT17 Walkie Talkies
- 6x Batteries
- 1x Six-way Charger
- 1x AC Adapter and DC Adapter
- 6x Earpieces
- 6x Hand Straps
- 6x Belt Clips
- User Manual

Product Features
- Efficient Charging: The six-way charger allows simultaneous charging of up to 6 radios or batteries, enhancing operational efficiency.
- Intuitive Charging Indicators: Five LED indicators provide clear status updates on charging progress, ensuring you know when charging is complete.
- Multi-Protections: Built-in safeguards against overcurrent, overheating, short-circuit, and overcharge ensure safe and reliable charging.
- Rugged Design: Constructed from high-strength materials, the walkie talkies are designed to withstand drops and impacts, suitable for demanding work environments.
- Earpiece with Microphone: Included earpieces offer comfortable wear and facilitate clear, private communication.
- Easy to Use: License-free operation with 16 channels, compatible with other FRS radios on the same channel and CTCSS/DCS codes.
- Long Range Communication: Equipped with long antennas for strong signal penetration, enabling stable communication over extended distances.
- Long Battery Life: Built-in 1200mAh battery provides 10-12 hours of continuous use, supporting all-day operation.
Setup
1. Charging the Radios
Before first use, fully charge the radio batteries. The RT17 comes with a convenient 6-way multi-gang charger. Insert the radios or individual batteries into the charging slots. The LED indicators on the charger will show the charging status.
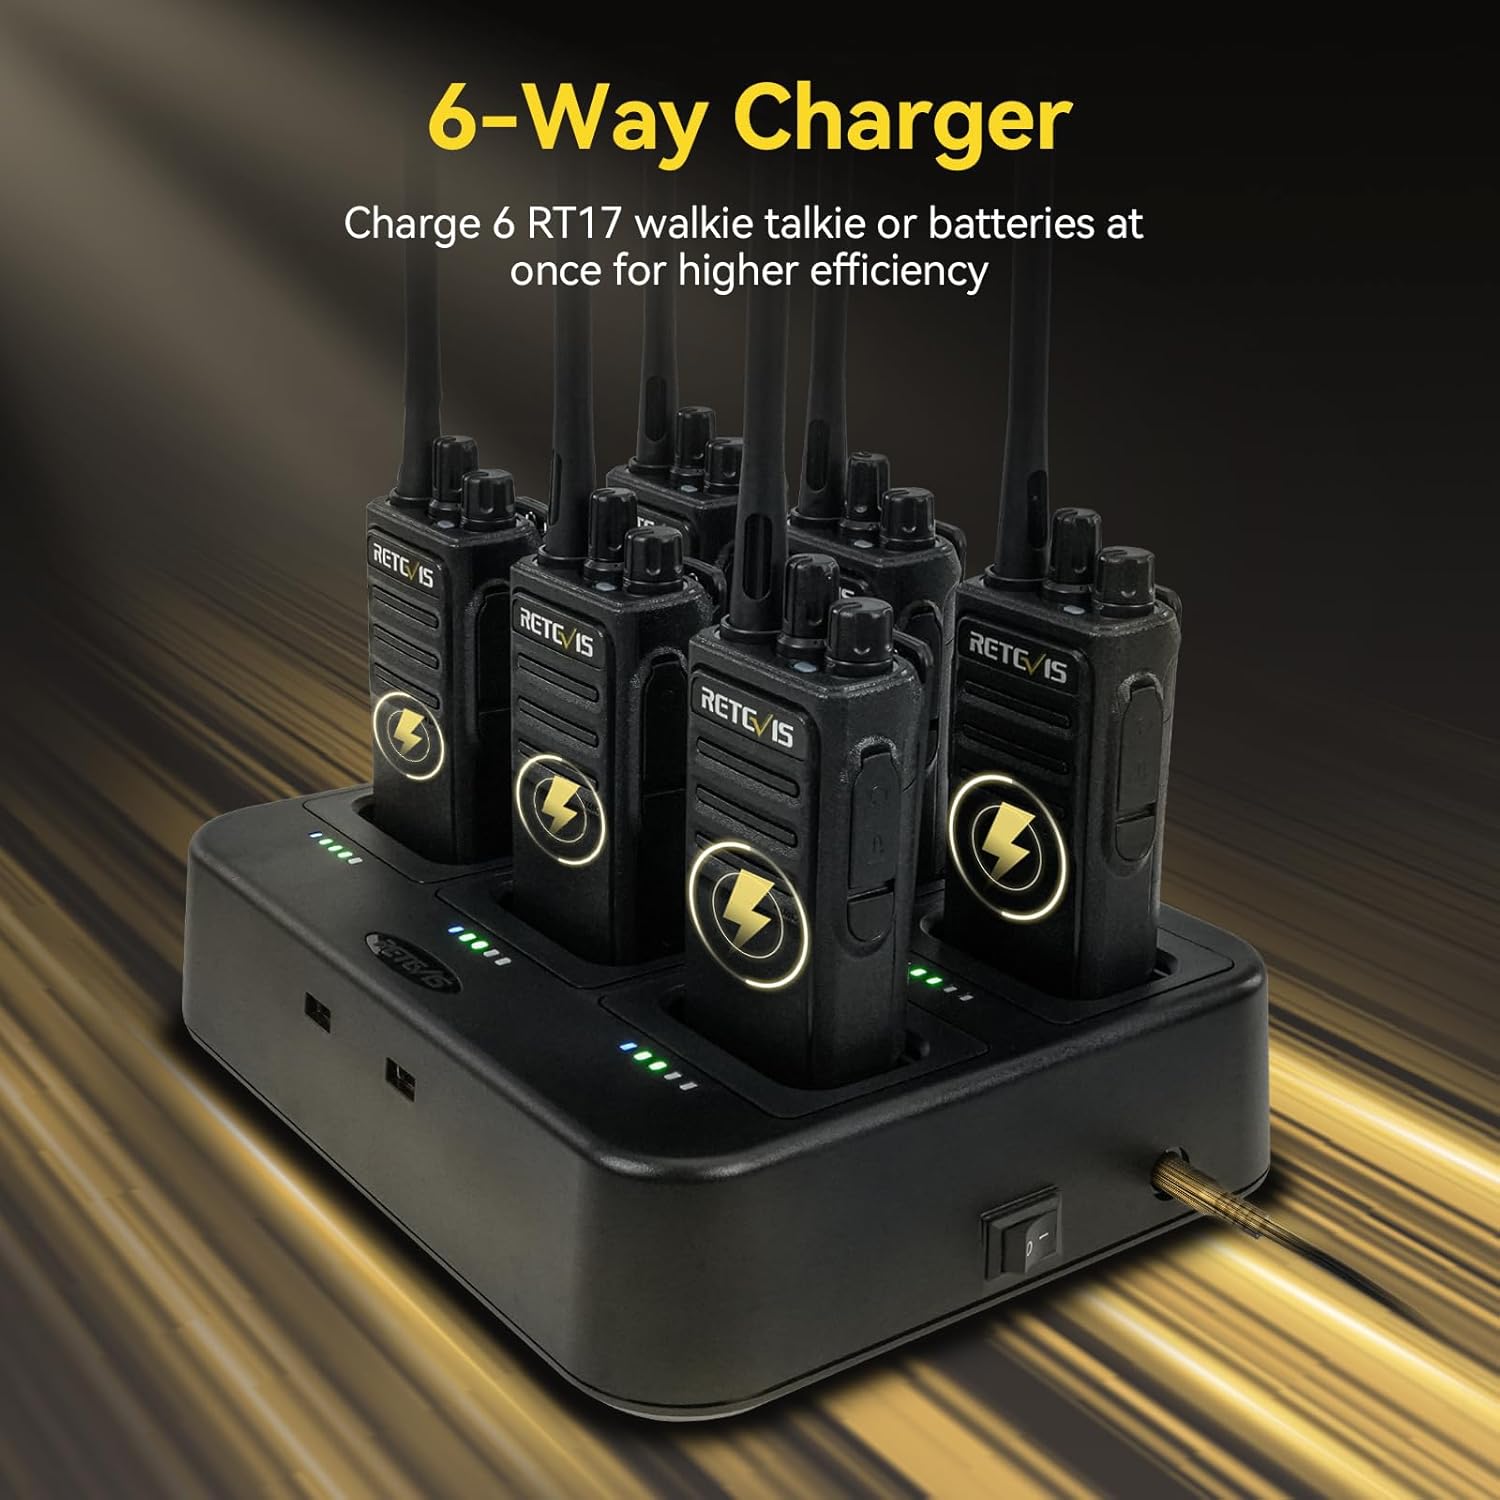

For a visual guide on efficient charging, please refer to the video below:
Video: Demonstrates the efficient charging process of the Retevis RT17 walkie talkies using the 6-way multi-gang charger, showing how to insert and remove radios for charging.
2. Assembling the Radio
Attach the battery to the back of the radio until it clicks into place. Screw the antenna clockwise onto the top of the radio. If desired, attach the belt clip to the back of the radio and connect the earpiece to the K 2-pin connector port on the side of the radio.

Operating Instructions
1. Power On/Off
To power on the radio, rotate the power/volume knob clockwise until you hear a click. To power off, rotate the knob counter-clockwise until it clicks.
2. Channel Selection
The RT17 features 16 channels. Use the channel selector knob on top of the radio to choose your desired channel. Ensure all radios in your group are set to the same channel for communication.
3. Adjusting Volume
Rotate the power/volume knob clockwise to increase the volume and counter-clockwise to decrease it.
4. Transmitting and Receiving
To transmit, press and hold the Push-to-Talk (PTT) button on the side of the radio. Speak clearly into the microphone. Release the PTT button to receive. Ensure you wait for the channel to be clear before transmitting.
5. Using the Earpiece
Once the earpiece is connected, audio will be routed through it. The earpiece typically includes an inline microphone and PTT button for convenient hands-free operation.
6. Squelch Function
The RT17 features a squelch function to reduce background noise and improve call clarity. This automatically mutes the speaker when no signal is present, preventing static. The squelch level can typically be adjusted for optimal performance in different noise environments.

7. CTCSS/DCS Codes
To prevent interference from other users on the same channel, the RT17 supports CTCSS (Continuous Tone-Coded Squelch System) and DCS (Digitally Coded Squelch) codes. If your group uses these codes, ensure your radios are programmed with the same channel and CTCSS/DCS settings.

Maintenance
Proper maintenance ensures the longevity and optimal performance of your Retevis RT17 walkie talkies.
- Cleaning: Use a soft, damp cloth to clean the radio's exterior. Avoid using harsh chemicals or abrasive cleaners.
- Battery Care: Always use the provided charger. Do not expose batteries to extreme temperatures. If storing radios for an extended period, ensure batteries are partially charged and remove them from the radio if possible.
- Storage: Store radios in a cool, dry place away from direct sunlight and moisture.
- Durability: The RT17 is built with a rugged design to withstand daily use and minor impacts. However, avoid unnecessary drops or rough handling.

Troubleshooting
| Problem | Possible Cause | Solution |
|---|---|---|
| Radio does not power on | Battery is dead or not properly installed. | Charge the battery fully. Ensure the battery is securely attached. |
| Cannot transmit or receive | Incorrect channel or CTCSS/DCS code. Out of range. | Verify all radios are on the same channel and using the same CTCSS/DCS. Move closer to the other radio. |
| Poor audio quality / Static | Weak signal. Squelch level too low. Interference. | Move to an open area. Adjust squelch level. Check for sources of interference. |
| Battery drains quickly | Battery old or not fully charged. High power usage. | Ensure battery is fully charged before use. Consider replacing old batteries. |
Specifications
| Feature | Detail |
|---|---|
| Model Number | RT17 |
| Item Weight | 6.18 pounds (total package) |
| Product Dimensions | 1.37 x 1.96 x 4.56 inches (per radio) |
| Batteries | 6 Lithium Ion batteries required (included) |
| Number of Channels | 16 |
| Frequency Range | 136-174 MHz or 400-470 MHz |
| Talking Range Maximum | 5 Miles (optimal conditions) |
| Tuner Technology | FRS |
| Voltage | 3.7 Volts |
| Water Resistance Level | Water Repellent |
| Color | Black |
Warranty and Support
Retevis provides a 2-year warranty for the radio body and a 1-year warranty for accessories. We offer 30 days no-reason return. Beyond the warranty period, maintenance services are still available, with buyers responsible for associated costs. For any inquiries or support, please contact Retevis customer service on Amazon. We aim to respond within 12 hours.
Related documentsRT17


Ask a question about this manual
Ask about setup, troubleshooting, compatibility, parts, safety, or missing instructions. Manuals+ will review the question and use this page’s manual context to help answer it.