1. Introduction
The MSI PRO Z790-P WiFi ProSeries Motherboard is engineered to support 12th, 13th, and 14th Gen Intel Processors with an LGA 1700 socket. It features DDR5 memory support, PCIe 5.0, and advanced connectivity options including Wi-Fi 6E and Bluetooth 5.3. This manual provides essential information to help you set up, operate, and maintain your motherboard.
Product Overview
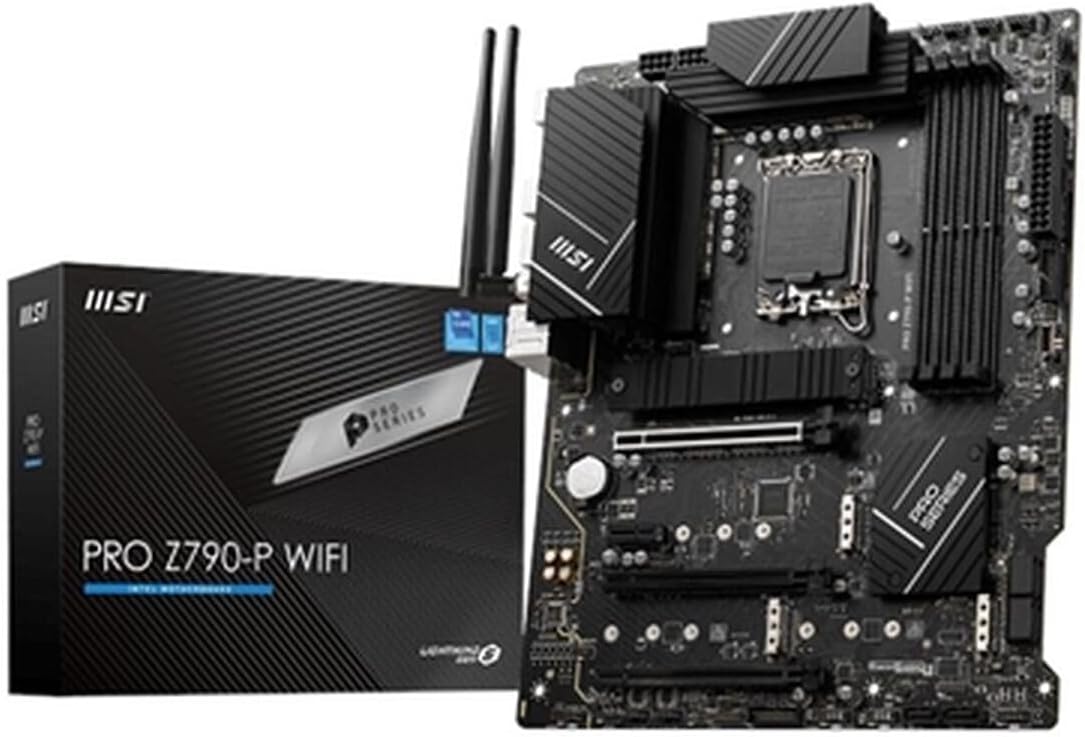
Figure 1.1: MSI PRO Z790-P WiFi ProSeries Motherboard and packaging.
The MSI PRO Z790-P WiFi ProSeries Motherboard is designed for robust performance and high reliability, making it suitable for both professional and enthusiast builds. Its ATX form factor ensures compatibility with a wide range of PC cases.
Key Features
- Supports Latest Processors: Compatible with 12th, 13th, and 14th Gen Intel processors, ensuring future-proof performance.
- DDR5 Memory Ready: Equipped with four DDR5 memory slots, supporting up to 128GB for enhanced multitasking and data-intensive applications.
- PCIe 5.0 Support: Experience blazing-fast data transfer rates with the latest PCIe 5.0 interface.
- Advanced Connectivity: Features 2.5Gbps LAN, USB 3.2 Gen2, HDMI, and DisplayPort for seamless connectivity.
- Wi-Fi 6E & Bluetooth 5.3: Enjoy high-speed wireless connectivity with Wi-Fi 6E and Bluetooth 5.3, ensuring smooth streaming and low-latency gaming.
2. Setup Guide
Before You Begin
Before beginning the installation process, ensure you have a clean, static-free workspace. It is recommended to wear an anti-static wrist strap to prevent electrostatic discharge (ESD) damage to components. Unpack all components carefully and verify that all accessories listed in the product packaging are present.
Component Identification
Familiarize yourself with the layout of the motherboard and its various connectors and slots.

Figure 2.1: Top-down view of the motherboard highlighting key components.

Figure 2.2: Rear I/O ports for external device connections.
Installation Steps
- Install the I/O Shield: Before installing the motherboard into the PC case, ensure the I/O shield is properly snapped into the case's rear opening. This shield protects the rear ports and helps with airflow.
- Prepare the Motherboard: Place the motherboard on a non-conductive surface. Install the CPU into the LGA 1700 socket, aligning the triangular markers on both the CPU and the socket. Secure the CPU retention arm.
- Install CPU Cooler: Attach your compatible CPU cooler according to its manufacturer's instructions. Ensure proper thermal paste application for optimal heat dissipation.
- Install Memory (RAM): Open the clips on the DDR5 DIMM slots. Align the memory modules with the slots, ensuring the notch on the module matches the key in the slot. Press firmly on both ends until the clips snap into place. For dual-channel performance, install modules in matching color slots (e.g., A2 and B2).
- Install M.2 SSDs: Locate the M.2 slots on the motherboard. Remove the M.2 Shield Frozr heatsink if present. Insert the M.2 SSD at an angle and then gently push it down, securing it with the provided screw or M.2 Locker. Reattach the heatsink if applicable.
- Install Motherboard into Case: Carefully place the motherboard into the PC case, aligning the screw holes with the standoffs. Secure the motherboard with screws.
- Connect Power Cables: Connect the 24-pin ATX main power connector and the 8-pin (or 4+4 pin) CPU power connector from your power supply to the corresponding ports on the motherboard.
- Connect Front Panel Cables: Connect the front panel headers (Power LED, HDD LED, Power Switch, Reset Switch) to the JFP1 header on the motherboard. Refer to the motherboard manual for the exact pinout.
- Connect USB and Audio Cables: Connect the front panel USB 2.0, USB 3.2 Gen1, and USB 3.2 Gen2 Type-C headers, as well as the HD Audio header, to their respective ports on the motherboard.
- Install Graphics Card (Optional): If using a dedicated graphics card, insert it into the primary PCIe 5.0 x16 slot until it clicks into place. Secure it with the case's retention mechanism and connect any necessary PCIe power cables from the power supply.
- Connect SATA Drives: Connect your SATA SSDs or HDDs to the SATA 6Gbps ports on the motherboard using SATA data cables. Connect SATA power cables from your power supply to the drives.
- Install Wi-Fi Antennas: Screw the included Wi-Fi antennas onto the corresponding connectors on the rear I/O panel.
3. Operating Instructions
First Boot and BIOS Setup
After assembling your system, connect your monitor, keyboard, and mouse. Power on the system. During the initial boot, press the DEL key repeatedly to enter the BIOS/UEFI setup utility. Here, you can configure boot order, system time, and various hardware settings. Save and exit the BIOS after making any changes.
Operating System and Driver Installation
Once the BIOS is configured, you can proceed with installing your preferred operating system (e.g., Windows, Linux). After the OS installation, install the necessary drivers for your motherboard components. Drivers can be found on the included DVD or downloaded from the official MSI website. It is highly recommended to install the latest chipset, LAN, audio, and Wi-Fi/Bluetooth drivers for optimal performance and stability.
4. Maintenance
Cleaning
Regularly clean your PC components, including the motherboard, to prevent dust buildup which can lead to overheating and performance issues. Use compressed air to remove dust from heatsinks, fans, and other components. Ensure the system is powered off and unplugged before cleaning.
BIOS Updates
Periodically check the MSI website for BIOS updates. BIOS updates can improve system stability, add support for new hardware, or fix bugs. Follow the instructions provided by MSI carefully when updating the BIOS to avoid potential issues.
Driver Updates
Keep your drivers updated to ensure compatibility and optimal performance with your operating system and applications. Visit the MSI support website regularly to download the latest drivers for your motherboard.
5. Troubleshooting
This section provides solutions to common issues you might encounter.
- No Power/No Boot:
- Ensure all power cables (24-pin ATX, 8-pin CPU, GPU PCIe) are securely connected.
- Verify the power supply is switched on and the wall outlet is functional.
- Check front panel connections (Power Switch) to the motherboard.
- No Display:
- Ensure the monitor cable is securely connected to the graphics card or motherboard (if using integrated graphics).
- Reseat the graphics card and memory modules.
- If using a dedicated GPU, ensure it is properly seated and has sufficient power.
- Memory Errors:
- Ensure RAM modules are fully seated in their slots.
- Try booting with one RAM stick at a time to identify a faulty module or slot.
- Refer to the motherboard's QVL (Qualified Vendor List) for compatible memory.
- M.2 SSD Not Detected:
- Ensure the M.2 SSD is correctly installed and secured.
- Check BIOS settings to ensure the M.2 slot is enabled and configured correctly (e.g., PCIe mode).
For more detailed troubleshooting or persistent issues, please visit the official MSI support website or contact their customer service.
6. Technical Specifications
| Feature | Specification |
|---|---|
| Brand | MSI |
| Model Name | PRO Z790-P WiFi ProSeries |
| CPU Socket | LGA 1700 |
| Compatible Processors | Intel Core i5 (12th Gen), Intel Core i7 (12th Gen), Intel Core i5 (13th Gen), Intel Core i7 (13th Gen), Intel Core i9 (14th Gen) |
| Chipset Type | Intel Z790 |
| RAM Memory Technology | DDR5 |
| RAM Memory Maximum Size | 128 GB |
| Memory Support | 4 DIMMs, Dual Channel DDR5 |
| Expansion Slots | 1x PCIe 5.0 x16 slot, 1x PCIe 4.0 x16 slot, 2x PCIe 3.0 x1 slots |
| Storage | 4x M.2 Gen4 x4 64Gbps slots, 6x SATA 6Gbps ports |
| USB Ports | 1x USB 3.2 Gen 2x2 20Gbps (Type-C), 2x USB 3.2 Gen 2 10Gbps (Type-A + Type-C), 4x USB 3.2 Gen 1 5Gbps (Type-A), 8x USB 2.0 |
| LAN | Intel 2.5G LAN |
| Wireless/Bluetooth | Intel Wi-Fi 6E, Bluetooth 5.3 |
| Audio | 8-Channel (7.1) HD Audio with Audio Boost |
| Display Interface | Support 4K@60Hz as specified in HDMI 2.1, DisplayPort 1.4 - Requires Processor Graphics |
| Product Dimensions | 5.91 x 1.57 x 5.91 inches |
| Item Weight | 1.25 pounds |
7. Warranty and Support
This MSI PRO Z790-P WiFi ProSeries Motherboard (Renewed) comes with a 90-day refund/replacement return policy from the date of purchase. For specific warranty terms and conditions, please refer to the documentation provided with your product or visit the official MSI website.
For technical support, driver downloads, and BIOS updates, please visit the official MSI support website at www.msi.com. You can also register your product for warranty and access additional resources.