1. Introduction
This instruction manual provides essential information for the safe and effective use, installation, and maintenance of your BAIWANN C 4-2 Battery Trimmer Head. This product is designed as a direct replacement for the original trimmer head on STIHL FSA 65 and FSA 85 battery-powered trimmers. Please read this manual thoroughly before installation and operation to ensure proper function and safety.
2. Important Safety Information
Always observe basic safety precautions when using power tools and accessories. Failure to follow these instructions may result in serious injury.
- Read the Trimmer Manual: Always refer to the original instruction manual for your STIHL FSA 65 or FSA 85 battery trimmer for comprehensive safety guidelines.
- Personal Protective Equipment (PPE): Always wear appropriate PPE, including eye protection (safety glasses or goggles), hearing protection, long pants, sturdy footwear, and gloves when operating the trimmer.
- Disconnect Power: Before performing any installation, maintenance, or inspection on the trimmer head, ensure the battery is removed from the trimmer to prevent accidental startup.
- Inspect Before Use: Before each use, inspect the trimmer head for any signs of damage, cracks, or excessive wear. Do not use if damaged.
- Use Correct Line: Only use trimmer line of the specified diameter and type for your trimmer head.
- Keep Bystanders Away: Ensure that other people and pets are kept at a safe distance (at least 50 feet/15 meters) from the operating area.
- Avoid Obstacles: Be aware of hidden obstacles such as rocks, metal objects, or debris that could be thrown by the rotating line.
3. Package Contents and Parts Identification
Your package should contain one BAIWANN C 4-2 Battery Trimmer Head.

Figure 1: The BAIWANN C 4-2 Battery Trimmer Head as it appears in its retail packaging.
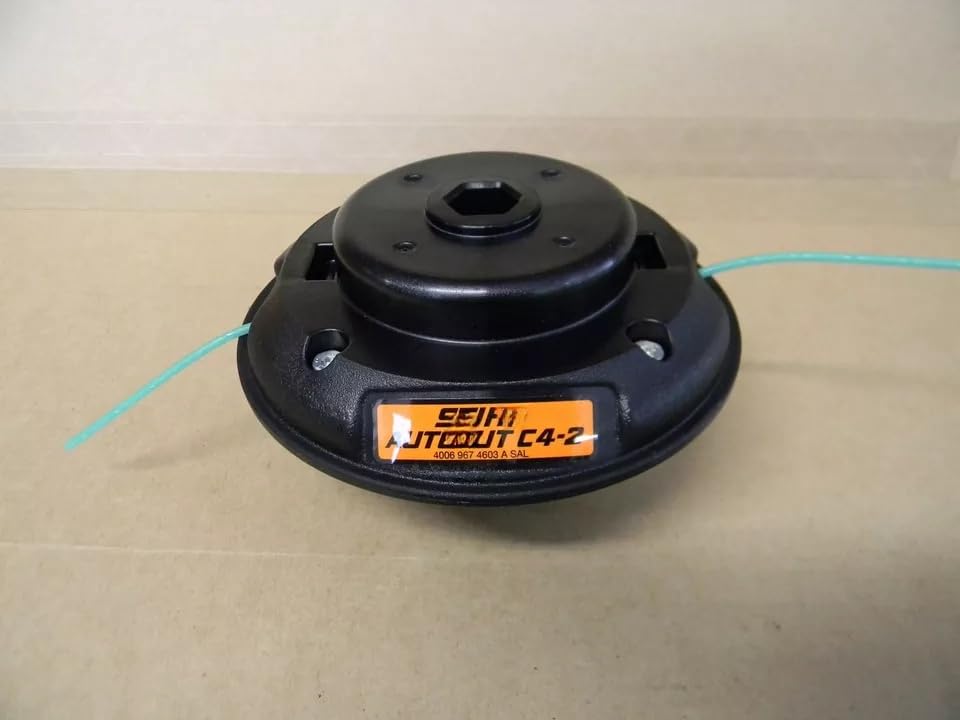
Figure 2: Top view of the C 4-2 Trimmer Head, showing the line exit points and central attachment mechanism.
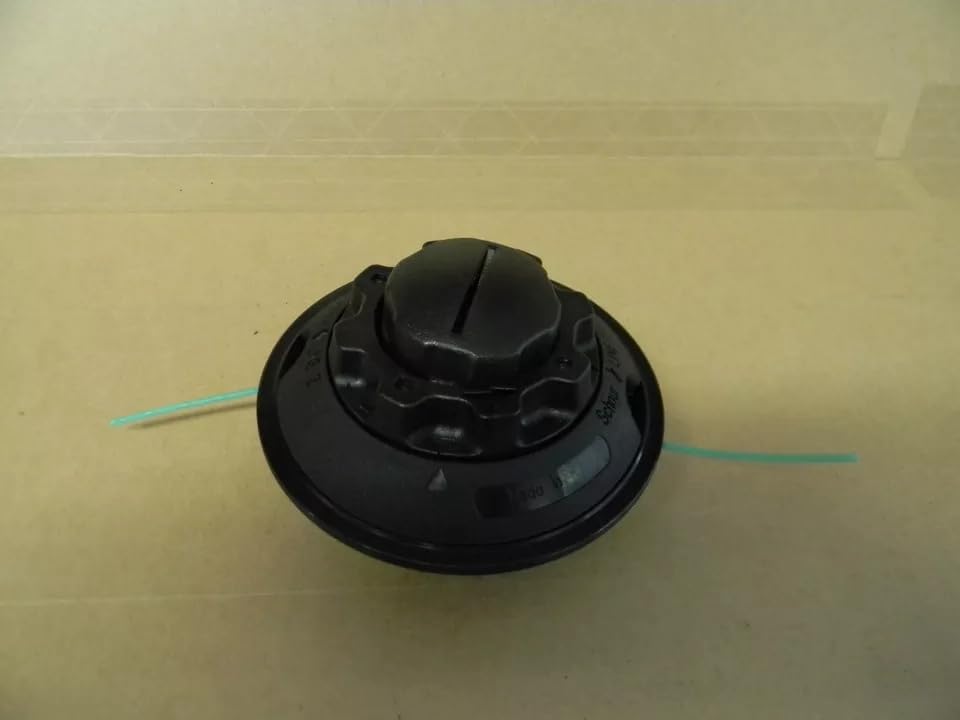
Figure 3: Bottom view of the C 4-2 Trimmer Head, illustrating the bump feed mechanism and line guides.
4. Setup and Installation
Follow these steps to properly install the BAIWANN C 4-2 Trimmer Head onto your STIHL FSA 65 or FSA 85 battery trimmer.
- Ensure Safety: Before beginning, ensure the battery is removed from your STIHL trimmer to prevent accidental activation.
- Remove Old Head: If an old trimmer head is installed, follow the instructions in your STIHL trimmer manual to safely remove it. Typically, this involves holding the shaft to prevent rotation and unscrewing the head.
- Clean Shaft: Clean any debris or grass buildup from the trimmer shaft and mounting area.
- Align and Attach: Align the central opening of the BAIWANN C 4-2 Trimmer Head with the threaded shaft of your trimmer. Turn the trimmer head clockwise until it is securely tightened. Ensure it is snug but do not overtighten.
- Verify Installation: Gently tug on the installed head to ensure it is firmly attached and does not wobble.
- Insert Battery: Once the head is securely installed, you may reinsert the battery into your trimmer.
5. Operating Instructions
The BAIWANN C 4-2 Trimmer Head operates similarly to the original STIHL AutoCut C 4-2 head. Always refer to your STIHL trimmer's operating manual for general usage instructions.
Line Advancement (Bump Feed)
This trimmer head features a bump feed mechanism for advancing the cutting line. To advance the line:
- Start the trimmer and allow the head to reach full operating speed.
- Lightly tap the rotating trimmer head on a firm, non-abrasive surface (e.g., flat ground, concrete).
- The impact will release a small amount of line. The cutting knife on the trimmer's guard will automatically trim the line to the correct length.
- Avoid excessive force when bumping, as this can damage the head or feed mechanism.
6. Maintenance
Regular maintenance ensures optimal performance and extends the life of your trimmer head.
Cleaning
- After each use, remove the battery from the trimmer.
- Clean the trimmer head of any grass, dirt, or debris using a stiff brush or cloth.
- Ensure the line exit holes are clear of obstructions.
- Do not use harsh chemicals or abrasive cleaners.
Replacing Trimmer Line
When the trimmer line becomes too short or runs out, it needs to be replaced. Refer to the instructions provided with your specific trimmer line for winding, or follow these general steps:
- Remove Battery: Always remove the battery from the trimmer before handling the trimmer head.
- Remove Spool: Depending on the design, you may need to press tabs or unscrew the top cap to access the internal spool.
- Wind New Line: Follow the arrows or guides on the spool to wind the new trimmer line evenly. Ensure the line is not tangled or overlapping. Leave a few inches of line extending from the spool.
- Reassemble: Feed the ends of the line through the eyelets on the trimmer head casing and reinsert the spool. Secure the cap or reassemble the head.
- Test: Reinsert the battery and briefly run the trimmer to ensure the line feeds correctly.
7. Troubleshooting
If you encounter issues with your trimmer head, consult the table below for common problems and solutions.
| Problem | Possible Cause | Solution |
|---|---|---|
| Trimmer line not feeding. | Line tangled or fused inside spool; incorrect line winding; line too short. | Remove battery, open head, untangle/rewind line correctly, or replace line. |
| Trimmer head not spinning. | Head not securely attached; trimmer motor issue; battery low/dead. | Remove battery, check head attachment; refer to trimmer manual for motor/battery issues. |
| Excessive vibration. | Damaged or unbalanced head; incorrect line length. | Inspect head for damage, replace if necessary; ensure line is cut to proper length by guard. |
8. Specifications
- Brand: BAIWANN
- Model: BYSL778
- Compatible Trimmers: STIHL FSA 65, STIHL FSA 85 (Battery Trimmers)
- Part Numbers: 4006 710 2123 / 4006 710 2121
- Product Dimensions: Approximately 1"D x 1"W x 1"H
- Weight: Approximately 1 Pound
9. Warranty and Support
For any questions regarding the BAIWANN C 4-2 Battery Trimmer Head, or if you require technical assistance, please contact the seller or manufacturer directly through the platform where the product was purchased. Please retain your proof of purchase for any warranty claims.