
Estink Estinkburh6d2178
Estink Blue Flashing Light User Manual
Model: Estinkburh6d2178
1. Introduction
Thank you for choosing the Estink Blue Flashing Light. This 12V LED Strobe Beacon is engineered to provide clear and effective emergency alarm and warning signals. Designed with advanced LED technology, it offers high visibility, energy efficiency, and environmental responsibility. This manual will guide you through the product's features, installation, operation, and maintenance to ensure optimal performance and safety.
2. Safety Information
Please read all safety instructions carefully before installation and operation. Failure to follow these instructions may result in electric shock, fire, or serious injury.
- Ensure the power supply is disconnected before installation or maintenance.
- This product operates on 12V DC. Do not connect to higher voltage power sources.
- Installation should be performed by a qualified individual if you are unsure about electrical wiring.
- Do not modify the product in any way. Unauthorized modifications may void the warranty and pose safety risks.
- Keep the device away from excessive heat, moisture, and corrosive substances.
- Ensure proper ventilation around the device during operation.
3. Product Overview
The Estink Blue Flashing Light is a compact and robust warning device. Its design focuses on maximizing visibility and durability.
Key Features:
- Multilayer LED Arc Surround Design: Ensures uniform lighting and high brightness without any dead spots.
- Energy Efficient: Significantly reduces power consumption, using approximately half the power of incandescent bulbs.
- High Visibility: Continuously and quickly twinkles in a triple frequency flash, producing a strong visual impact for enhanced warning.
- Environmentally Friendly: Constructed without harmful metals, allowing for responsible waste recycling.
- Low Maintenance: Designed for long-term, reliable operation with minimal upkeep required.
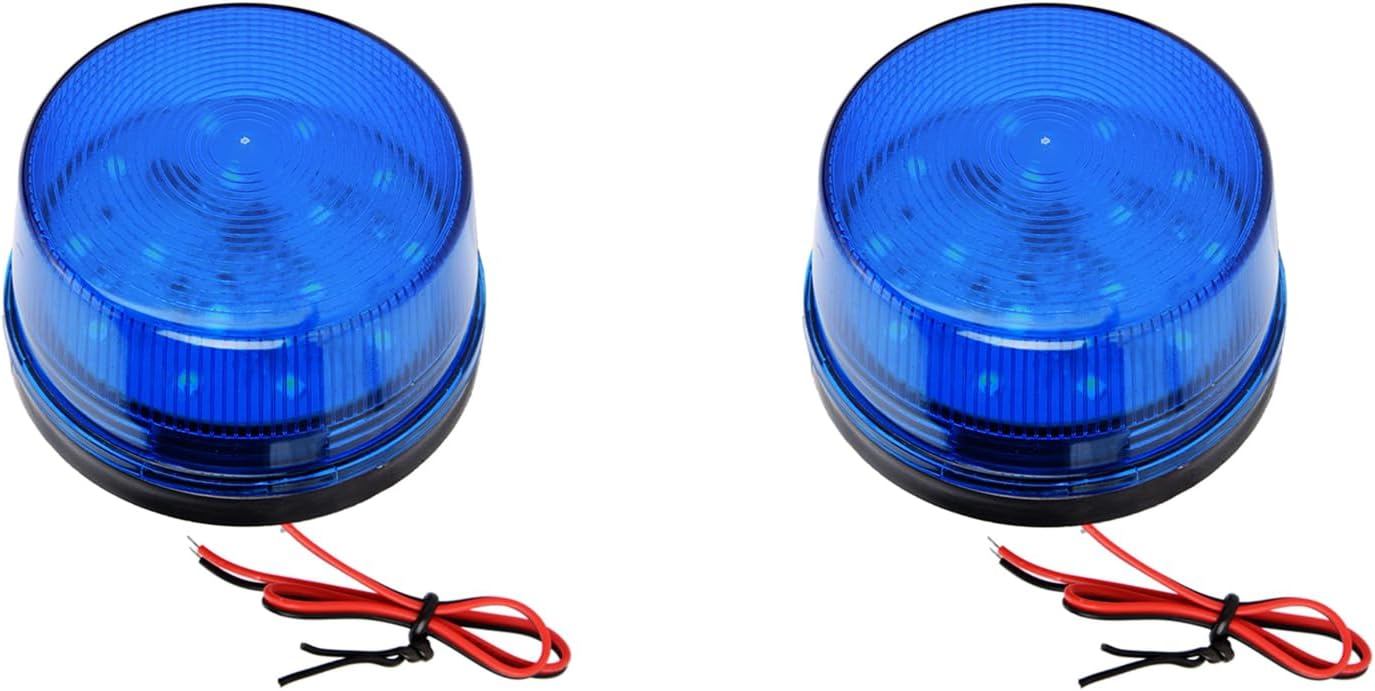
Figure 3.1: Two Estink Blue Flashing Lights, showing their compact design and wiring.

Figure 3.2: The Estink Blue Flashing Light demonstrating its uniform and bright illumination.

Figure 3.3: The light's energy-saving capabilities are highlighted by its efficient LED technology.
4. Package Contents
Before proceeding with installation, please verify that all components are present in your package:
- 2 x Blue LED Flashing Alarm Lamp
- 4 x Bases
- 2 x Pack of Mounting Screws
- 2 x Sticker

Figure 4.1: All included components for installation and mounting.
5. Setup and Installation
Follow these steps to properly install your Estink Blue Flashing Light:
- Choose a Mounting Location: Select a stable, flat surface for mounting. Ensure the location provides optimal visibility for the warning signal and is protected from direct impact.
- Prepare the Surface: Clean the mounting surface thoroughly to ensure proper adhesion for the bases and stickers.
- Attach the Base: Use the provided bases and mounting screws to securely attach the lamp to the chosen surface. If using the sticker, ensure it is applied to a clean, dry, and smooth surface for maximum adhesion.
- Wiring Connection: The lamp operates on 12V DC. Connect the red wire to the positive (+) terminal of your 12V power source and the black wire to the negative (-) terminal. Ensure connections are secure and insulated to prevent short circuits.
- Test Functionality: Once wired, apply power to test the flashing light.

Figure 5.1: Detail of the lamp's base and wiring for connection.
6. Operating Instructions
The Estink Blue Flashing Light is designed for straightforward operation.
- Power On: Once properly installed and connected to a 12V DC power source, the light will begin to flash automatically when power is supplied.
- Flashing Pattern: The light continuously and quickly twinkles in a triple frequency flash pattern, designed to maximize visual impact and warning effectiveness.
- Power Off: To turn off the light, disconnect the power supply.
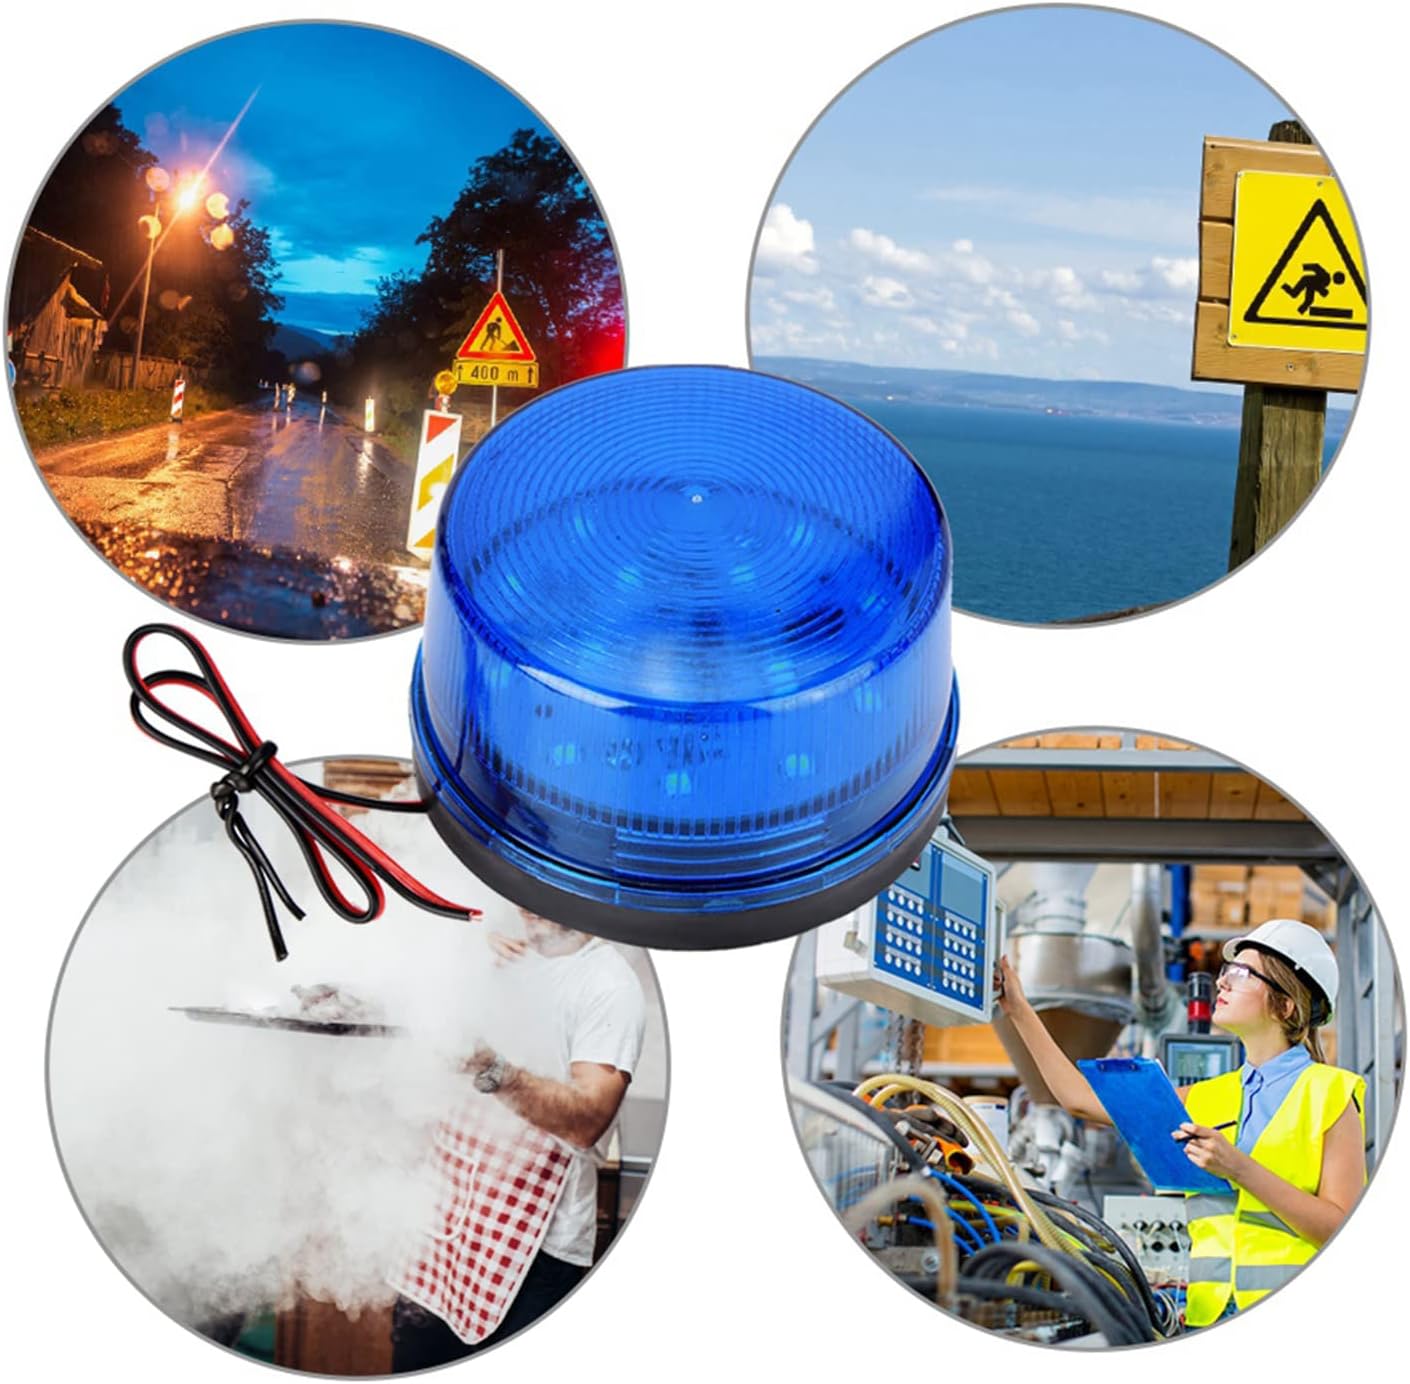
Figure 6.1: Examples of the light's versatile applications in different environments.

Figure 6.2: The light effectively enhances warning signals in outdoor settings.

Figure 6.3: The light can also serve as a visual deterrent or alarm indicator indoors.
7. Maintenance
The Estink Blue Flashing Light is designed for low maintenance. Follow these guidelines to ensure its longevity:
- Cleaning: Periodically wipe the lamp's surface with a soft, dry cloth to remove dust and dirt. Do not use abrasive cleaners or solvents.
- Inspection: Regularly check the wiring and mounting for any signs of wear, damage, or loose connections. Address any issues promptly.
- Environmental Protection: While durable, avoid exposing the light to extreme temperatures or prolonged direct sunlight, which could affect its lifespan.
8. Troubleshooting
If you encounter issues with your Estink Blue Flashing Light, refer to the following common problems and solutions:
| Problem | Possible Cause | Solution |
|---|---|---|
| Light does not flash | No power supply Incorrect wiring Loose connection | Check if 12V DC power is supplied. Verify red wire to positive, black to negative. Ensure all wire connections are secure. |
| Light flashes intermittently | Loose wiring Unstable power supply | Check and secure all electrical connections. Ensure the 12V DC power source is stable. |
| Reduced brightness | Dirt or dust on lampshade Aging LEDs (unlikely for new product) | Clean the lampshade with a soft, dry cloth. If problem persists, contact customer support. |
9. Specifications
| Specification | Value |
|---|---|
| Current | 30 Ma |
| Configuration | 15 bright LED beads |
| Function | Flash 2 times / sec. |
| Working Current | 50 mA/30 mA |
| Strobe Speed | less than 120 times / min. |
| Service Life | ≥ 1000 hours (continuous operations of standard power supply) |
| Lampshade Color | Blue |
| Size (Dia. x H) | 7.3 x 4.2 cm / 2.9 x 1.7 in |
| Package Weight | 99g / 3.5oz |
| Item Weight | 6.8 ounces |
| Manufacturer | Estink |
| Model Number | Estinkburh6d2178 |
| ASIN | B0DF3366KQ |
| Country of Origin | China |
10. Warranty and Support
For warranty information and technical support, please refer to the product's packaging or contact your retailer. Keep your purchase receipt as proof of purchase.
Ask a question about this manual
Ask about setup, troubleshooting, compatibility, parts, safety, or missing instructions. Manuals+ will review the question and use this page’s manual context to help answer it.