1. Introduction
Thank you for choosing the Perlegear UL-Listed Tilting TV Wall Mount and Metal Pegboard. This manual provides comprehensive instructions for safe installation, proper operation, and effective maintenance of your new product. Please read this manual thoroughly before installation and retain it for future reference.

This image displays the complete Perlegear product package, including the tilting TV wall mount, the metal pegboard, and various hooks and cable management strips.
2. Safety Information
WARNING: Failure to read and follow all instructions may result in personal injury, property damage, or voiding of warranty.
- Do not install on drywall alone. Always mount to wood studs or solid concrete walls.
- Ensure the wall structure can safely support the combined weight of the mount and your TV.
- Do not exceed the maximum weight capacity of 132 lbs for the TV mount and 20 lbs for the pegboard.
- Each pegboard hook supports a maximum of 3.3 lbs.
- Use appropriate personal protective equipment during installation (e.g., safety glasses).
- Always use a stud finder to locate wall studs accurately.
- If you are unsure about any part of the installation process, consult a qualified professional.
- Keep small parts away from children to prevent choking hazards.
3. Package Contents
Please verify that all components are present and undamaged before beginning installation. If any parts are missing or defective, contact Perlegear customer support.
- Tilting TV Wall Mount Assembly
- Metal Pegboard Panel
- 6 x Durable Plastic Hooks
- 5 x Hook & Loop Cable Management Strips
- Mounting Hardware Kit (including lag screws, wall anchors, washers, spacers, and various TV screws)
- Drilling Template
- Bubble Level
- Instruction Manual
4. Specifications
| Feature | Specification |
|---|---|
| Brand | Perlegear |
| Model | B0DF2J84XT |
| Mounting Type | Wall Mount |
| Movement Type | Tilt (0-8 degrees) |
| Material | Alloy Steel |
| TV Size Compatibility | 37 - 82 inches |
| TV Mount Weight Capacity | Up to 132 lbs (60 kg) |
| VESA Compatibility | 200x100mm to 600x400mm |
| Pegboard Dimensions | 16.46″ x 11.73″ |
| Pegboard Max Load | 20 lbs (9 kg) |
| Pegboard Hook Capacity | 3.3 lbs (1.5 kg) per hook |
5. Setup and Installation
5.1 TV Wall Mount Installation
-
Check TV Compatibility:
Before installation, ensure your TV's screen size (37-82 inches), weight (up to 132 lbs), and VESA pattern (200x100mm to 600x400mm) are compatible with this mount. The VESA pattern refers to the four mounting holes on the back of your TV.
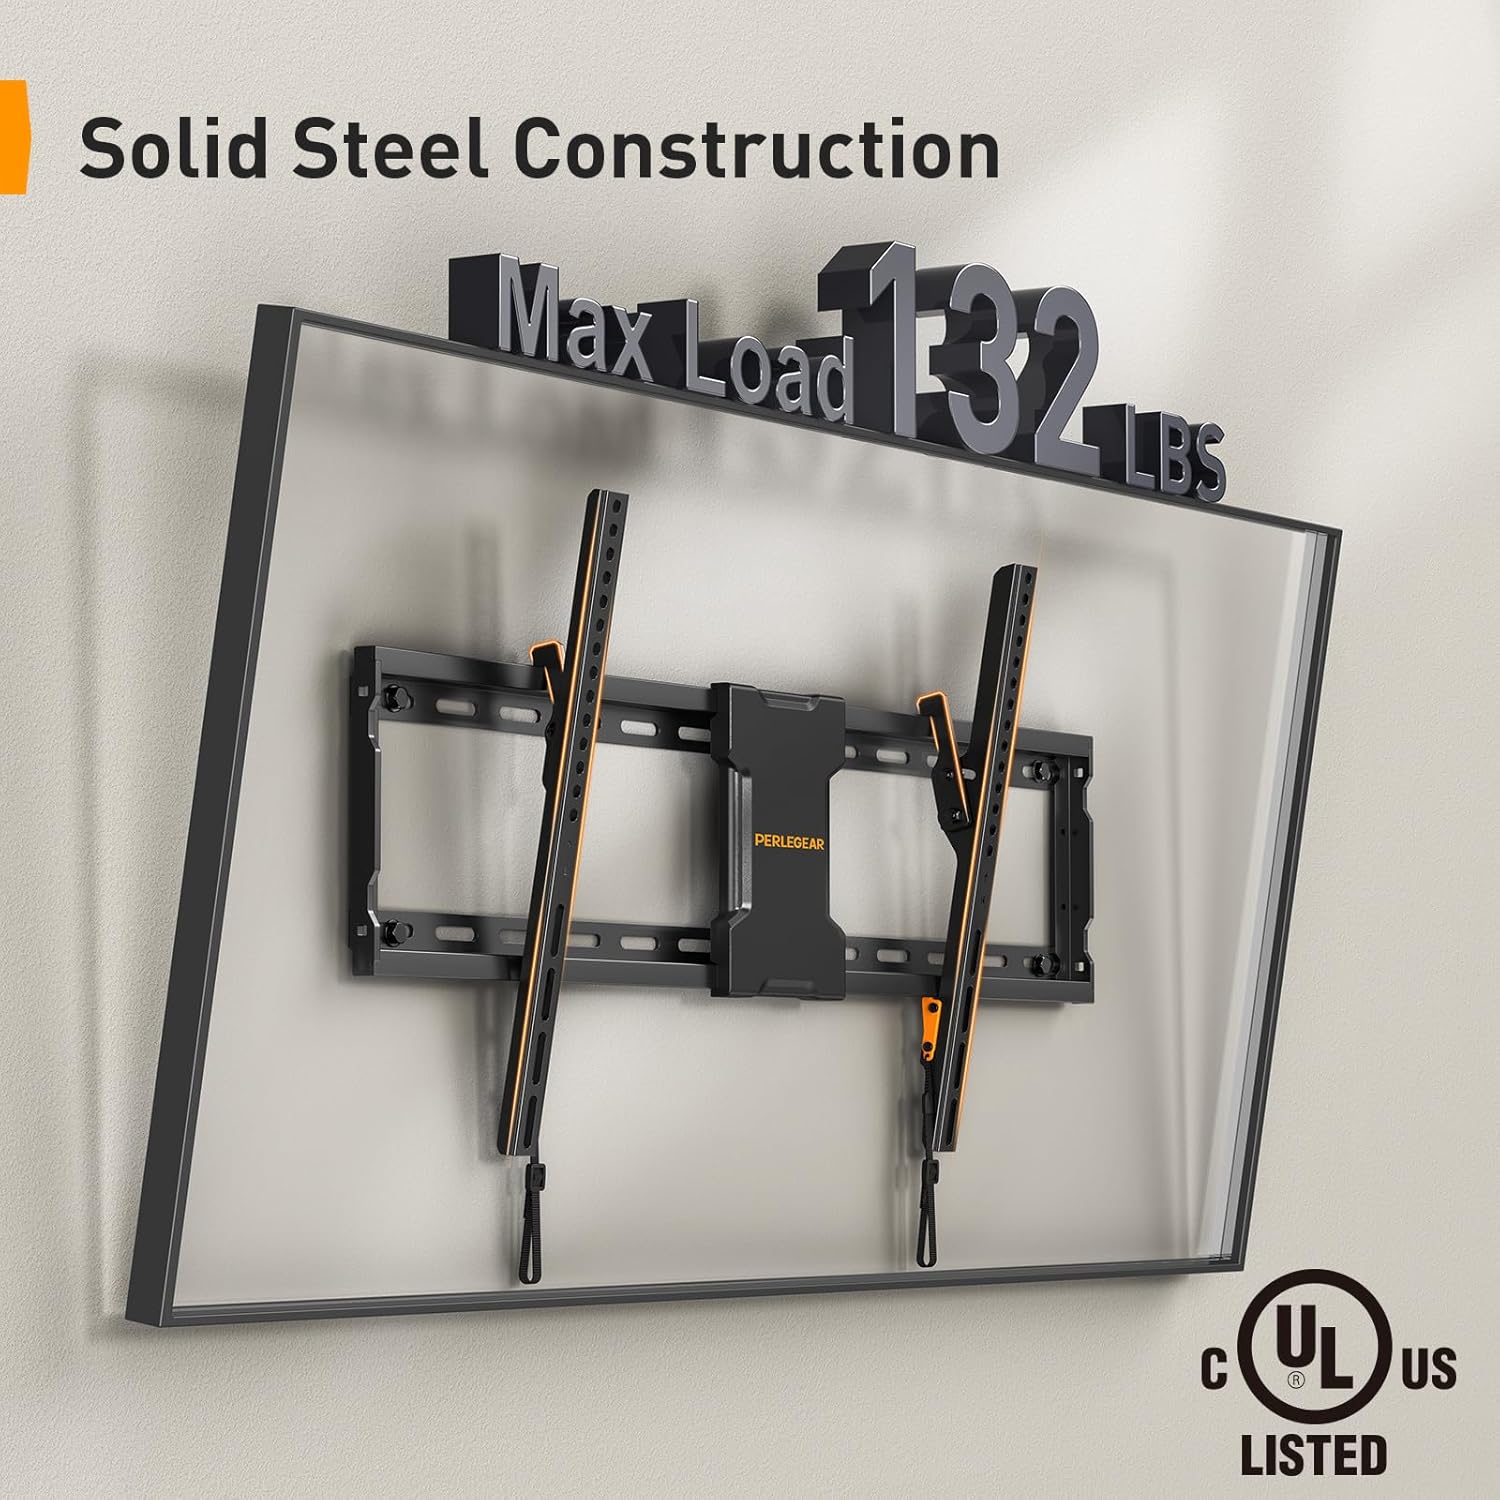
The image highlights the robust construction of the Perlegear TV wall mount, capable of supporting up to 132 pounds, and confirms its UL safety certification.
-
Determine Wall Type and Stud Spacing:
This mount is designed for installation on wood studs or solid concrete walls. Use a reliable stud finder to locate the center of your wall studs. The mount is compatible with 16-inch, 18-inch, and 24-inch stud spacing.

This visual guide illustrates the compatibility of the TV mount with common wall stud spacings, ranging from 16 to 24 inches, ensuring flexible installation options.
-
Mark Drilling Locations:
Use the provided drilling template to mark the precise locations for drilling pilot holes. Ensure the template is level before marking.
-
Drill Pilot Holes:
Drill pilot holes at the marked locations. The size of the drill bit will depend on your wall type and the lag screws provided. Refer to the hardware kit instructions for specific drill bit sizes.
-
Mount the Wall Plate:
Align the wall plate with the pilot holes and secure it to the wall using the lag screws and washers. Ensure the wall plate is firmly attached and level.
-
Attach TV Brackets to TV:
Attach the vertical TV brackets to the back of your TV using the appropriate screws, washers, and spacers from the hardware kit. Ensure the brackets are centered and securely fastened.
-
Hang TV on Wall Plate:
Carefully lift the TV and hook the TV brackets onto the wall plate. Ensure the TV is securely seated on the wall plate. Engage the safety locks on the TV brackets to prevent accidental dislodgement.

This composite image demonstrates the ease of installation, featuring a handy drilling template for precise placement and illustrating the simple 3-step mounting process.
5.2 Metal Pegboard Installation
-
Choose Installation Location:
Select a suitable location for your pegboard, such as near your TV mount for cable management, or in a workshop, garage, or office for general organization.

The image depicts the straightforward installation process of the metal pegboard, emphasizing its hassle-free setup with standard tools.
-
Mark and Drill:
Hold the pegboard against the wall at the desired height and mark the mounting holes. Drill pilot holes using an appropriate drill bit for your wall type (drywall, wood stud, or solid concrete). Use the included lag screws and wall anchors as needed.
-
Secure Pegboard:
Align the pegboard with the pilot holes and secure it firmly to the wall using the provided hardware. Ensure it is level and stable.

The image showcases the sturdy metal pegboard's capacity, indicating a maximum load of 20 pounds for the board itself, with each individual hook supporting up to 3.3 pounds.
6. Operating Instructions
6.1 Tilting the TV Mount
The Perlegear TV wall mount allows for a 0-8 degree downward tilt to optimize your viewing experience and reduce glare. To adjust the tilt:
- Loosen the tilt adjustment knobs located on the side of the TV brackets.
- Carefully tilt the TV to the desired angle.
- Tighten the tilt adjustment knobs to secure the TV in place.

The image shows the TV mount's tilting capability, allowing for an 0-8 degree downward tilt to optimize viewing angles and minimize screen glare.
6.2 Using the Metal Pegboard for Organization
The metal pegboard provides a customizable grid for organizing various items. Utilize the included hooks and hook & loop strips to manage cables and hang accessories.
- Insert the plastic hooks into the desired holes on the pegboard to hang items such as gaming controllers, headphones, or small tools.
- Use the hook & loop strips to neatly route and secure cables along the arms of your TV wall mount or directly on the pegboard. This helps prevent electrical and tripping hazards.
- The pegboard is suitable for multiple hook types, allowing for personalized organization.

This side-by-side comparison illustrates the effectiveness of the pegboard and included hook & loop strips in organizing cables, transforming a cluttered area into a neat setup.
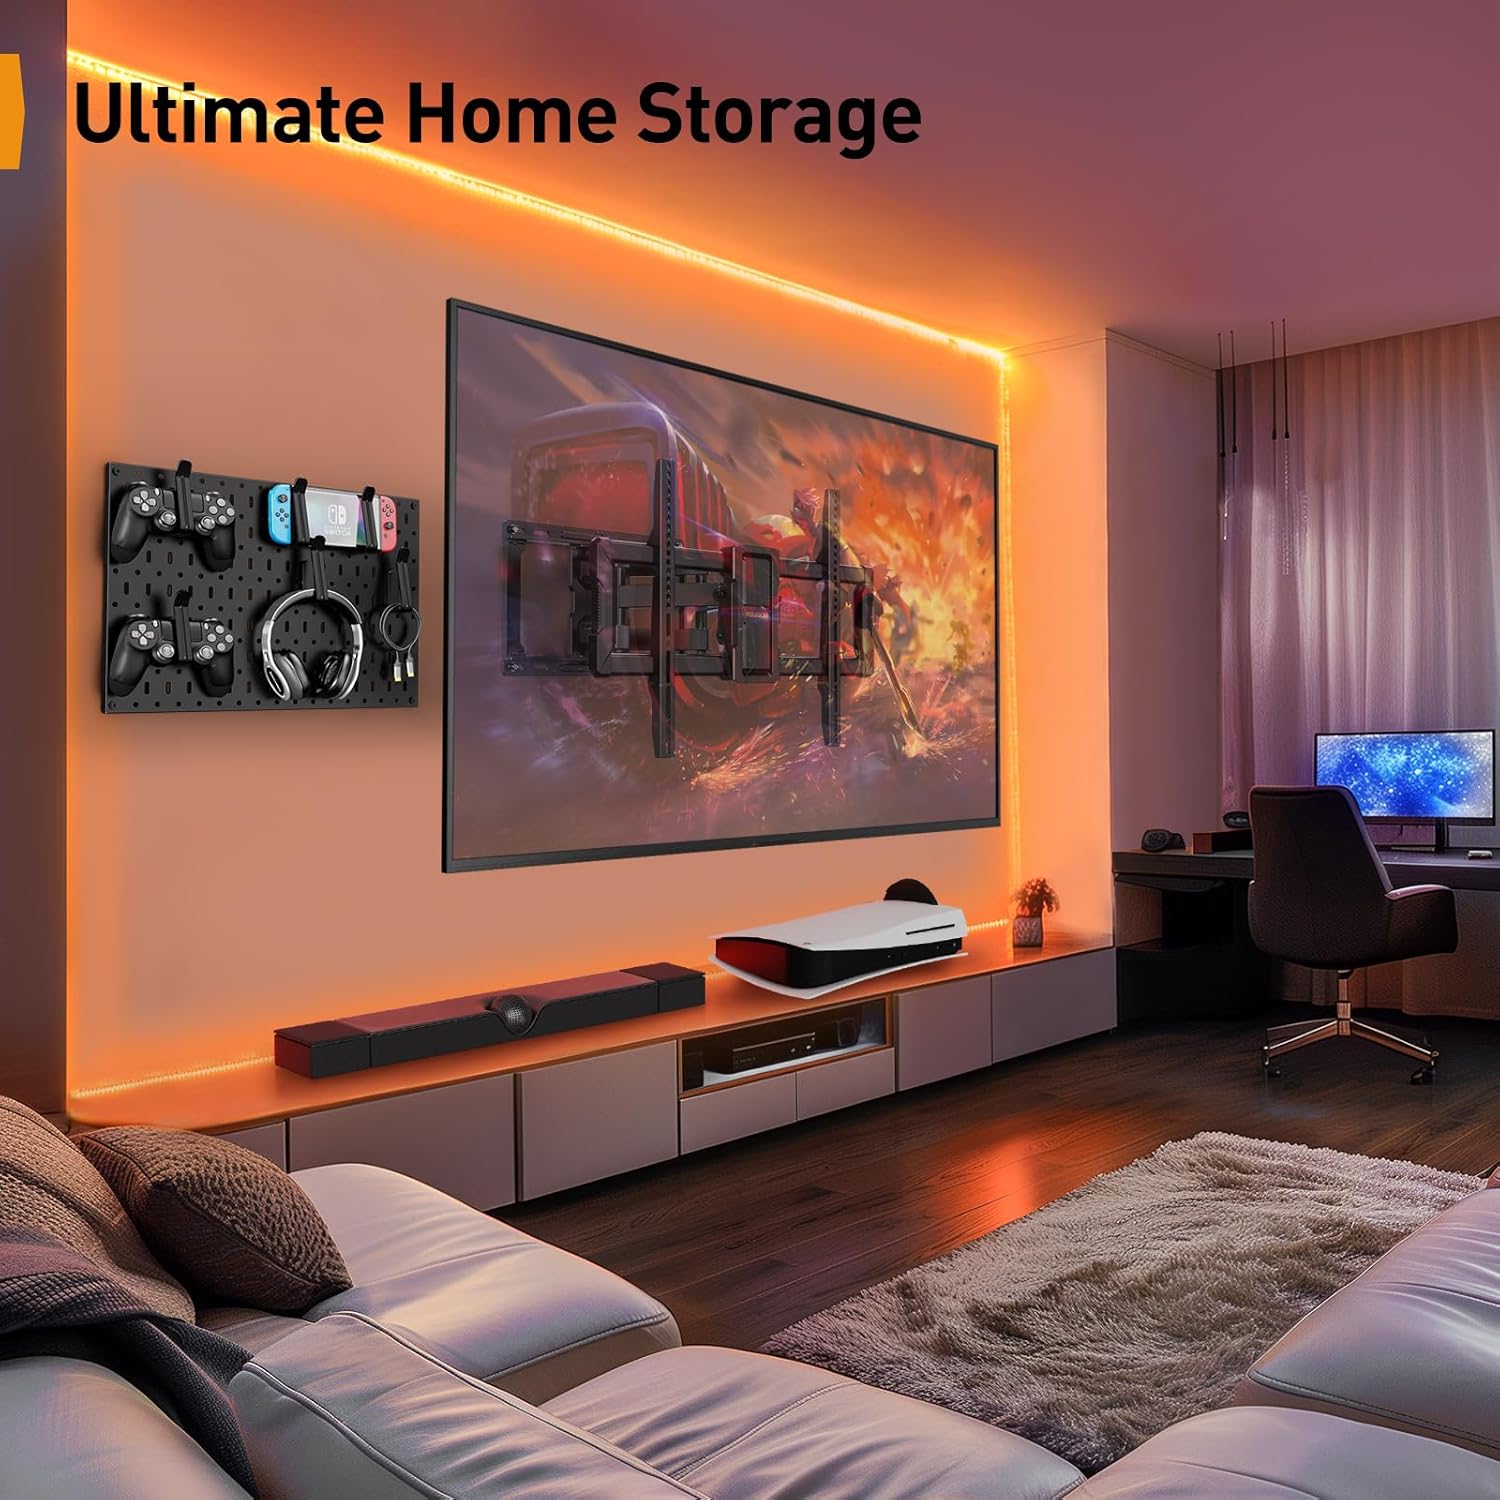
This image demonstrates the integrated use of the TV wall mount and pegboard in a modern living space, highlighting its utility for organizing entertainment accessories and optimizing space.
7. Maintenance
Regular maintenance ensures the longevity and safe operation of your Perlegear TV wall mount and pegboard.
- Periodically check all screws and bolts to ensure they remain tight. Retighten if necessary.
- Inspect the wall mount and pegboard for any signs of wear, damage, or corrosion.
- Clean the surfaces with a soft, dry cloth. Avoid using abrasive cleaners or solvents.
- Ensure cables are still neatly organized and not under undue tension.
8. Troubleshooting
If you encounter any issues during or after installation, refer to the following common troubleshooting tips:
TV is not level:
Check the wall plate and TV brackets with a bubble level. Loosen the mounting screws slightly, adjust for level, and then retighten securely.
Mount feels unstable:
Ensure all lag screws are fully tightened into the wall studs or concrete. Verify that the wall structure is adequate for the weight. Do not exceed the maximum weight capacity.
Cannot tilt the TV:
Ensure the tilt adjustment knobs are loosened before attempting to tilt. If they are too tight, they will prevent movement.
Pegboard hooks do not fit or are loose:
Ensure you are using the correct type of hooks for the pegboard holes. The included hooks are designed for a secure fit.
If problems persist, please contact Perlegear customer support.
9. Warranty and Support
Perlegear products are designed for durability and performance. For warranty information or technical support, please contact Perlegear directly.
You can reach Perlegear customer support via:
- Phone: 1-800-796-4165 (US/CA) - Monday-Friday, 8am-5pm PST
- Website: www.perlegear.com
Please have your product model number (B0DF2J84XT) and purchase information ready when contacting support.


