
VOSFEEL F9
VOSFEEL F9 Bedside Lamp User Manual
Model: F9 | Brand: VOSFEEL
Introduction
This manual provides detailed instructions for the VOSFEEL F9 Bedside Lamp. This 4-in-1 lamp features touch control, dimmable lighting, a 15W wireless charging pad, a USB charging port, and an integrated LED clock display. Please read this manual thoroughly before use to ensure proper operation and maintenance.
Safety Instructions
- Ensure the lamp is connected to a compatible power adapter (included).
- Do not disassemble or modify the lamp.
- Keep the lamp away from water and high humidity environments.
- Avoid placing the lamp on unstable surfaces.
- Do not expose the lamp to direct sunlight or extreme temperatures.
- For wireless charging, ensure your device is compatible and placed correctly on the charging pad. Remove any metal objects or thick cases from your device before charging.
- Clean the lamp with a soft, dry cloth. Do not use abrasive cleaners or solvents.
Product Overview
The VOSFEEL F9 Bedside Lamp combines multiple functionalities into a compact design.
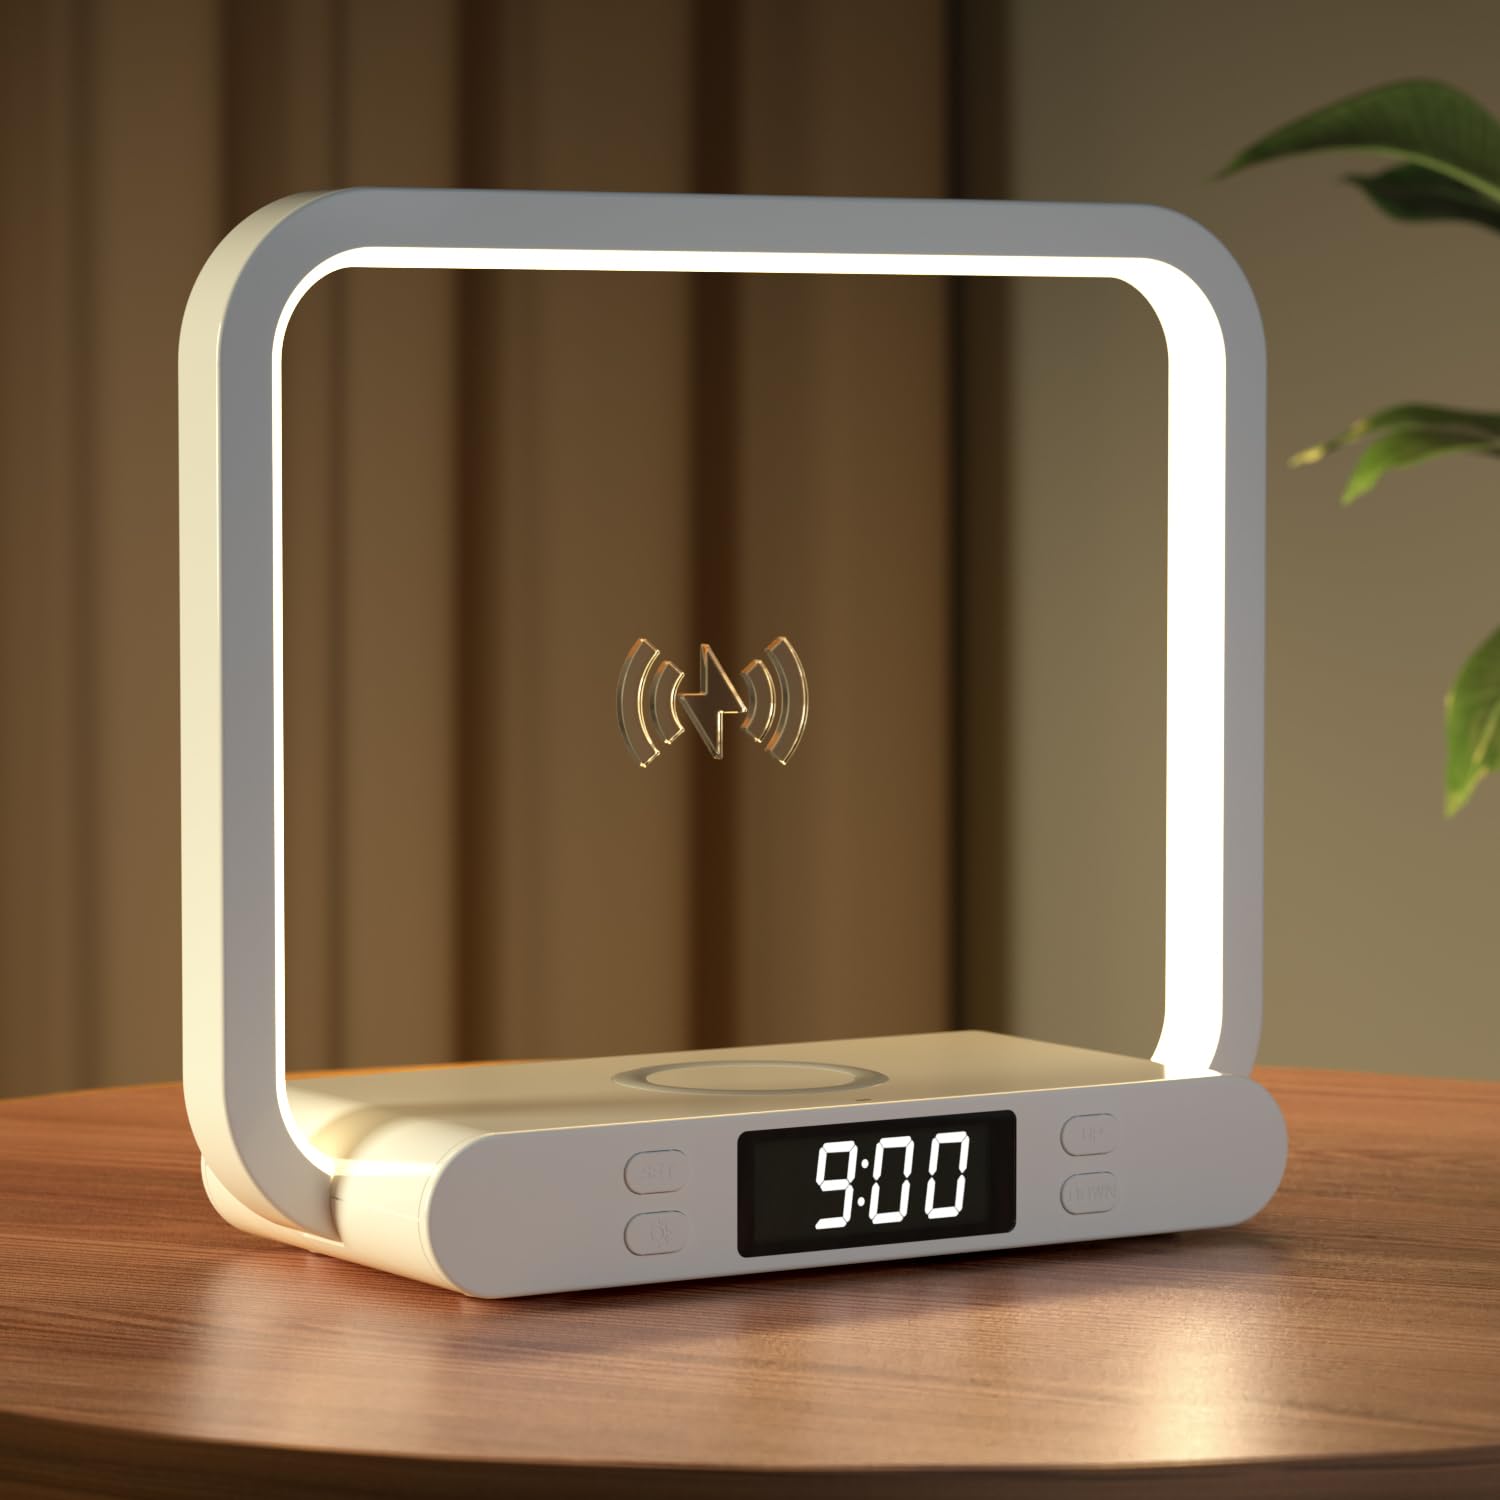
Image: VOSFEEL F9 Bedside Lamp. This image shows the overall design of the lamp, highlighting the light ring, the base with the clock display, and the wireless charging area.
Key Components:
- LED Light Ring: Provides illumination with adjustable brightness.
- Touch Control Area: Located on the LED ring for light operation.
- Wireless Charging Pad: Integrated into the base for compatible smartphones.
- USB Charging Port: Located at the back of the base for wired charging of other devices.
- LED Clock Display: Shows the current time, with adjustable brightness.
- Power Input Port: For connecting the power adapter.
Setup
- Unpack: Carefully remove all components from the packaging.
- Connect Power: Insert the included power adapter into the lamp's power input port, then plug the adapter into a standard wall outlet.
- Placement: Place the lamp on a stable, flat surface, such as a bedside table, desk, or living room table.
Operating Instructions
1. Light Control (Touch Sensitive)
The lamp's light is controlled by touching the LED ring.
- Turn On/Off: Lightly touch the LED ring to turn the lamp on or off.
- Adjust Brightness: With the lamp on, touch the LED ring repeatedly to cycle through 4 different brightness levels.
2. Wireless Charging (15W)
The lamp features a 15W wireless charging pad for compatible smartphones.
- Ensure Power: The lamp must be connected to its power adapter for wireless charging to function.
- Place Device: Place your wireless charging compatible smartphone directly onto the designated charging pad on the lamp's base.
- Charging Indicator: Your phone's screen should indicate that it is charging.
- Important Note: Remove any metal objects, magnetic attachments, or overly thick phone cases from your device before placing it on the charging pad to ensure optimal charging performance and safety.
3. USB Charging Port
A USB port is provided for charging other devices simultaneously.
- Connect Device: Plug your device's USB charging cable into the USB port located at the back of the lamp's base.
- Charging: Your device will begin charging.
4. Clock Function
The lamp includes an LED display for showing the time.
- Time Display: The LCD screen on the base clearly displays the time.
- Adjust Clock Brightness: The brightness of the clock display can be adjusted. Refer to the specific controls on the lamp (buttons usually located near the display) for detailed instructions on how to adjust the clock's brightness and set the time.
- Setting the Time: Please refer to the detailed instructions provided in the physical product manual for precise steps on how to set the clock. This typically involves pressing and holding specific buttons to enter time-setting mode and then using other buttons to adjust hours and minutes.
Maintenance
- Cleaning: Disconnect the lamp from the power source before cleaning. Use a soft, dry, lint-free cloth to wipe the lamp's surfaces. Do not use liquid cleaners, sprays, or abrasive materials.
- Storage: If storing the lamp for an extended period, unplug it and store it in a cool, dry place, away from direct sunlight and extreme temperatures.
Troubleshooting
| Problem | Possible Cause | Solution |
|---|---|---|
| Lamp does not turn on. | Not connected to power; power outlet not working; faulty adapter. | Ensure power adapter is securely plugged into the lamp and a working wall outlet. Try a different outlet. |
| Wireless charging not working. | Phone not compatible; phone not placed correctly; thick phone case; metal objects on pad. | Verify phone supports wireless charging. Reposition phone on the pad. Remove phone case or any metal objects. Ensure lamp is powered. |
| USB charging not working. | Cable faulty; device not compatible; lamp not powered. | Try a different USB cable. Ensure lamp is powered. |
| Clock display is off or incorrect. | Clock needs to be set; power interruption. | Refer to the clock setting instructions in the physical manual to set the time. |
| Light brightness cannot be adjusted. | Incorrect touch operation. | Ensure you are touching the designated LED ring area. Tap repeatedly to cycle through brightness levels. |
Specifications
| Feature | Detail |
|---|---|
| Brand | VOSFEEL |
| Model Number | F9 |
| Product Dimensions (L x W x H) | 22.6 x 19.5 x 9 cm; 520 grams (approx. 8.9 x 7.7 x 3.5 inches; 1.14 lbs) |
| Material | Plastic, Aluminum |
| Color | White |
| Lamp Type | Night Light / Table Lamp |
| Switch Type | Touch Sensitive |
| Power Source | Corded Electric |
| Number of Light Sources | 4 |
| Wattage | 15 Watts (for wireless charging) |
| Wireless Charging Output | Up to 15W |
| Included Components | Power Adapter, User Manual |
| Energy Efficiency Class | A |
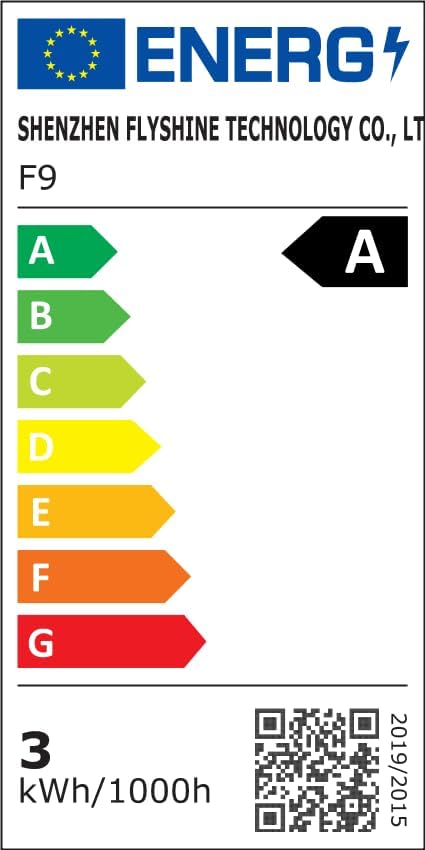
Image: Product Information Sheet. This sheet provides detailed technical specifications and a spectral distribution graph for the VOSFEEL F9 lamp.
For detailed energy information, including the official EU Energy Label, please visit the EPREL database: EPREL Database (1998604)
Warranty and Support
VOSFEEL products are designed for reliability and performance. For warranty information, technical support, or customer service inquiries, please refer to the contact details provided with your purchase or visit the official VOSFEEL website. Please retain your proof of purchase for warranty claims.
Ask a question about this manual
Ask about setup, troubleshooting, compatibility, parts, safety, or missing instructions. Manuals+ will review the question and use this page’s manual context to help answer it.