
1. Introduction
Thank you for choosing the GRV Smart A60 LED Light Bulb. This product combines energy efficiency with advanced features, including dimmable brightness, adjustable color temperature, and remote control operation. This manual provides essential information for the safe and effective use of your new smart light bulb.
2. Safety Information
Please read all safety instructions carefully before installation and use. Failure to follow these instructions may result in electric shock, fire, or other hazards.
- Ensure the power is turned off at the main circuit breaker before installing or removing the bulb.
- This bulb is designed for indoor use only. Do not expose to water or high humidity.
- Do not disassemble or modify the bulb. There are no user-serviceable parts inside.
- Do not use with standard dimmer switches. This bulb is dimmable only via its dedicated remote control or compatible app.
- Avoid looking directly into the light source when it is on, as it may cause eye strain.
- Keep out of reach of children.

3. Setup
3.1. Unpacking
Carefully remove the GRV Smart A60 LED Light Bulb and its remote control from the packaging. Inspect for any visible damage. If any components are damaged, do not proceed with installation and contact customer support.
3.2. Installation
- Ensure the power to the light fixture is turned off at the wall switch or circuit breaker.
- Screw the GRV Smart A60 LED Light Bulb into a standard E26 (or E27) light socket. Do not overtighten.
- Restore power to the light fixture. The bulb should light up.
3.3. Remote Control Pairing
The bulb and remote control are typically pre-paired from the factory. If the remote does not control the bulb, follow these steps to pair them:
- Ensure the bulb is powered on.
- Within 5 seconds of turning the bulb on, press and hold the 'On' button on the remote control until the bulb flashes, indicating successful pairing.
- If you have multiple bulbs, you can assign them to different groups (Group 1 or Group 2) using the respective buttons on the remote.

4. Operating Instructions
The GRV Smart A60 LED Light Bulb offers versatile lighting options controlled by the included remote or a compatible mobile application.
4.1. Power On/Off
Press the 'On' or 'Off' button on the remote control to toggle the light bulb's power state. The bulb will retain its last settings when turned off and on again.
4.2. Brightness Adjustment (Dimming)
Use the brightness increase (+) and decrease (-) buttons on the remote to adjust the light intensity from 1% to 100%. This allows you to set the perfect ambiance for any activity.

4.3. Color Temperature Adjustment
Adjust the color temperature using the CCT (+) and CCT (-) buttons on the remote. You can select a range from warm white (3000 Kelvin) for a cozy atmosphere to cool white (6500 Kelvin) for bright, task-oriented lighting.
4.4. Timer Function
The remote control includes a 1-hour timer button. Pressing this button will set the bulb to automatically turn off after one hour. This feature is useful for bedtime or temporary lighting needs.

4.5. Remote Control Functions Overview
The remote control provides comprehensive control over your GRV Smart A60 LED Light Bulb. Refer to the diagram below for a detailed layout of its functions:

- 1H (Timer): Activates the 1-hour auto-off timer.
- On/Off Key: Toggles the bulb's power.
- Brightness Increase/Decrease: Adjusts light intensity.
- Color Temperature Reduce/Increase: Changes the light from warm to cool white.
- Daily Light Mode: Sets the bulb to a standard, comfortable white light.
- RGB Static Mode: (If applicable to your model) Activates static RGB colors.
- RGB Dynamic Mode: (If applicable to your model) Activates dynamic RGB color changes.
- RGB Speed: (If applicable to your model) Adjusts the speed of dynamic RGB modes.
- Lighting Group 1/2: Allows control of multiple bulbs in designated groups.
4.6. App Control
The GRV Smart A60 LED Light Bulb also supports control via a mobile application. Please refer to the app's instructions for download and setup. The app typically offers similar functionalities to the remote control, including dimming, color temperature adjustment, and potentially additional features like scheduling and scene modes.

5. Maintenance
5.1. Cleaning
To clean the bulb, ensure it is turned off and cool. Gently wipe the surface with a soft, dry cloth. Do not use liquid cleaners or abrasive materials, as they may damage the bulb.
5.2. Storage
If storing the bulb for an extended period, keep it in its original packaging in a cool, dry place away from direct sunlight and extreme temperatures.
6. Troubleshooting
If you encounter issues with your GRV Smart A60 LED Light Bulb, refer to the table below for common problems and solutions.
| Problem | Possible Cause | Solution |
|---|---|---|
| Bulb does not light up. | No power to the fixture; Bulb not screwed in properly; Bulb is faulty. | Check power supply; Ensure bulb is securely screwed in; Test bulb in another working fixture. |
| Remote control not working. | Remote battery low/dead; Remote not paired with bulb; Obstruction between remote and bulb. | Replace remote battery; Re-pair the remote (see Section 3.3); Ensure clear line of sight. |
| Bulb flickers. | Incompatible dimmer switch (if used); Loose connection; Power fluctuations. | Ensure no standard dimmer switch is used; Check bulb connection; Consult an electrician for power issues. |
| Cannot change brightness/color. | Remote not paired; Remote out of range. | Re-pair the remote; Move closer to the bulb. |
7. Specifications
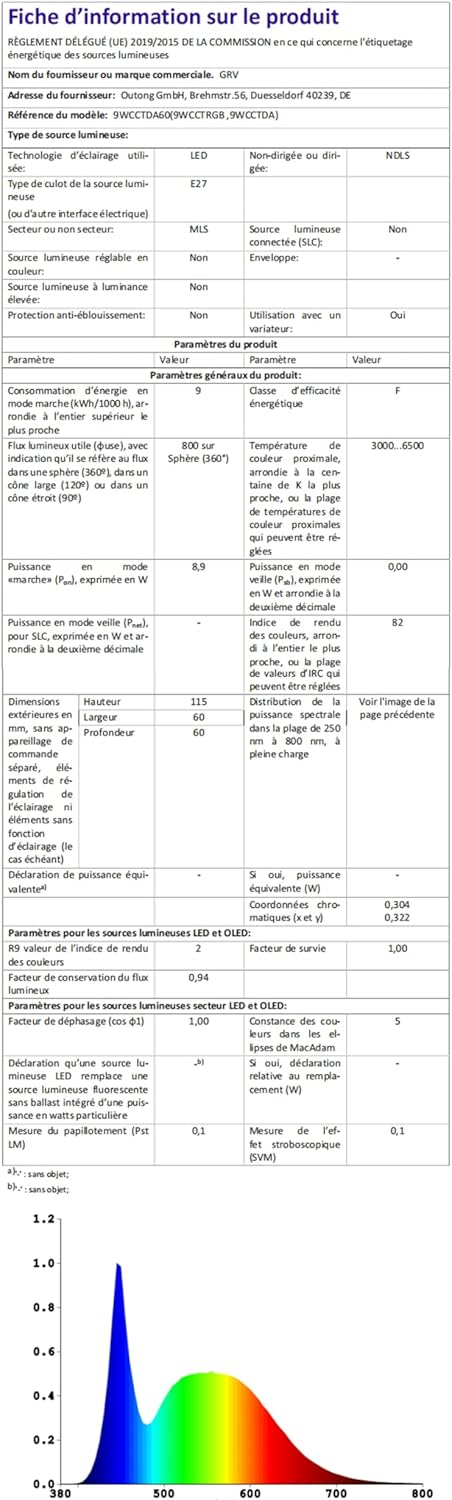
The following table details the technical specifications of the GRV Smart A60 LED Light Bulb:
| Feature | Specification |
|---|---|
| Model | A60 (E26-9WCCT002) |
| Base Type | E26 (compatible with E27) |
| Input Voltage | AC100-240V (120V AC specified) |
| Power Consumption | 9W |
| Incandescent Equivalent | 80W (as per feature bullets), 60W (as per specifications) |
| Luminous Flux | Approx. 830 Lumens |
| Color Temperature (CCT) | 3000K - 6500K (Tunable White) |
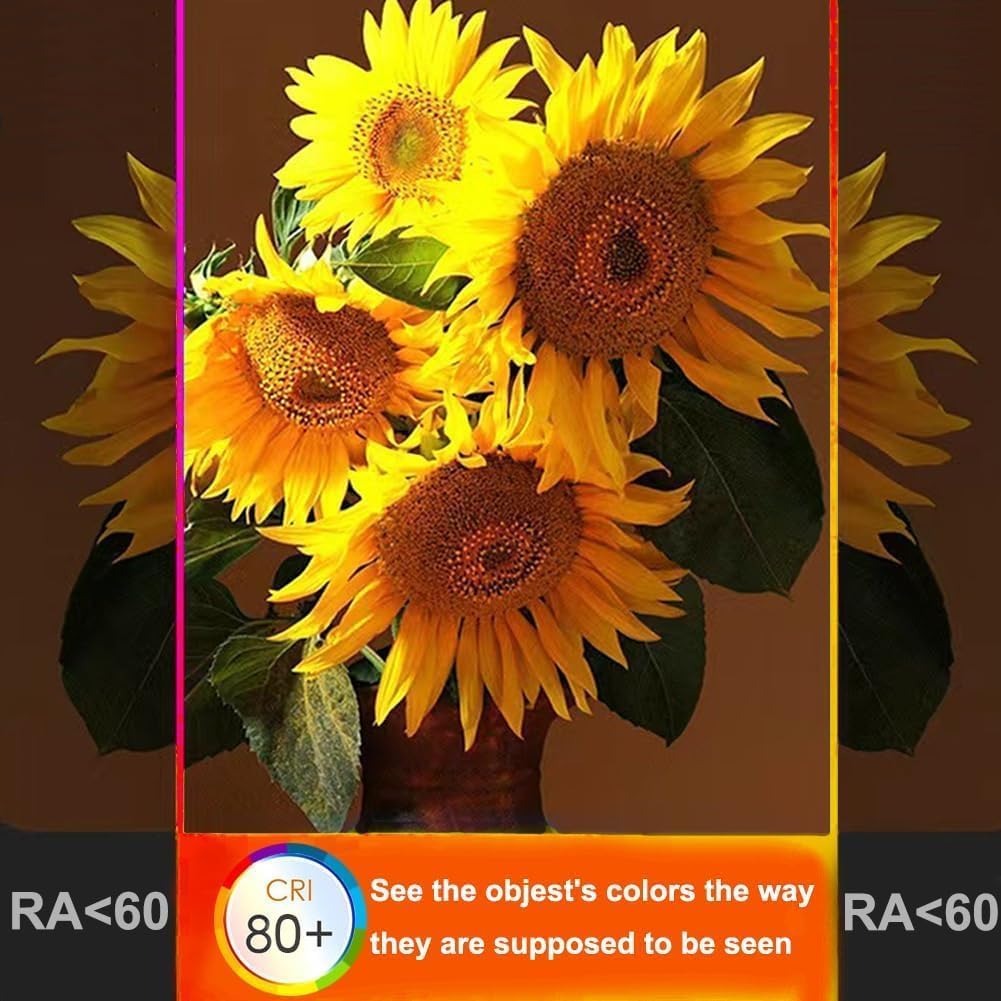
| Color Rendering Index (CRI) | 80+ |
| Beam Angle | 270 degrees |
| Lifespan | Approx. 30,000 hours |
| Dimensions (Max Diameter x Length) | 2.36 inches (5.99 cm) x 4.4 inches (11.23 cm) |
| Weight | 117.93 grams |
| Special Features | Dimmable, Color Changing, Remote Control, Timer Function |
| Manufacturer | ShenZhen GaoLiuMing Light & Electricity Technology Co., Ltd |


8. Warranty and Support
For warranty information and customer support, please refer to the documentation provided with your purchase or contact the seller directly. Keep your proof of purchase for any warranty claims.
9. Disposal Information
This product contains electronic components and should not be disposed of with household waste. Please follow local regulations for the proper disposal of electronic products. Look for recycling symbols on the packaging, such as the crossed-out wheeled bin, indicating that the product should be taken to a designated collection point for electrical and electronic equipment.

