
1. Product Overview
The SilverStone FARA 514X is an ATX mid-tower chassis designed for high-performance computing. It features an all-metal construction with a fully perforated front steel panel for optimal airflow. The chassis supports dual 360mm radiators and includes four pre-installed 120mm ARGB fans (three front, one rear) for efficient cooling. A GPU brace is also included to prevent graphics card sag.
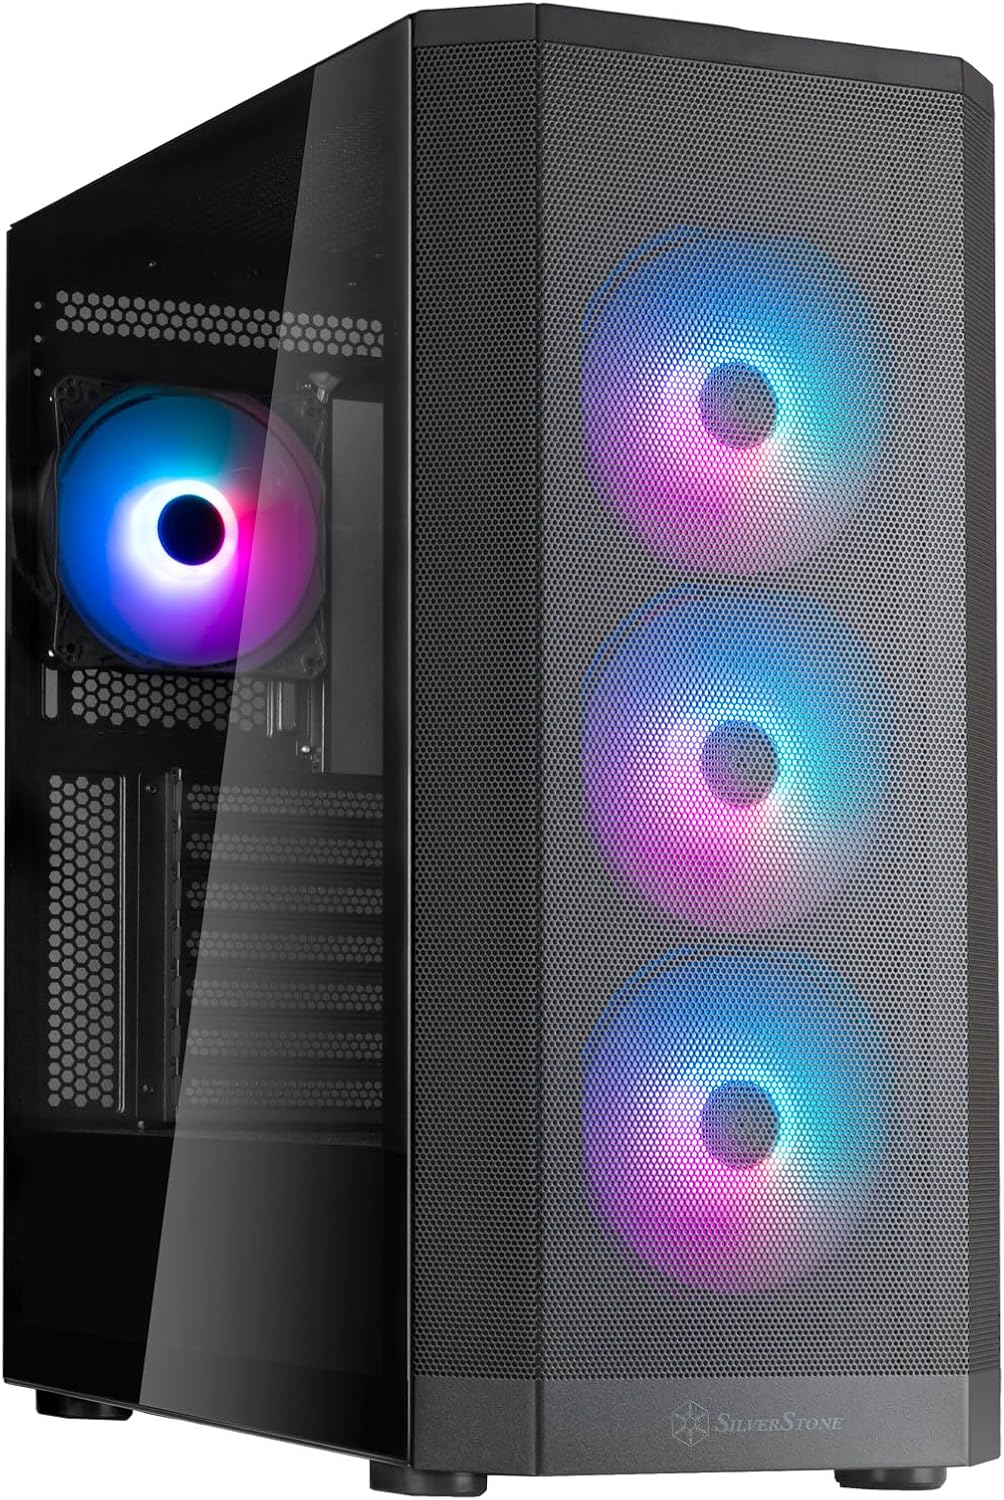
Figure 1: SilverStone FARA 514X Black ATX PC Chassis with illuminated ARGB fans visible through the mesh front panel and tempered glass side panel.
2. Setup and Installation
2.1 Preparing the Chassis
Before installing components, ensure the chassis is placed on a stable, flat surface. Remove the side panels by unscrewing the thumbscrews at the rear and sliding the panels off.

Figure 2: Interior view of the FARA 514X chassis, showing motherboard tray and cable routing cutouts.
2.2 Motherboard Installation
- Install the necessary standoffs for your ATX motherboard.
- Carefully place the motherboard into the chassis, aligning it with the standoffs and I/O shield opening.
- Secure the motherboard with screws.
2.3 Power Supply Unit (PSU) Installation
- The FARA 514X supports bottom-mount PSUs. Slide the PSU into its designated compartment at the bottom rear of the chassis.
- Secure the PSU with screws from the rear of the chassis.
- Route necessary power cables through the cable management cutouts.

Figure 3: Close-up of the PSU mounting area at the bottom rear of the chassis.
2.4 Graphics Card (GPU) Installation
- Install your graphics card into the appropriate PCIe slot on the motherboard. The chassis supports GPUs up to 394mm in length.
- Utilize the included GPU brace to support the graphics card and prevent sag.
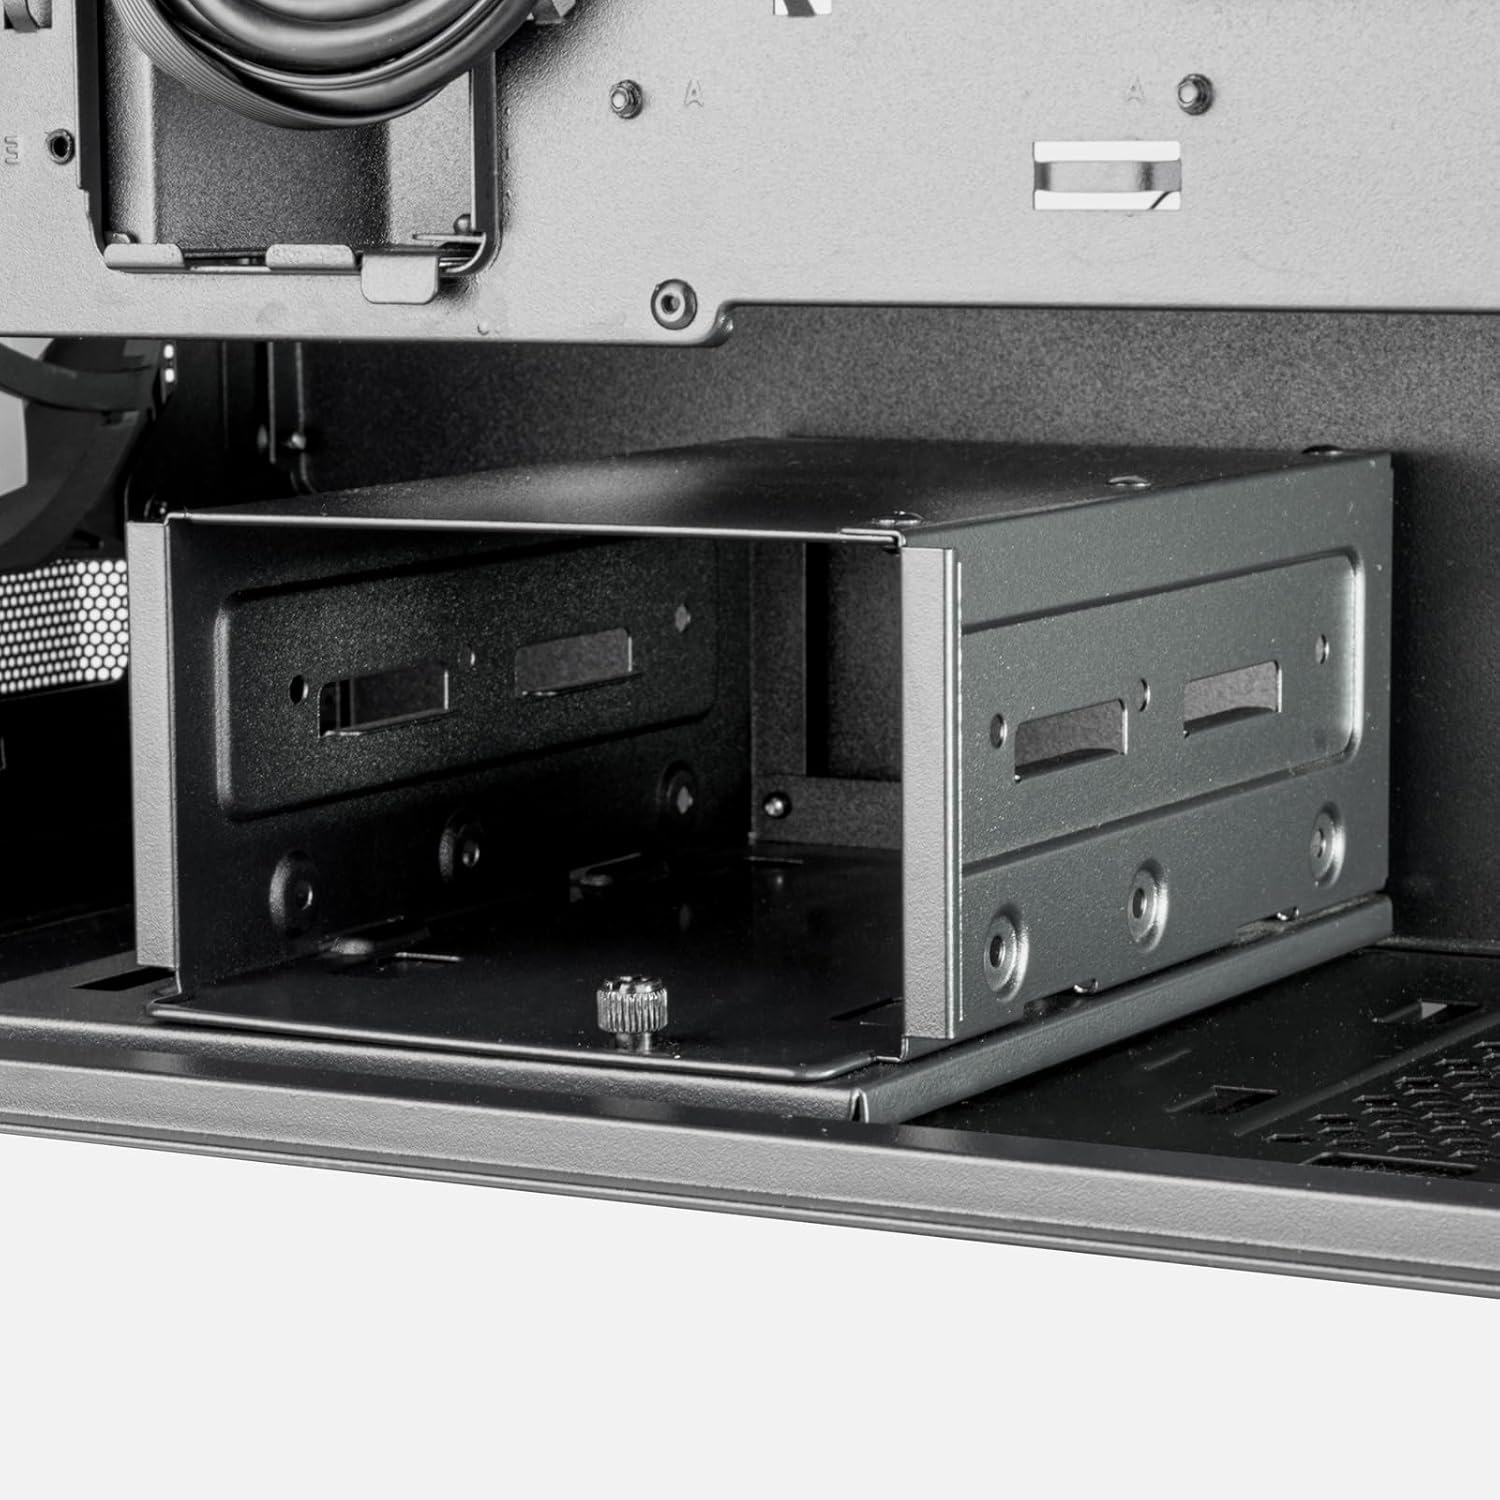
Figure 4: GPU brace providing support for a graphics card within the chassis.
2.5 Drive Installation
The FARA 514X accommodates 2 x 3.5" HDDs and 2 x 2.5" SSDs.
- 2.5" SSDs: Mount SSDs onto the dedicated trays located behind the motherboard tray.
- 3.5" HDDs: Install HDDs into the drive cage located under the PSU shroud. The drive cage can be adjusted to two positions (front or back) for flexibility.

Figure 5: Dedicated mounting trays for 2.5" SSDs.

Figure 6: Adjustable drive cage for 3.5" HDDs.
2.6 Fan and Radiator Installation
The chassis comes with four 120mm ARGB fans pre-installed (three front, one rear). It supports dual 360mm radiators at the front and top, and a single 120mm radiator at the rear.

Figure 7: Pre-installed ARGB fans at the front of the chassis.

Figure 8: Pre-installed ARGB fan at the rear of the chassis.
The included ARGB fan hub simplifies fan and lighting control. Connect the fans to the hub and the hub to your motherboard's ARGB header and SATA power.

Figure 9: ARGB fan hub for centralized fan and lighting control.
2.7 Cable Management
The chassis provides ample space and cutouts for effective cable management behind the motherboard tray. Utilize the included cable ties to secure cables and maintain optimal airflow.

Figure 10: Cable routing channels and tie-down points behind the motherboard tray.
3. Operating Instructions
3.1 Front Panel I/O
The front-top I/O panel provides convenient access to essential ports and controls:
- 1 x USB Type-C port
- 2 x USB 3.0 ports
- 1 x Audio jack
- 1 x Microphone jack
- Power button
- Reset button
- LED switch button (for ARGB lighting control)
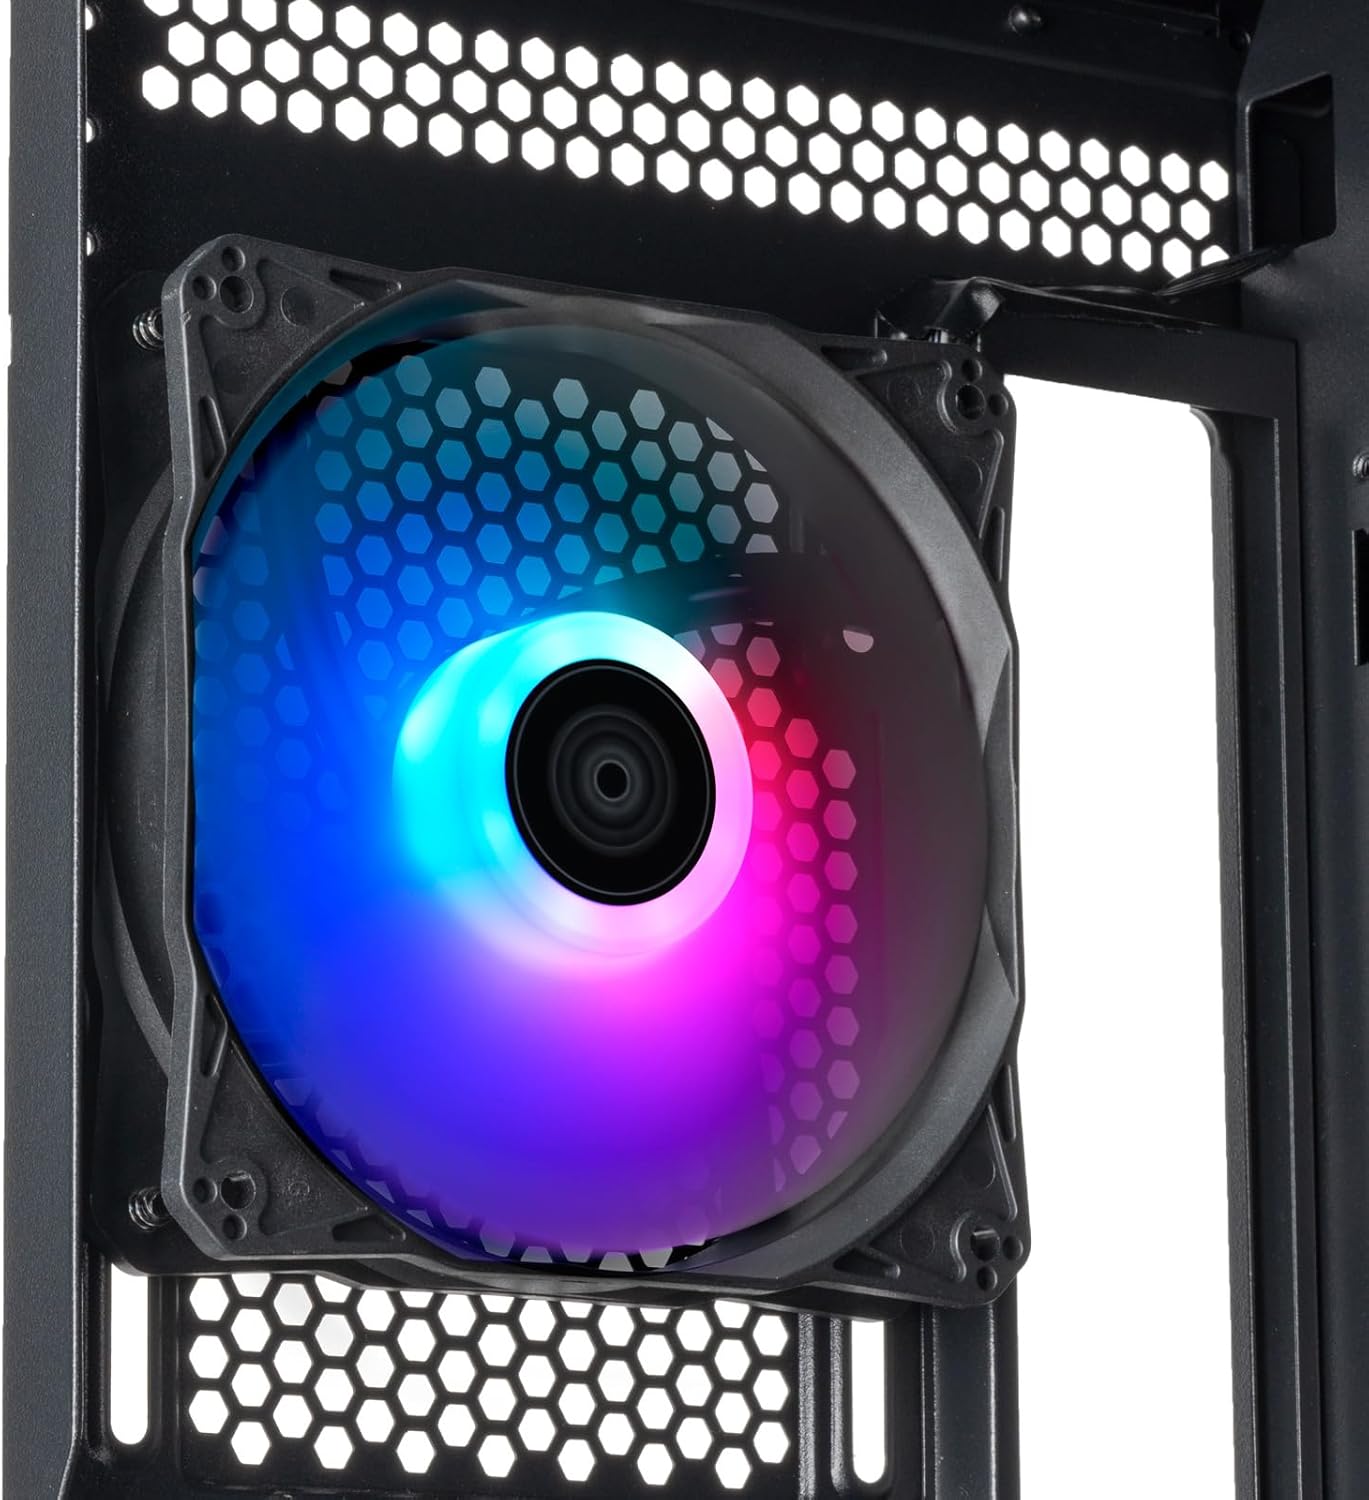
Figure 11: Front-top I/O panel with USB, audio, and control buttons.
3.2 ARGB Lighting Control
Use the LED switch button on the front panel to cycle through various ARGB lighting effects for the pre-installed fans. For advanced control, connect the ARGB hub to a compatible motherboard header and use the motherboard's software.
4. Maintenance
4.1 Cleaning Dust Filters
The FARA 514X features a fully perforated front steel panel and other mesh areas to facilitate airflow. Regularly clean these areas to prevent dust buildup and maintain optimal cooling performance. The front panel can be removed for easier cleaning.

Figure 12: Fully perforated front steel panel for optimal airflow and easy cleaning.
4.2 General Cleaning
Use a soft, dry cloth to wipe down the exterior of the chassis. For internal components, use compressed air to remove dust buildup. Ensure the system is powered off and unplugged before cleaning.
5. Troubleshooting
- System not powering on:
- Ensure the PSU is properly connected to the wall outlet and the motherboard.
- Verify the PSU's power switch is in the "On" position.
- Check all front panel connectors (power switch, reset switch) are correctly attached to the motherboard.
- Fans not spinning or ARGB not working:
- Confirm all fans are securely connected to the ARGB fan hub.
- Ensure the ARGB fan hub is connected to SATA power and the motherboard's ARGB header.
- Check motherboard software for fan speed and lighting control.
- Overheating issues:
- Clean all dust filters and internal components.
- Ensure proper fan orientation for optimal airflow (intake at front, exhaust at rear/top).
- Verify CPU cooler and GPU fans are functioning correctly.
For specific component-related issues, refer to the respective component's instruction manual (e.g., motherboard, CPU cooler, GPU).
6. Specifications
| Feature | Detail |
|---|---|
| Model Name | SST-FA514X-BG |
| Brand | SilverStone |
| Case Type | Mid Tower |
| Material | Alloy Steel |
| Color | Black |
| Dimensions (LxWxH) | 18.06 x 8.66 x 19.4 inches |
| Item Weight | 22 pounds |
| Motherboard Compatibility | ATX |
| Cooling Method | Air |
| Radiator Support | Dual 360mm (Front/Top), 120mm (Rear) |
| Included Fans | 4 x 120mm ARGB fans (3 Front, 1 Rear) |
| Drive Bays | 2 x 3.5" HDD, 2 x 2.5" SSD |
| GPU Clearance | Up to 394mm |
| PSU Mounting Type | Bottom Mount |
| Front I/O | 1 x USB Type-C, 2 x USB 3.0, 1 x Audio, 1 x Mic |
7. Warranty and Support
For warranty information and technical support, please refer to the official SilverStone Technology website or contact their customer service directly. Keep your proof of purchase for warranty claims.
Official SilverStone Website: www.silverstonetek.com