
HTVRONT Auto Tumbler Heat Press
Contents
HTVRONT Auto Tumbler Heat Press Instruction Manual
Model: Auto Tumbler Heat Press
1. Introduction
This manual provides detailed instructions for the safe and effective operation of your HTVRONT Auto Tumbler Heat Press. Please read this manual thoroughly before use and retain it for future reference. This bundle includes the HTVRONT Auto Tumbler Heat Press, a pair of heat-resistant gloves, 150 sheets of 11x17 inch sublimation paper, and two rolls of 20mm heat tape.

2. Safety Instructions
- Always operate the heat press on a stable, heat-resistant surface.
- Keep hands and fingers away from the heating plate during operation to prevent burns.
- Wear the provided heat-resistant gloves when handling hot tumblers or components.
- The machine features an Auto-Off function, powering down after 15 minutes of inactivity.
- Utilize the Emergency Stop feature by pressing the 'R' button to immediately halt heating and release the heat pad in case of an emergency.
- Do not immerse the machine in water or other liquids.
- Unplug the machine when not in use or before cleaning.

3. Product Components
Familiarize yourself with the main parts of your HTVRONT Auto Tumbler Heat Press:
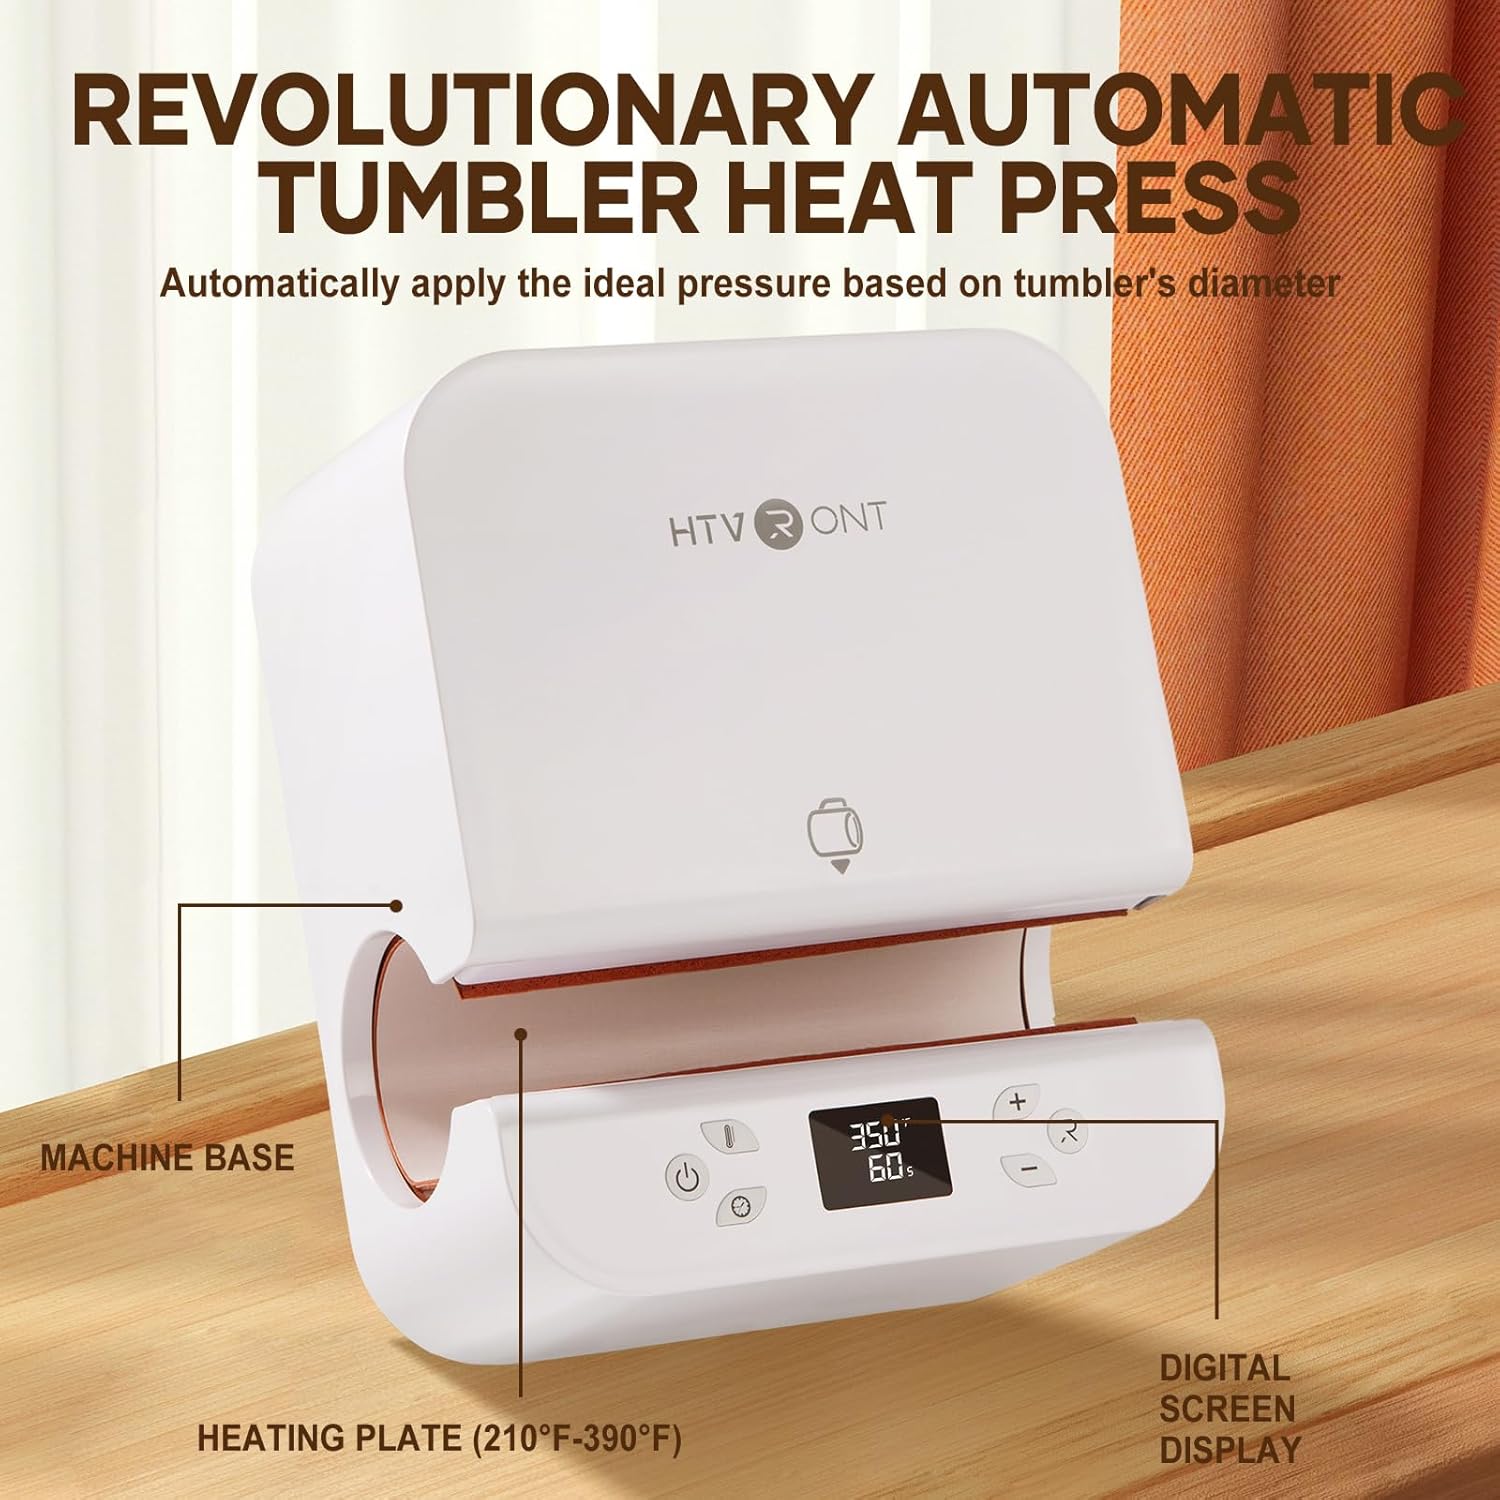
- Machine Base: The main housing of the heat press.
- Heating Plate: The element that applies heat and pressure to the tumbler. It operates within a temperature range of 210°F to 390°F (100°C to 200°C).
- Digital Screen Display: Shows current temperature and time settings.
- Control Buttons: Used to power on/off, adjust temperature/time, and activate the emergency stop.
4. Setup
- Unpack all components from the box.
- Place the HTVRONT Auto Tumbler Heat Press on a flat, stable, and heat-resistant surface. Ensure adequate clearance around the machine for ventilation.
- Plug the power cord into a grounded electrical outlet.
- The machine is now ready for operation.
5. Operating Instructions
5.1 Powering On and Setting Parameters
- Press the power button to turn on the machine. The digital display will illuminate.
- Use the '+' and '-' buttons to adjust the desired temperature and time settings for your sublimation project. Refer to the suggested transfer instructions below.
- Allow the machine to preheat to the set temperature. The display will indicate when the target temperature is reached.

5.2 Using the Auto-Done Feature
The HTVRONT Auto Tumbler Heat Press automatically applies ideal pressure based on the tumbler's diameter, simplifying the sublimation process.
- Prepare your tumbler with the sublimation design securely attached using heat tape.
- Carefully insert the prepared tumbler into the heating plate opening. The machine will automatically detect the tumbler and begin the pressing cycle according to your set parameters.
- Once the cycle is complete, the machine will signal, and the heat pad will release.
- Wearing heat-resistant gloves, carefully remove the hot tumbler. Allow it to cool completely before handling the transferred design.

5.3 Suggested Transfer Instructions
The following table provides general guidelines for temperature and time settings for various sublimation blanks. Adjustments may be necessary based on specific materials and desired results.
6. Sublimation Paper Usage
The included sublimation paper offers a high transfer rate and vibrant color reproduction for your projects.
- Ensure your design is printed on the correct side of the sublimation paper using sublimation ink.
- Secure the printed design to your blank item using the provided heat tape to prevent ghosting during transfer.
- The paper is designed for over 98% ultra-high transfer rate, clear and bright colors, and excellent printing details. It is also fast-drying and helps save ink.
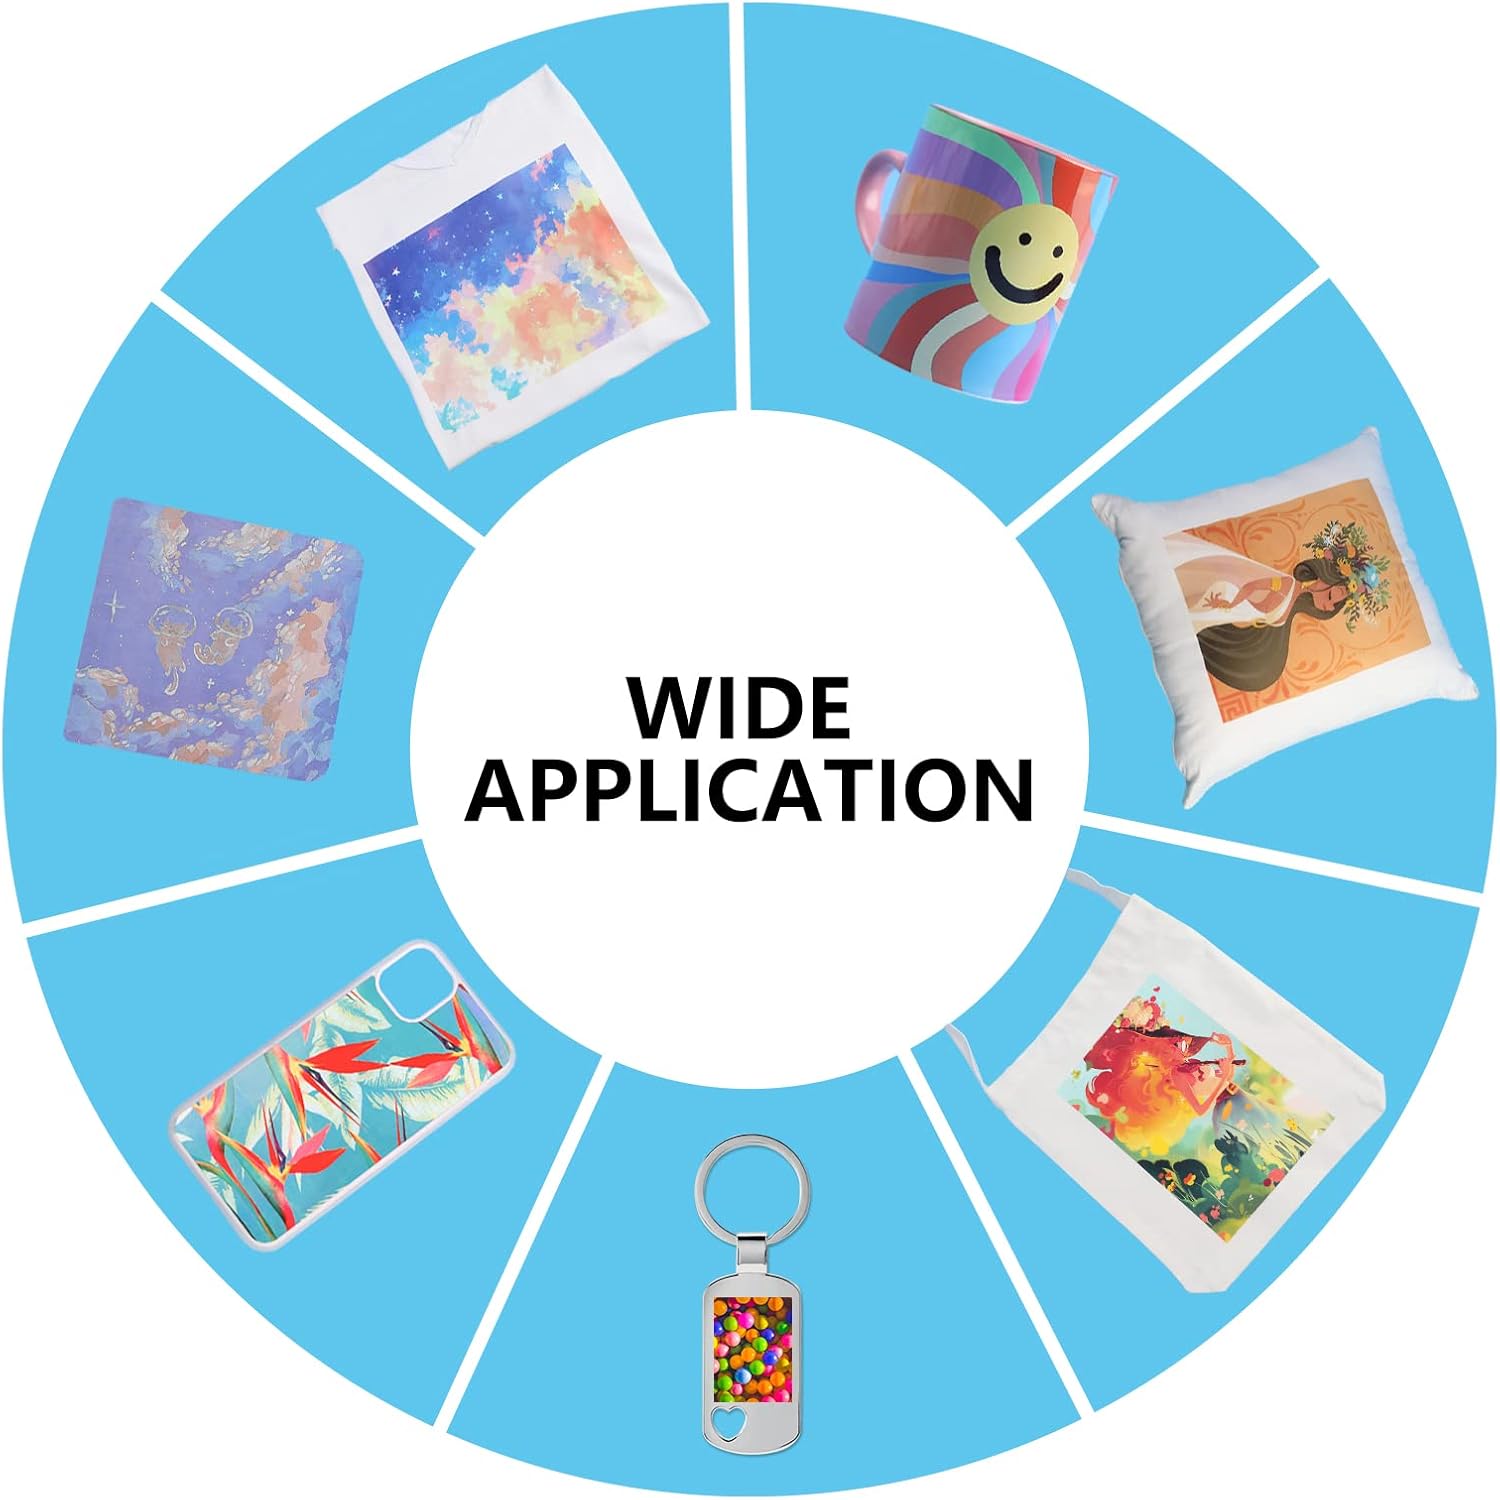
6.1 Wide Application
The HTVRONT Auto Tumbler Heat Press and sublimation paper are suitable for a wide range of applications beyond tumblers, including:

7. Maintenance
- Ensure the machine is unplugged and completely cool before cleaning.
- Wipe the exterior of the machine with a soft, damp cloth. Do not use abrasive cleaners or solvents.
- Gently clean the heating plate with a soft, dry cloth if necessary. Avoid scratching the surface.
- Store the heat press in a dry, dust-free environment when not in use.
8. Troubleshooting
8.1 Common Issues and Solutions
- Machine not powering on: Check if the power cord is securely plugged into both the machine and the electrical outlet. Ensure the outlet is functional.
- Uneven transfer: Ensure the sublimation paper is securely taped to the tumbler and the tumbler is properly seated in the heating plate. Verify that the temperature and time settings are appropriate for your blank.
- Faded or dull colors: This may indicate insufficient temperature or time. Increase settings slightly and test again. Ensure you are using high-quality sublimation ink and paper.
- Ghosting (double image): This usually occurs when the sublimation paper shifts during or immediately after pressing. Ensure the paper is firmly taped and the tumbler is removed carefully.
9. Specifications
- Compatible Tumbler Diameter: 2.9 to 3.3 inches (7.5 cm to 8.5 cm)
- Compatible Tumbler Capacity: 10 to 30 oz (280 ml to 850 ml)
- Maximum Heating Temperature: 390°F (200°C)
- Auto-Off Feature: Activates after 15 minutes of inactivity.
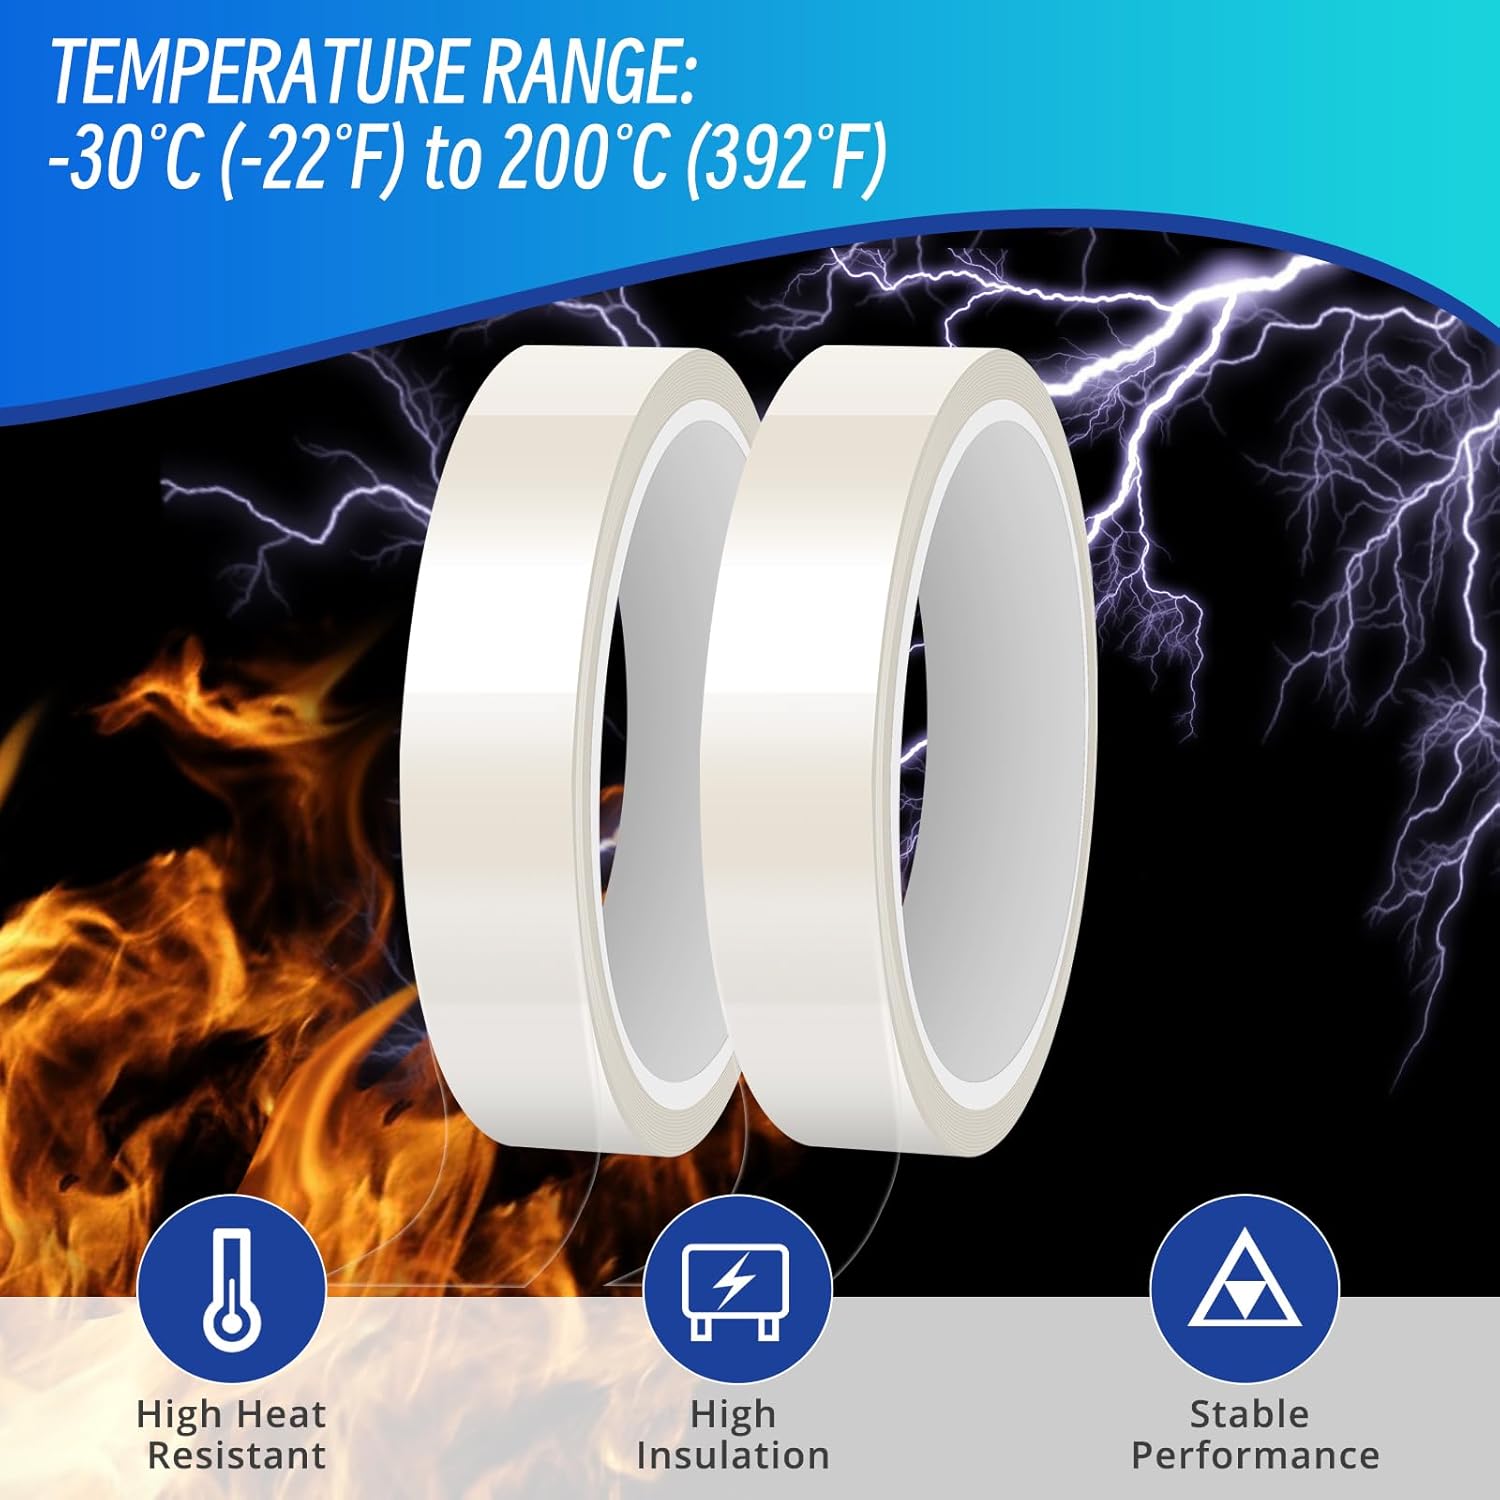
- Heat Tape: 20mm width, high heat resistant, high insulation, stable performance.

10. Warranty and Support
For warranty information or technical support, please refer to the contact details provided with your product packaging or visit the official HTVRONT website. Please have your product model and purchase date available when contacting support.
Ask a question about this manual
Ask about setup, troubleshooting, compatibility, parts, safety, or missing instructions. Manuals+ will review the question and use this page’s manual context to help answer it.