1. Introduction
The LECTRUS K17 Dash Cam is designed to provide comprehensive video surveillance for your vehicle, offering front, interior, and rear recording capabilities. This manual provides detailed instructions for the proper installation, operation, and maintenance of your dash cam to ensure optimal performance and longevity.
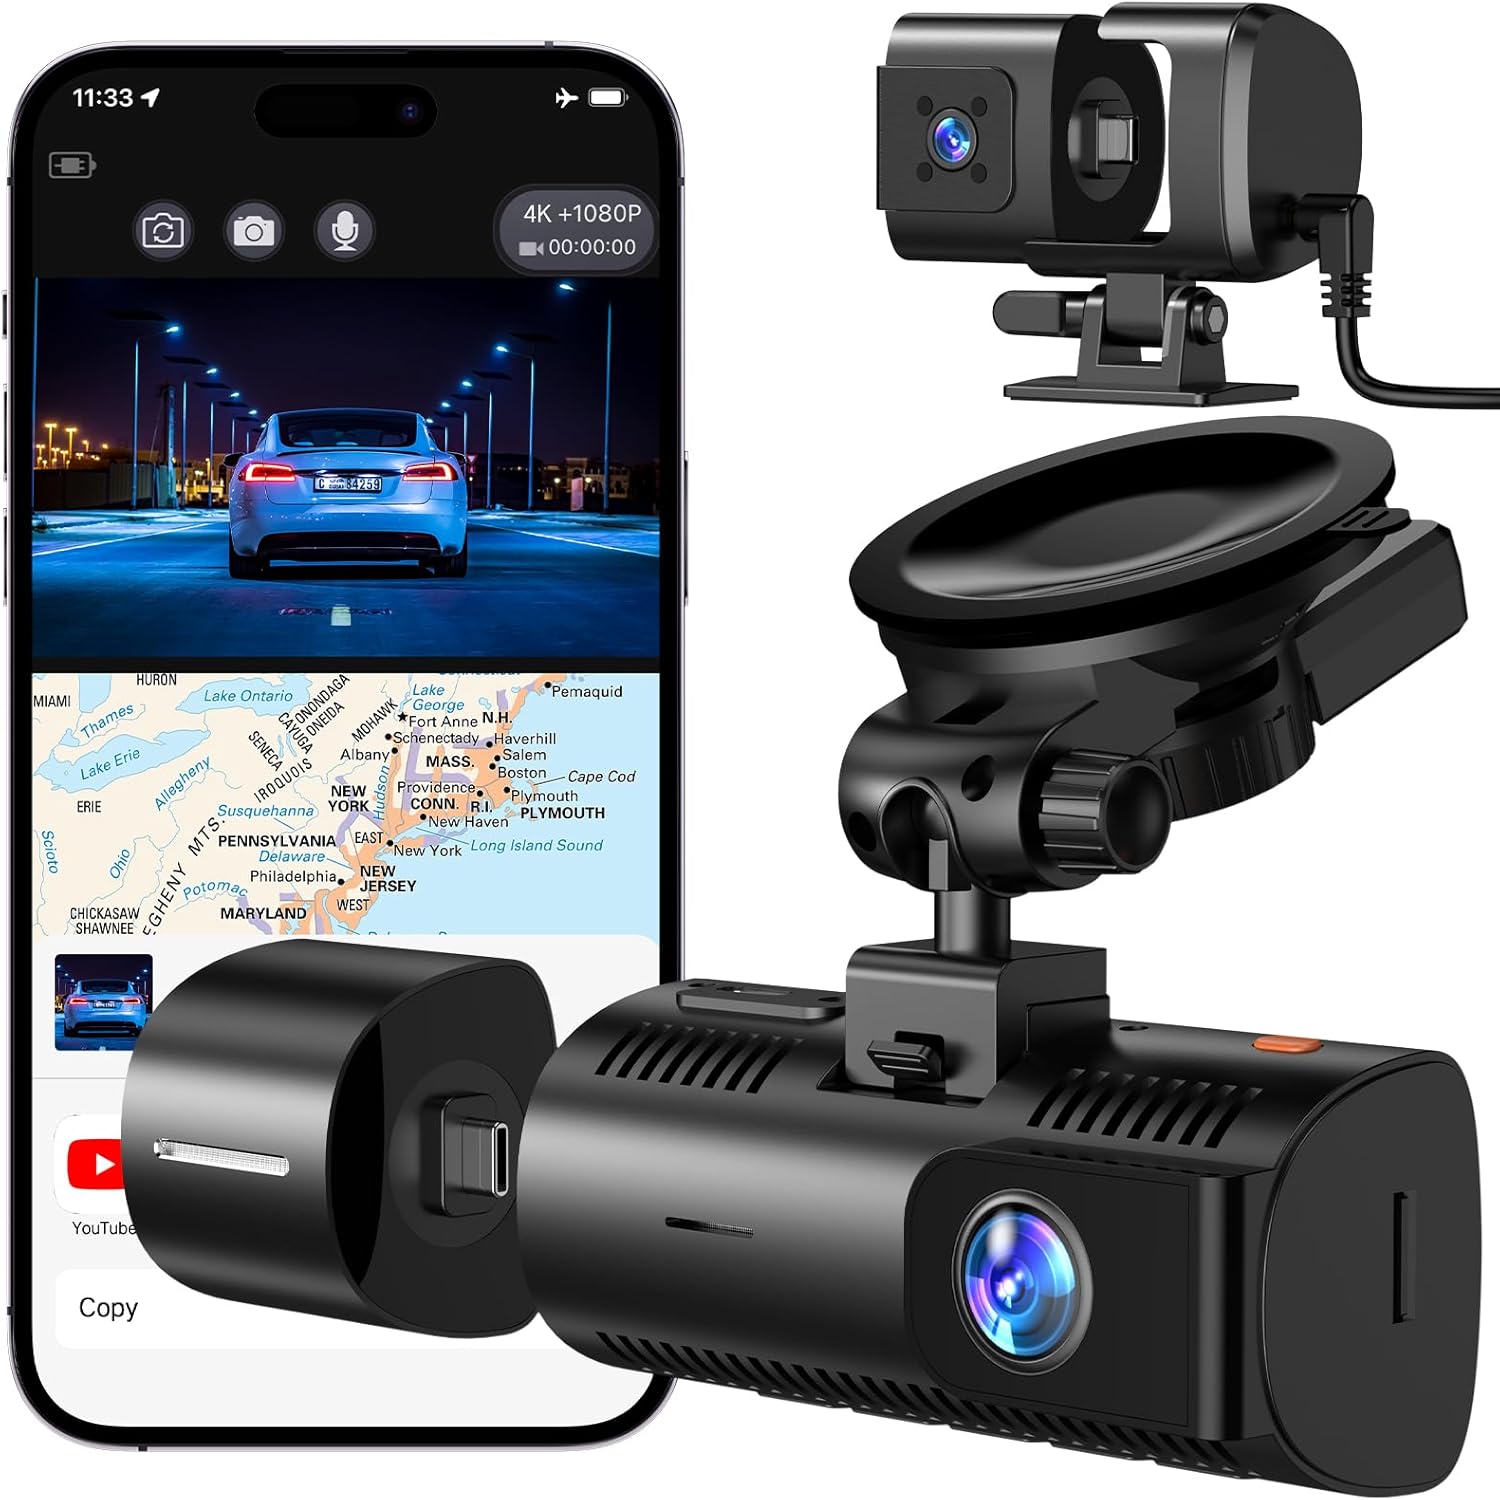
Image 1.1: LECTRUS K17 Dash Cam with its components and smartphone app interface.
2. What's in the Box
Please verify that all items listed below are included in your package. If any items are missing or damaged, please contact customer support.

Image 2.1: Package contents of the LECTRUS K17 Dash Cam.
- Dash Camera (Main Unit with Front and Interior Lenses)
- Suction Cup Mount
- Magnetic Rear Camera
- Rear Camera Power Cable
- Car Charger (11.5 ft)
- Type-C Data Cable
- 64GB SD Card
3. Product Overview
The LECTRUS K17 features a compact design with a 3-inch IPS screen for real-time viewing and playback. It supports a triple-camera system (front, interior, and rear) to provide comprehensive coverage. The main unit houses the front and interior cameras, while a separate magnetic camera provides rear coverage.

Image 3.1: The dash cam offers flexible camera configurations for front, interior, and rear views.
4. Setup
4.1 Installation
Follow these steps for proper installation of your dash cam:
- Mounting the Main Unit: Attach the suction cup mount to the main dash camera unit. Securely affix the mount to your vehicle's windshield, ensuring it does not obstruct your view. The suction cup bracket allows for angle adjustment.
- Connecting Power: Connect the car charger to the dash cam's USB-C power input and plug the other end into your vehicle's 12V power outlet.
- Installing the Rear Camera: Connect the magnetic rear camera to the main unit using the provided rear camera power cable. Install the rear camera on your vehicle's rear window, ensuring a clear view.

Image 4.1: Installation diagram for the LECTRUS K17 Dash Cam.
4.2 SD Card Insertion and Formatting
Insert the included 64GB SD card into the designated slot on the dash cam. It is recommended to format the SD card within the dash cam's settings before first use and periodically thereafter to ensure stable recording performance.
5. Operating Instructions
5.1 Basic Recording and Loop Recording
The dash cam automatically begins recording when powered on. It utilizes loop recording, which means when the memory card is full, the oldest video files are automatically overwritten by new recordings. This ensures continuous recording without manual intervention.
5.2 Video Resolution and Triple Camera Coverage
The main camera records in 4K resolution (30FPS) for the front view, providing clear detail. Both the interior and rear cameras record in 1080P resolution (25FPS). This triple-camera system covers the front, interior, and rear of your vehicle, minimizing blind spots.

Image 5.1: High-resolution video recording capabilities of the dash cam.

Image 5.2: Examples of video resolution for front, interior, and rear cameras.
5.3 G-Sensor Collision Detection
The built-in three-axis accelerometer (G-sensor) automatically detects sudden impacts or collisions. In such events, it locks and saves the current video file, preventing it from being overwritten by loop recording. This ensures critical footage is preserved.

Image 5.3: G-Sensor functionality for collision detection.
5.4 24-Hour Parking Monitoring
The dash cam offers 24-hour parking monitoring. When the vehicle is parked, the G-sensor can trigger emergency recording if an impact is detected. Note: For continuous monitoring when your vehicle is parked, a separate "Type-C Hardwire Kit" is required to provide constant power, as the built-in capacitor only saves emergency footage after the engine is off.

Image 5.4: Parking monitoring feature for vehicle security.
5.5 Enhanced Night Vision
High-sensitivity sensors and infrared filters enable clear video recording in low-light conditions, such as dark parking lots or during nighttime driving. This feature ensures reliable security footage regardless of ambient light.

Image 5.5: Night vision technology for clear recordings in low light.
5.6 GPS Functionality
The built-in GPS module allows for tracking of your vehicle's location and speed, which can be viewed during video playback. Ensure the GPS mount is properly connected for this feature to function.

Image 5.6: GPS tracking for location and speed data.
5.7 Wi-Fi Connectivity and App Control
The dash cam supports 2.4G Wi-Fi connectivity, allowing you to connect to a dedicated smartphone application. Through the app, you can view live footage, download recorded videos, and adjust settings wirelessly.

Image 5.7: Wi-Fi connectivity for app control and data transfer.
5.8 Accessing Recorded Footage
Recorded videos can be accessed in two ways:
- Via Smartphone App: Connect your phone to the dash cam's Wi-Fi network and use the dedicated app to browse and download files.
- Via USB Data Cable: Connect the dash cam directly to your computer using the included Type-C data cable. The dash cam will appear as a removable drive, allowing you to transfer files without a separate card reader.

Image 5.8: Direct connection to computer for file access.
6. Maintenance
6.1 SD Card Management
To maintain optimal recording performance and prevent data corruption, it is recommended to format the SD card every 2-4 weeks. This helps clear fragmented files and ensures sufficient space for new recordings.
6.2 Cleaning
Regularly clean the dash cam lenses and screen with a soft, dry cloth to ensure clear video quality and screen visibility. Avoid using abrasive materials or chemical cleaners.
7. Troubleshooting
If you encounter issues with your LECTRUS K17 Dash Cam, refer to the following common problems and solutions:
- Dash Cam does not power on:
Ensure the car charger is securely connected to both the dash cam and the vehicle's power outlet. Check if the vehicle's 12V power outlet is functioning. - Wi-Fi connection is unstable or not appearing:
Ensure the dash cam's Wi-Fi function is enabled in the settings. Try restarting both the dash cam and your smartphone. If the issue persists, ensure your phone's Wi-Fi settings are configured to connect to the dash cam's network. - GPS function is not working:
Ensure the GPS mount is correctly installed and connected. GPS signal acquisition may take some time, especially after initial setup or if the vehicle has been stationary for a long period. Ensure the dash cam has a clear view of the sky. - Video files are not saving or are corrupted:
Format the SD card within the dash cam's settings. Ensure the SD card is a high-quality Class 10 or U3 card. If the issue persists, try a different SD card. - Dash cam automatically turns off after engine is off:
This is normal behavior. The dash cam uses a capacitor for safety in high temperatures and is not designed for continuous recording without external power when the engine is off. For 24-hour parking monitoring, a "Type-C Hardwire Kit" must be purchased separately.
8. Specifications
Key technical specifications for the LECTRUS K17 Dash Cam:
| Feature | Specification |
|---|---|
| Model Name | K17 |
| Video Capture Resolution | Front: 4K (30FPS), Interior/Rear: 1080P (25FPS) |
| Screen Size | 3 inch IPS |
| Connectivity Technology | 2.4G Wireless Wi-Fi |
| Special Features | Built-In GPS, G-Sensor, Night Vision, Parking Monitor, Loop Recording |
| Storage | 64GB SD Card Included (Supports up to 256GB) |
| Power Source | Super Capacitor (or 300mAh battery) |
| Operating Temperature | Stable in high/extreme temperatures |
| Dimensions | 1 x 1 x 1 inches (Main Unit, approximate) |
| Item Weight | 1.23 pounds |

Image 8.1: Quality features of the dash cam's components.
9. Warranty and Support
LECTRUS products are designed for reliability and performance. For warranty information, technical support, or any inquiries regarding your K17 Dash Cam, please refer to the contact information provided with your purchase or visit the official LECTRUS website. Please retain your proof of purchase for warranty claims.


