
TRIUMPHKEY 120x60cm
TRIUMPHKEY 120x60cm Electric Standing Desk User Manual
Model: 120x60cm Brown
1. Introduction
Thank you for choosing the TRIUMPHKEY Electric Standing Desk. This manual provides detailed instructions for assembly, operation, and maintenance of your new desk. Please read this manual carefully before use to ensure proper setup and safe operation. Keep this manual for future reference.
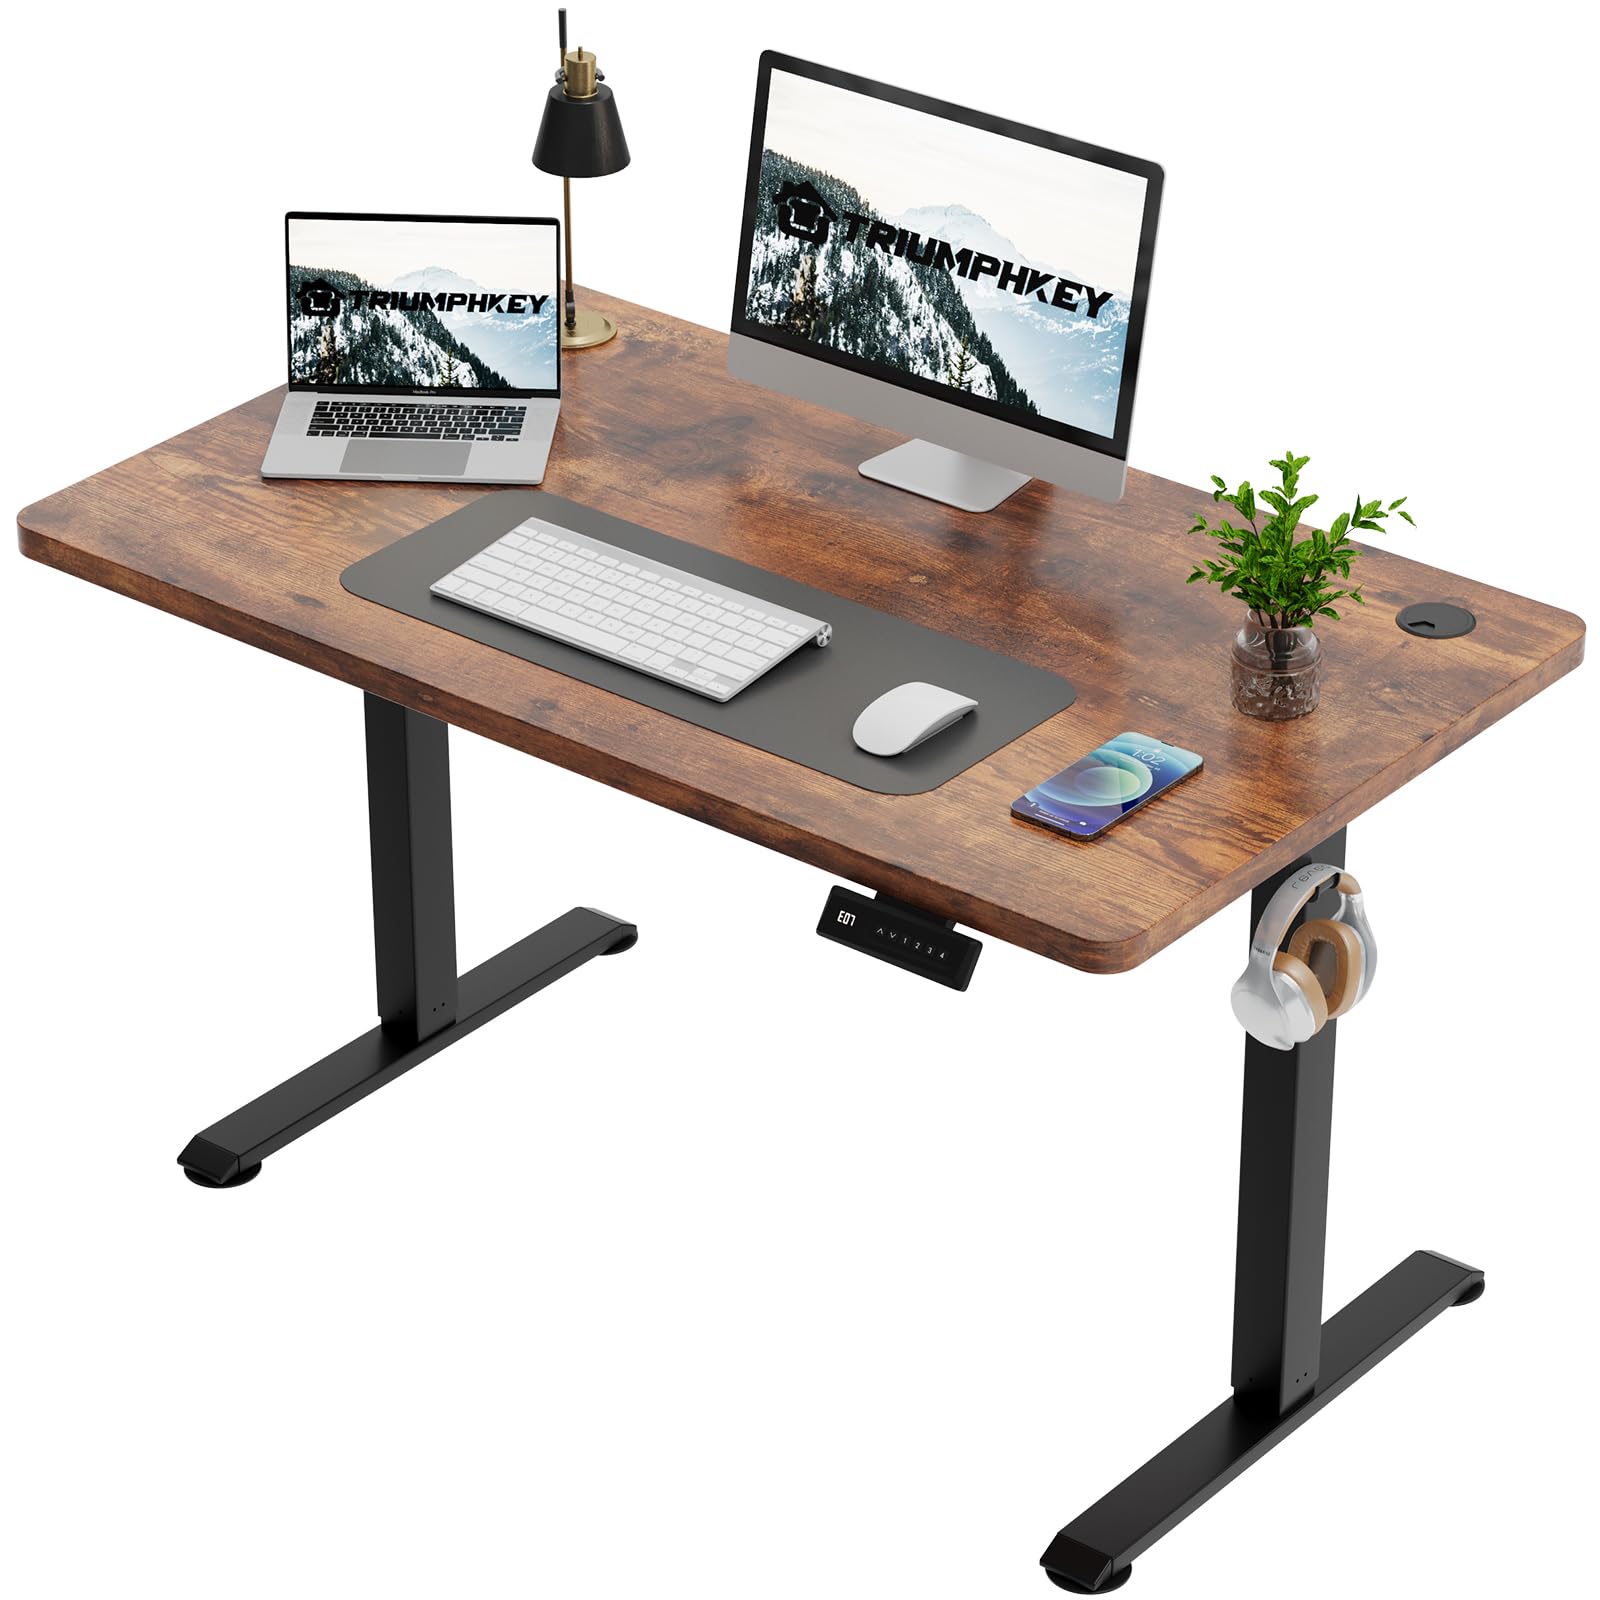
Image 1.1: The TRIUMPHKEY 120x60cm Electric Standing Desk in a modern office environment.
2. Safety Information
- Ensure all components are present and undamaged before assembly.
- Keep children and pets away from the desk during operation.
- Do not place hands or other body parts near moving parts during height adjustment.
- Do not overload the desk. Refer to specifications for maximum weight capacity.
- Only use the provided power adapter.
- Disconnect power before cleaning or maintenance.
- Avoid spilling liquids on the control panel or electrical components.
3. Product Overview & Features
3.1 Key Features
- Spacious and Stable Single-Piece Tabletop: Features a full-plate tabletop for a smooth, gap-free surface, providing strong support for your workspace.
- Smart Control Panel: Equipped with an LED display and 4 preset memory heights for convenient height adjustments.
- Wide Height Adjustment Range: Electrically adjustable from 71 cm to 119 cm to suit various user heights and preferences.
- Quiet Operation: Motor noise is less than 55dB, ensuring a peaceful working environment.
- Integrated Cable Management: Includes wire holes on the tabletop to keep cables organized and a cable management basket (if included) for a tidy desk.
- Convenient Headphone Hook: A side hook is provided for hanging headphones or a bag.

Image 3.1: The ergonomic design allows height adjustment from 71cm to 119cm for sitting or standing positions.

Image 3.2: A top-down view highlighting the seamless, single-piece tabletop construction.

Image 3.3: Close-up of integrated features including wire hole, headphone hook, adjustable feet, and cable management.
4. Specifications
| Feature | Detail |
|---|---|
| Brand | TRIUMPHKEY |
| Model | 120x60cm Electric Standing Desk |
| Shape | Rectangular |
| Product Dimensions (L x W x H) | 120 cm x 60 cm x 71-119 cm (Adjustable) |
| Color | Brown |
| Top Material Type | Wood |
| Special Features | Height adjustable, Ergonomic, Memory Presets, Cable Management, Headphone Hook |
| Motor Noise Level | < 55dB |
| Assembly Required | Yes |
| Included Components | Desk frame, tabletop, control panel, power adapter, headphone hook, assembly tools |

Image 4.1: Detailed product dimensions and available color options.
5. Assembly Instructions
The TRIUMPHKEY Electric Standing Desk is designed for easy assembly. A full set of tools and numbered parts are included in the package. Please follow the detailed instructions provided in the separate assembly guide included with your product. Ensure all screws are tightened securely before use.
- Unpack Components: Carefully remove all parts from the packaging and verify against the parts list in the assembly guide.
- Assemble Desk Legs: Attach the foot pads to the bottom of the desk legs.
- Attach Lifting Columns: Secure the lifting columns to the crossbar.
- Mount Tabletop: Carefully place the tabletop upside down on a soft, clean surface. Attach the assembled frame to the tabletop using the provided screws.
- Install Control Panel: Mount the control panel to the underside of the tabletop in the designated area.
- Connect Cables: Connect the motor cables and control panel cable to the control box. Connect the power adapter to the control box.
- Install Accessories: Attach the headphone hook and cable management basket (if applicable) as per the assembly guide.
- Final Check: Ensure all connections are secure and the desk is stable before plugging it into a power outlet.
6. Operating Instructions
6.1 Control Panel Overview
Your TRIUMPHKEY standing desk features an intuitive control panel with an LED display and memory functions.

Image 6.1: The smart control panel with LED display and memory preset buttons.
- LED Display: Shows the current desk height in centimeters.
- Up (⌃) / Down (⌄) Buttons: Press and hold to adjust the desk height upwards or downwards.
- Memory Buttons (1, 2, 3, 4): Store and recall your preferred desk heights.
6.2 Adjusting Height
- Press and hold the Up (⌃) button to raise the desk.
- Press and hold the Down (⌄) button to lower the desk.
- Release the button when the desired height is reached.
6.3 Setting Memory Presets
You can store up to four preferred desk heights for quick adjustment.
- Adjust the desk to your desired height using the Up/Down buttons.
- Press the 'M' button (if present, or hold the number button directly if no 'M' button is visible). The LED display may flash 'S-' or 'M-'.
- Within 3 seconds, press one of the number buttons (1, 2, 3, or 4) to save the current height to that preset. The display will show 'S-1', 'S-2', etc., to confirm.
- To recall a saved height, simply press the corresponding number button (1, 2, 3, or 4). The desk will automatically move to the stored position.

Image 6.2: Visual guide to the control panel functions, including height adjustment and memory presets.
6.4 Reset Function
If the desk encounters an error or does not move smoothly, a reset may be required. Consult the specific reset procedure in your assembly guide, which typically involves holding down certain buttons until the desk moves to its lowest position and then slightly up again.
7. Maintenance
- Cleaning: Wipe the desk surface and frame with a soft, damp cloth. Avoid abrasive cleaners or harsh chemicals.
- Cable Management: Regularly check and organize cables to prevent tangles and damage.
- Inspection: Periodically check all screws and connections to ensure they are tight and secure.
- Lubrication: The lifting mechanism is generally maintenance-free. Do not attempt to lubricate internal components unless specifically instructed by the manufacturer.
8. Troubleshooting
If you encounter any issues with your TRIUMPHKEY Electric Standing Desk, please refer to the following common problems and solutions:
| Problem | Possible Cause | Solution |
|---|---|---|
| Desk does not move. | Power cable disconnected, motor cable loose, overload. | Check power connection. Ensure all cables are securely plugged in. Reduce weight on the desk. Perform a reset. |
| Desk moves unevenly or makes unusual noise. | Loose connections, obstruction, uneven weight distribution. | Check all assembly connections. Remove any obstructions. Distribute weight evenly. Perform a reset. |
| LED display shows an error code (e.g., E01, E02). | System error, motor fault, sensor issue. | Refer to the specific error code in your assembly guide for detailed solutions. Often, a reset can resolve minor errors. If the problem persists, contact customer support. |
| Memory presets are not working. | Presets not saved correctly. | Re-save the memory presets following the instructions in Section 6.3. |
9. Warranty & Support
TRIUMPHKEY products are manufactured with quality and durability in mind. For warranty information, technical support, or replacement parts, please refer to the warranty card included with your product or contact TRIUMPHKEY customer service through the retailer where you purchased the desk. Please have your model number and purchase date ready when contacting support.
For further assistance, you may visit the TRIUMPHKEY Store on Amazon.
Related documents120x60cm

Ask a question about this manual
Ask about setup, troubleshooting, compatibility, parts, safety, or missing instructions. Manuals+ will review the question and use this page’s manual context to help answer it.