1. Introduction
This manual provides detailed instructions for the proper use and maintenance of your Fabater HW400S Digital Coating Thickness Gauge. This device is designed for accurate measurement of coating thickness on various metal substrates, including paint on steel, enamel, chrome, aluminum, and anodized coatings on copper. Please read this manual thoroughly before operating the device to ensure optimal performance and longevity.
2. Package Contents
Upon opening the package, please verify that all the following items are included:
- 1 x Fabater HW400S Digital Coating Thickness Gauge
- 7 x Calibration Plates (various thicknesses)
- 1 x User Manual
3. Product Features
The Fabater HW400S Digital Coating Thickness Gauge offers several key features for precise and convenient measurements:
- Multifunctional Measurement: Capable of measuring thickness on both ferrous (F) and non-ferrous (NF) metal substrates. Automatically detects substrate properties.
- Data Recording: Records average, maximum, minimum, and difference values. Supports storage of up to 50 data points for statistical analysis.
- Multiple Measurement Units: Switchable between micrometers (um), millimeters (mm), and mils for versatile applications.
- High Accuracy: Provides precise measurements for various coatings.
- Compact and Lightweight Design: Easy to carry and operate in various environments.
- Automatic Shut-off: Conserves battery power by automatically turning off after 3 minutes of inactivity.
- Battery Level Indicator: Displays current battery status.
- HD Display: Clear and easy-to-read digital display.
- High Precision Probe: Ensures accurate contact and measurement.
- Anti-Slip Groove Design: Enhances grip and handling stability.
4. Product Overview
Familiarize yourself with the components and controls of your HW400S Digital Coating Thickness Gauge.

Image 4.1: Front view of the HW400S gauge with key components labeled. This includes the display, probe, and various control buttons.

Image 4.2: Detailed view highlighting the HD display, high precision probe, and anti-slip groove design for improved handling.
Key Components:
- Display Screen: Shows measurement readings, unit, mode, battery level, and statistical data (MAX, MIN, AVG, DIF).
- Probe: The sensor at the top of the device used to contact the surface for measurement.
- Power On/Off Button (⏻): Press to turn the device on or off.
- F/NF Button: Switches between automatic (AUTO), magnetic induction (F) for ferrous metals, and eddy current (NFE) for non-ferrous metals.
- Mils/um/mm Button: Toggles between measurement units (mils, micrometers, millimeters).
- ZERO/CAL Button: Used for zero calibration and accessing calibration functions.
- Backlight Switch / Automatic Shutdown Switch: Controls the display backlight and can be used to adjust automatic shutdown settings.
5. Setup
5.1 Battery Installation
The Fabater HW400S requires two 1.5V AAA batteries (not included) for operation.
- Locate the battery compartment cover on the back of the device.
- Slide the cover off to open the compartment.
- Insert two AAA batteries, ensuring correct polarity (+/-) as indicated inside the compartment.
- Replace the battery compartment cover, sliding it firmly until it clicks into place.
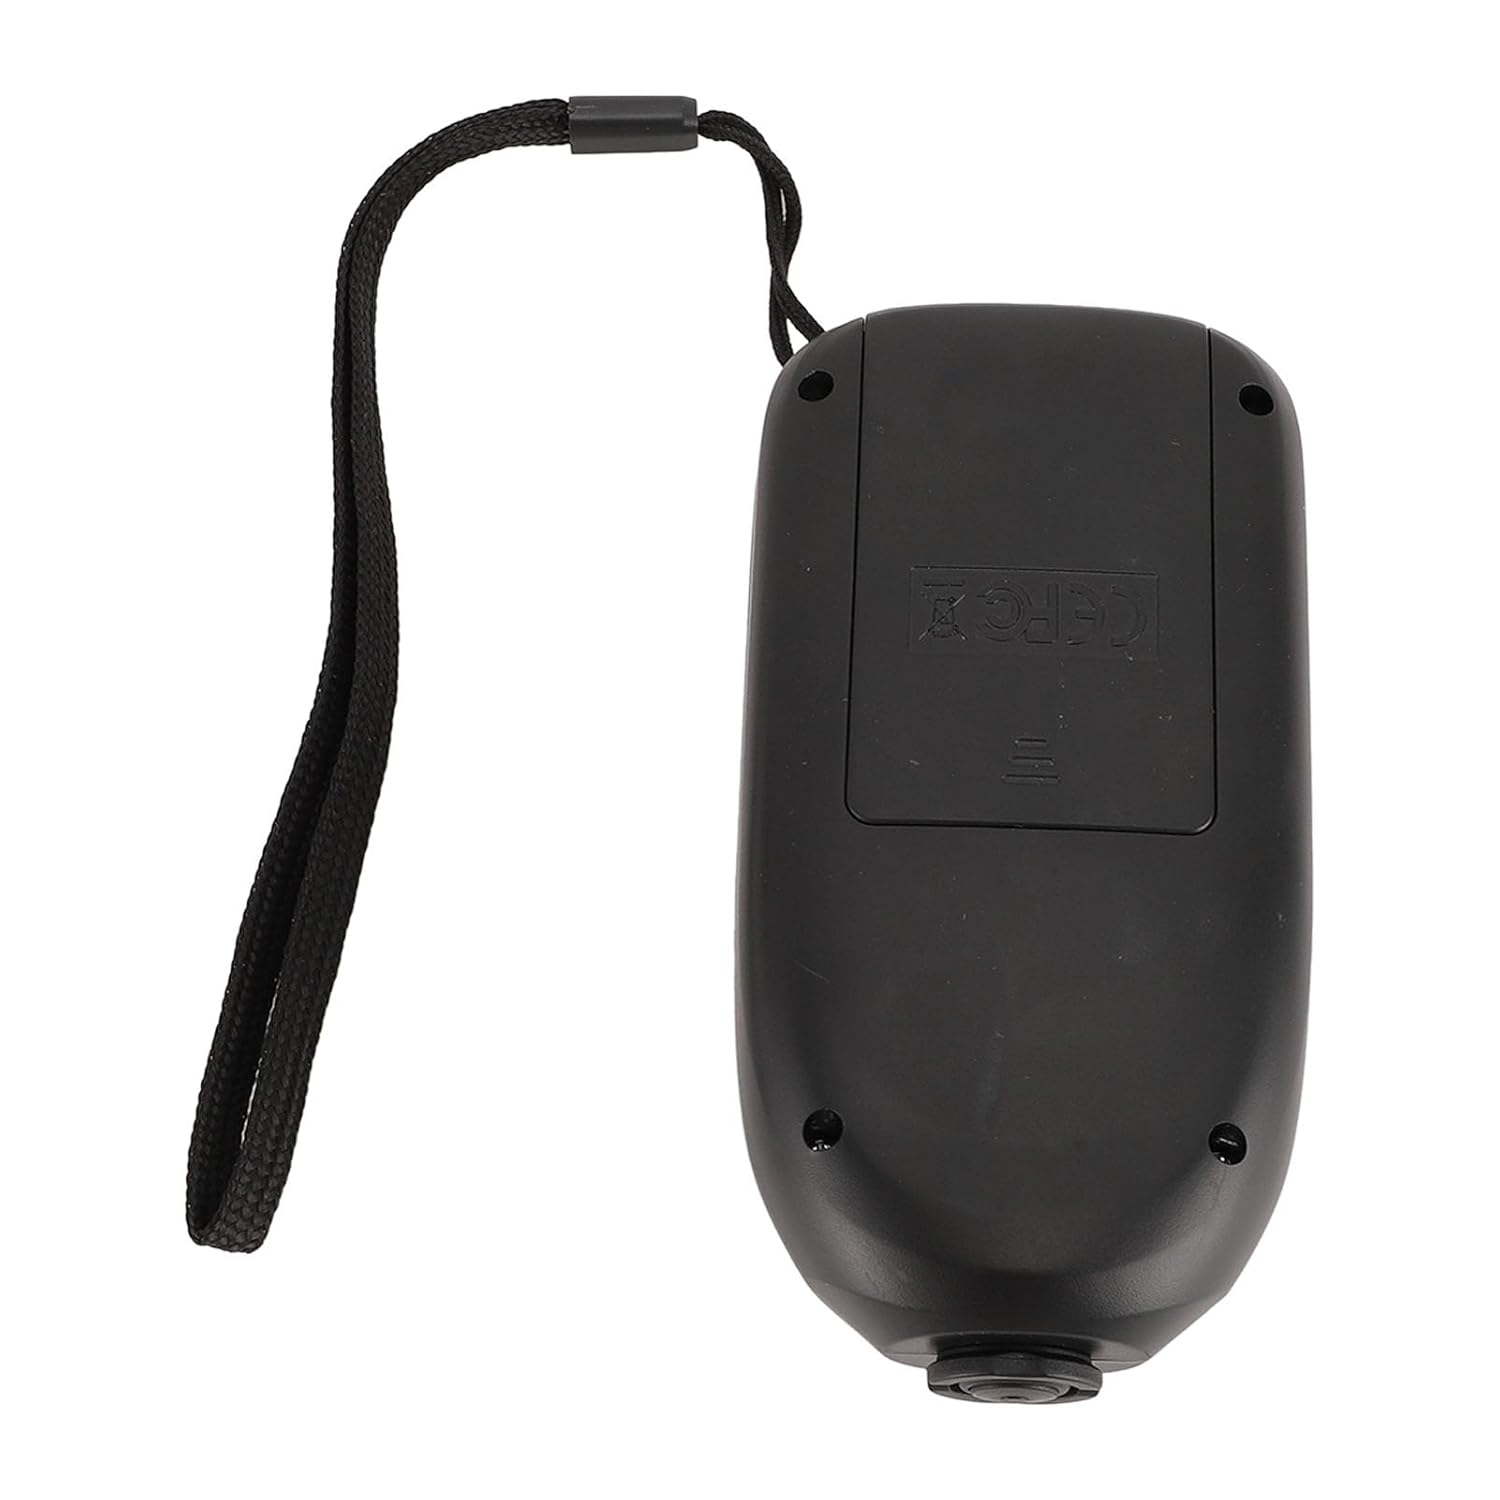
Image 5.1: View of the open battery compartment on the back of the device, showing where to insert two AAA batteries.
5.2 Power On/Off
- To power on the device, press the Power On/Off (⏻) button. The display will illuminate.
- To power off the device, press and hold the Power On/Off (⏻) button for a few seconds until the display turns off.
- The device will automatically shut off after 3 minutes of inactivity to conserve battery life.
6. Operation
6.1 Basic Measurement
- Ensure the device is powered on.
- Place the probe firmly and perpendicularly onto the surface to be measured.
- The measurement reading will appear on the display. The device takes approximately 2 readings per second.
- Lift the probe from the surface to complete the measurement.
6.2 Measurement Modes (F/NF)
The HW400S can measure on both ferrous (F) and non-ferrous (NF) substrates. Press the F/NF button to cycle through the modes:
- AUTO: Automatically detects the substrate type (ferrous or non-ferrous). This is the recommended default mode.
- F (Ferrous): For coatings on magnetic metals like steel and iron.
- NFE (Non-Ferrous): For coatings on non-magnetic metals like aluminum, copper, and brass.
6.3 Unit Switching
To change the measurement unit, press the Mils/um/mm button. The display will cycle through:
- um (micrometers)
- mm (millimeters)
- mils
6.4 Calibration
Regular calibration ensures the accuracy of your measurements. The HW400S supports zero calibration and multi-point calibration using the provided calibration plates.

Image 6.1: Illustrates the process of self-calibration for accurate measurements, typically performed on a known zero-thickness surface or a calibration plate.

Image 6.2: Shows the HW400S alongside the included calibration plates (0.05mm, 0.10mm, 0.25mm, 0.50mm, 1.00mm, 2.00mm) and a standard aluminum block, used for zero and multi-point calibration.
Zero Calibration:
To perform a zero calibration, place the probe directly onto a bare, uncoated metal substrate (e.g., the standard aluminum block or a known bare ferrous surface) and follow the instructions displayed on the screen or refer to the detailed steps in the included printed manual.
Multi-point Calibration:
For enhanced accuracy, especially when measuring specific coating thicknesses, use the provided calibration plates. Place the probe on each plate and adjust the reading according to the plate's known thickness. Consult the detailed instructions in the included printed manual for the exact procedure.
6.5 Data Statistics
The device automatically calculates and displays statistical data for your measurements. The display shows:
- MAX: Maximum measured thickness.
- MIN: Minimum measured thickness.
- AVG: Average thickness of recorded measurements.
- DIF: Difference between maximum and minimum measurements.
The device can store up to 50 data points for these statistics.
7. Maintenance
- Cleaning: Wipe the device with a soft, dry cloth. Do not use abrasive cleaners or solvents.
- Storage: Store the gauge in a dry, cool place, away from direct sunlight and extreme temperatures. If storing for extended periods, remove the batteries to prevent leakage.
- Probe Care: Keep the probe tip clean and free from debris to ensure accurate readings. Avoid scratching or damaging the probe surface.
8. Troubleshooting
| Problem | Possible Cause | Solution |
|---|---|---|
| Device does not power on. | Batteries are dead or incorrectly installed. | Check battery polarity. Replace with new AAA batteries. |
| Inaccurate readings. | Device needs calibration; probe tip is dirty or damaged; incorrect measurement mode selected. | Perform zero and multi-point calibration. Clean the probe tip. Ensure correct F/NF mode is selected for the substrate. |
| Display is dim or flickering. | Low battery power. | Replace batteries. |
| Device shuts off unexpectedly. | Automatic shut-off activated; low battery power. | This is normal behavior after 3 minutes of inactivity. If it happens during use, replace batteries. |
9. Specifications
Technical specifications for the Fabater HW400S Digital Coating Thickness Gauge:
- Model: HW400S
- Material: ABS
- Power Supply: 2 x 1.5V AAA Batteries (not included)
- Resolution: 1um
- Measurement Range: 0-2000um
- Measurement Accuracy: ±(3%+1um)
- Minimum Convex Radius: Approx. 5mm / 0.2in
- Minimum Concave Radius: Approx. 25mm / 0.98in
- Minimum Measuring Area Diameter: Approx. 20mm / 0.79in
- Minimum Substrate Thickness: Approx. 0.2mm / 0.01in
- Maximum Measurement Speed: 2 Readings Per Second
- Dimensions: 12cm (4.7in) x 6cm (2.4in) x 2.8cm (1.1in) (approximate)
- Weight: 4.76 ounces (approximate, without batteries)
- Suitable for: FE (Ferrous) and NFE (Non-Ferrous) substrates

Image 9.1: Shows the approximate dimensions of the HW400S device, indicating its compact size.
10. Warranty and Support
Specific warranty details are not provided within this manual. For warranty information, technical support, or customer service inquiries, please refer to the product packaging or contact the manufacturer directly through their official channels.
You may also visit the Fabater Store on Amazon for additional product information and support resources.