
1. Introduction
Thank you for choosing the TRIUMPHKEY Electric Standing Desk. This manual provides essential information for the safe assembly, operation, and maintenance of your new desk. Please read it thoroughly before use and keep it for future reference.
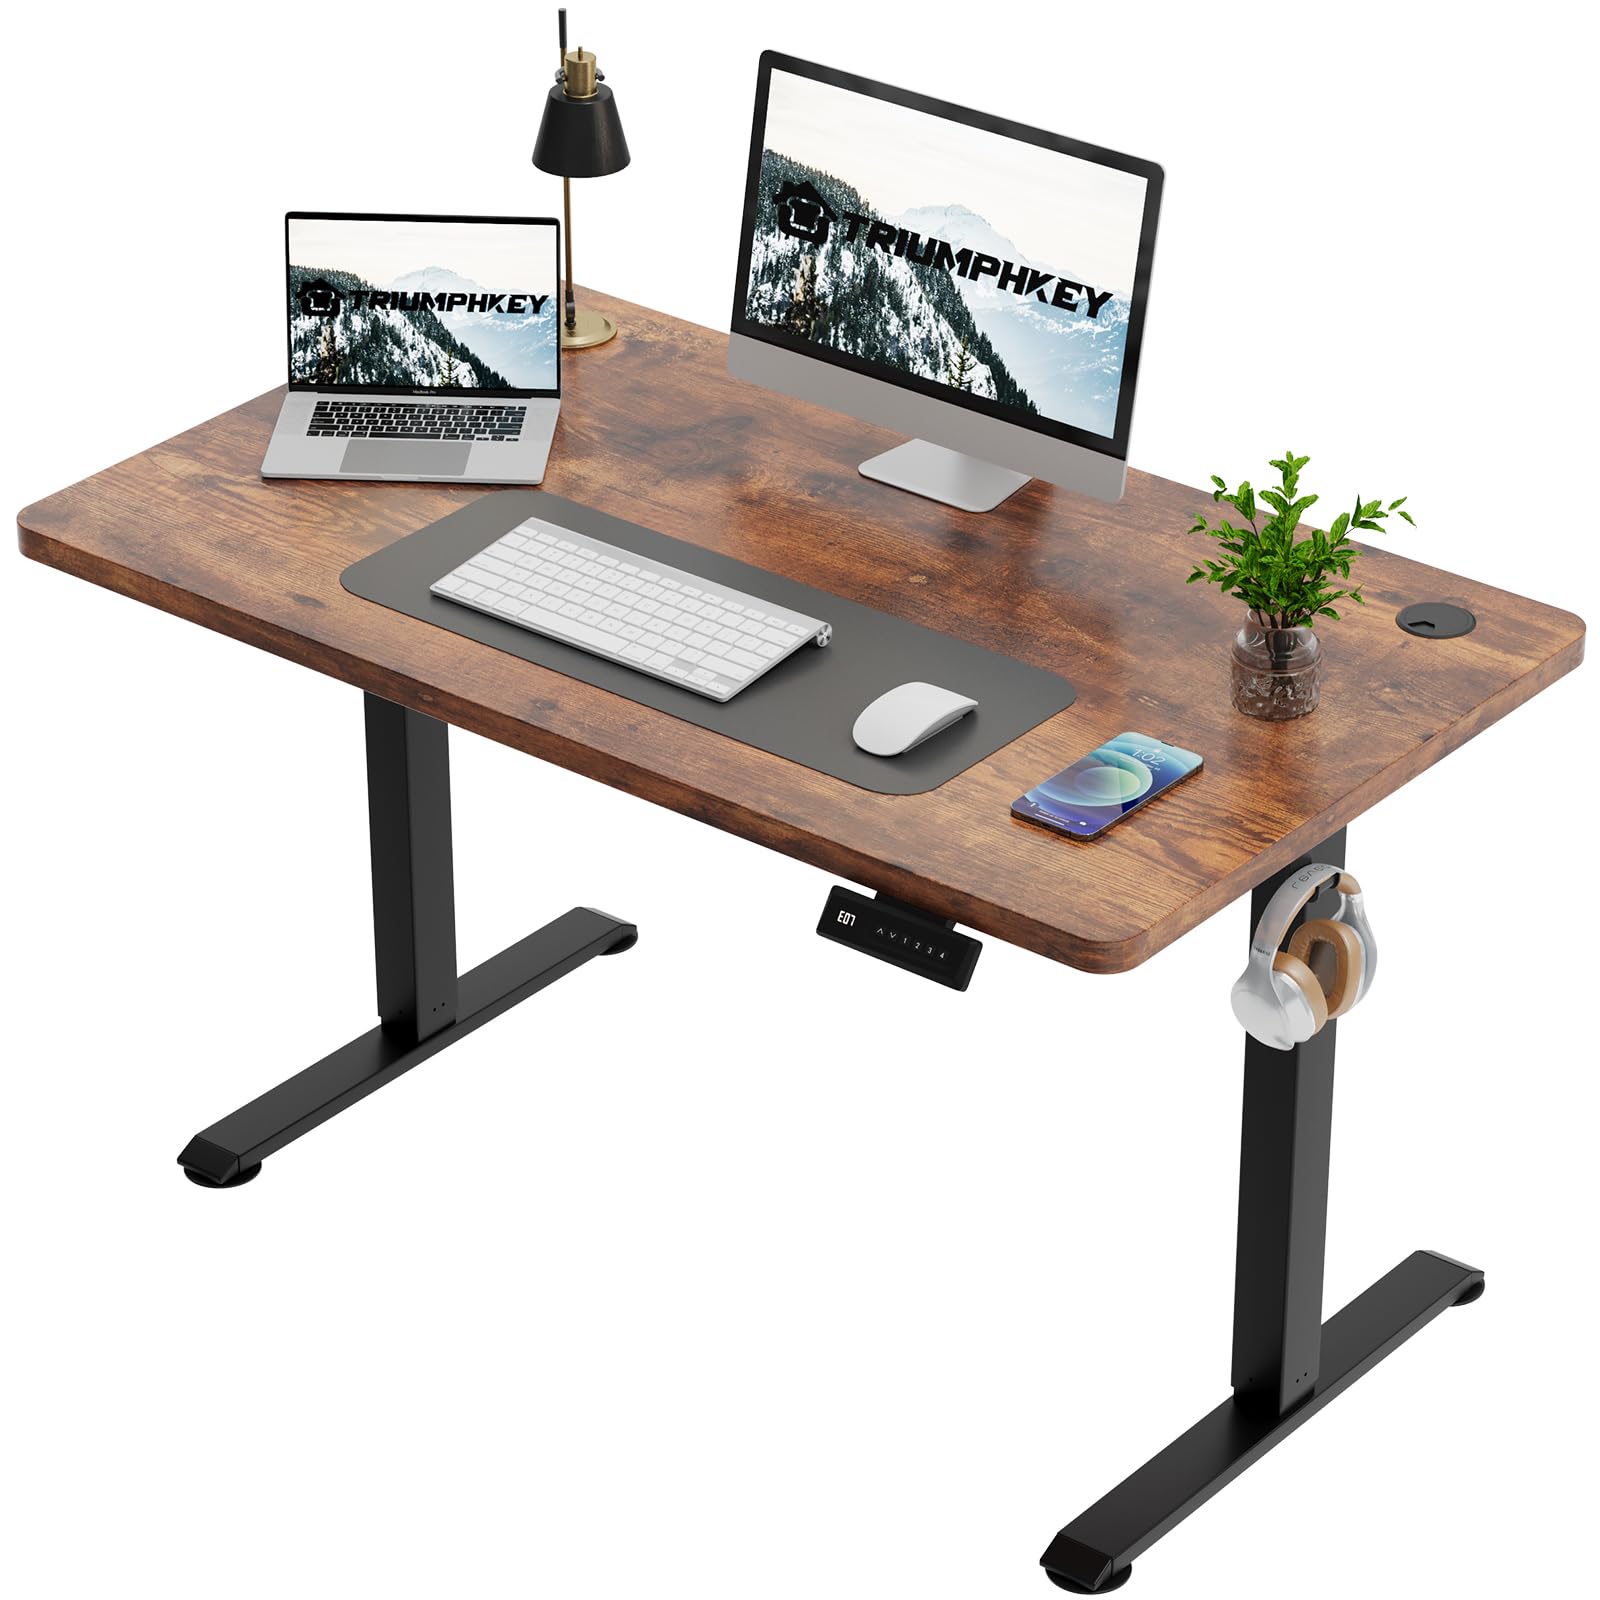
Image 1.1: The TRIUMPHKEY Electric Standing Desk in a typical home office setup, showcasing its spacious surface and minimalist design.
2. Safety Instructions
- Ensure all components are present and undamaged before assembly.
- Keep children and pets away from the desk during operation to prevent accidents.
- Do not overload the desk. Refer to specifications for maximum weight capacity.
- Keep hands and fingers clear of moving parts during height adjustment.
- Only use the provided power adapter.
- If any unusual noise or smell occurs, unplug the desk immediately and contact support.
3. Package Contents
Please check the package to ensure all parts are included:
- Desktop (Single-piece)
- Leg Frames (Left and Right)
- Control Box
- Control Panel
- Power Adapter and Cable
- Headphone Hook
- Cable Management Grommets
- Assembly Hardware (Screws, Allen Keys, etc.)
- User Manual
4. Setup and Assembly
Assembly is designed to be straightforward. Follow these steps carefully:
- Unpack Components: Lay out all parts on a clean, soft surface to prevent scratches. Verify all parts are present against the package contents list.
- Attach Leg Frames: Secure the leg frames to the desktop using the provided screws. Ensure they are aligned correctly.
- Install Control Box and Motor: Mount the control box and motor assembly to the designated positions under the desktop. Connect the motor cables to the control box.
- Mount Control Panel: Attach the control panel to the front edge of the desk, usually on the right side, and connect its cable to the control box.
- Install Accessories: Attach the headphone hook to the side of the desk. Insert cable management grommets into the desktop holes.
- Connect Power: Plug the power adapter into the control box, then plug the power cable into a wall outlet.
- Initial Reset (First Use): After connecting power, press and hold the "Down" arrow button until the desk reaches its lowest position, then slightly rises and stops. This calibrates the desk.

Image 4.1: Detailed view of integrated features: cable management hole (01), convenient headphone hook (02), adjustable leveling feet (03), and the robust table leg mechanism (04).
5. Operating Instructions
Your TRIUMPHKEY Electric Standing Desk features an intuitive control panel for easy height adjustment and memory functions.

Image 5.1: The all-in-one keypad featuring an LED display, up/down adjustment arrows, and four programmable height memory buttons.
5.1 Adjusting Height
- Raise Desk: Press and hold the Up Arrow (^) button. The desk will move upwards. Release the button at your desired height.
- Lower Desk: Press and hold the Down Arrow (v) button. The desk will move downwards. Release the button at your desired height.
- The LED display will show the current height in centimeters.
5.2 Using Memory Presets
The desk allows you to save up to four preferred heights for quick adjustments.
- Set a Memory Position:
- Adjust the desk to your desired height using the Up/Down arrows.
- Press the "M" button (if present, or simply hold the number button). The display may show "S-".
- Immediately press one of the number buttons (1, 2, 3, or 4) to save the current height to that preset. The display will confirm the setting.
- Recall a Memory Position:
- Simply press the desired number button (1, 2, 3, or 4). The desk will automatically move to the saved height.

Image 5.2: The desk's adjustable height range, illustrating its ergonomic benefits for users of different statures, from 71cm (sitting) to 119cm (standing).
6. Maintenance
- Cleaning: Wipe the desk surface and legs with a soft, damp cloth. Avoid abrasive cleaners or harsh chemicals.
- Inspection: Periodically check all screws and connections to ensure they are tight. Tighten if necessary.
- Cable Management: Ensure power cables and device cables are neatly managed to prevent snagging or damage during height adjustments.
7. Troubleshooting
| Problem | Possible Cause | Solution |
|---|---|---|
| Desk does not move. | Power cable disconnected; control box issue; overload. | Check power connections. Reduce load. Perform a reset (see Setup). |
| Desk moves unevenly or makes unusual noise. | Loose screws; obstruction; motor issue. | Check for obstructions. Tighten screws. Perform a reset. Contact support if problem persists. |
| Error code on display (e.g., E01, E02). | Overload; motor overheating; sensor error. | Remove weight. Let motor cool down for 20 minutes. Unplug and replug. Perform a reset. Consult support for specific error codes. |
8. Specifications
| Model | Electric Standing Desk |
| Desktop Dimensions | 120 cm (Length) x 60 cm (Width) |
| Height Adjustment Range | 71 cm - 119 cm |
| Motor Noise Level | < 55 dB |
| Lifting Speed | 10 mm/s |
| Memory Presets | 4 |
| Input Voltage | (Refer to power adapter label) |
| Material | Wood (Desktop), Steel (Frame) |

Image 8.1: Visual representation of the desk's dimensions, including tabletop length (120cm), width (60cm), and height adjustment range (71-119cm).
9. Warranty and Support
TRIUMPHKEY products come with a standard manufacturer's warranty. Please refer to your purchase documentation for specific warranty terms and duration.
For technical support, warranty claims, or any questions regarding your TRIUMPHKEY Electric Standing Desk, please contact our customer service team:
- Email: support@triumphkey.com (Example email, please refer to actual product documentation for correct contact information)
- Website: TRIUMPHKEY Official Store
When contacting support, please have your product model and purchase date ready.
