Haier HW90-B14959S8TU1 9kg Front Load Washing Machine User Manual
Model: HW90-B14959S8TU1 | Brand: Haier
1. Introduction
This manual provides essential information for the safe and efficient operation of your Haier HW90-B14959S8TU1 9kg Front Load Washing Machine. Please read it thoroughly before installation and use, and keep it for future reference. Proper use and maintenance will ensure optimal performance and extend the lifespan of your appliance.
2. Safety Information
Always adhere to the following safety guidelines to prevent injury or damage to the appliance.
- Ensure the washing machine is properly grounded.
- Do not allow children to play with or operate the appliance.
- Never force the door open during operation.
- Disconnect the power supply before any cleaning or maintenance.
- Do not wash items that have been contaminated with flammable substances.
- Ensure all water connections are secure to prevent leaks.
3. Product Overview
The Haier HW90-B14959S8TU1 is a 9kg front-load washing machine designed for efficient and thorough cleaning. Key features include:
- 52.5 cm Super Drum: Provides ample space for laundry, ensuring better washing performance.
- Inverter Direct Motion Motor: Offers quiet operation, enhanced durability, and energy efficiency.
- Laser Welding Technology: Ensures a smooth inner drum surface, protecting fabrics.
- HaiSmart Technology: Allows for smart control and monitoring of your washing machine.
- Steam Function: Provides deep sterilization and helps reduce wrinkles.
- Dual Spray: Automatically cleans the door gasket and window after each wash cycle.
- Pillow Drum Technology: Gentle drum design to protect delicate garments.
- Refresh Function: Uses steam to refresh clothes without a full wash cycle.
- Anti-Bacterial Treatment (ABT) Materials: Applied to the detergent drawer and door gasket to prevent bacterial growth.
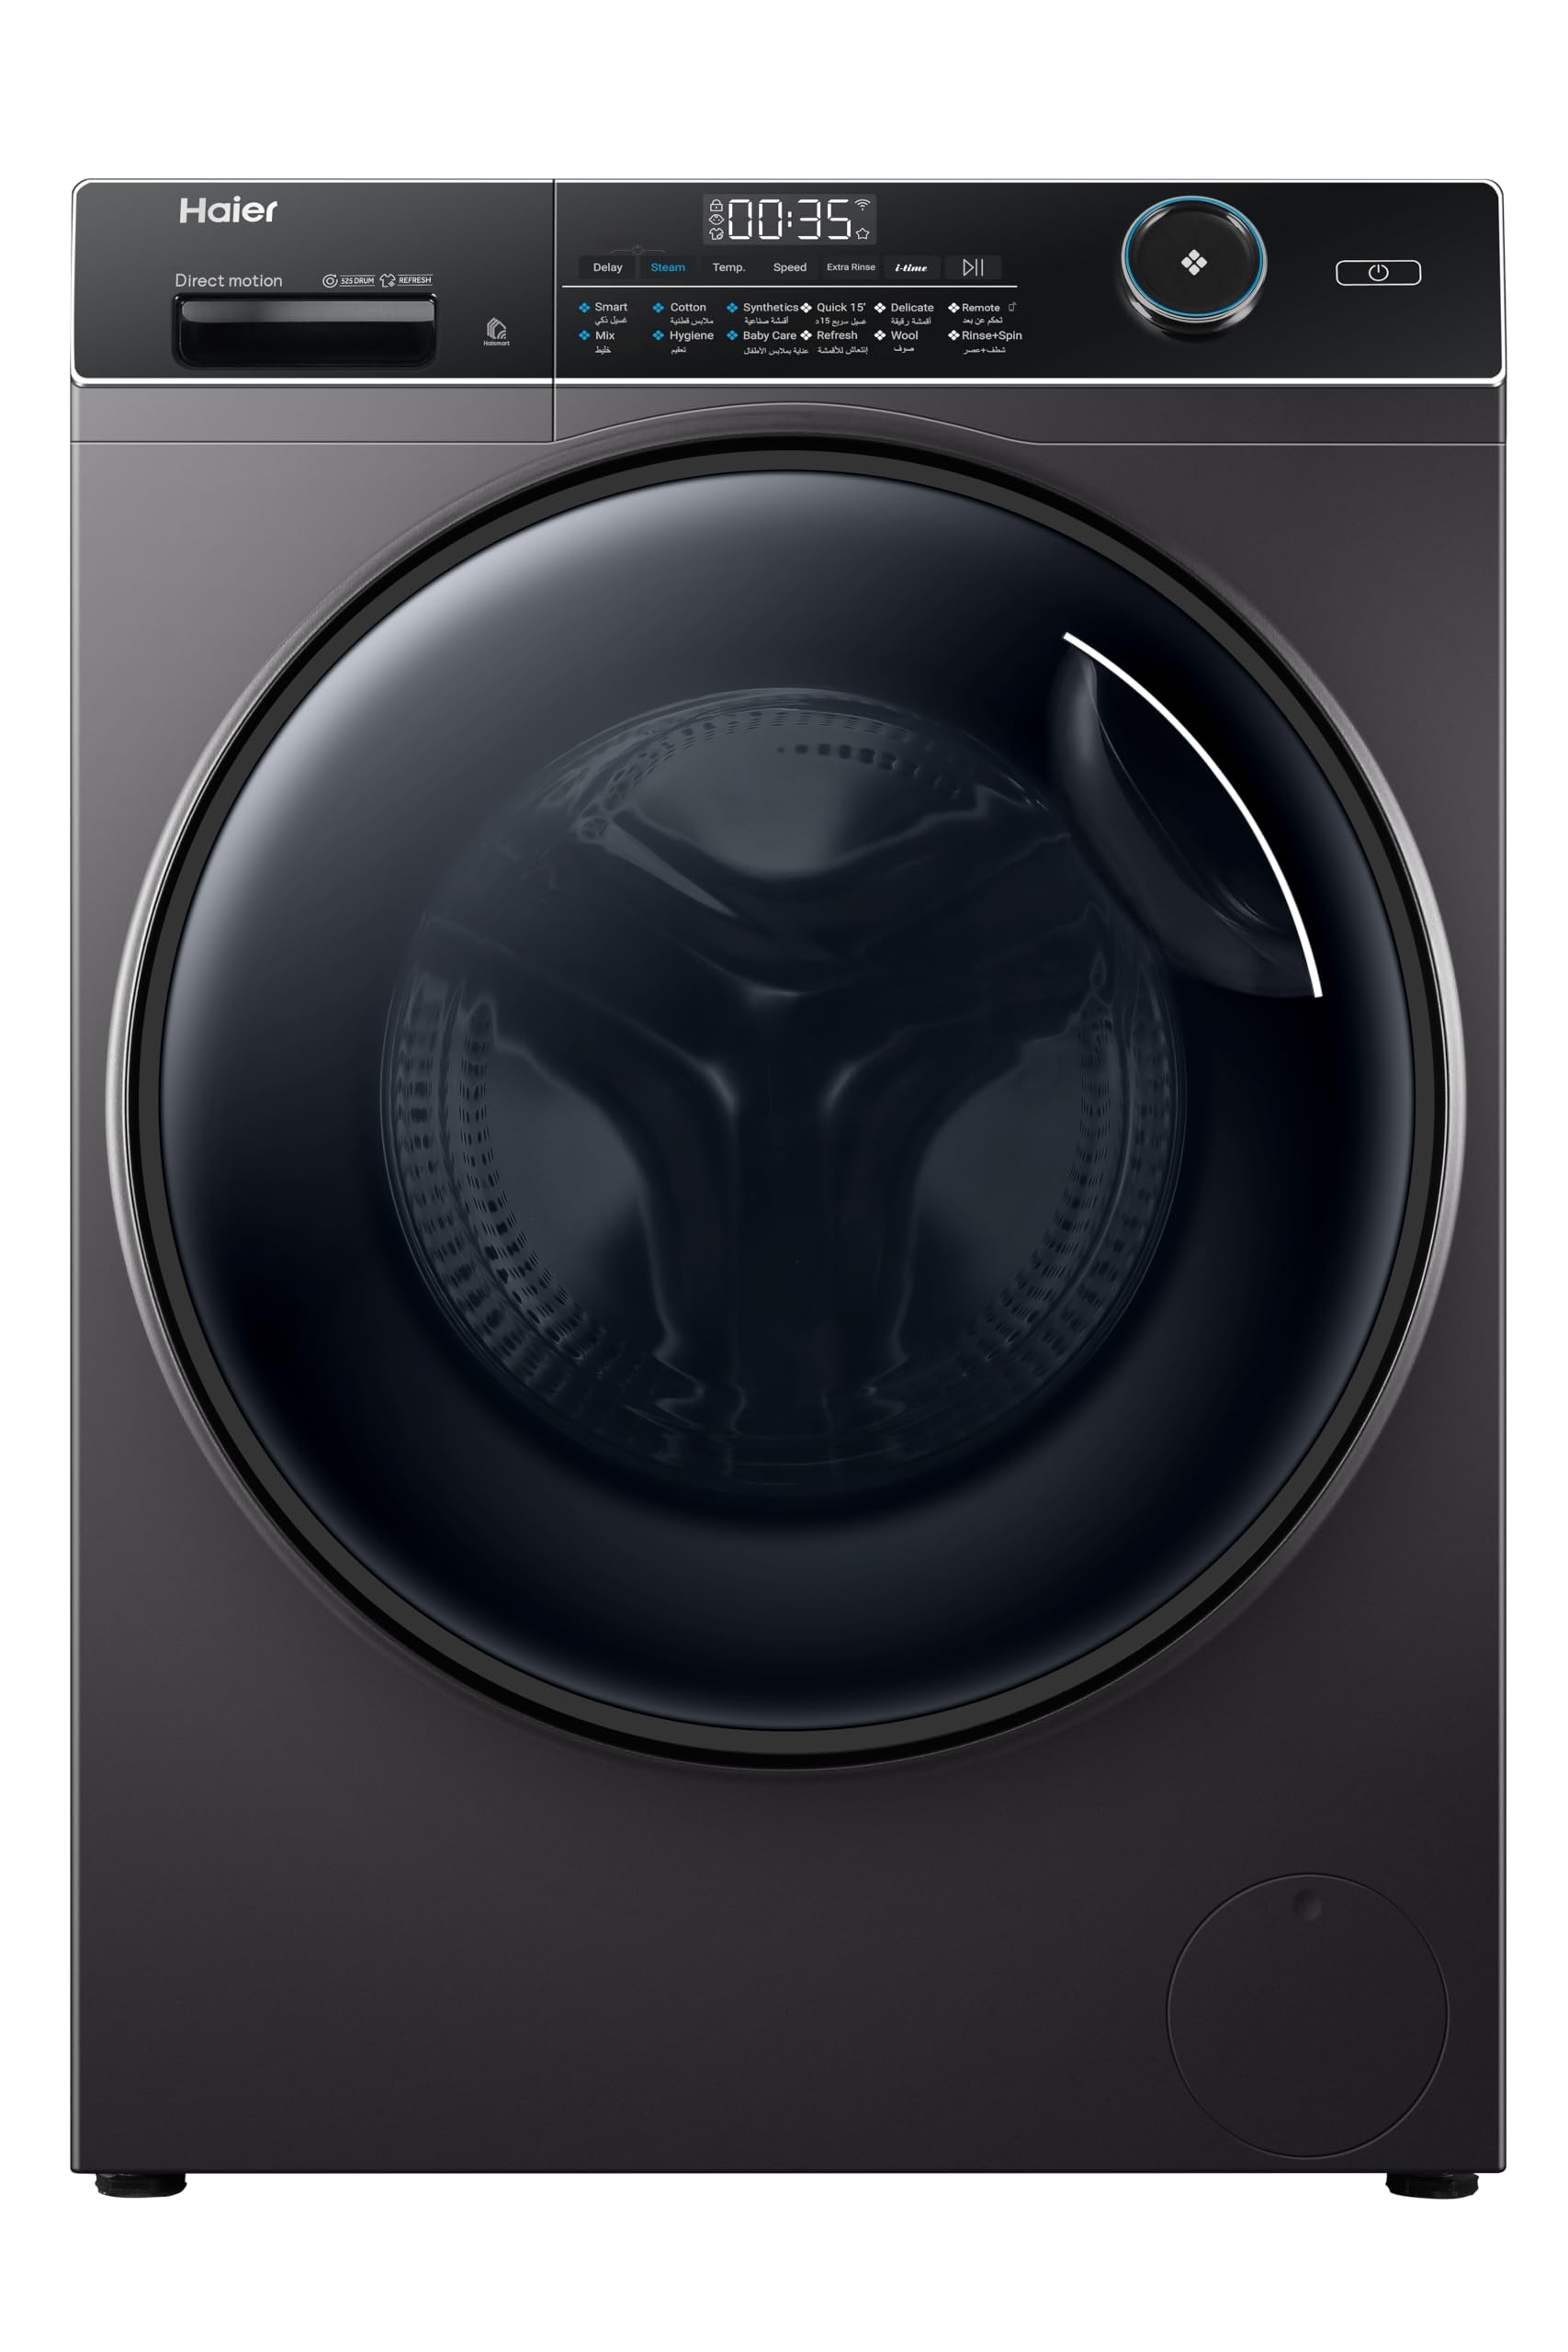
Figure 3.1: Front view of the Haier HW90-B14959S8TU1 washing machine.

Figure 3.2: Washing machine with the front loading door open, showing the drum interior.

Figure 3.3: Illustration of the 52.5 cm Super Drum, highlighting its large capacity for laundry.

Figure 3.4: Diagram illustrating the Inverter Direct Motion Motor technology, showing direct drive for quiet and efficient operation.

Figure 3.5: Image depicting HaiSmart technology, showing a smartphone controlling the washing machine, indicating smart connectivity.
4. Setup and Installation
Proper installation is crucial for the performance and safety of your washing machine. It is recommended to have a qualified technician perform the installation.
4.1 Unpacking
- Remove all packaging materials, including the polystyrene base and any protective film.
- Locate and remove the transit bolts from the rear of the machine. Keep these bolts for future transport.
4.2 Leveling the Machine
Place the washing machine on a firm, level surface. Adjust the leveling feet at the bottom of the machine until it is perfectly stable and level. Use a spirit level to verify.
4.3 Water Connection
- Connect the inlet hose to the cold water tap and to the water inlet valve on the back of the machine. Ensure connections are tight to prevent leaks.
- Position the drain hose into a standpipe or over the edge of a sink, ensuring it is securely fixed to prevent displacement during draining.
4.4 Electrical Connection
Plug the power cord into a grounded electrical outlet. Ensure the voltage and frequency match the specifications of your appliance.

Figure 4.1: Rear view of the washing machine, showing water inlet and drain hose connections.
5. Operating Instructions
Follow these steps for a typical wash cycle.
5.1 Loading Laundry
- Open the washing machine door.
- Load clothes loosely into the drum, ensuring not to overload. Leave enough space for clothes to tumble freely.
- Close the door firmly until it clicks.
5.2 Adding Detergent and Additives
- Pull out the detergent drawer.
- Add the appropriate amount of detergent to the main wash compartment.
- If using fabric softener, add it to the designated compartment.
- Push the detergent drawer back in completely.
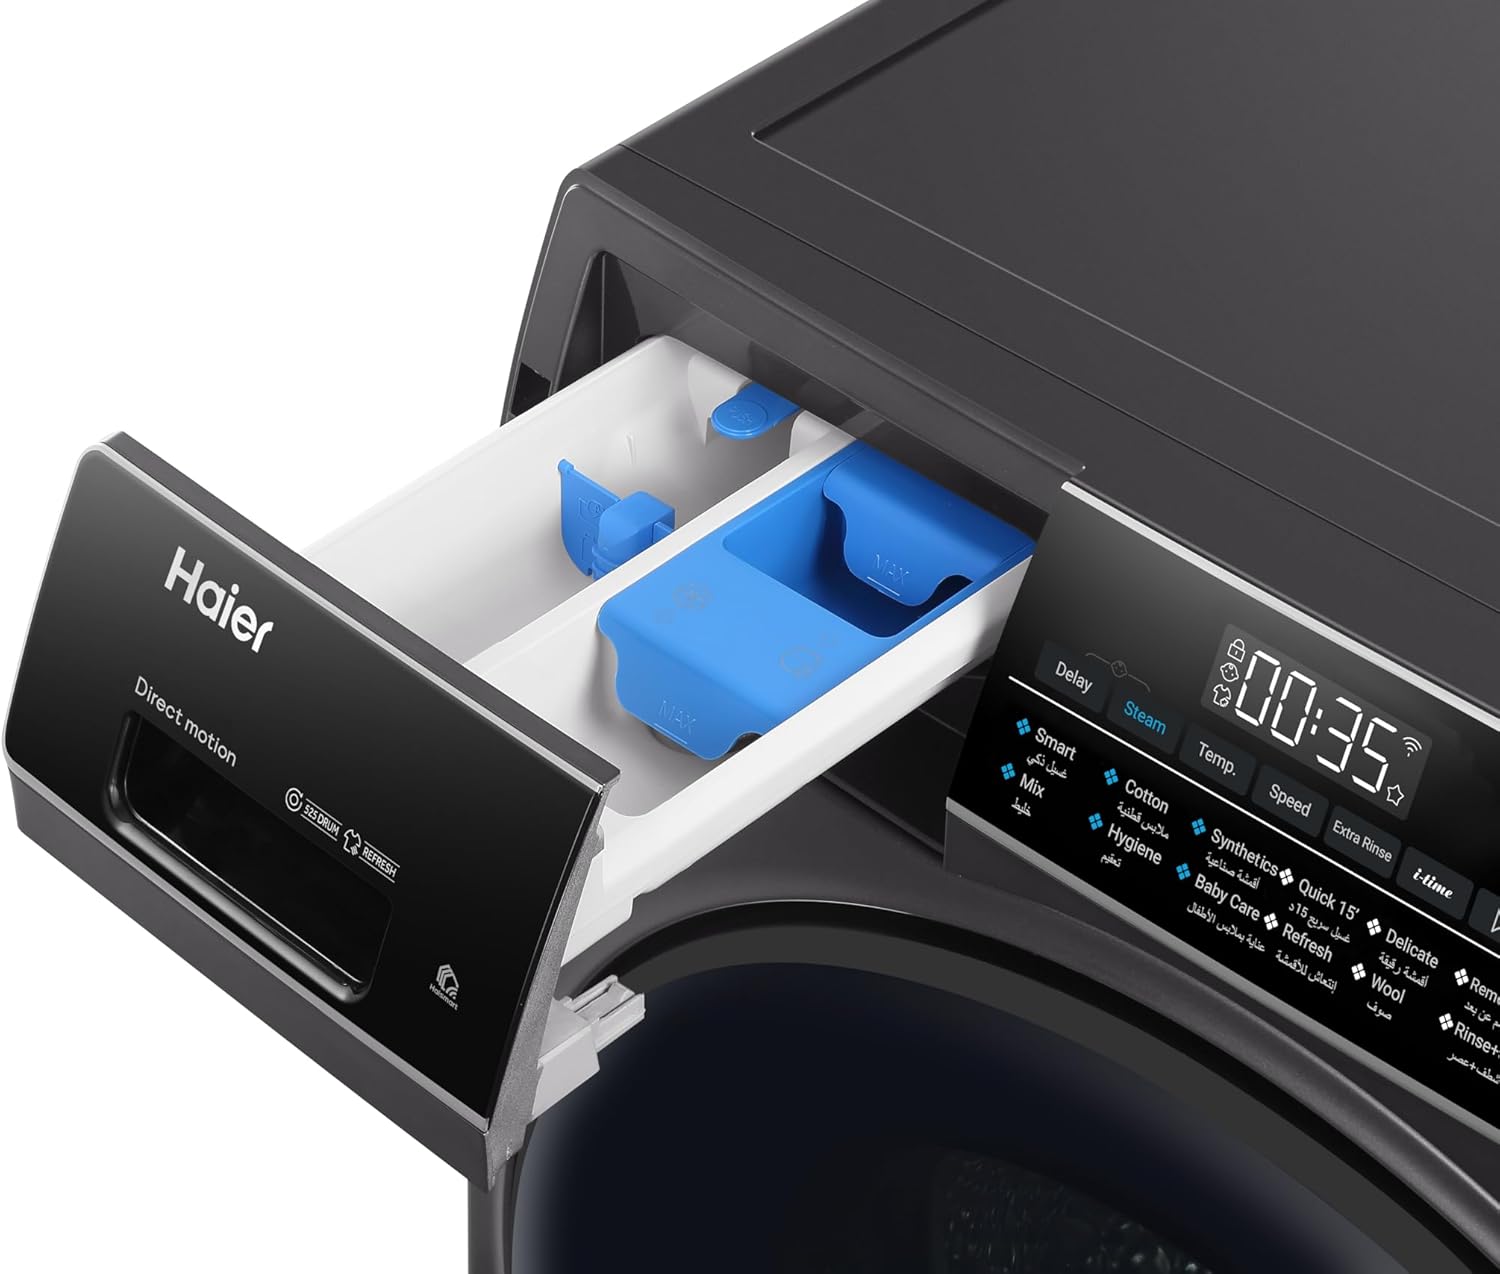
Figure 5.1: Close-up view of the detergent drawer, showing compartments for detergent and fabric softener.
5.3 Selecting a Wash Program
- Turn on the washing machine using the power button.
- Use the program selector dial or buttons to choose the desired wash program (e.g., Cotton, Synthetics, Delicates, Quick Wash).
- Adjust additional settings such as temperature, spin speed, or special functions (e.g., Steam, Extra Rinse) if available for the selected program.
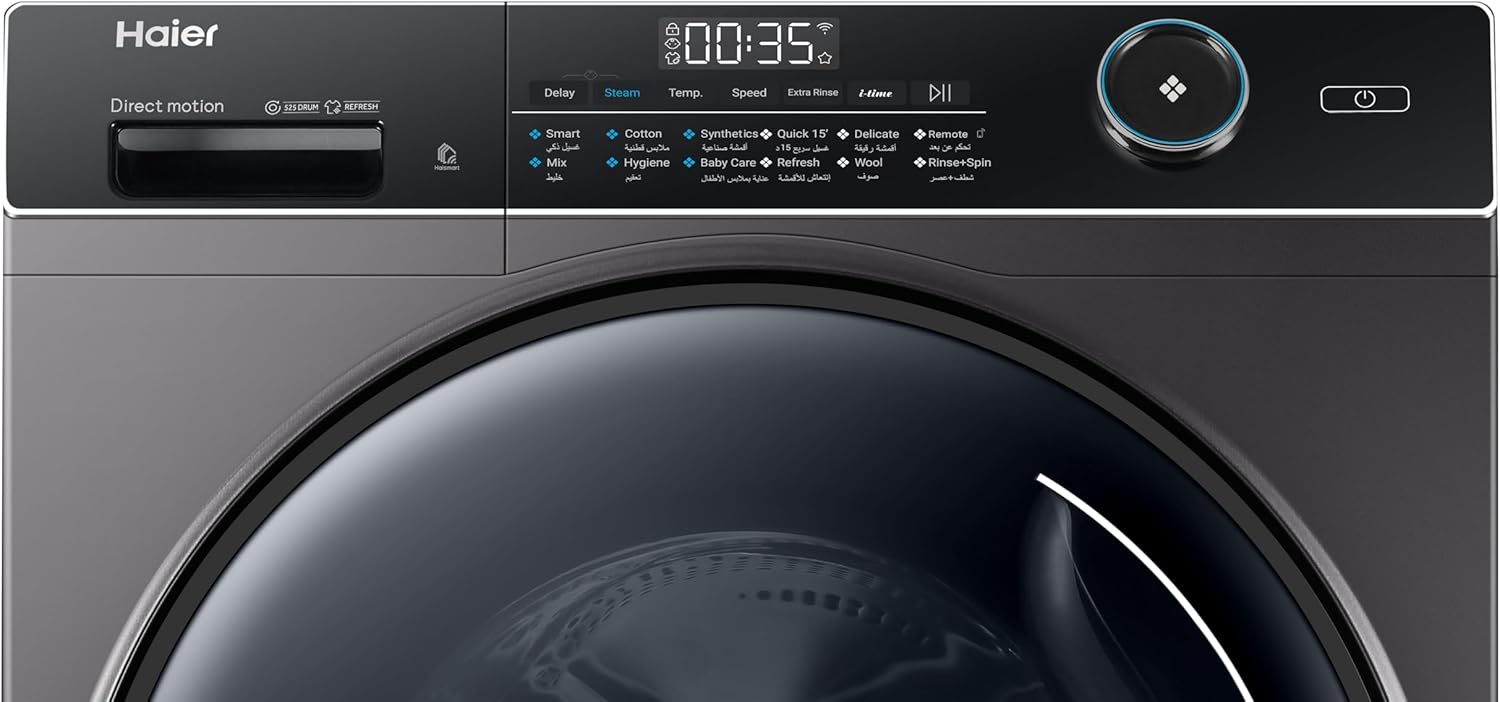
Figure 5.2: Detailed view of the control panel, showing program options, display, and function buttons.
5.4 Starting the Wash Cycle
Press the Start/Pause button to begin the wash cycle. The machine will automatically proceed through the selected program.
5.5 Ending the Cycle
Once the cycle is complete, the machine will signal with an audible alert or display a completion message. The door will unlock, allowing you to remove your laundry.
6. Maintenance
Regular maintenance ensures the longevity and efficiency of your washing machine.
6.1 Cleaning the Detergent Drawer
Remove the detergent drawer and rinse it under running water to clear any detergent residue. Clean the housing of the drawer with a brush if necessary. The ABT materials help prevent mold and bacteria buildup.
6.2 Cleaning the Drum
Periodically run a drum clean cycle (if available) or a hot wash with no laundry and a descaling agent to remove any buildup. The Pillow Drum design is gentle on clothes and easy to maintain.
6.3 Cleaning the Water Filter
Your machine includes a built-in water filter. Refer to the diagram in the full manual for its location. Regularly clean the filter to prevent blockages and ensure proper drainage.
6.4 Cleaning the Door Seal
Wipe the door seal (gasket) after each wash to remove moisture and lint. The Dual Spray feature helps keep the gasket clean, but manual wiping is still recommended to prevent mold growth, especially with ABT materials.

Figure 6.1: Illustration of the Anti-Bacterial Treatment (ABT) technology, showing protection against bacteria.

Figure 6.2: Diagram illustrating the Dual Spray function, showing water jets cleaning the door gasket and window.
7. Troubleshooting
Before contacting customer service, refer to the following table for common issues and their solutions.
| Problem | Possible Cause | Solution |
|---|---|---|
| Machine does not start | No power; Door not closed; Start button not pressed. | Check power supply; Ensure door is latched; Press Start button. |
| Water leakage | Loose hose connections; Overfilling detergent. | Tighten hoses; Use correct detergent amount. |
| Excessive vibration/noise | Transit bolts not removed; Machine not level; Uneven load. | Remove transit bolts; Adjust leveling feet; Redistribute laundry. |
| Poor washing results | Overloading; Incorrect program; Insufficient detergent. | Reduce load size; Select appropriate program; Use recommended detergent. |
| Door will not open | Cycle in progress; Water in drum; Child lock active. | Wait for cycle to finish; Run drain cycle; Deactivate child lock. |
If the problem persists after attempting these solutions, please contact Haier customer support.
8. Specifications
Technical details for the Haier HW90-B14959S8TU1 washing machine.
| Feature | Specification |
|---|---|
| Brand Name | Haier |
| Model Information | HW90-B14959S8TU1 |
| Product Dimensions (D x W x H) | 59.5 x 85 x 47.3 cm |
| Item Weight | 63 Kilograms |
| Capacity | 9 kg |
| Efficiency Rating | A+++ (Water Consumption Efficiency) |
| Maximum Spin Speed | 1200 RPM |
| Installation Type | Freestanding |
| Special Features | Steam Sterilization |
| Color | Dark Silver |
| Control Type | Remote (via HaiSmart app) |
| Loading Type | Front Load |
| Material Type | Stainless Steel (Drum) |
| Included Components | Built-in water filter |
| Batteries Required? | No |
| Finish Type | Varnished |
| Cycle Options | Spin, various wash programs |
9. Warranty and Support
Your Haier washing machine comes with a manufacturer's warranty. Please refer to the warranty card included with your purchase for specific terms and conditions. For technical assistance, spare parts, or service requests, please contact Haier customer support through their official website or the contact information provided in your warranty documentation.


