Introduction
This manual provides instructions for the safe and efficient operation and maintenance of your Electrolux EP31CB21GP 900 402 400 Cordless Stick Vacuum Cleaner. Please read this manual thoroughly before using the appliance and keep it for future reference.
Important Safety Information
Always follow basic safety precautions when using electrical appliances to reduce the risk of fire, electric shock, or injury.
- Do not operate the vacuum cleaner with a damaged cord or plug.
- Do not use the vacuum cleaner to pick up flammable or combustible liquids, such as gasoline, or use in areas where they may be present.
- Do not pick up anything that is burning or smoking, such as cigarettes, matches, or hot ashes.
- Keep hair, loose clothing, fingers, and all parts of the body away from openings and moving parts.
- Use only as described in this manual. Use only manufacturer's recommended attachments.
- Turn off all controls before unplugging.
- Exercise extra care when cleaning on stairs.
- Do not use without dust cup and/or filters in place.
- Store the appliance indoors in a cool, dry area.
Product Overview
The Electrolux EP31CB21GP 900 402 400 is a cordless stick vacuum cleaner designed for efficient cleaning of various surfaces.

Image: The Electrolux EP31CB21GP cordless stick vacuum cleaner, shown fully assembled.
Key features include:
- Uninterrupted Suction: The removable battery provides up to 40 minutes of continuous suction performance.
- High Dust Pickup: Achieves up to 99% dust pickup on hard floors for effective and thorough cleaning.
- Lightweight and Maneuverable: Its compact and lightweight design ensures easy handling for effortless cleaning.
- Cyclonic Dust Separation: The cyclonic system separates dirt from the air, maintaining optimal performance and suction during cleaning.
- Easy Maintenance: Two-step washable filters and a 0.5L easy-to-clean dustbin simplify vacuum maintenance.
Setup and Assembly
1. Unpacking
Carefully remove all components from the packaging. Ensure all parts listed in the 'Included Components' section of the specifications are present.
2. Assembly
- Connect the main body of the vacuum to the extension wand. Ensure it clicks securely into place.
- Attach the floor nozzle to the other end of the extension wand.
- For handheld use, detach the extension wand and attach desired accessories directly to the main body.
3. Charging the Battery
The vacuum cleaner is powered by a removable Lithium-ion battery. Before first use, fully charge the battery.
- Locate the charging port on the battery or the charging dock.
- Connect the charger to the battery and plug it into a power outlet.
- The charging indicator light will show the charging status. Refer to the indicator guide for details.
- A full charge provides approximately 40 minutes of run time.

Image: The removable battery pack being handled, ready for charging or insertion.
4. Storage and Docking
The vacuum can be stored on its wall-mounted docking station (if included) for convenient storage and charging.

Image: The Electrolux cordless vacuum cleaner stored vertically on a wall-mounted charging dock.
Operating Instructions
1. Powering On/Off
Press the power button located on the main handle to turn the vacuum cleaner on. Press it again to turn off.
2. Adjusting Suction Power
The vacuum cleaner features 2 speed settings. Use the control button to switch between the different power modes for various cleaning tasks.
3. Cleaning Different Surfaces
This vacuum is suitable for both hard floors and carpets. Adjust the suction power as needed for optimal cleaning results.
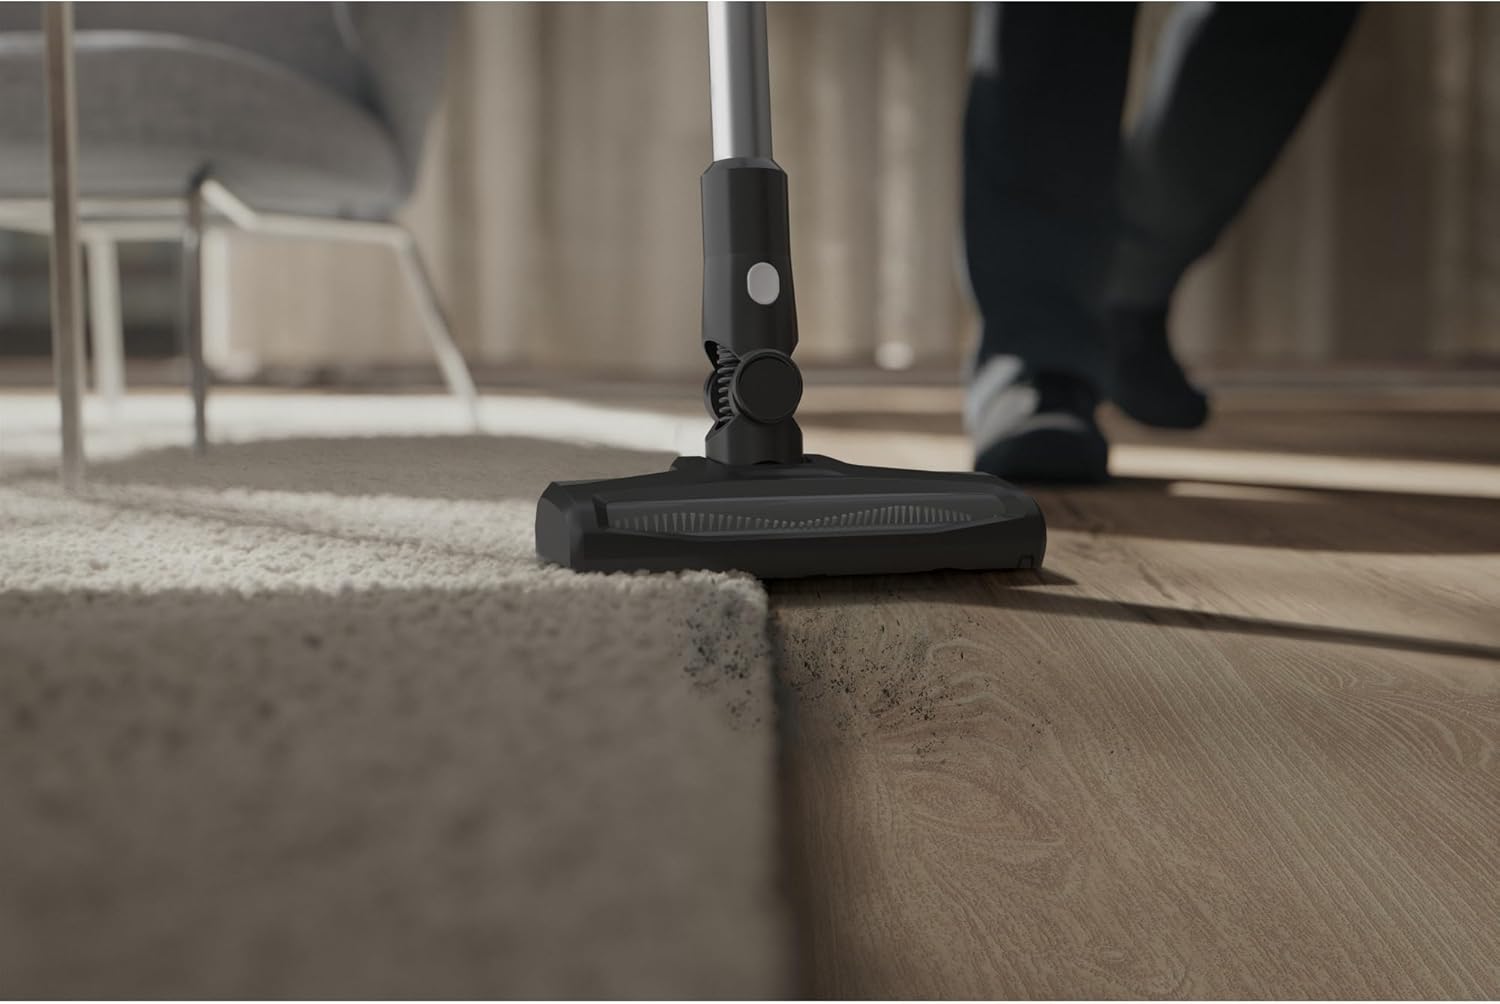
Image: The vacuum cleaner head cleaning a floor, demonstrating its capability on both carpet and hard surfaces.
4. Using Accessories
Attach the appropriate accessory for specialized cleaning tasks. For example, use the crevice tool for tight spaces or the brush tool for upholstery.

Image: The vacuum cleaner in handheld configuration, extended to clean high-up areas like curtains.

Image: A crevice tool attached to the vacuum, cleaning debris from between sofa cushions.
Maintenance and Care
1. Emptying the Dustbin
Empty the 0.5L dustbin regularly to maintain optimal suction performance. The cyclonic system separates dirt effectively.
- Ensure the vacuum is turned off and disconnected from any charging source.
- Locate the dustbin release button and detach the dustbin from the main unit.
- Open the dustbin lid and empty the contents into a waste bin.
- Close the lid and reattach the dustbin to the vacuum cleaner.
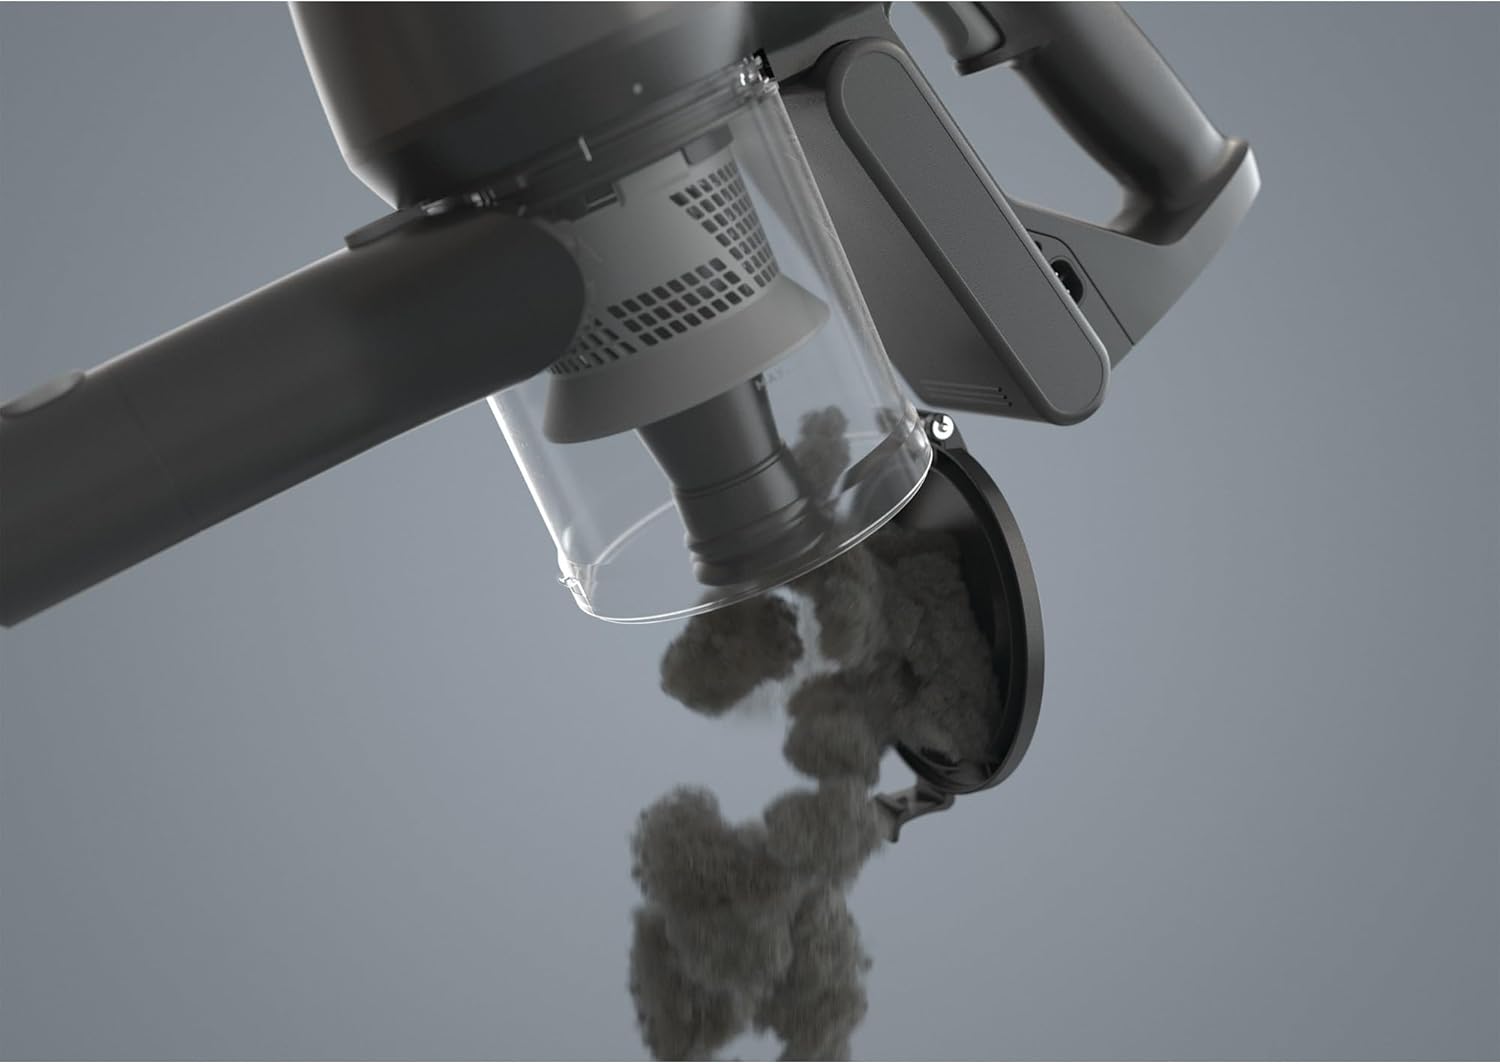
Image: The transparent dustbin of the Electrolux vacuum cleaner being opened to release collected dust and debris.
2. Cleaning the Filters
The vacuum features two-step washable fabric filters. Regular cleaning is essential for maintaining suction power and air quality.
- Remove the filters from the dustbin assembly.
- Tap off loose dirt over a waste bin.
- Rinse the filters under running water until the water runs clear.
- Allow the filters to air dry completely for at least 24 hours before reinserting them into the vacuum. Do not use a dryer or other heating elements.
3. General Cleaning
Wipe the exterior of the vacuum cleaner with a soft, damp cloth. Do not use harsh chemicals or abrasive cleaners.
Troubleshooting
If you encounter issues with your Electrolux vacuum cleaner, refer to the following common problems and solutions:
| Problem | Possible Cause | Solution |
|---|---|---|
| Vacuum does not turn on. | Battery is not charged or not properly inserted. | Ensure the battery is fully charged and correctly seated in the vacuum. |
| Loss of suction. | Dustbin is full, filters are clogged, or there is a blockage. | Empty the dustbin. Clean or replace filters. Check for and remove any blockages in the nozzle, wand, or hose. |
| Short run time. | Battery not fully charged or battery degradation. | Ensure the battery is fully charged before use. If the issue persists, the battery may need replacement. |
| Unusual noise. | Blockage in the air path or foreign object in the brush roll. | Turn off and unplug the vacuum. Inspect the brush roll and air paths for obstructions. |
If the problem persists after attempting these solutions, please contact customer support.
Product Specifications
| Brand | Electrolux |
| Model Number | 900 402 400 |
| Color | Grey |
| Product Dimensions (L x W x H) | 25 x 112.8 x 22.2 cm |
| Weight | 5.38 Kilograms |
| Voltage | 30 Volts |
| Material | Plastic |
| Number of Speeds | 2 |
| Run Time | 40 minutes |
| Special Feature | Cordless |
| Filter Type | Fabric |
| Surface Recommendation | Carpet, Hard floor |
| Power Source | Battery Powered |
| Included Components | Vacuum cleaner, Filter, User Manual |
| Max Suction | 17.5 thousandths of an inch |
| Recommended Uses | Effortless cleaning, hard floors |
| Battery Type | 1 Lithium-ion (included) |
Warranty and Support
Warranty Information
For detailed warranty information, please refer to the warranty card included with your product or visit the official Electrolux website. Keep your purchase receipt as proof of purchase for warranty claims.
Customer Support
If you have any questions, require technical assistance, or need to order replacement parts, please contact Electrolux customer support. Contact details can typically be found on the Electrolux website or in the product packaging.
Note: Information regarding the availability of spare parts is not provided in the product specifications.