1. Introduction
Thank you for purchasing the YITAHOME Dressing Table. This manual provides detailed instructions for assembly, operation, maintenance, and troubleshooting to ensure safe and efficient use of your new dressing table. Please read this manual thoroughly before assembly and retain it for future reference.
2. Safety Information
- Always assemble the product on a soft, clean surface to prevent scratches.
- Ensure all parts are securely fastened before use.
- Do not overload drawers or shelves.
- Keep small parts and packaging materials away from children.
- Use the included anti-tip kit to secure the dressing table to the wall, especially if children are present.
- Do not expose the LED lighting or electrical components to water or excessive humidity.
- Unplug the unit from the power outlet before cleaning or performing any maintenance.
3. Package Contents
The YITAHOME Dressing Table comes in two cartons, which may not arrive simultaneously. Please verify all components are present before beginning assembly.
- Dressing Table Components (various panels, hardware)
- Large Cosmetic Mirror with 11 LED Lamps
- Softly Padded Stool
- Power Strip with 2 AC Outlets and 2 USB Ports
- Dedicated Hair Dryer Holder
- Anti-tip Kit
- Assembly Hardware (screws, dowels, drawer slides, etc.)
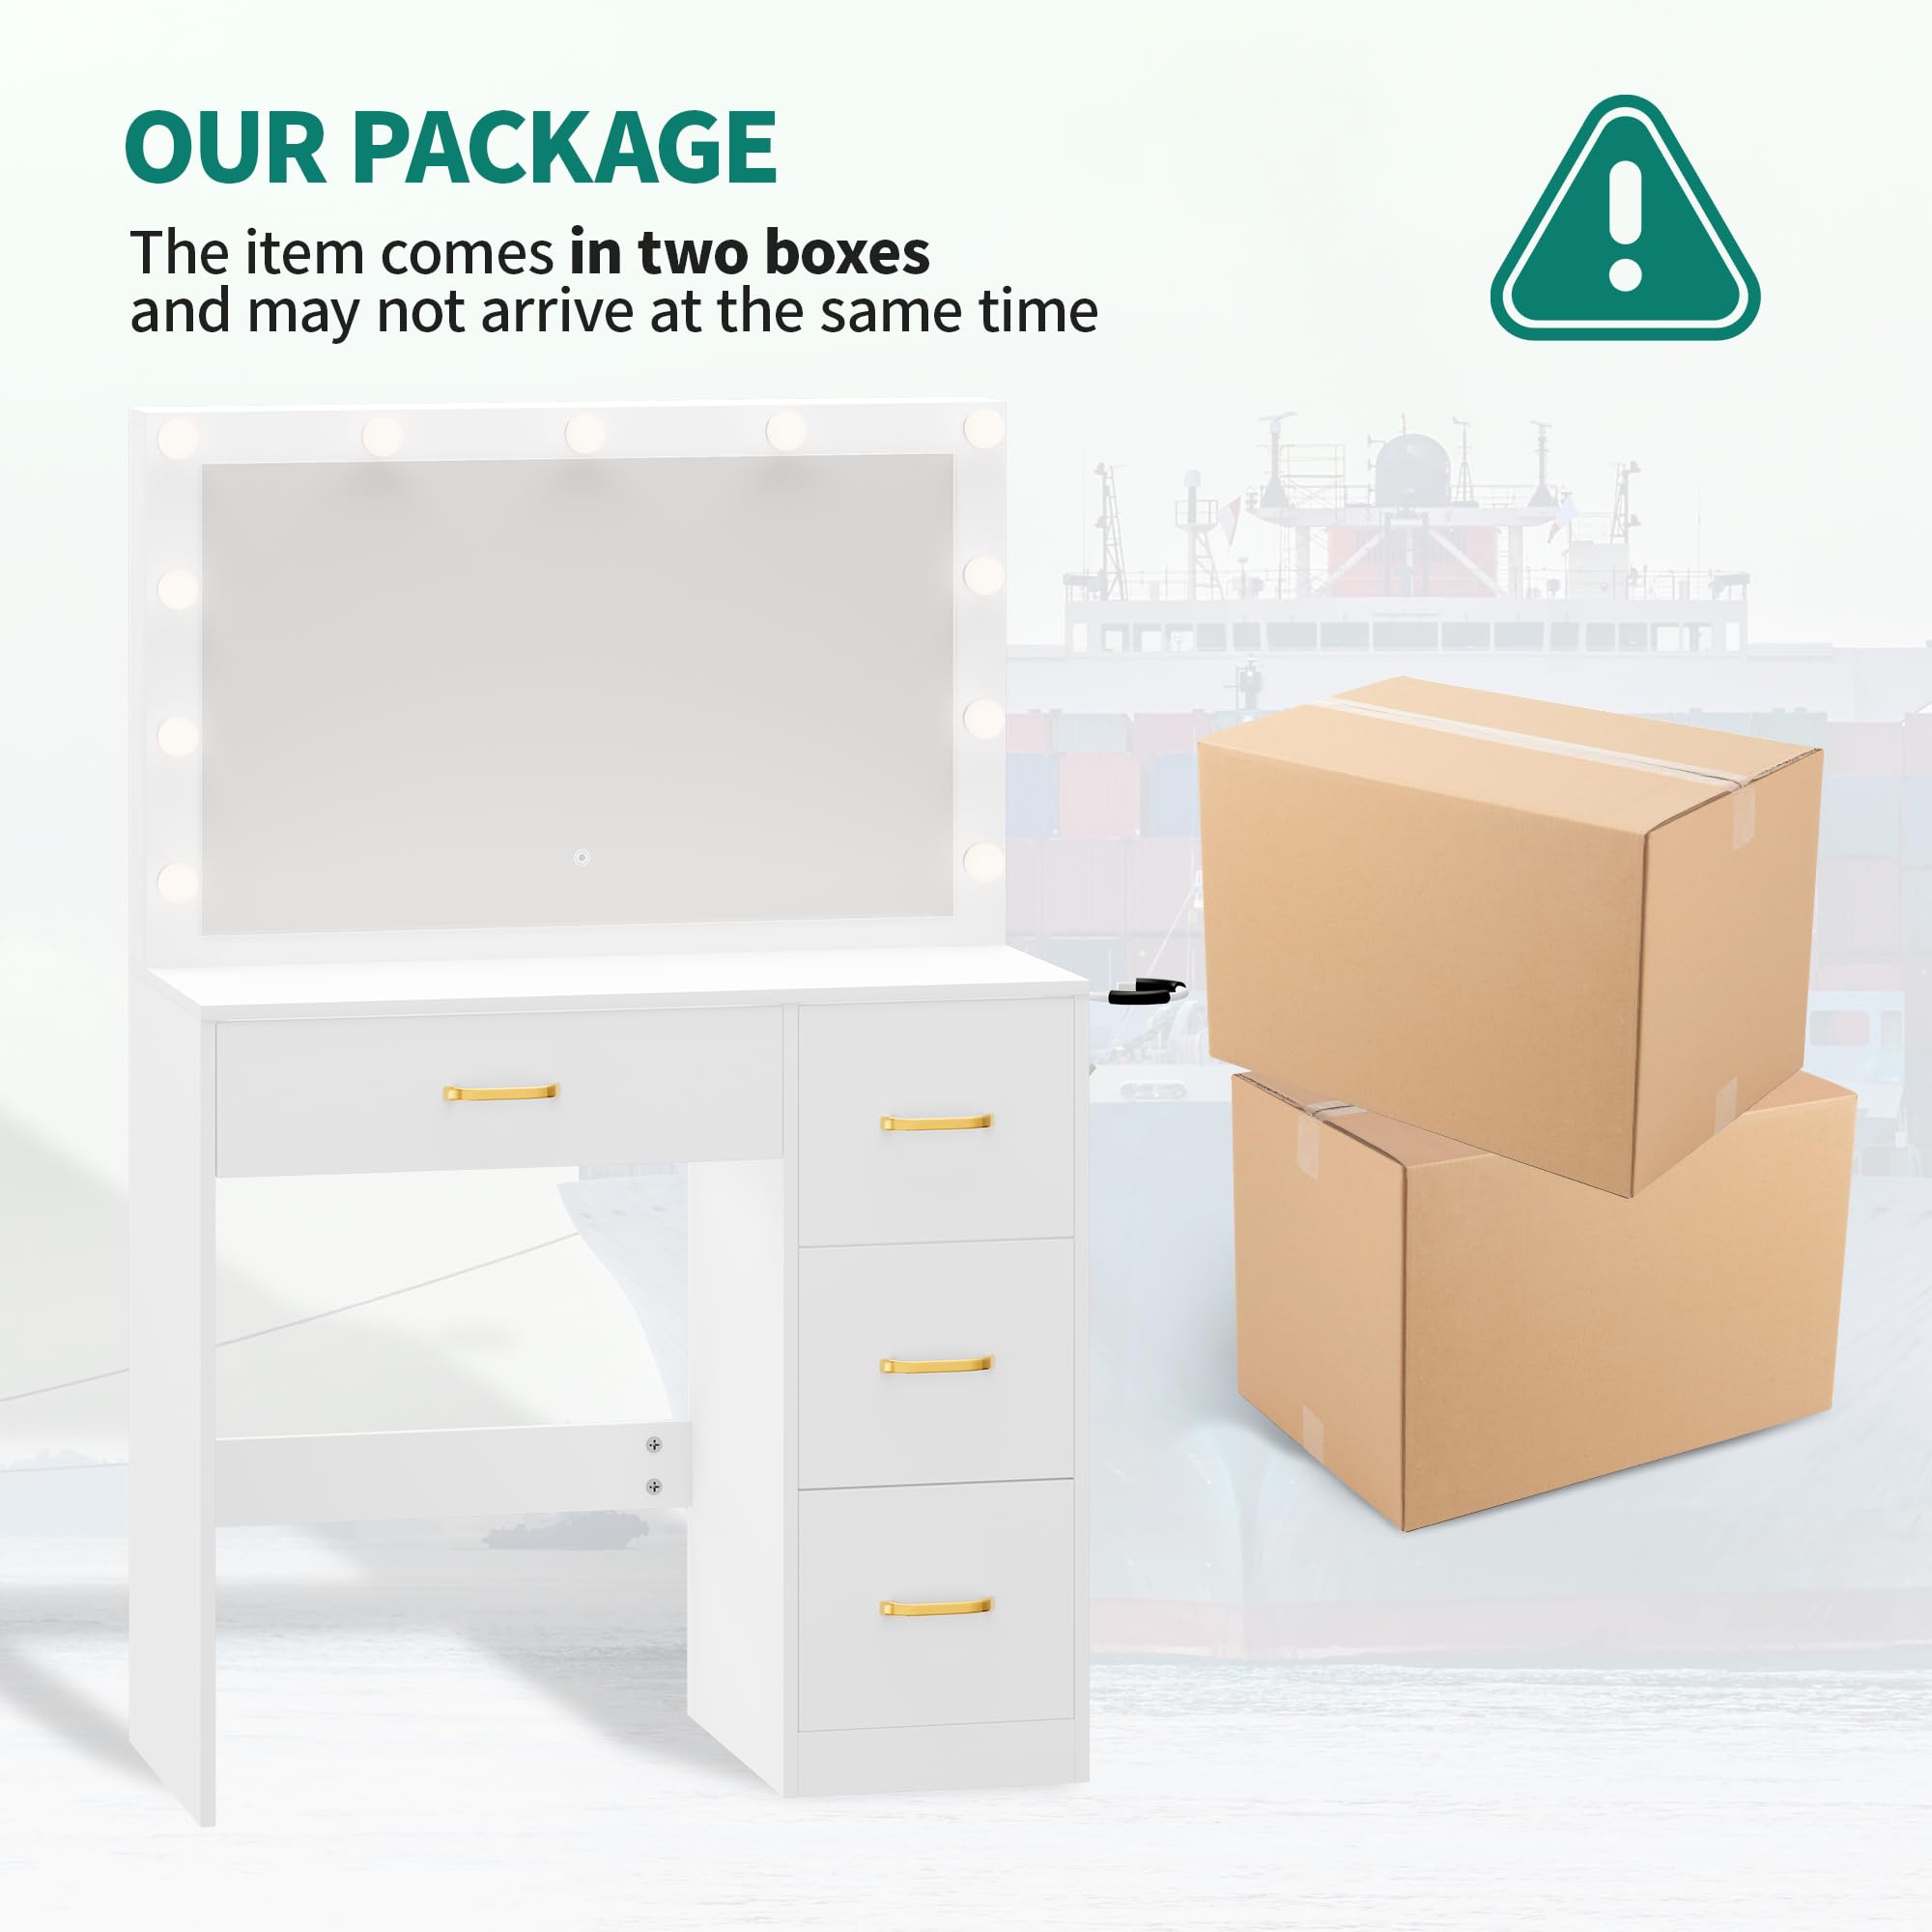
Image: Illustration showing the dressing table components arriving in two separate packages.
4. Assembly Instructions
Follow these steps carefully for proper assembly. It is recommended to have two people for certain steps.
4.1. Video Guide
For a visual guide, please refer to the official assembly video:
Video: Official YITAHOME assembly guide for the dressing table. This video demonstrates the step-by-step process of putting together the dressing table, including attaching drawer slides, assembling the main frame, installing the mirror, and connecting the electrical components.
4.2. Step-by-Step Assembly
Prepare Drawer Slides:
Separate the inner and outer parts of the drawer slides. The inner part will attach to the drawer, and the outer part to the main frame.

Image: A person separating the two components of a drawer slide.
Attach Slides to Side Panels:
Secure the outer drawer slides to the designated side panels of the dressing table frame using the provided screws. Ensure they are aligned correctly with the pre-drilled holes.

Image: A person screwing a drawer slide onto a white wooden panel.
Assemble Main Frame (Right Side):
Connect the bottom panel to the right side panel, then attach the back panel and the middle shelf. Use dowels and screws as indicated in the instructions. This forms the right storage section.

Image: Partially assembled right side of the dressing table, showing the bottom and side panels connected.
Assemble Main Frame (Left Side):
Similarly, assemble the left side of the dressing table, which includes the open space for the stool and a top drawer section.

Image: Partially assembled left side of the dressing table, showing the open space for the stool.
Connect Main Sections:
Join the assembled left and right sections of the dressing table with the top panel. Ensure all connections are tight and secure.

Image: A person carefully placing the top panel onto the assembled base sections of the dressing table.
Install Hair Dryer Holder and Power Strip:
Attach the hair dryer holder to the side of the dressing table. Insert the power strip into its designated slot and connect its power cable.
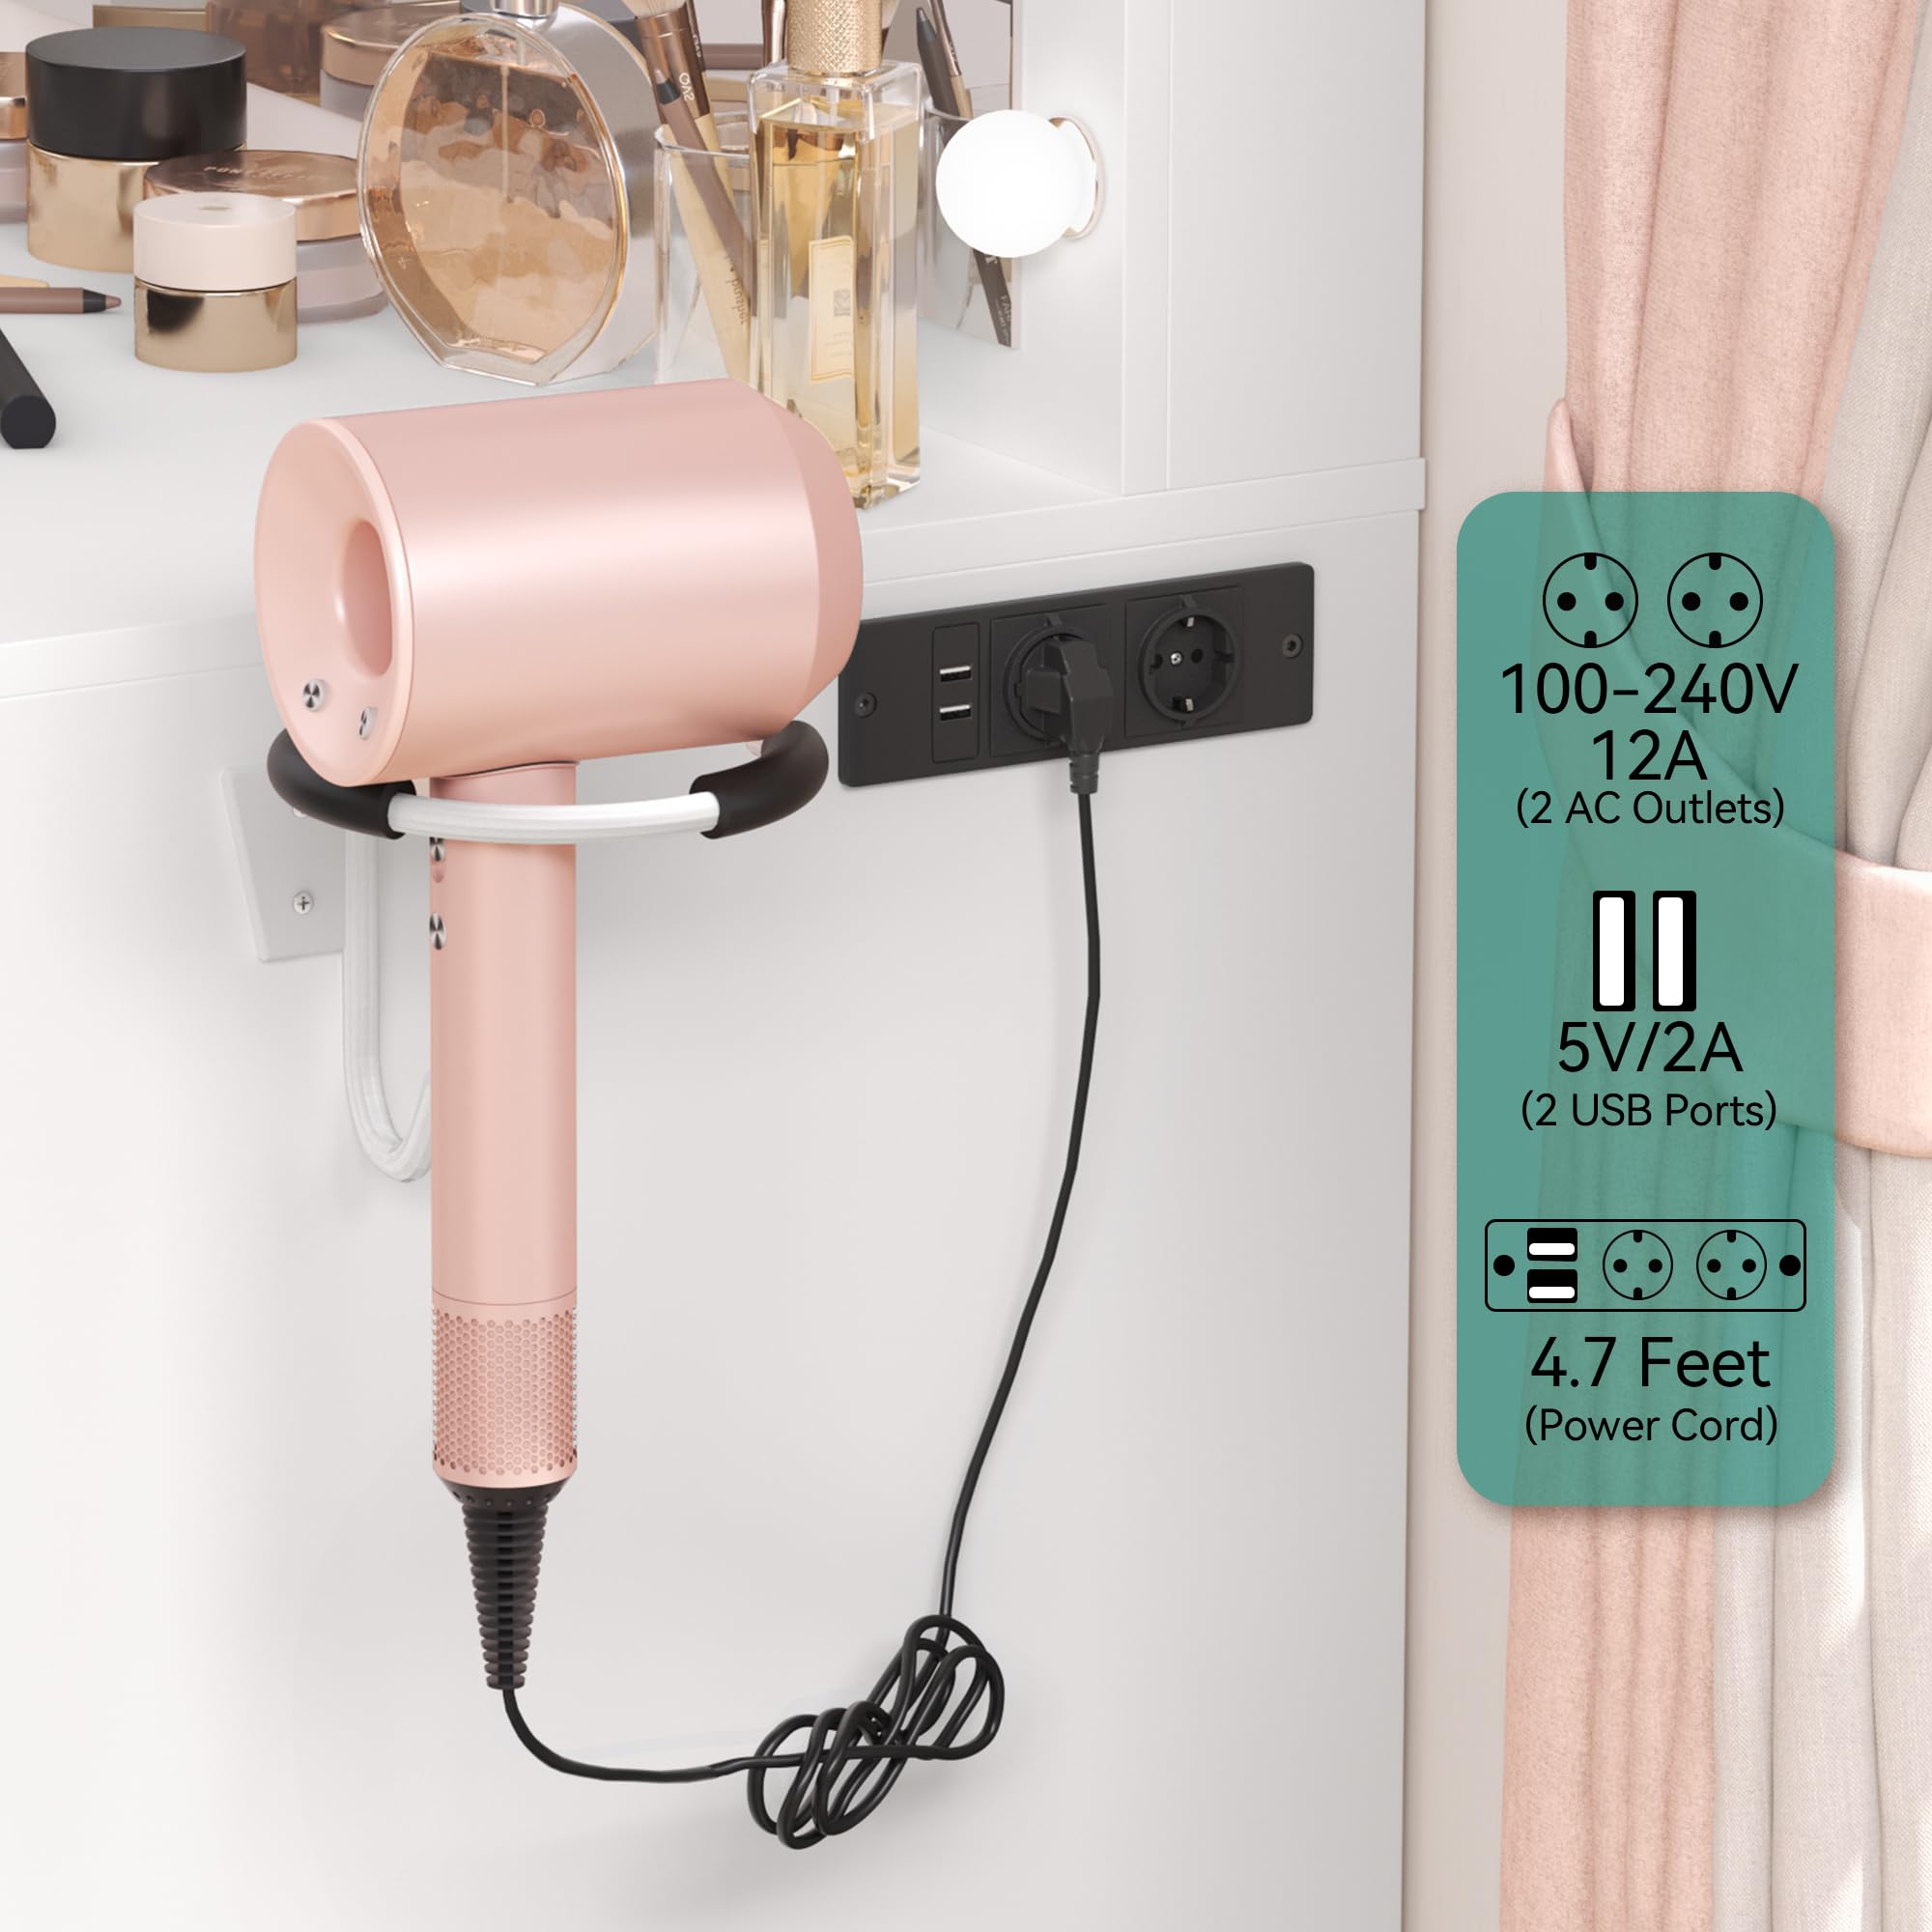
Image: Close-up of the installed hair dryer holder and the power strip with AC outlets and USB ports.
Assemble Drawers:
Assemble the drawer boxes by connecting the side panels to the front and back panels, then slide in the bottom panel. Attach the inner drawer slides and the golden handles to the front of each drawer.

Image: A person assembling a drawer, showing the side panels and the golden handle being attached.
Insert Drawers:
Carefully slide the assembled drawers into their respective compartments in the dressing table frame.

Image: The dressing table with all drawers fully inserted, showcasing the storage capacity.
Install Mirror with LED Lighting:
Attach the mirror unit to the top of the dressing table. Connect the LED lighting wires to the power source from the power strip. Ensure all connections are secure.
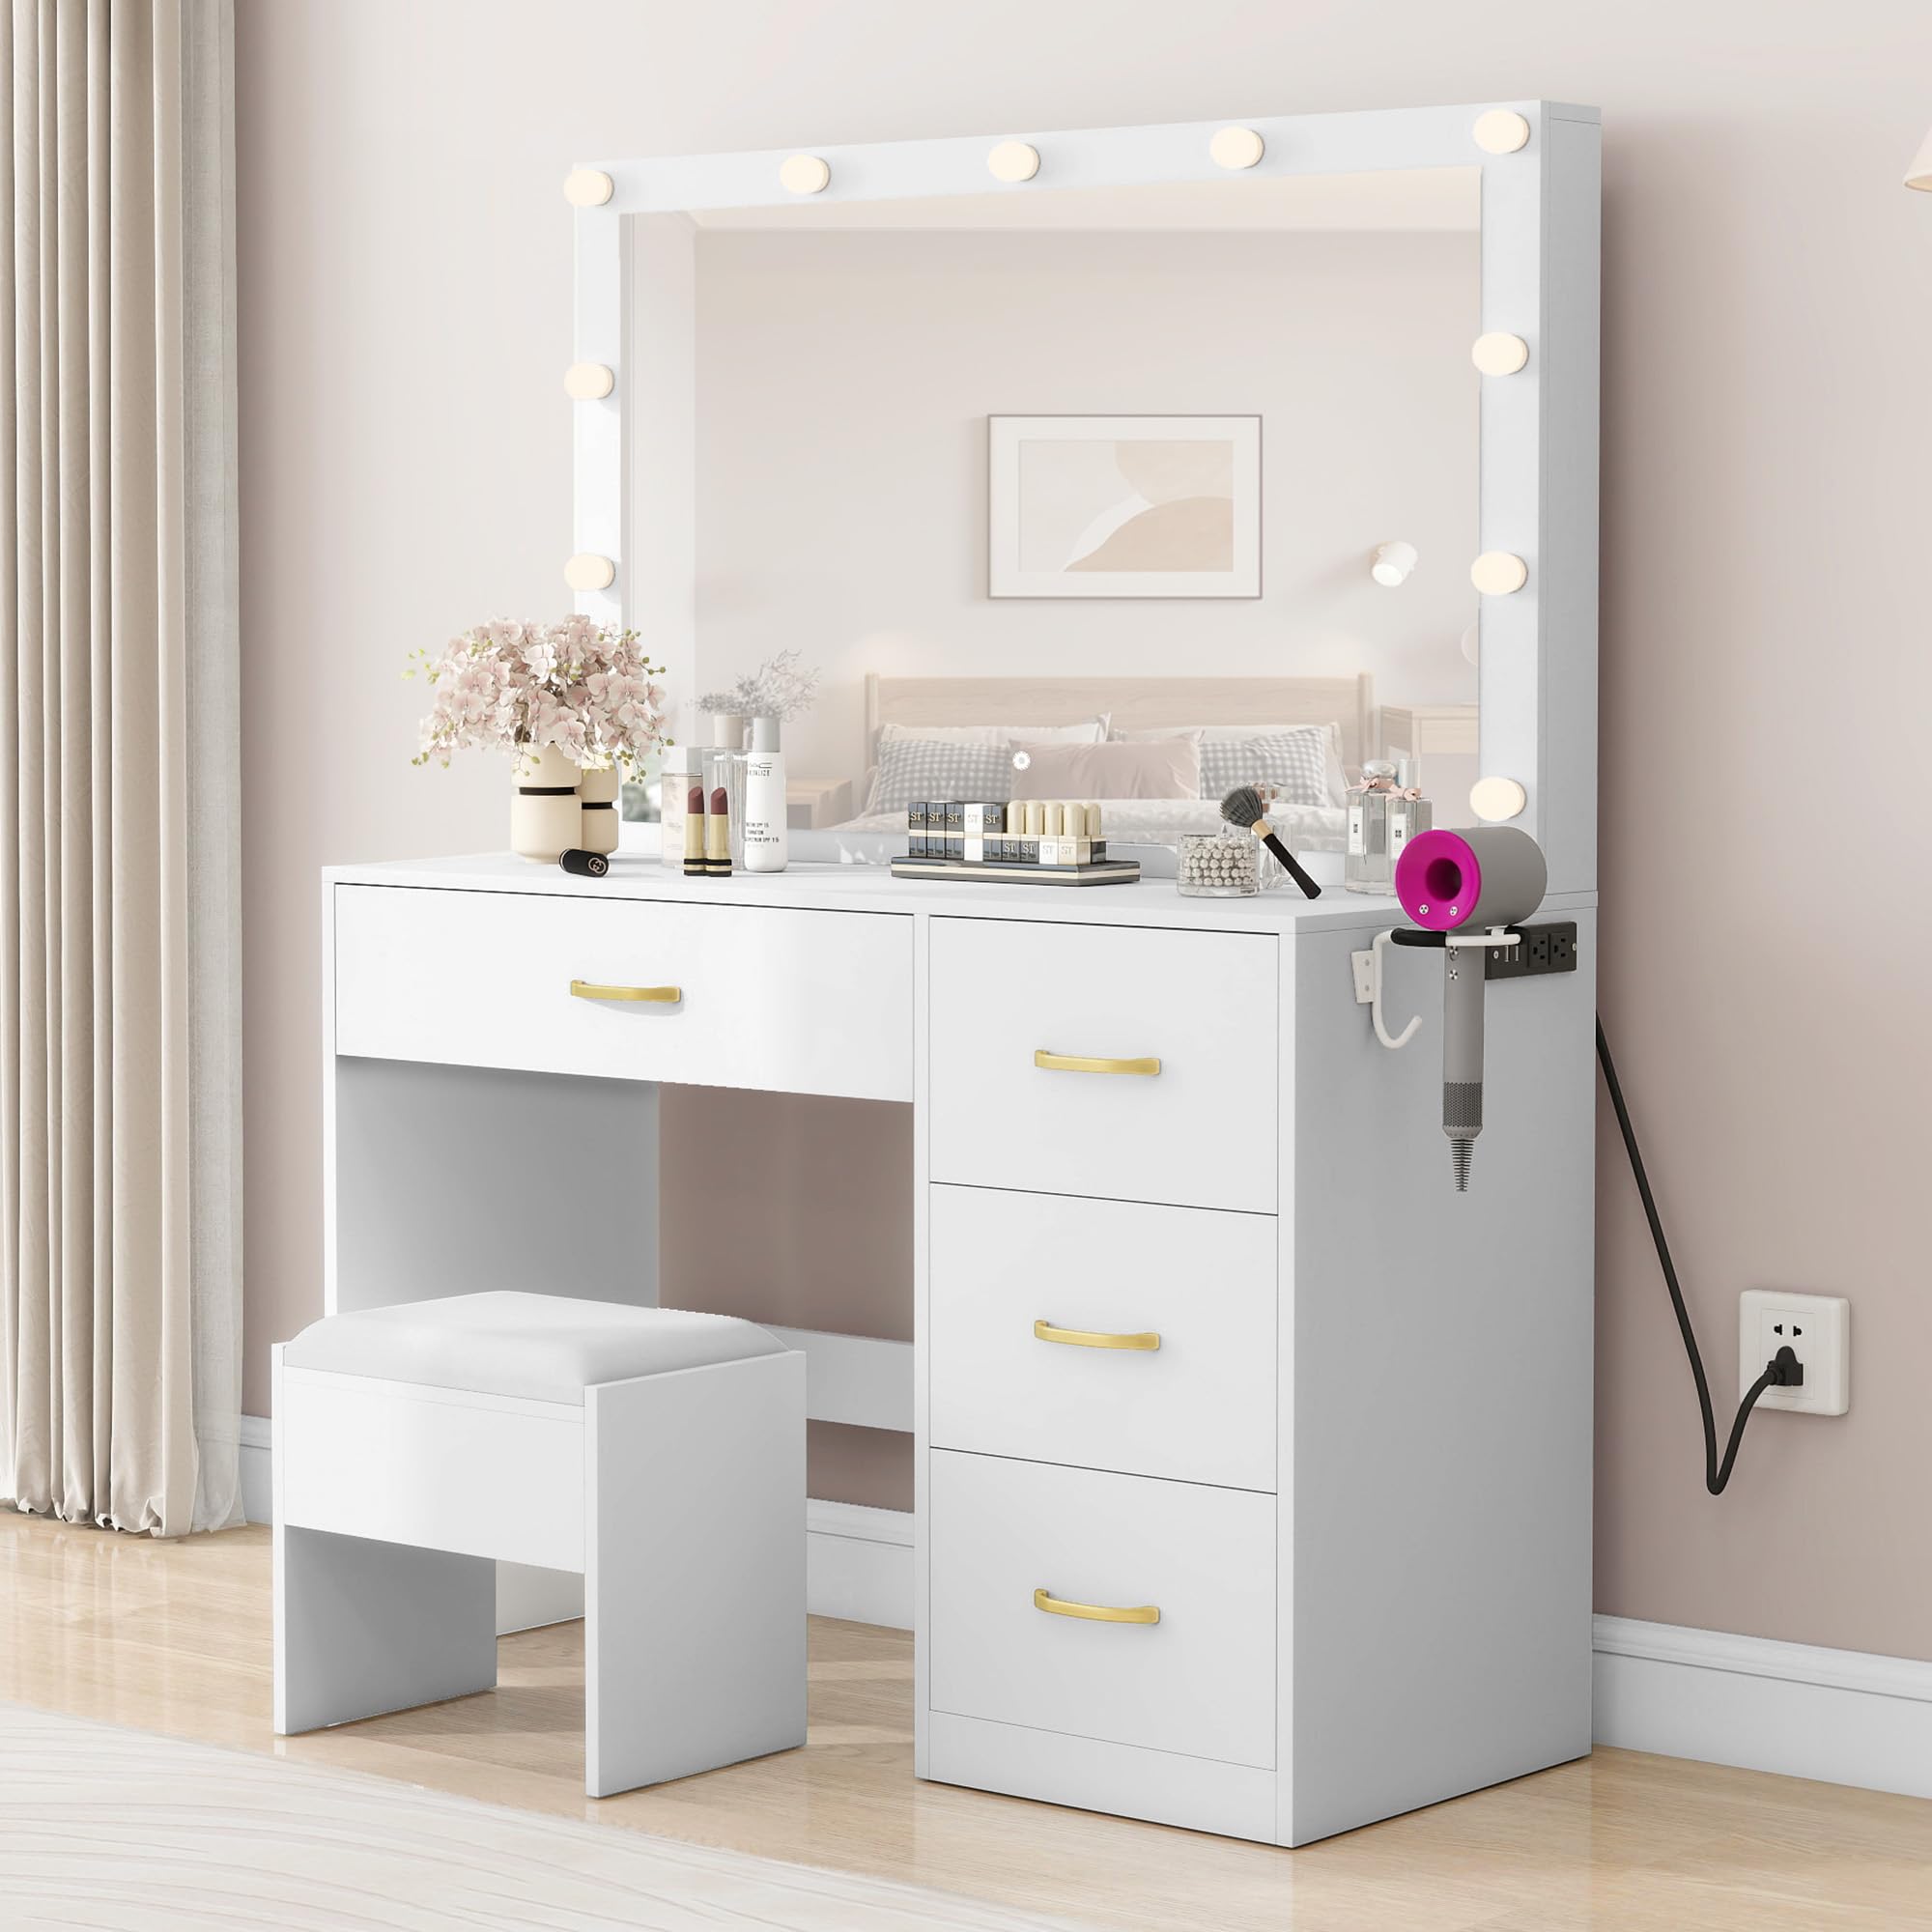
Image: The complete YITAHOME dressing table with the mirror and LED lights illuminated.
Assemble Stool:
Assemble the stool base and attach the soft padded cushion to the top.
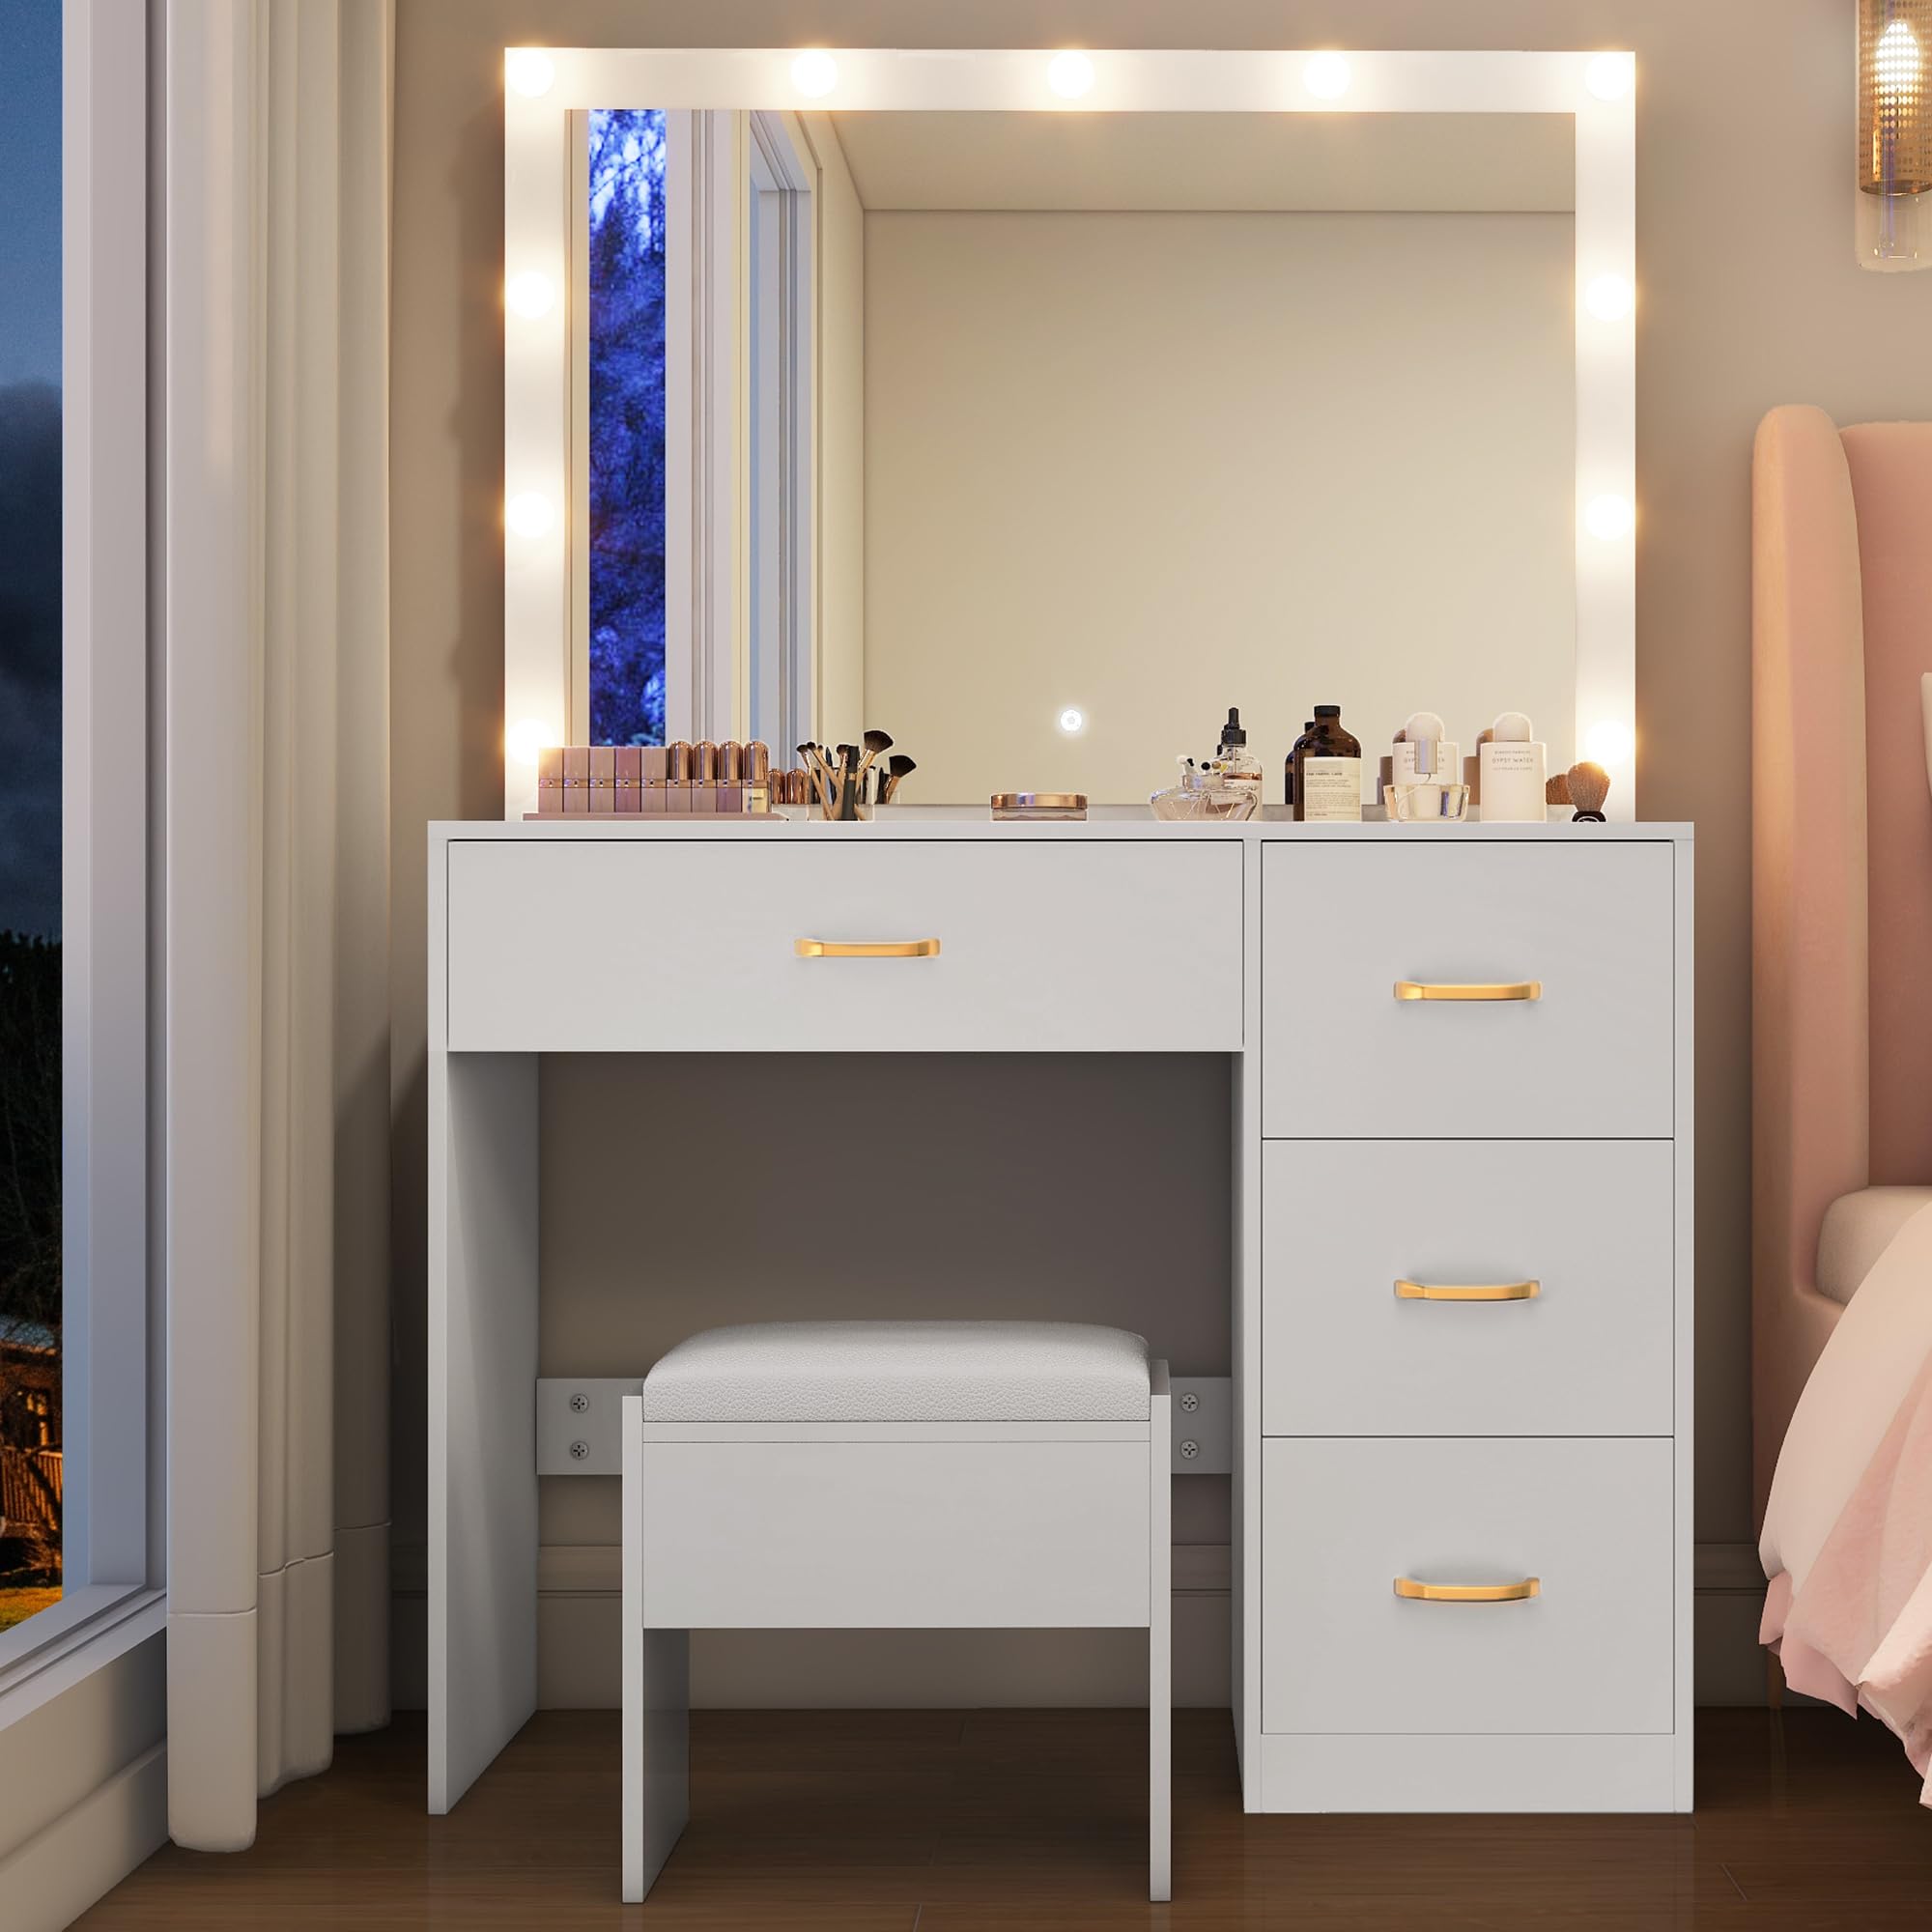
Image: The dressing table with its accompanying white padded stool.
Install Anti-Tip Kit:
For safety, secure the dressing table to the wall using the provided anti-tip kit. Follow the specific instructions included with the kit.
5. Operating Instructions
5.1. LED Lighting
The cosmetic mirror features 11 LED lamps with 3 adjustable color modes and adjustable brightness.
Power On/Off:
Touch the designated sensor on the mirror to turn the lights on or off.Change Color Mode:
Briefly touch the sensor to cycle through the 3 color modes: Warm White, Warm Yellow, and Cool White.Adjust Brightness:
Press and hold the sensor to gradually increase or decrease the brightness. Release when the desired brightness is reached.
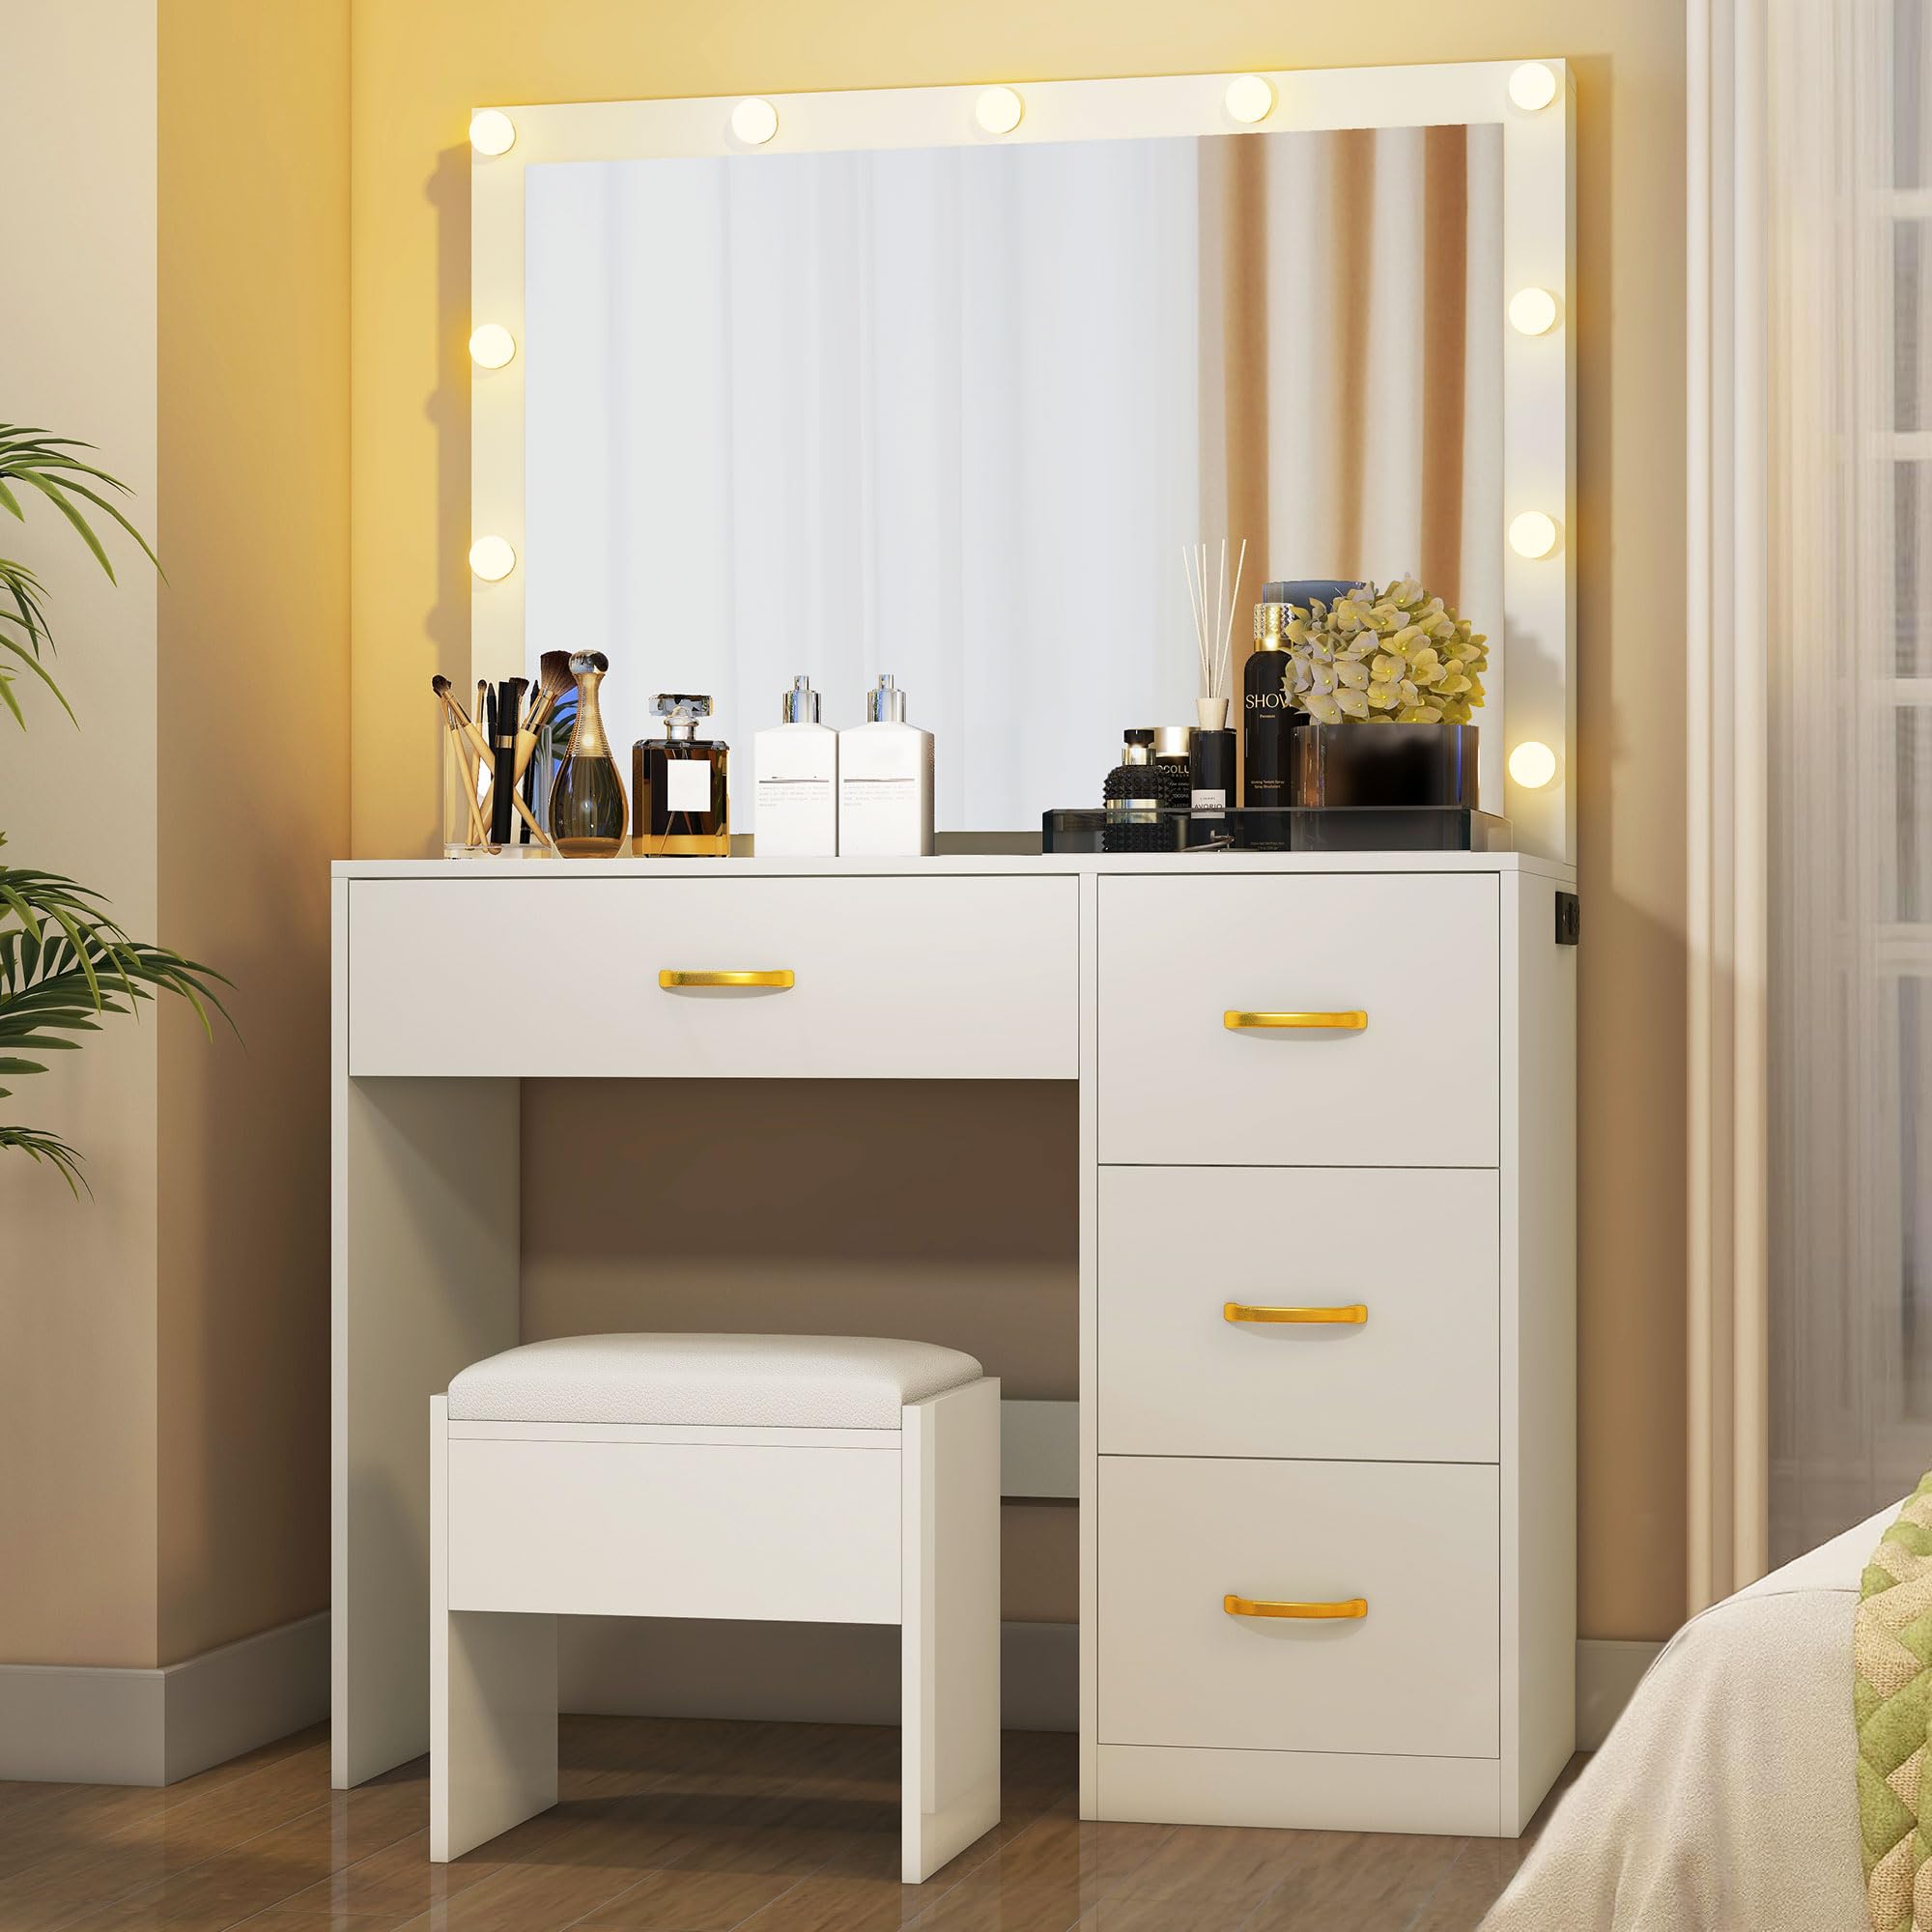
Image: Visual representation of the three color lighting modes (Warm White, Warm Yellow, Cool White) and the touch control for brightness adjustment on the mirror.
5.2. Power Outlets and USB Ports
The integrated power strip provides convenient access to power for your electronic devices.
AC Outlets (2x):
Use these for hair dryers, curling irons, or other small appliances (100-240V, 12A).USB Ports (2x):
Use these for charging smartphones, tablets, or other USB-powered devices (5V, 2A).Hair Dryer Holder:
Utilize the dedicated holder to keep your hair dryer easily accessible and organized.
6. Maintenance
Cleaning:
Wipe surfaces with a soft, damp cloth. Avoid harsh chemicals or abrasive cleaners that may damage the finish. For the mirror, use a glass cleaner.Dusting:
Regularly dust all surfaces to prevent buildup.Drawer Care:
Periodically check drawer slides for smooth operation. If needed, apply a small amount of silicone lubricant.Hardware Check:
Occasionally check and tighten all screws and fasteners to ensure stability.
7. Troubleshooting
| Problem | Possible Cause | Solution |
|---|---|---|
| LED lights not turning on. | Power cable disconnected, loose wiring, faulty sensor. | Ensure the power cable is securely plugged into the wall and the dressing table. Check the wiring connections behind the mirror. Try touching the sensor multiple times. |
| Drawers are stiff or not sliding smoothly. | Misaligned slides, debris in slides, overloaded drawer. | Remove the drawer and check for any obstructions in the slides. Ensure the slides are properly aligned and securely screwed in. Do not overload the drawers. Apply silicone lubricant if necessary. |
| Dressing table feels wobbly. | Loose fasteners, uneven floor. | Check and tighten all assembly screws. Ensure the table is on a flat, even surface. Use shims if necessary to level the table. Ensure the anti-tip kit is properly installed. |
| Power outlets/USB ports not working. | Power strip not connected, circuit breaker tripped. | Ensure the power strip is fully inserted into its slot and its cable is plugged into a working wall outlet. Check your household circuit breaker. |
8. Specifications
| Feature | Detail |
|---|---|
| Brand | YITAHOME |
| Model Number | Schminktisch |
| Dimensions (L x W x H) | 90 cm x 40 cm x 136 cm (35.4" L x 15.7" W x 53.5" H) |
| Mirror Dimensions | 79.5 cm x 51.5 cm (31.2" x 20.2") |
| Material | Metal frame, Wood (likely engineered wood for panels), Textile/Foam (stool) |
| Color | White |
| Lighting | 11 LED lamps, 3 adjustable color modes (Warm White, Warm Yellow, Cool White), adjustable brightness |
| Power Outlets | 2 AC Outlets (100-240V, 12A) |
| USB Ports | 2 USB Ports (5V, 2A) |
| Storage | 4 large drawers |
| Weight | 28 Kilograms |
| UPC | 197839859715 |
9. Warranty and Support
For warranty information or technical support, please contact YITAHOME customer service directly. Refer to your purchase documentation for specific warranty terms and contact details.
You can also visit the official YITAHOME store on Amazon for more information: YITAHOME Store