Introduction
This manual provides detailed instructions for the safe and effective use of your DEKO 60/100W Dual Temperature Hot Glue Gun. This tool is designed for various applications including DIY projects, arts and crafts, school projects, packaging, and general repairs. Please read this manual thoroughly before initial use and retain it for future reference.
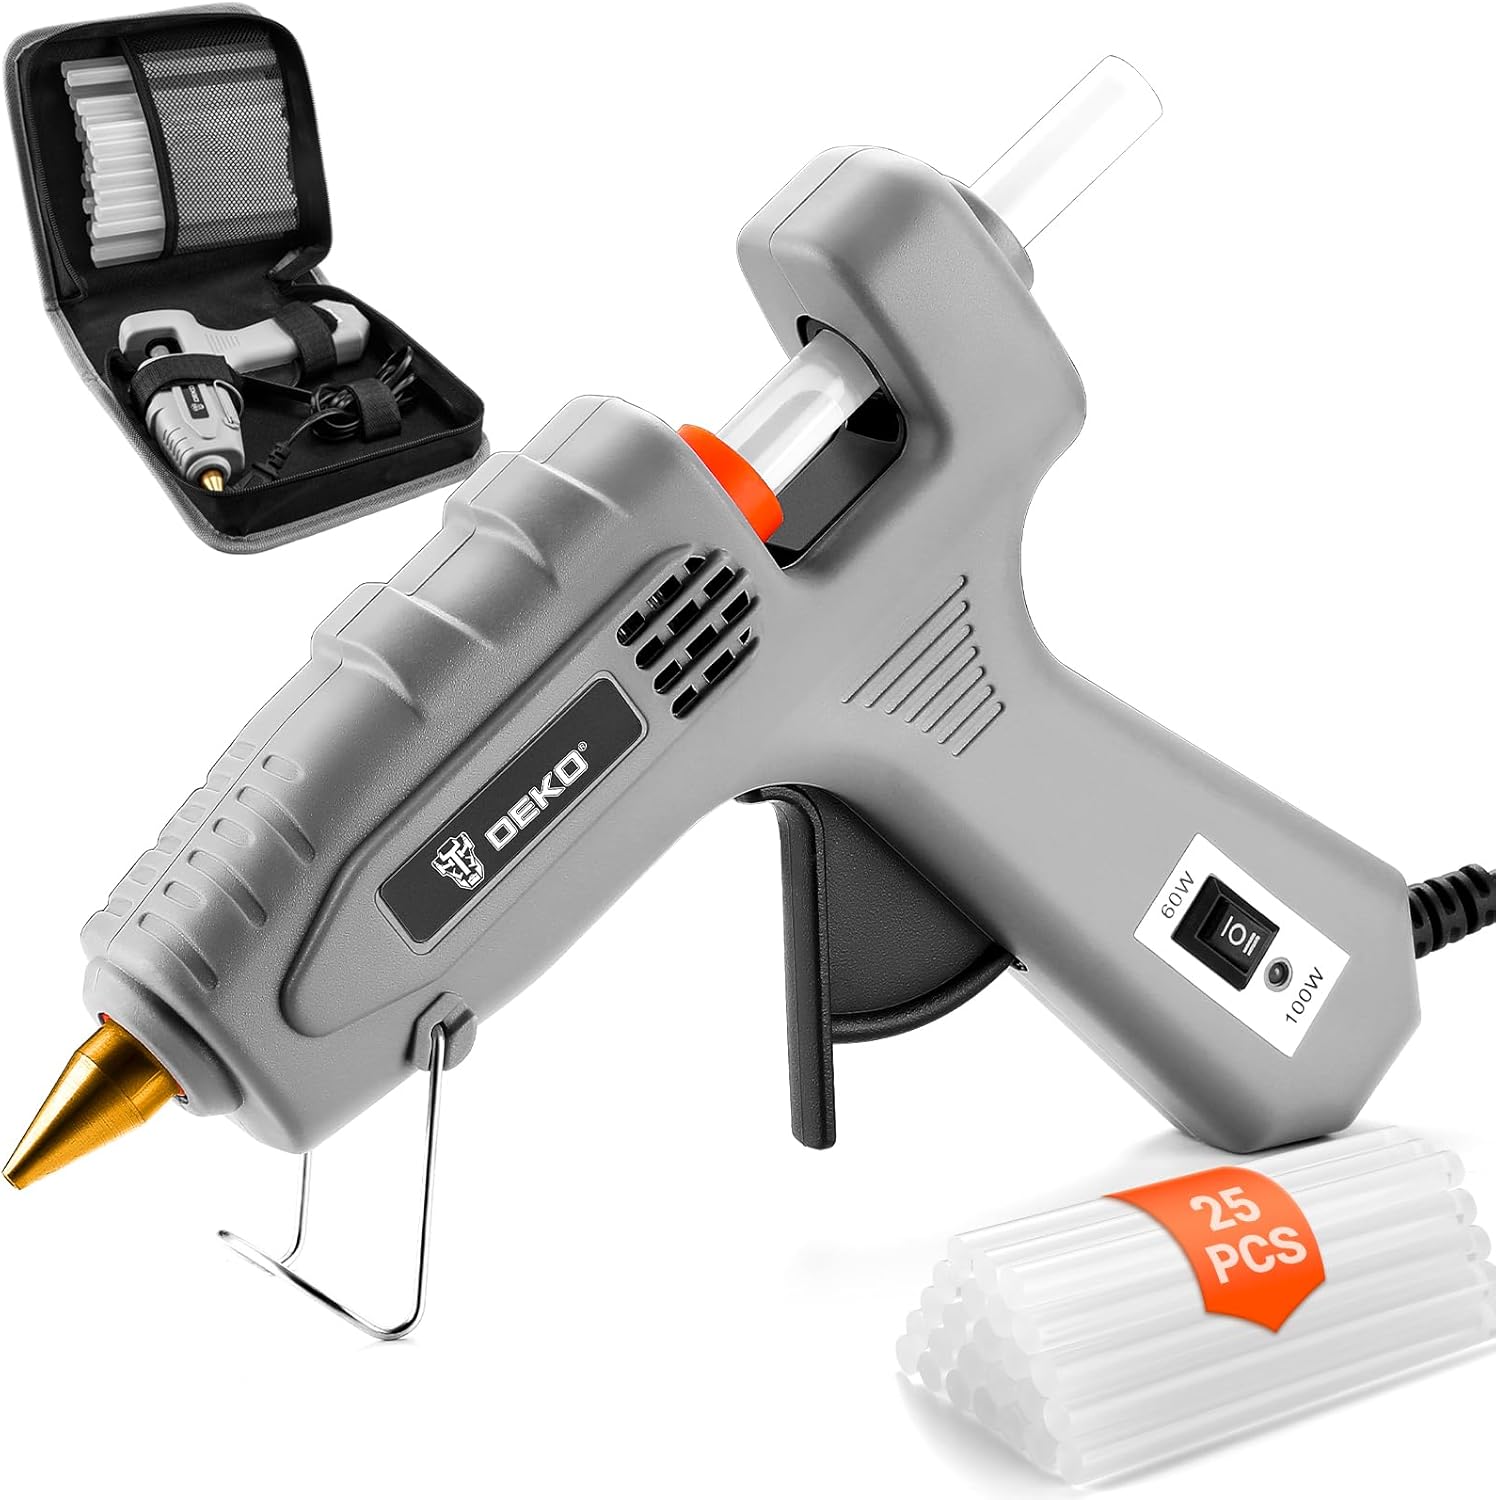
Image: The DEKO hot glue gun, accompanied by a set of glue sticks and a compact storage case.
Safety Instructions
WARNING: Failure to follow these safety instructions may result in electric shock, fire, or serious injury.
- Always keep the nozzle and molten glue away from skin. The nozzle reaches high temperatures (100-220°C) and can cause severe burns.
- Do not touch the molten glue. If contact occurs, immediately rinse the affected area with cold water and seek medical attention.
- Ensure the work area is well-ventilated.
- Do not use the glue gun in damp or wet conditions.
- Keep the glue gun out of reach of children and pets.
- Always unplug the glue gun when not in use or before performing any maintenance.
- Use only glue sticks with a diameter of 11mm. Using incorrect glue sticks may damage the tool or cause hazards.
- Keep glue sticks clean to prevent impurities from blocking the nozzle.
- Do not pull out glue sticks from the back of the gun once inserted and heated, as this can damage the feeding mechanism.
- Never leave the hot glue gun unattended while it is plugged in or heating.
- Place the glue gun on its metal stand when not actively holding it to prevent the hot nozzle from touching surfaces.
Package Contents
Verify that all items are present in the package:
- DEKO 60/100W Dual Temperature Hot Glue Gun
- 25 x Glue Sticks (11mm diameter, 150mm length)
- Storage Bag
- User Manual (this document)

Image: The complete DEKO hot glue gun kit, including the gun, 25 glue sticks, and a black zippered storage bag.
Product Overview
Familiarize yourself with the components of your hot glue gun:

Image: A detailed diagram highlighting the key components of the DEKO hot glue gun, including the copper nozzle, ergonomic trigger, rubber ring, glue stick entry, dual power switch, power cord, metal stand, and power indicator light.
- Copper Nozzle: For precise glue application. Becomes very hot during operation.
- Ergonomic Trigger: Controls the flow of molten glue.
- Rubber Ring: Designed to prevent glue backflow into the gun's mechanism.
- Glue Stick Entry: Where glue sticks are inserted.
- Adjustable Settings Switch (60W/100W): Allows selection between two power modes for different applications.
- Power Cord: 1.5m length for electrical connection.
- Metal Stand: Provides a stable resting position for the hot glue gun, keeping the nozzle elevated.
- Power Indicator Light: Illuminates when the glue gun is powered on.
Setup
- Prepare Work Area: Ensure your workspace is clean, dry, and well-ventilated. Protect surfaces from accidental glue drips.
- Insert Glue Stick: Insert an 11mm diameter glue stick into the round opening at the back of the glue gun. Push it gently until it stops.
- Position the Stand: Flip down the metal stand so the glue gun can rest securely on a flat surface, keeping the hot nozzle elevated.
- Connect Power: Plug the power cord into a standard electrical outlet.

Image: Step-by-step visual guide demonstrating the initial setup and operation of the hot glue gun, from inserting the glue stick to dispensing glue.
Operating Instructions
- Power On and Select Temperature: Locate the power switch on the side of the glue gun. Slide the switch to either the 60W position for smaller projects and delicate materials, or the 100W position for larger projects and stronger adhesion. The power indicator light will illuminate.
- Preheating: Allow the glue gun to preheat for approximately 2-3 minutes. During this time, the heating element will melt the glue stick.
- Apply Glue: Once preheated, gently press the trigger to dispense molten glue from the nozzle. Apply glue to the desired surface.
- Join Surfaces: Quickly press the surfaces together while the glue is still hot and liquid. Hold firmly for a few seconds until the glue sets.
- Continuous Use: As the glue stick shortens, insert a new one into the back of the gun to push the remaining stick forward.
- Power Off: When finished, slide the power switch to the "OFF" (middle) position. Unplug the glue gun from the electrical outlet.

Image: A hand demonstrating the use of the DEKO hot glue gun to attach a decorative element, emphasizing its fast preheating time of 3 minutes.

Image: A collage illustrating the versatility of the DEKO hot glue gun across different scenarios, including crafting and general repairs on various materials.
Maintenance
- Cleaning the Nozzle: After the glue gun has completely cooled down, gently wipe any excess glue from the nozzle with a clean cloth. Do not attempt to clean the nozzle while it is hot.
- Cleaning the Body: Wipe the body of the glue gun with a soft, dry cloth. Do not use abrasive cleaners or solvents.
- Storage: Store the glue gun in a dry, cool place, away from direct sunlight and moisture. Use the provided storage bag to protect it from dust and damage.
- Glue Stick Management: Always ensure glue sticks are clean before insertion to prevent internal blockages. Do not remove partially used glue sticks from the back of the gun.
Troubleshooting
| Problem | Possible Cause | Solution |
|---|---|---|
| Glue gun does not heat up. | Not plugged in; power switch off; faulty outlet. | Check power connection; ensure switch is ON (60W or 100W); test outlet with another device. |
| No glue dispenses when trigger is pressed. | No glue stick inserted; glue stick not fully melted; blockage in nozzle. | Insert a new glue stick; allow more preheating time; ensure glue sticks are clean. Do not force the trigger. |
| Glue leaks from the nozzle when not in use. | Normal during heating/cooling; excessive heat. | Place the gun on its stand to catch drips. Ensure you are using the correct wattage for the task. Unplug when not in active use. |
| Glue gun smokes. | Dust or debris inside; overheating. | Unplug immediately. Allow to cool. If smoking persists after cooling and cleaning, discontinue use and contact support. |
Specifications

Image: A visual representation of the key technical specifications for the DEKO hot glue gun.
| Feature | Detail |
|---|---|
| Model Number | DKGG100T6-AZ-GS-EU |
| Power | 60W / 100W (Dual Temperature) |
| Voltage | 110-240V~50-60Hz |
| Operating Temperature | 100-220°C |
| Preheating Time | 2-3 minutes |
| Cable Length | 1.5m |
| Compatible Glue Stick Diameter | 11mm |
| Weight | 890g (approx. 0.7 pound) |
| Components Included | Copper Nozzle, Tool Organizer (bag), Metal Stand |
Warranty Information
For specific warranty details, please refer to the warranty card included with your product or contact the retailer from whom you purchased the DEKO Hot Glue Gun. Warranty terms typically cover manufacturing defects for a specified period from the date of purchase.
Customer Support
If you encounter any issues or have questions regarding your DEKO Hot Glue Gun that are not addressed in this manual, please contact DEKO customer support or your retailer for assistance. Please have your model number (DKGG100T6-AZ-GS-EU) and purchase information ready when contacting support.


