1. Introduction
This instruction manual provides essential information for the safe and efficient use of your Suptig Portable Charger 9000mAh Battery Pack Power Bank, model RSX-435. This device is designed to provide portable power for a wide range of electronic devices, including action cameras, smartphones, and other digital products.
Please read this manual thoroughly before using the product to ensure proper operation and to prevent damage.
2. Product Overview
2.1 Key Features
- 9000mAh Capacity: Provides extended battery life for compatible devices.
- Wide Compatibility: Supports various devices including GoPro Hero series (13, 12, 11, 10, 9, 8, 7, 6, 5/4/3/3+), GoPro Max, GoPro Fusion, DJI Osmo, AKASO, Insta360, Canon, Nikon, Sony cameras, smartphones, smartwatches, and other digital products.
- Multiple Application Scenarios: Features a double-sided 1/4-inch thread design for quick installation on tripods, light stands, cameras, and other equipment.
- Safe and Reliable: Incorporates 10 layers of multiple system protection, including built-in low-temperature IC ice core, intelligent monitoring of voltage and current to prevent over-charge, over-discharge, short circuit, and high temperature.
- Fast Charging: Equipped with Type-C (input/output) and USB-A output interfaces, supporting various mainstream fast charging protocols.
- Type-C Input: 5V 3A, 9V 2.22A, 12V 1.67A
- Type-C Output: 5V 3A, 9V 2.22A, 12V 1.67A (20W max)
- USB-A Output: 5V 3A, 9V 2.22A, 12V 1.67A (20W max)
- Portable Design: Lightweight and compact (Size: 4x2.4x1.1 inches, Weight: 0.41 lbs) for easy transport.
2.2 Package Contents
Upon unboxing, please ensure all items are present and in good condition:
- 1x Suptig Portable Charger Power Bank (Model: RSX-435)
- 1x Charging Cable (USB-C to USB-C)
- 1x 1/4" Tripod Mount Adapter
- 1x 1/4" Screw

Figure 2.1: Suptig Portable Charger Power Bank and included accessories.

Figure 2.2: The power bank is compatible with a wide range of devices, including smartphones, tablets, smartwatches, action cameras, and DSLR cameras.

Figure 2.3: The power bank features a double-sided 1/4-inch thread design for versatile mounting options.

Figure 2.4: Examples of multiple application scenarios, including chest mounting, handheld use, bicycle mounting, and vehicle mounting.

Figure 2.5: The power bank supports fast charging via both Type-C (input/output) and USB-A output ports.
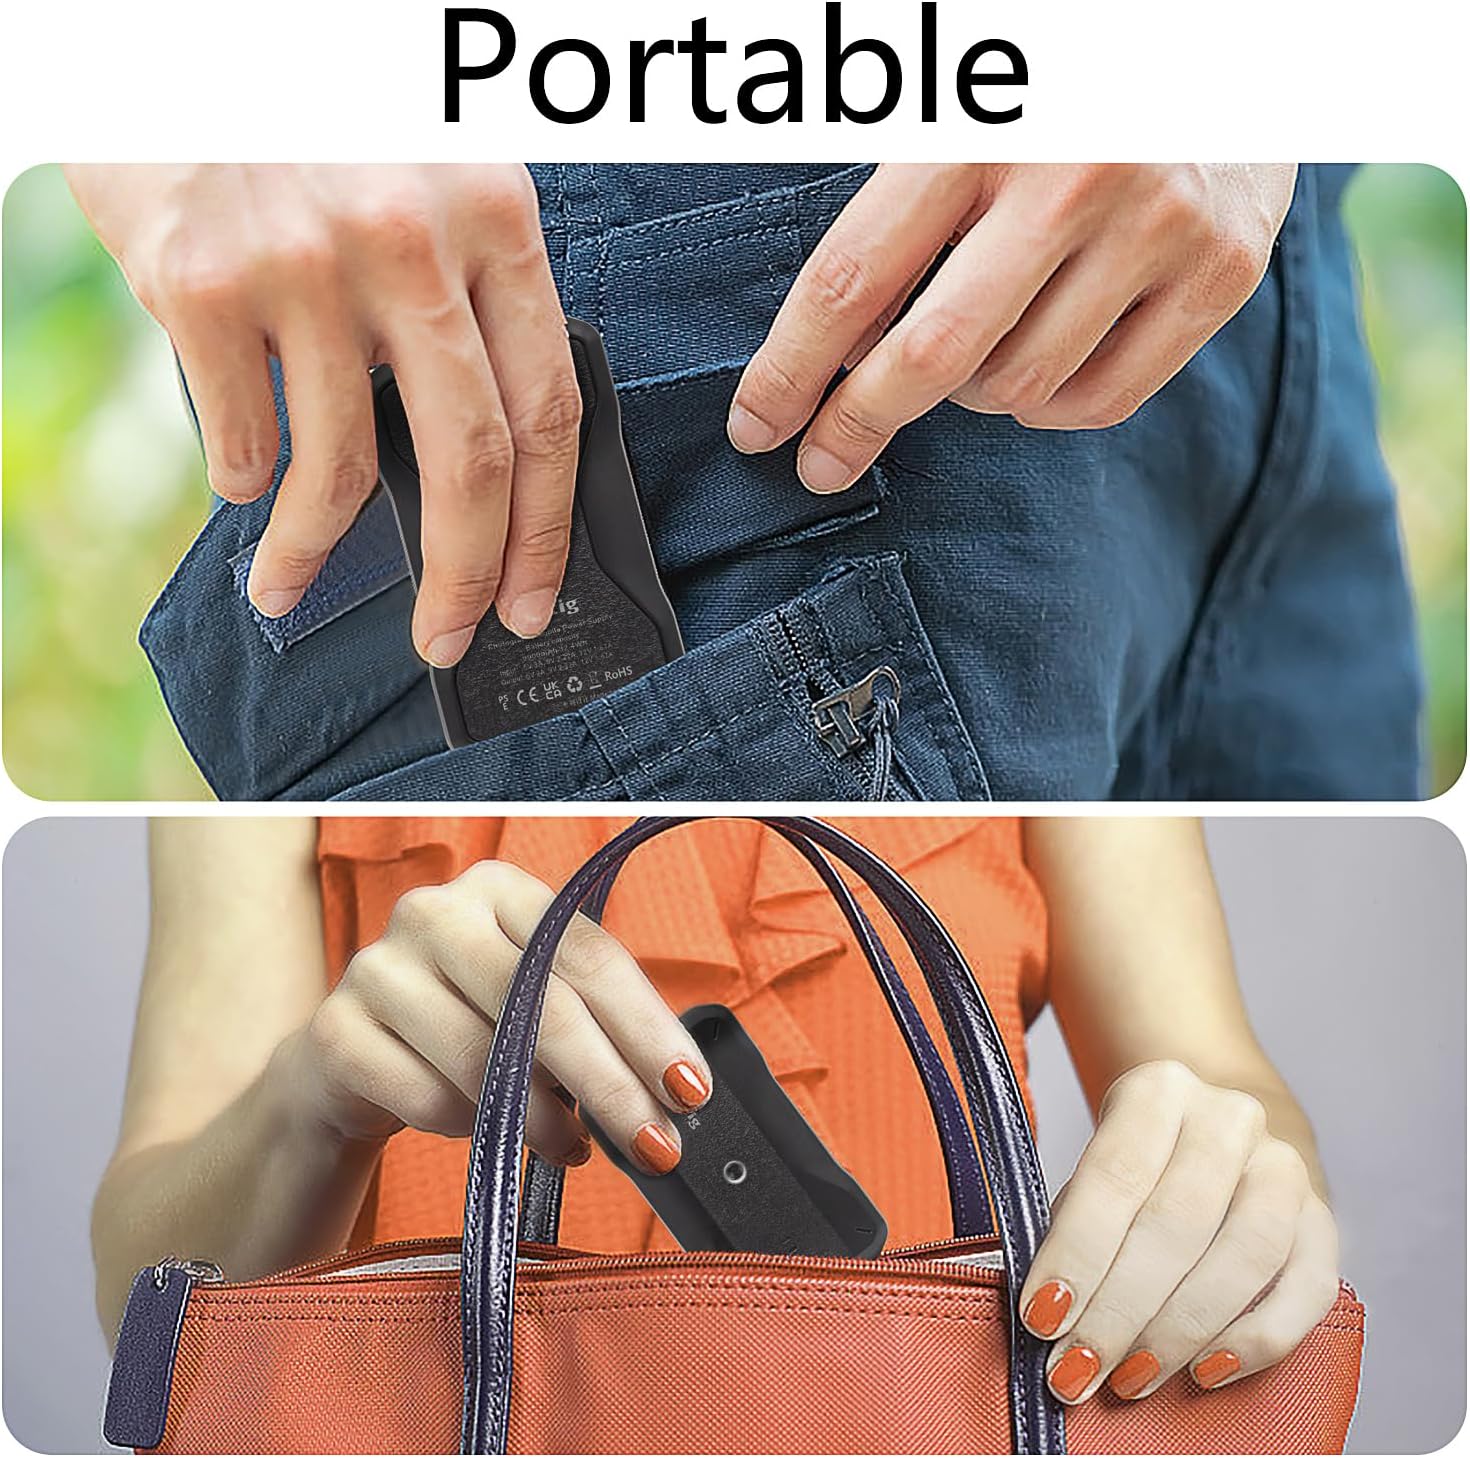
Figure 2.6: The compact and lightweight design allows for easy portability in pockets or bags.

Figure 2.7: Product dimensions for reference.
3. Setup
3.1 Charging the Power Bank
- Connect the provided USB-C charging cable to the Type-C port on the power bank.
- Connect the other end of the USB-C cable to a compatible USB wall charger (not included) or a computer's USB-C port.
- The LED indicators on the power bank will illuminate to show the charging status. When all LEDs are solid, the power bank is fully charged.
3.2 Attaching Accessories (1/4" Thread)
The power bank features a 1/4-inch thread on both sides for mounting. Use the included 1/4" tripod mount adapter and screw to attach the power bank to tripods, light stands, or other camera accessories.
- Align the 1/4" screw or adapter with the threaded hole on the power bank.
- Gently twist clockwise until securely fastened. Do not overtighten.
4. Operating Instructions
4.1 Checking Battery Level
Press the power button once to activate the LED indicators, which will display the current battery level of the power bank.
- Four LEDs: 75-100% charge
- Three LEDs: 50-75% charge
- Two LEDs: 25-50% charge
- One LED: 0-25% charge (recharge soon)
4.2 Charging Your Devices
- Connect your device's charging cable to either the Type-C output port or the USB-A output port on the power bank.
- Connect the other end of the cable to your device.
- The power bank will automatically begin charging your device. If charging does not start, press the power button once.
- Disconnect your device once it is fully charged or when you no longer need to charge.
Note: The Type-C port supports both input and output. Ensure you are using the correct cable and port for charging the power bank versus charging a device.
5. Maintenance
5.1 Cleaning
- Wipe the surface of the power bank with a soft, dry cloth.
- Do not use harsh chemicals, abrasive cleaners, or immerse the device in water.
5.2 Storage
- Store the power bank in a cool, dry place away from direct sunlight and extreme temperatures.
- For long-term storage, charge the power bank to approximately 50-75% every 3-6 months to maintain battery health.
5.3 General Care
- Avoid dropping or subjecting the power bank to strong impacts.
- Keep away from children and pets.
- Do not disassemble or attempt to repair the device yourself. This will void the warranty and may cause harm.
6. Troubleshooting
| Problem | Possible Cause | Solution |
|---|---|---|
| Power bank not charging |
|
|
| Device not charging from power bank |
|
|
| Slow charging |
|
|
7. Specifications
| Attribute | Value |
|---|---|
| Model Number | RSX-435 |
| Battery Capacity | 9000 mAh |
| Input (Type-C) | 5V 3A, 9V 2.22A, 12V 1.67A |
| Output (Type-C) | 5V 3A, 9V 2.22A, 12V 1.67A (20W max) |
| Output (USB-A) | 5V 3A, 9V 2.22A, 12V 1.67A (20W max) |
| Product Dimensions | 3.81 x 2.54 x 16.76 cm (1.5 x 1 x 6.6 inches) |
| Item Weight | 231 g (0.51 lbs) |
| Color | Black |
| Special Features | Fast Charging, 1/4" Thread Mount |
8. Warranty and Support
For warranty information and customer support, please refer to the documentation included with your purchase or contact the manufacturer directly. Suptig products typically come with a limited warranty covering manufacturing defects.
For further assistance, you may visit the official Suptig website or contact their customer service department. Keep your purchase receipt as proof of purchase for warranty claims.
Manufacturer: Suptig
ASIN: B0DDH2F6Z7


