
ADECAB 61" Freestanding Bathtub
ADECAB 61" Freestanding Bathtub Instruction Manual
Model: 61" Freestanding Bathtub (Ny Style)
Brand: ADECAB
Introduction
This instruction manual provides detailed guidance for the installation, operation, and maintenance of your ADECAB 61-inch Freestanding Bathtub. Please read this manual thoroughly before installation and use to ensure proper function and safety. Keep this manual for future reference.
Important Safety Information
- Ensure the floor can support the weight of the bathtub when filled with water and occupied. A filled bathtub with one person can exceed 1000 lbs.
- Verify that the drain pipe and water inlet pipe are correctly installed before placing the bathtub.
- Use appropriate tools and materials for installation as specified in this manual.
- Always test for water leakage after installation and before permanent sealing.
- Exercise caution when handling the bathtub to prevent damage or injury.
- Do not use abrasive cleaners or tools that could scratch the acrylic surface.
Specifications
| Feature | Detail |
|---|---|
| Model | 61" Freestanding Bathtub (Ny Style) |
| Color | Gloss White |
| Material | Acrylic, Fiberglass, Resin |
| Product Dimensions | 61"L x 31"W x 22"H |
| Water Depth | 15.5 inch |
| Effective Soaker Tub Capacity | 62 Gallons |
| Load Capacity | 820 Lbs |
| Installation Type | Freestanding |
| Certification | cUPC Certified |
| Item Weight | 128.7 pounds |
Package Contents
The ADECAB 61" Freestanding Bathtub package includes the following items:
- 1 x White Freestanding Bathtub
- 1 x Drain Pop-up Assembly
- Instruction Manual
Note: The pipe for connecting the drain to the floor plumbing is not included and must be purchased separately.
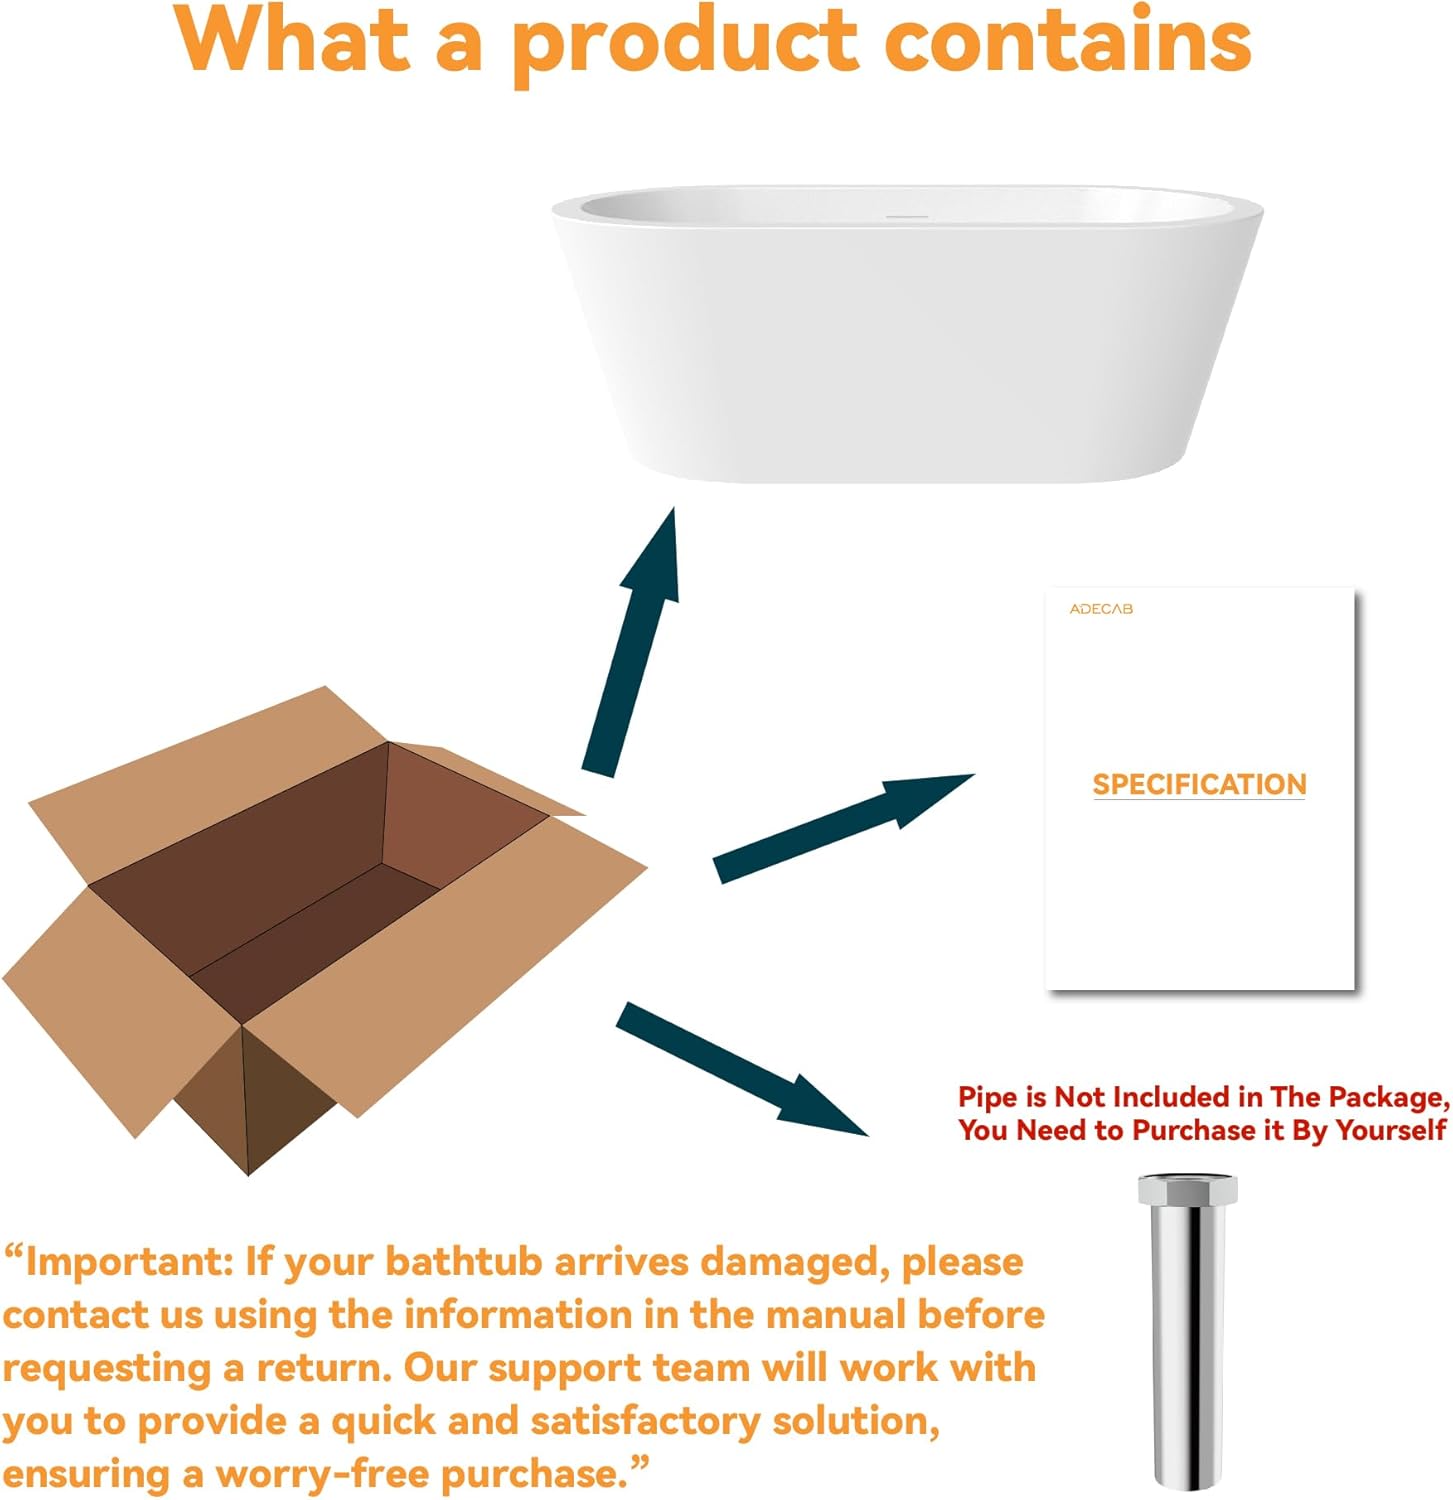
Figure 1: Included items and separately purchased pipe.
Installation Guide
Follow these step-by-step instructions for proper installation of your freestanding bathtub. It is recommended to have two people for installation due to the size and weight of the tub.
1. Site Preparation
- Ensure the installation area is clean and level.
- Confirm that the floor can support the total weight of the bathtub, water, and user (over 1000 lbs).
- Verify the correct installation of the floor drain pipe and the water inlet pipe for the faucet.
- Gather all necessary tools: blanket for protection, towel, drain connection pipe (not included), pencil, tape measure, silicone sealant, caulk gun, adjustable wrench, locking pliers, spirit level, and two wooden squares for support.
Video 1: Freestanding Bathtub Installation Guide. This video provides a comprehensive overview of the installation process, from preparing the site to final sealing.
2. Drain Assembly
- Lay the bathtub on its side on a protective blanket to prevent scratches.
- Thread the drain hose from the inside of the tub through the tub drain hole.
- Apply silicone sealant around the drain hole to ensure a watertight seal.
- Tighten the drain nut with an adjustable wrench.
Video 2: Bathtub Drain Installation. This video demonstrates the steps for installing the bathtub drain assembly, including applying sealant and tightening the nut.
3. Positioning and Leveling
- Carefully position the bathtub so that its drain aligns with the subsurface drain.
- Use a pencil to mark the outline of the bathtub on the floor.
- Tilt the bathtub sideways again and connect the drain connection pipe, wrapping raw tape if necessary, then tighten with lock pliers.
- Lift the bathtub and slowly insert the drain connection pipe into the underground drain. Tighten the nut under the drain connection pipe after insertion.
- Place the bathtub on the floor. Use a spirit level to check if the bathtub is horizontally and vertically level. Adjust the adjustable feet at the bottom of the tub as needed to achieve a level position.
4. Sealing and Final Steps
- Once the bathtub is level, apply a continuous bead of silicone sealant along the edge where the bottom of the tub meets the floor.
- Connect the bathtub faucet to the adjustable hot and cold water lines.
- Fill the tub with water and close the drain. Check for any leaks around the drain and connections. Then open the drain to ensure proper drainage.
- Allow the sealant to cure completely according to the manufacturer's instructions before using the bathtub.
Video 3: 61" Freestanding Tub Overview. This video showcases the installed 61-inch freestanding tub, highlighting its design and features.
Operation
Your ADECAB freestanding bathtub is designed for a comfortable soaking experience. To operate:
- Ensure the drain pop-up assembly is in the closed position.
- Fill the bathtub with water to your desired level using the faucet. The integrated overflow prevents overfilling.
- After use, press the drain pop-up assembly to open the drain and allow water to empty.
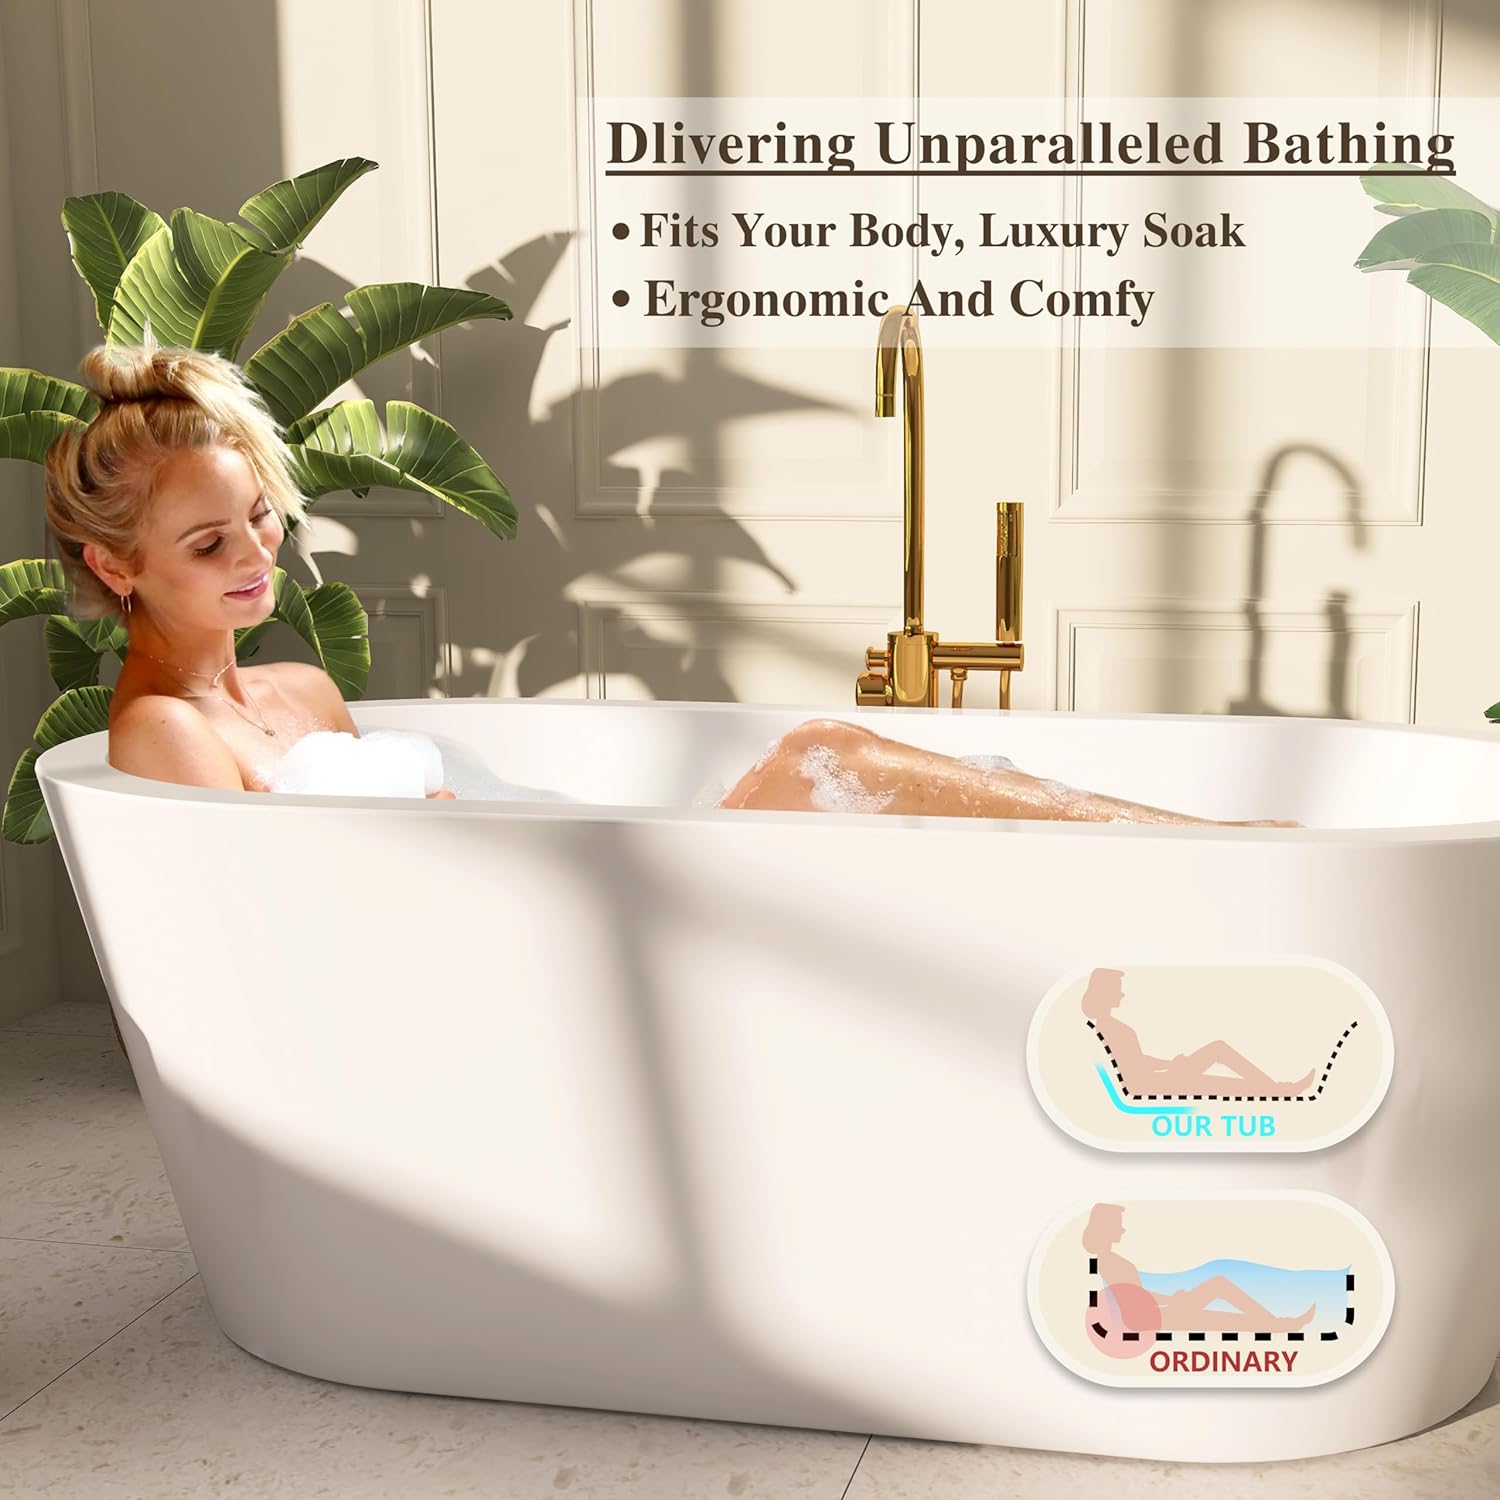
Figure 2: Ergonomic design for comfortable soaking.

Figure 3: Full lumbar support for enhanced comfort.
Maintenance and Care
To maintain the pristine condition and longevity of your ADECAB bathtub, follow these care instructions:
- Cleaning: The acrylic surface is easy to clean. For daily cleaning, use a soft cloth, water, and a mild, non-abrasive soap or shower gel. Avoid harsh chemicals, abrasive cleaners, or scouring pads, as these can damage the finish.
- Stain Resistance: The tub features a stain-resistant surface. For stubborn stains, use a non-abrasive liquid cleaner specifically designed for acrylic bathtubs.
- Scratch Resistance: While the surface is scratch-resistant, avoid dropping heavy or sharp objects into the tub.
- Heat Retention: The double-walled reinforced design provides maximum insulation, keeping water at its desired temperature longer.
- Long-lasting Finish: The high-grade acrylic material is designed to retain its brilliant white finish and sheen for years without discoloring.

Figure 4: Easy cleaning with mild soap and water.

Figure 5: Thermal insulation for prolonged warm baths.
Troubleshooting
If you encounter any issues with your ADECAB bathtub, please refer to the following common problems and solutions:
- Leakage: If you notice any leaks after installation, immediately drain the tub. Re-check all drain connections, ensuring they are tightly secured and that sufficient sealant was applied. If the leak persists, contact customer service.
- Drain Malfunction: If the pop-up drain is not opening or closing properly, inspect for any obstructions or debris. Ensure the mechanism is clean and free of foreign objects.
- Unstable Tub: If the tub feels unstable or wobbly, re-check the leveling feet at the bottom. Adjust them until the tub is firmly seated and level on the floor.
- Surface Scratches/Dullness: For minor scratches or dull spots, specialized acrylic repair kits or polishing compounds can be used. Always test on an inconspicuous area first.
For issues not covered here, or if solutions do not resolve the problem, please contact ADECAB Customer Service.
Warranty and Support
ADECAB provides a 10-Year Limited Warranty to ensure your bathtub is free of defects in material and workmanship. This warranty covers manufacturing defects under normal use and service.
For any questions, concerns, or warranty claims, please do not hesitate to contact our U.S.-based Customer Service team. We are committed to providing excellent pre and after-sales support.
Contact Information: Please refer to the contact details provided on your purchase receipt or the ADECAB official website for the most current customer service information.
Related documents61" Freestanding Bathtub


Ask a question about this manual
Ask about setup, troubleshooting, compatibility, parts, safety, or missing instructions. Manuals+ will review the question and use this page’s manual context to help answer it.