
Important Safety Information
Please read this manual carefully before operating your KENRONE Portable Biometric Gun Safe. Keep this manual for future reference. Failure to follow these instructions may result in injury, damage to the product, or loss of stored items.
- Always store firearms unloaded and locked.
- Keep keys and access codes/fingerprints confidential and away from children.
- Do not store the mechanical keys inside the safe.
- Ensure the safe is securely mounted or tethered when unattended to prevent unauthorized removal.
- This safe is not waterproof. Avoid exposure to water or excessive moisture.
- Do not attempt to disassemble or modify the safe. This will void the warranty and may compromise security.
Package Contents
Verify that all items listed below are included in your package:
- 1 x KENRONE Portable Biometric Gun Safe
- 1 x Steel Cable
- 2 x Mechanical Keys
- 1 x TYPE-C Charging Cable
- 1 x Rechargeable Battery
- 1 x Instruction Manual (this document)

Image: The KENRONE Portable Biometric Gun Safe displayed with its accessories, including the steel cable, mechanical keys, and charging cable.
Product Overview
The KENRONE Portable Biometric Gun Safe KR-BX1519C is designed to provide secure storage for handguns and other valuables. It features multiple unlocking methods and a durable carbon steel construction.
Key Features:
- Three Unlocking Methods: Fingerprint, 6-digit password, and mechanical key.
- Biometric Access: Supports up to 50 fingerprints (1 administrative, 49 user) for quick and accurate access.
- Durable Construction: Made from high-grade carbon steel with soft foam padding inside to protect contents.
- Portable Design: Compact size suitable for travel, bedside, car, or wardrobe storage.
- Security Cable: Includes a steel cable for tethering the safe to a fixed object.
- Long Battery Life: Rechargeable battery with TYPE-C charging, offering up to 12 months standby time on a 3-hour charge.
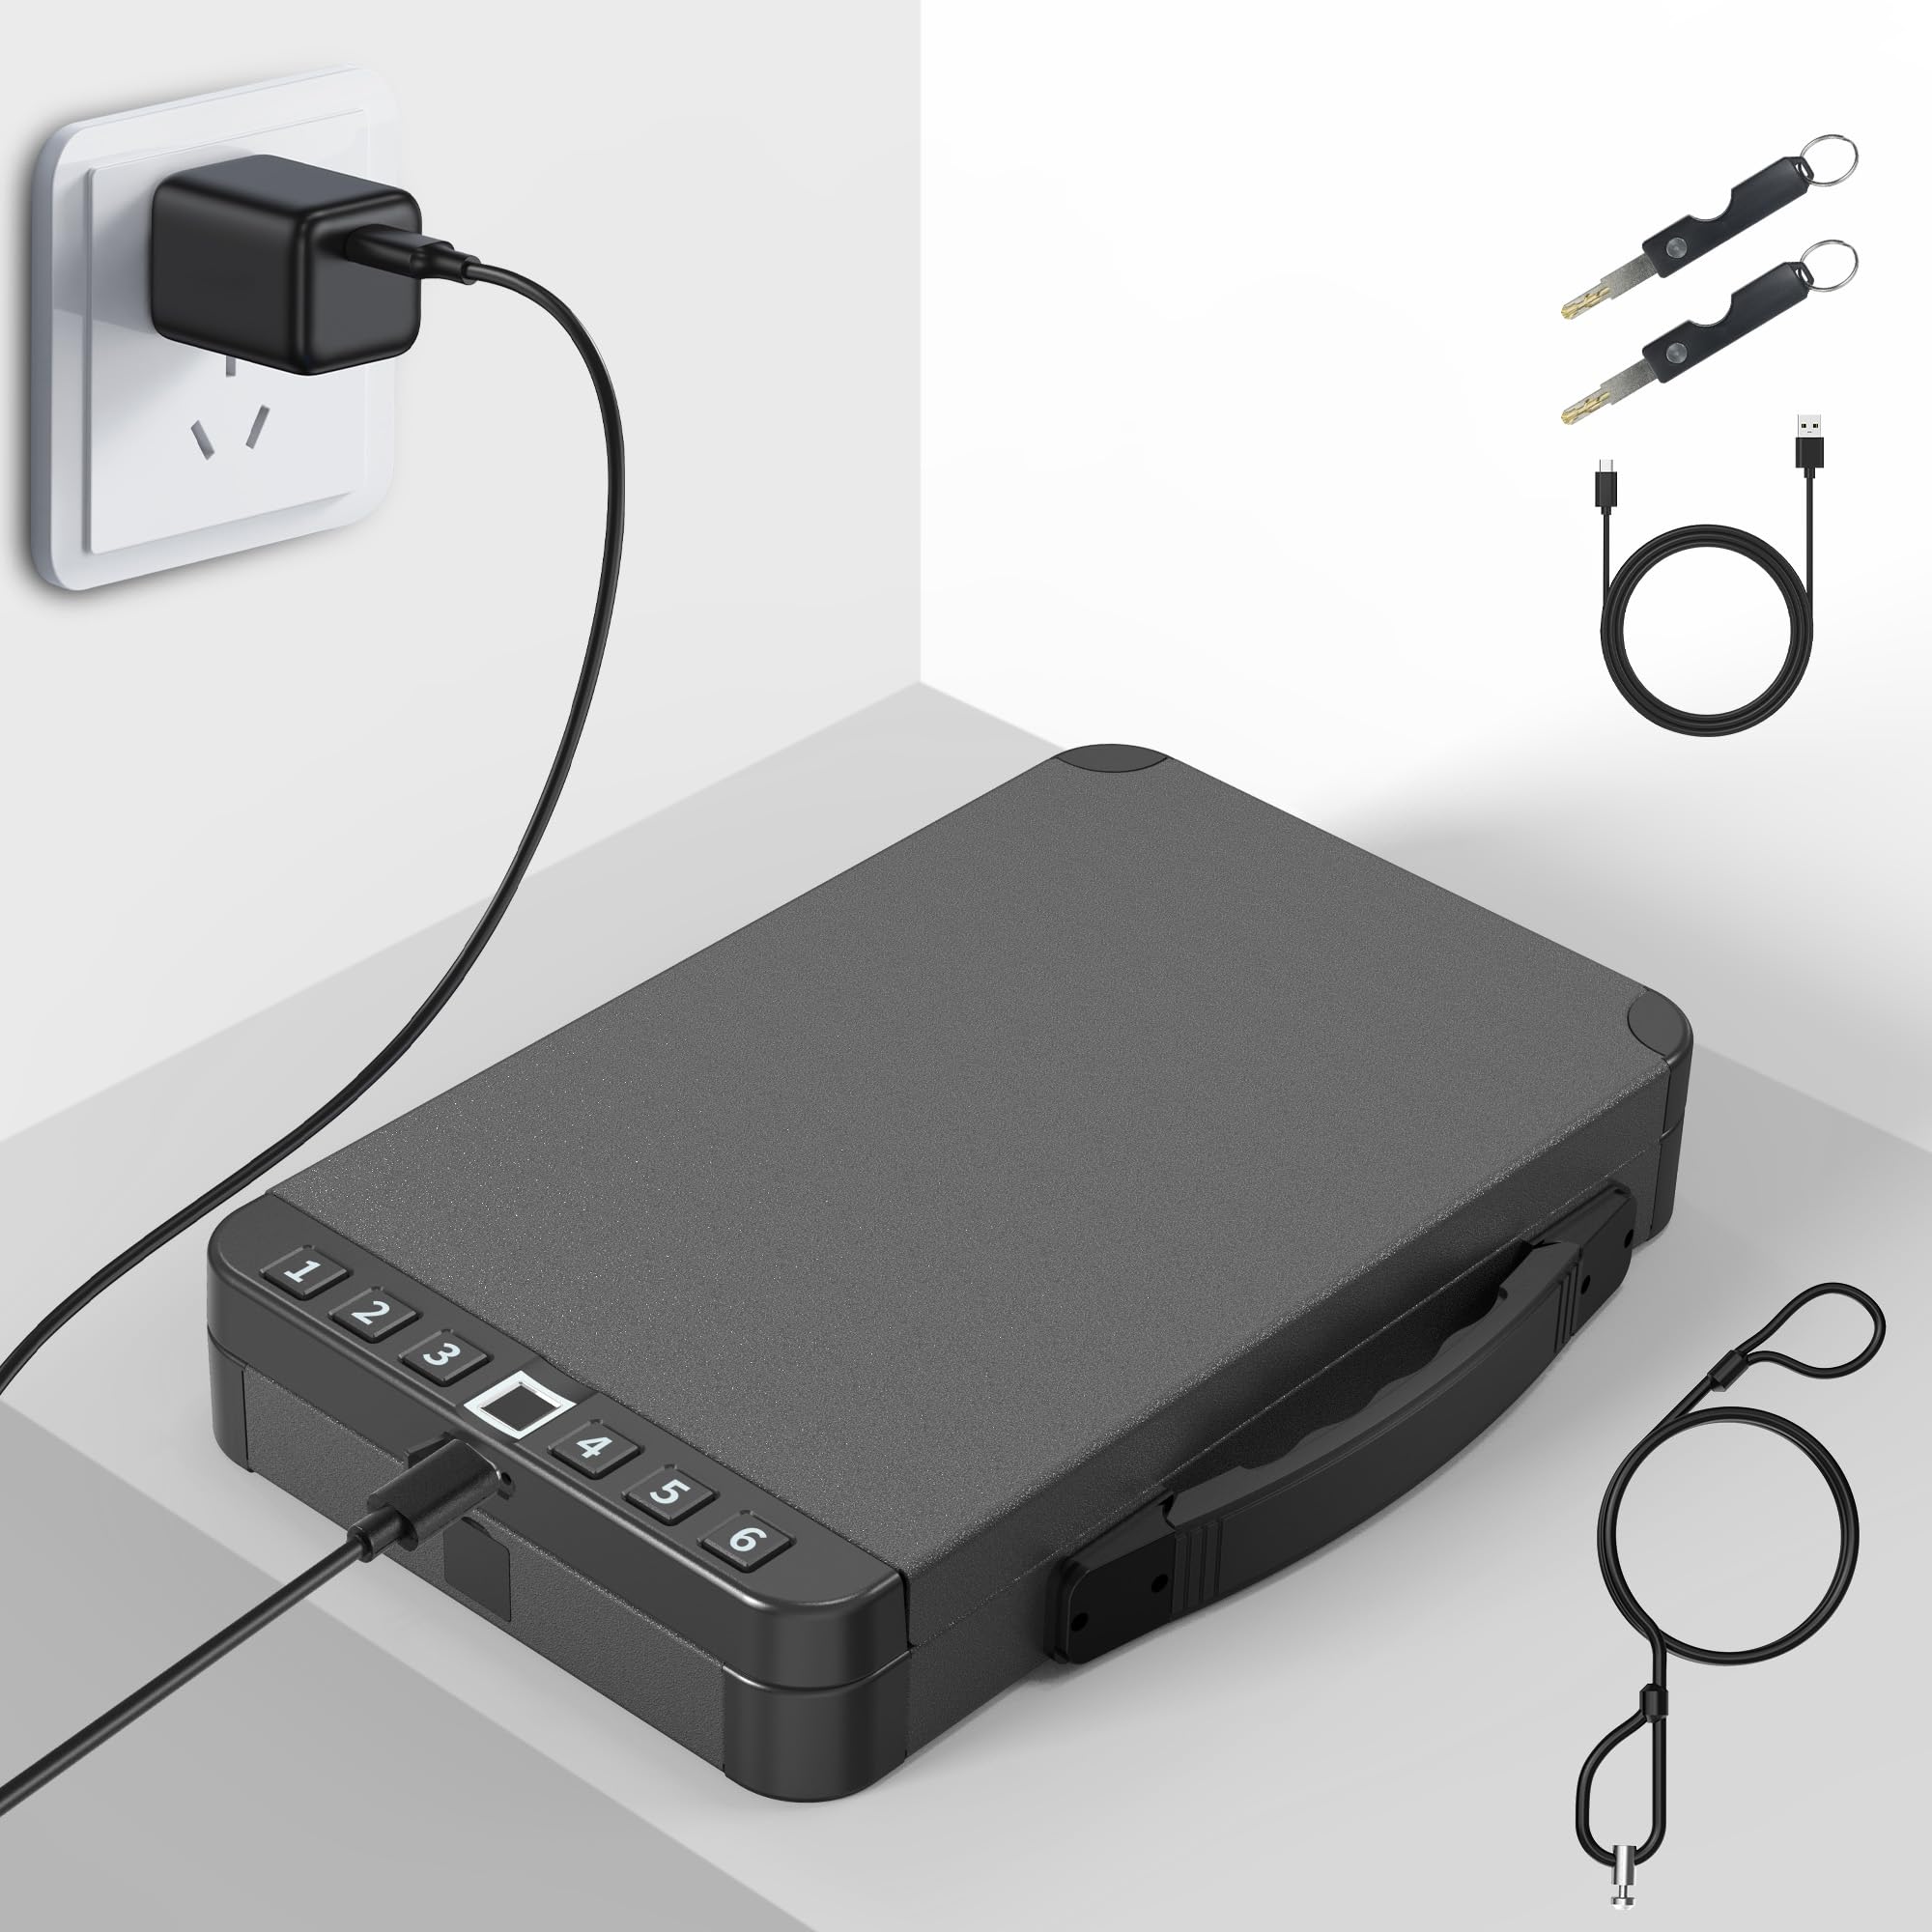
Image: The open safe box, illustrating its capacity to protect valuables such as a handgun, cash, passports, and a watch, with foam interior for protection.

Image: A person holding the compact safe box, demonstrating its portability and suitability for travel, with luggage visible in the background.

Image: A person quickly opening the safe using the fingerprint recognition feature, highlighting the fast access capability.
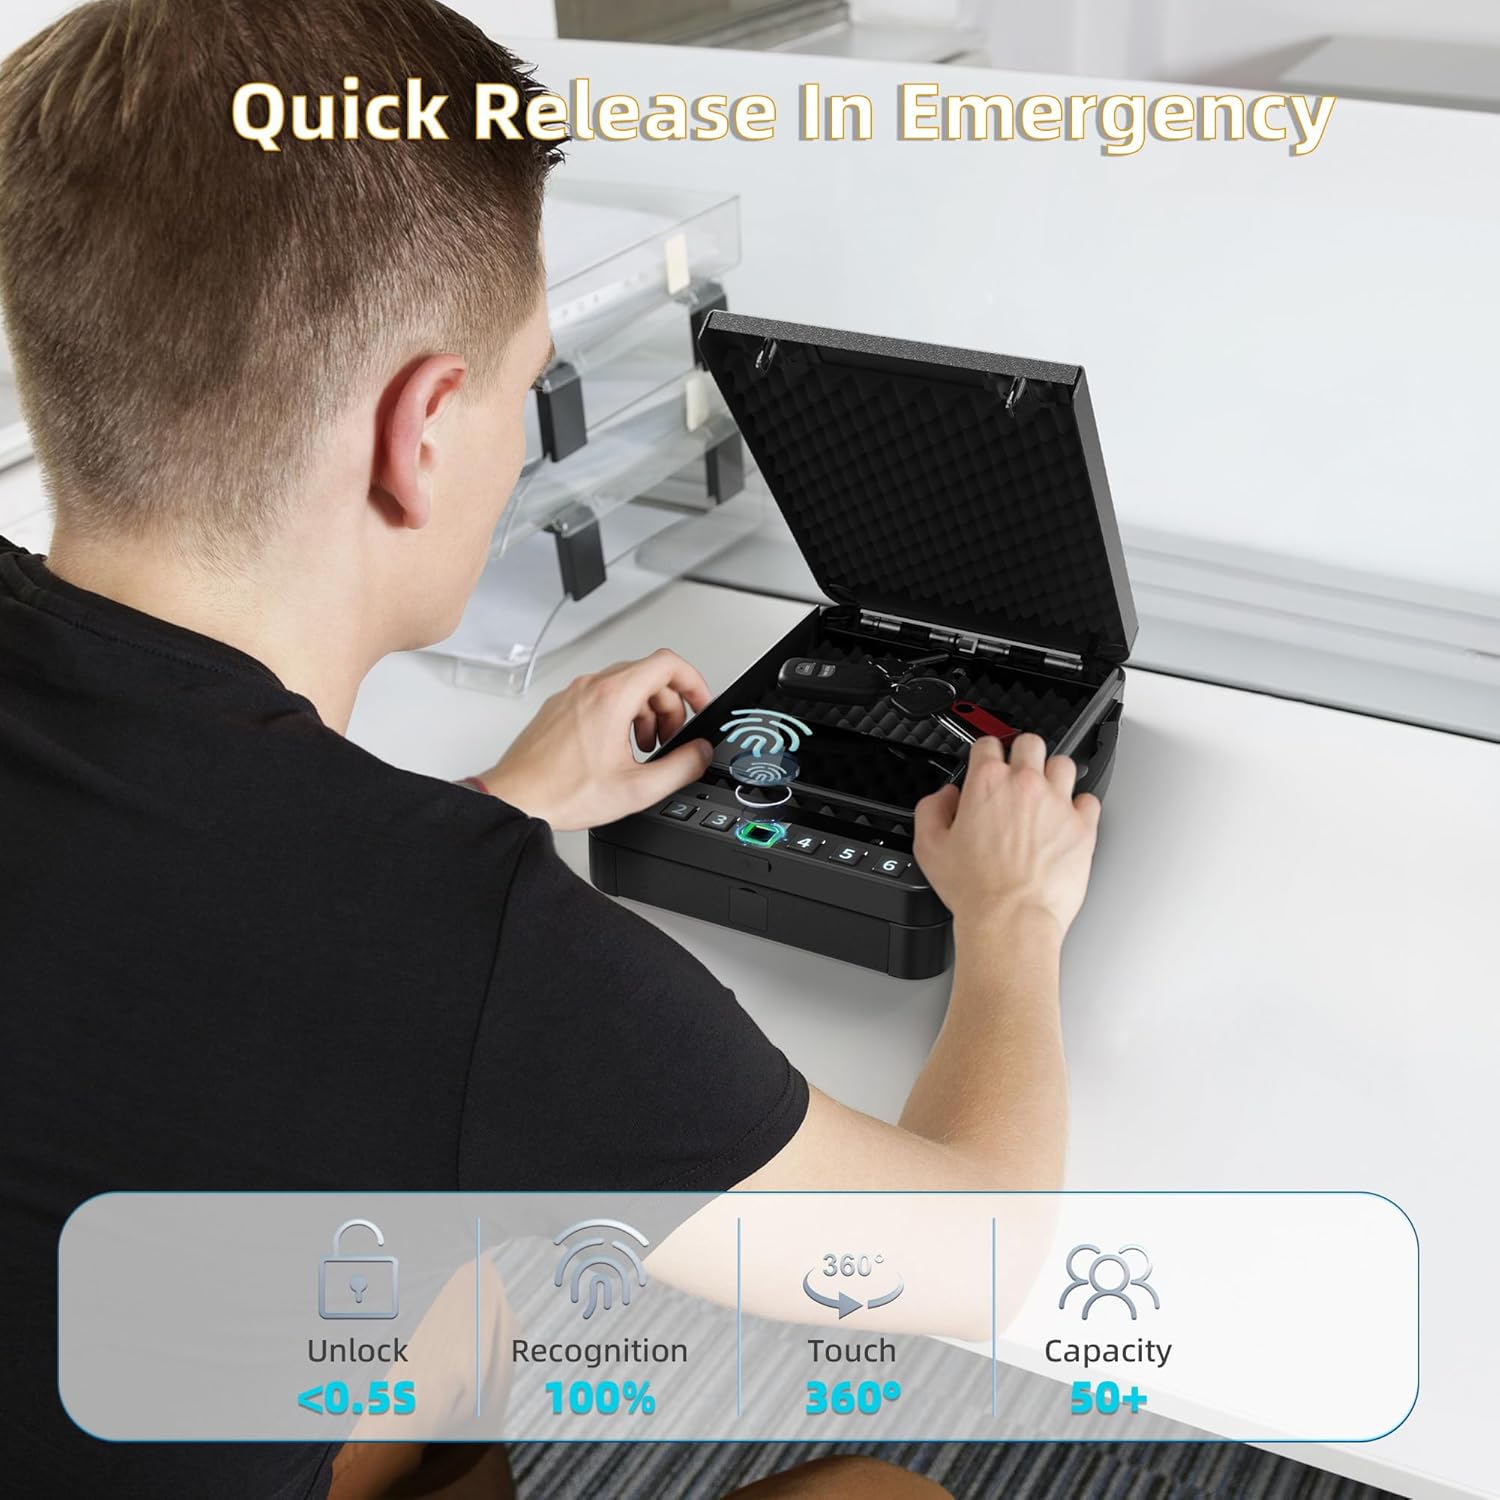
Image: A split image demonstrating two unlocking methods: one side shows a hand entering a passcode, and the other shows a mechanical key being used to open the safe.
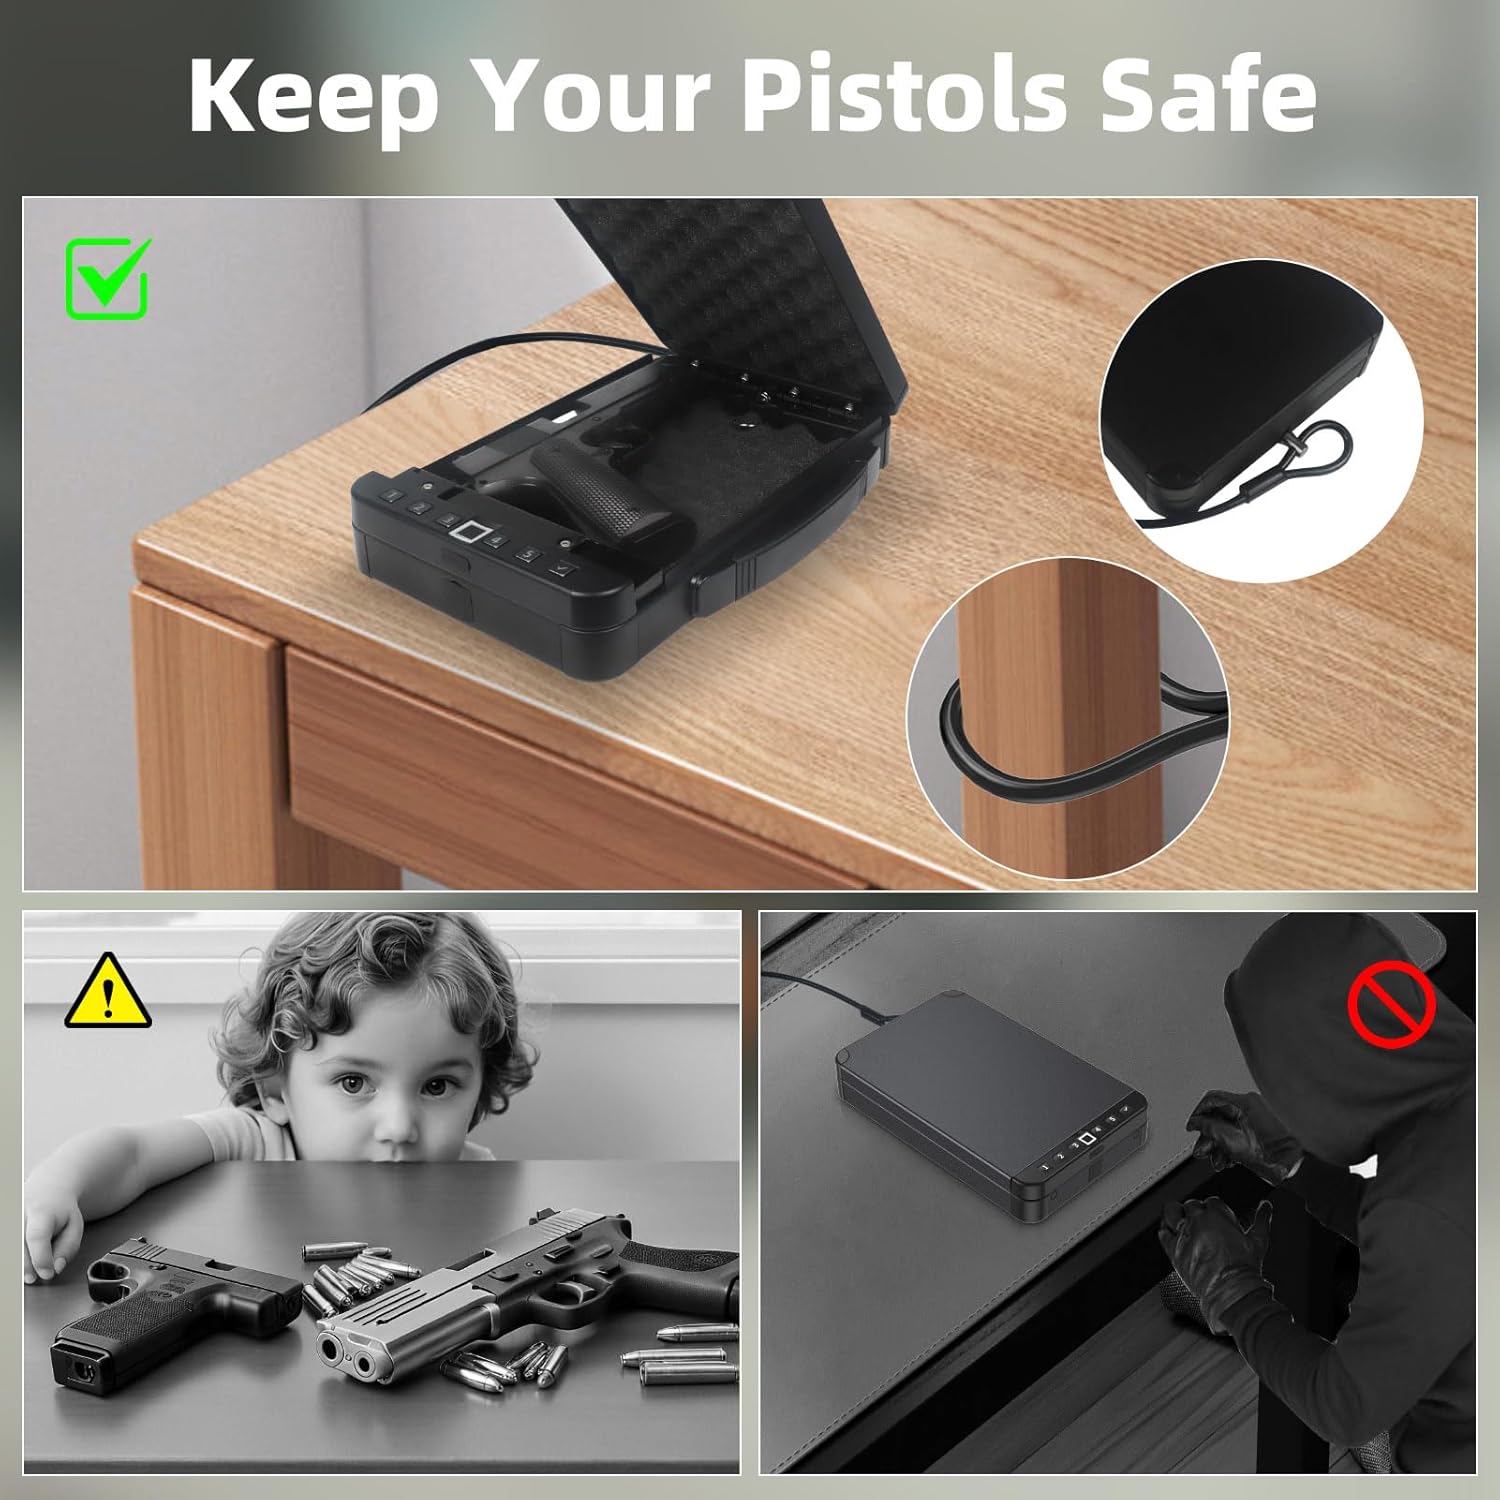
Image: The safe box positioned on a nightstand with a handgun inside, emphasizing its role in keeping pistols safe. Additional insets illustrate child safety and anti-theft measures, including the steel cable.

Image: A detailed diagram displaying the external dimensions (12.04"D x 7.51"W x 2.01"H) and internal dimensions (8.85" x 7.08" x 1.77") of the safe box, indicating its compact size.

Image: The safe box connected to a wall adapter via a Type-C charging cable, highlighting its fast charging capability and long-lasting battery.

Image: The safe box showcasing its soft foam interior for protecting contents and an example of how the steel cable can be used to secure it under a bed or desk.
Setup
1. Battery Installation and Initial Charge
The safe requires a rechargeable battery for operation. Ensure the battery is correctly installed and fully charged before first use.
- Locate the battery compartment, typically on the underside or inside the safe.
- Insert the rechargeable battery, ensuring correct polarity.
- Connect the provided TYPE-C charging cable to the safe's charging port and a suitable USB power adapter (not included).
- Charge the safe for approximately 3 hours for a full charge. The indicator light will change to show charging status.
2. Setting the Administrative Password
The first password you set will be the administrative password, which can be used to add or delete other user passwords and fingerprints.
- Open the safe using the mechanical key (refer to "Mechanical Key Unlock" section if needed).
- Locate the "SET" button inside the safe. Press and hold it until the indicator light flashes.
- Enter your desired 6-digit administrative password using the keypad (buttons 1-6).
- Press the "SET" button again to confirm. The indicator light will confirm successful setup.
- Test the new password before closing the safe.
3. Registering Administrative Fingerprint
Similar to the password, the first fingerprint registered will be the administrative fingerprint.
- With the safe open, press and hold the "SET" button until the indicator light flashes.
- Place your finger on the fingerprint sensor. Lift and place your finger repeatedly (typically 5-8 times) from different angles until the indicator light confirms successful registration.
- Test the new fingerprint before closing the safe.
Video: A demonstration of how to set up and use the smart gun safe, including password and fingerprint unlocking, and charging via Type-C.
Operating Instructions
1. Unlocking with Fingerprint
- Place a registered finger firmly on the fingerprint sensor.
- The indicator light will turn green, and the safe will unlock automatically.
2. Unlocking with Password
- Enter your registered 6-digit password using the keypad (buttons 1-6).
- Press the "SET" button (or equivalent confirmation button, usually the square button in the middle) to confirm.
- The indicator light will turn green, and the safe will unlock automatically.
3. Unlocking with Mechanical Key
The mechanical keys provide emergency access in case of battery failure or forgotten codes/fingerprints.
- Locate the keyhole on the side or front of the safe.
- Insert one of the mechanical keys and turn it to unlock the safe.
- Always keep mechanical keys in a secure location separate from the safe.
4. Adding User Fingerprints (up to 49)
- Open the safe using the administrative fingerprint or password.
- Press the "SET" button once. The indicator light will flash.
- Have the user place their finger on the sensor repeatedly (5-8 times) from different angles until the indicator light confirms successful registration.
- Repeat for additional user fingerprints.
5. Adding User Passwords (up to 49)
- Open the safe using the administrative fingerprint or password.
- Press the "SET" button twice. The indicator light will flash.
- Enter the desired 6-digit user password.
- Press the "SET" button again to confirm. The indicator light will confirm successful setup.
- Repeat for additional user passwords.
6. Deleting All Fingerprints and Passwords
This action will delete all registered fingerprints and passwords, including the administrative ones. The safe will revert to factory default settings, requiring mechanical key access for initial setup.
- Open the safe using the administrative fingerprint or password.
- Press and hold the "SET" button for approximately 5-7 seconds until the indicator light flashes rapidly and then turns off. This indicates all data has been cleared.
- You will need to re-register an administrative password and fingerprint after this process.
7. Securing the Safe with the Steel Cable
The included steel cable can be used to tether the safe to a fixed object, providing an additional layer of security against theft.
- Locate the cable attachment point on the safe.
- Loop the steel cable around a sturdy, immovable object (e.g., bed frame, car seat anchor, desk leg).
- Securely attach the cable to the safe's attachment point.
Maintenance
- Cleaning: Wipe the exterior of the safe with a soft, damp cloth. Avoid abrasive cleaners or solvents. Ensure the fingerprint sensor and keypad are clean and dry for optimal performance.
- Battery Care: Recharge the battery when the low battery indicator appears. For long-term storage, ensure the battery is partially charged (around 50%) and recharge every few months to maintain battery health.
- Mechanical Keys: Store mechanical keys in a safe, accessible location, but never inside the safe itself.
Troubleshooting
| Problem | Possible Cause | Solution |
|---|---|---|
| Safe does not open with fingerprint. | Finger not registered, finger dirty/wet, sensor dirty, incorrect placement. | Ensure finger is clean and dry. Re-register fingerprint if necessary. Clean the sensor. Try different angles. |
| Safe does not open with password. | Incorrect password entered, password not registered. | Verify the password. Ensure all 6 digits are entered correctly followed by the confirmation button. Re-register password if necessary. |
| Safe does not respond (no lights, no sound). | Battery is completely drained or not installed correctly. | Connect the safe to the TYPE-C charging cable. Check battery installation. Use mechanical key for emergency access. |
| Cannot register new fingerprint/password. | Not using administrative access, memory full (50 fingerprints/passwords reached). | Ensure you are using the administrative fingerprint or password to initiate the registration process. If memory is full, delete existing entries. |
| Safe makes an alarm sound. | Multiple incorrect attempts, tampering detected. | Unlock the safe with a correct method (fingerprint, password, or key) to silence the alarm. |
Specifications
| Feature | Detail |
|---|---|
| Brand | KENRONE |
| Model Number | KR-BX1519C |
| Product Dimensions (External) | 12.04"D x 7.51"W x 2.01"H |
| Product Dimensions (Internal) | 8.85" x 7.08" x 1.77" |
| Lock Type | Biometric, Electronic Combination Lock, Key |
| Material | Carbon Steel |
| Color | Black |
| Fingerprint Capacity | 1 Administrative, 49 User Fingerprints (Total 50) |
| Password Capacity | 1 Administrative, 49 User Passwords (Total 50) |
| Charging Port | TYPE-C |
| Battery Life (Standby) | Up to 12 months |
| Item Weight | 6 Pounds |
| Water Resistance Level | Not Water Resistant |
Warranty and Support
KENRONE products are manufactured to high-quality standards. For information regarding warranty coverage, technical support, or service inquiries, please refer to the contact information provided with your purchase or visit the official KENRONE website.
When contacting support, please have your model number (KR-BX1519C) and purchase date available.