1. Introduction
This manual provides essential information for the proper assembly, operation, and maintenance of your HAVN HS 420 VGPU Dual-Chamber Mid Tower ATX PC Case. Please read all instructions carefully before beginning installation to ensure safe and correct usage. Retain this manual for future reference.
Safety Information
- Always disconnect power from all components before installation or maintenance.
- Handle tempered glass panels with care to prevent breakage.
- Keep small parts and accessories out of reach of children.
- Ensure proper grounding of all electrical components.
2. Key Features
The HAVN HS 420 VGPU case is engineered for optimal performance and user experience. Below are its primary features:
- HAVN Hybrid Structure for Optimal GPU Cooling: Dual-chamber design with balanced airflow and a traditional case size ratio, designed to direct cool air from the bottom intake onto the centrally positioned GPU.
- Carefully Guided Airflow: The angled bottom fan bracket with the well-placed, glass airflow guide keeps cool air on GPU intake.
- Lightning-Fast Riser Cable Included: The VGPU Mount Kit and PCI Express 5.0 X16 riser cable allow you to showcase your hardware without compromising on performance.
- Cooling Power and Compatibility: HS 420 VGPU fits a total of eleven 140mm fans while supporting up to 420mm radiators on its top and right side.
- Heat-Formed UniSheet Glass Panel for Panoramic View: We challenged the limits of production to engineer the smallest possible curve radius and minimize visual distortion, providing the user with a clear and continuous view of the inside of the case.
- Unique SimpliCable Routing System: Uniquely user-friendly SimpliCable routing system and fan hub. Top-to-bottom grooved guides cleanly route your cables for a pristine overall appearance.
- Customization: Customizable space fits combinations of storage, fans, radiators, and portable displays (VESA display mount included).
- Vibration Isolation: All of the fan brackets have flexible rubber pads to isolate the bracket from the chassis and avoid resonance build-up.
Visual Overview
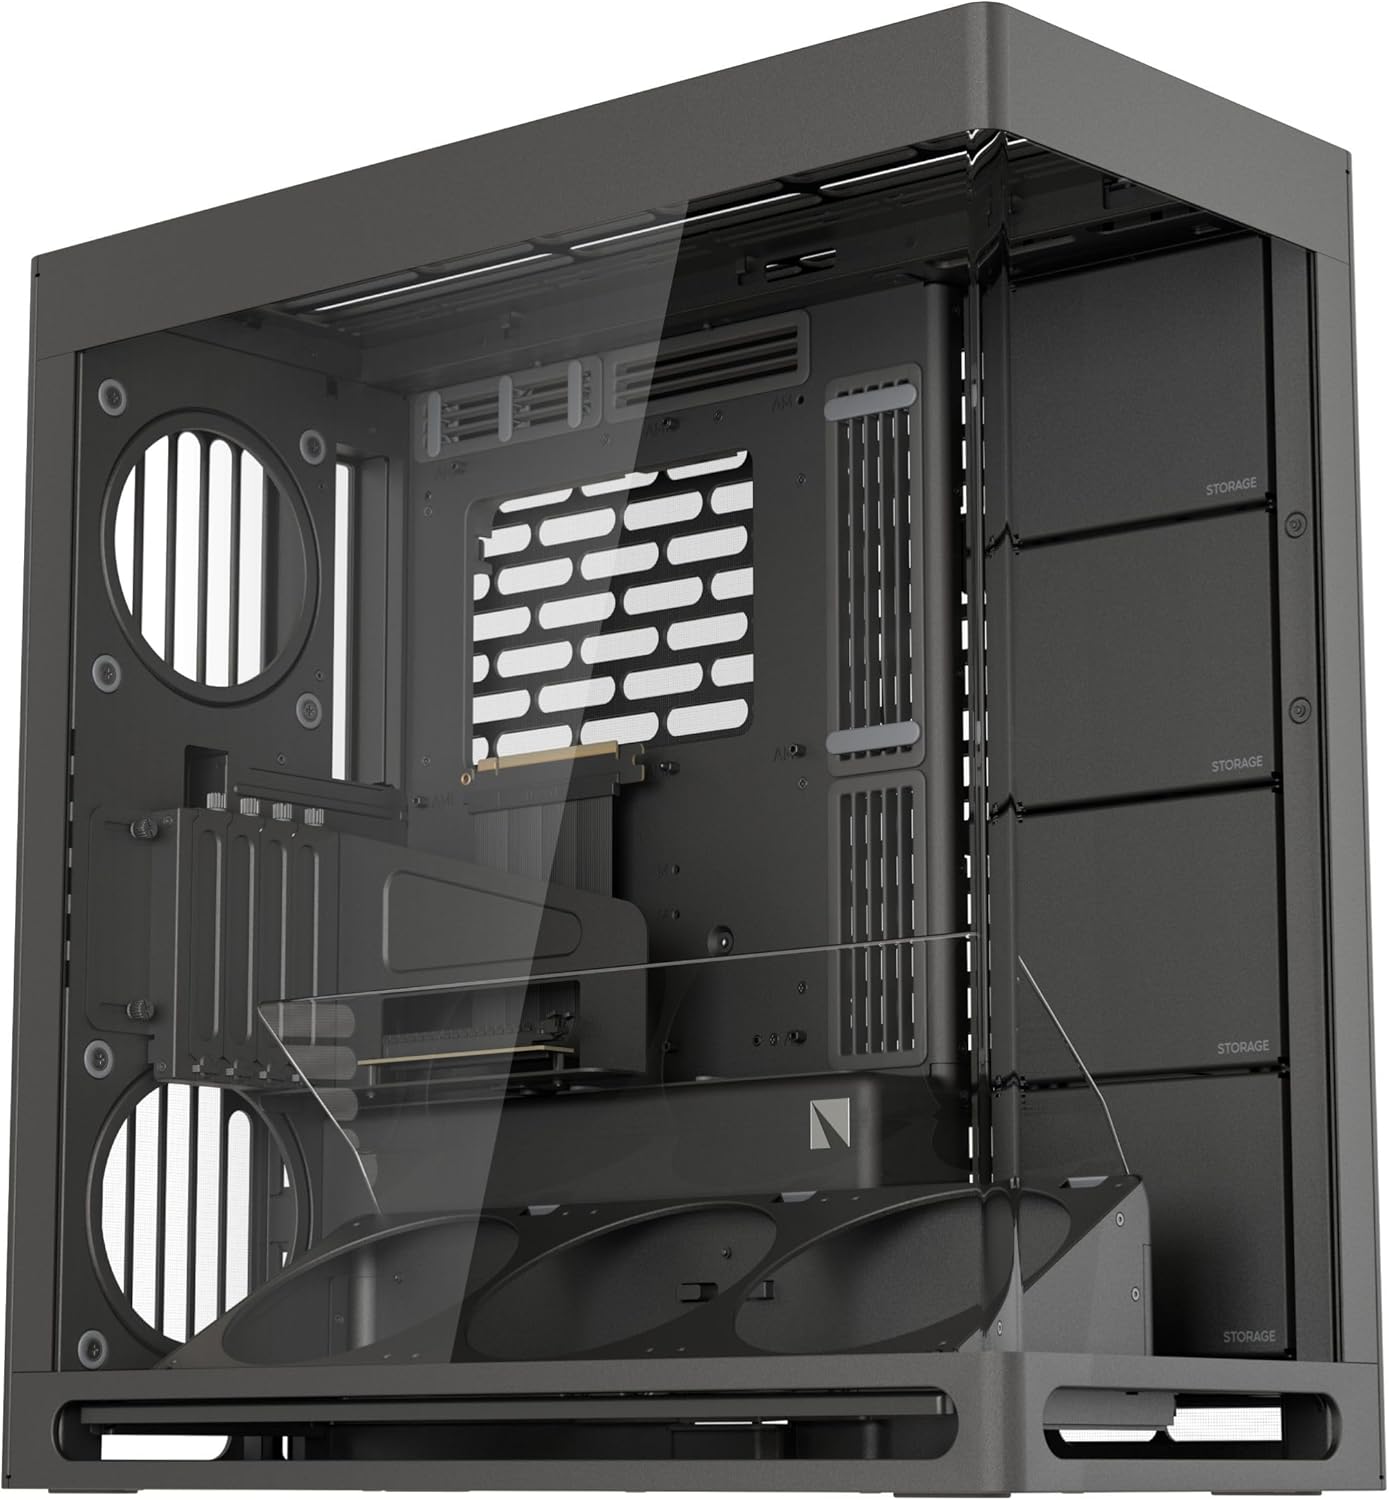
Figure 2.1: Main view of the HAVN HS 420 VGPU PC case, showcasing its dual-chamber design and tempered glass panel.
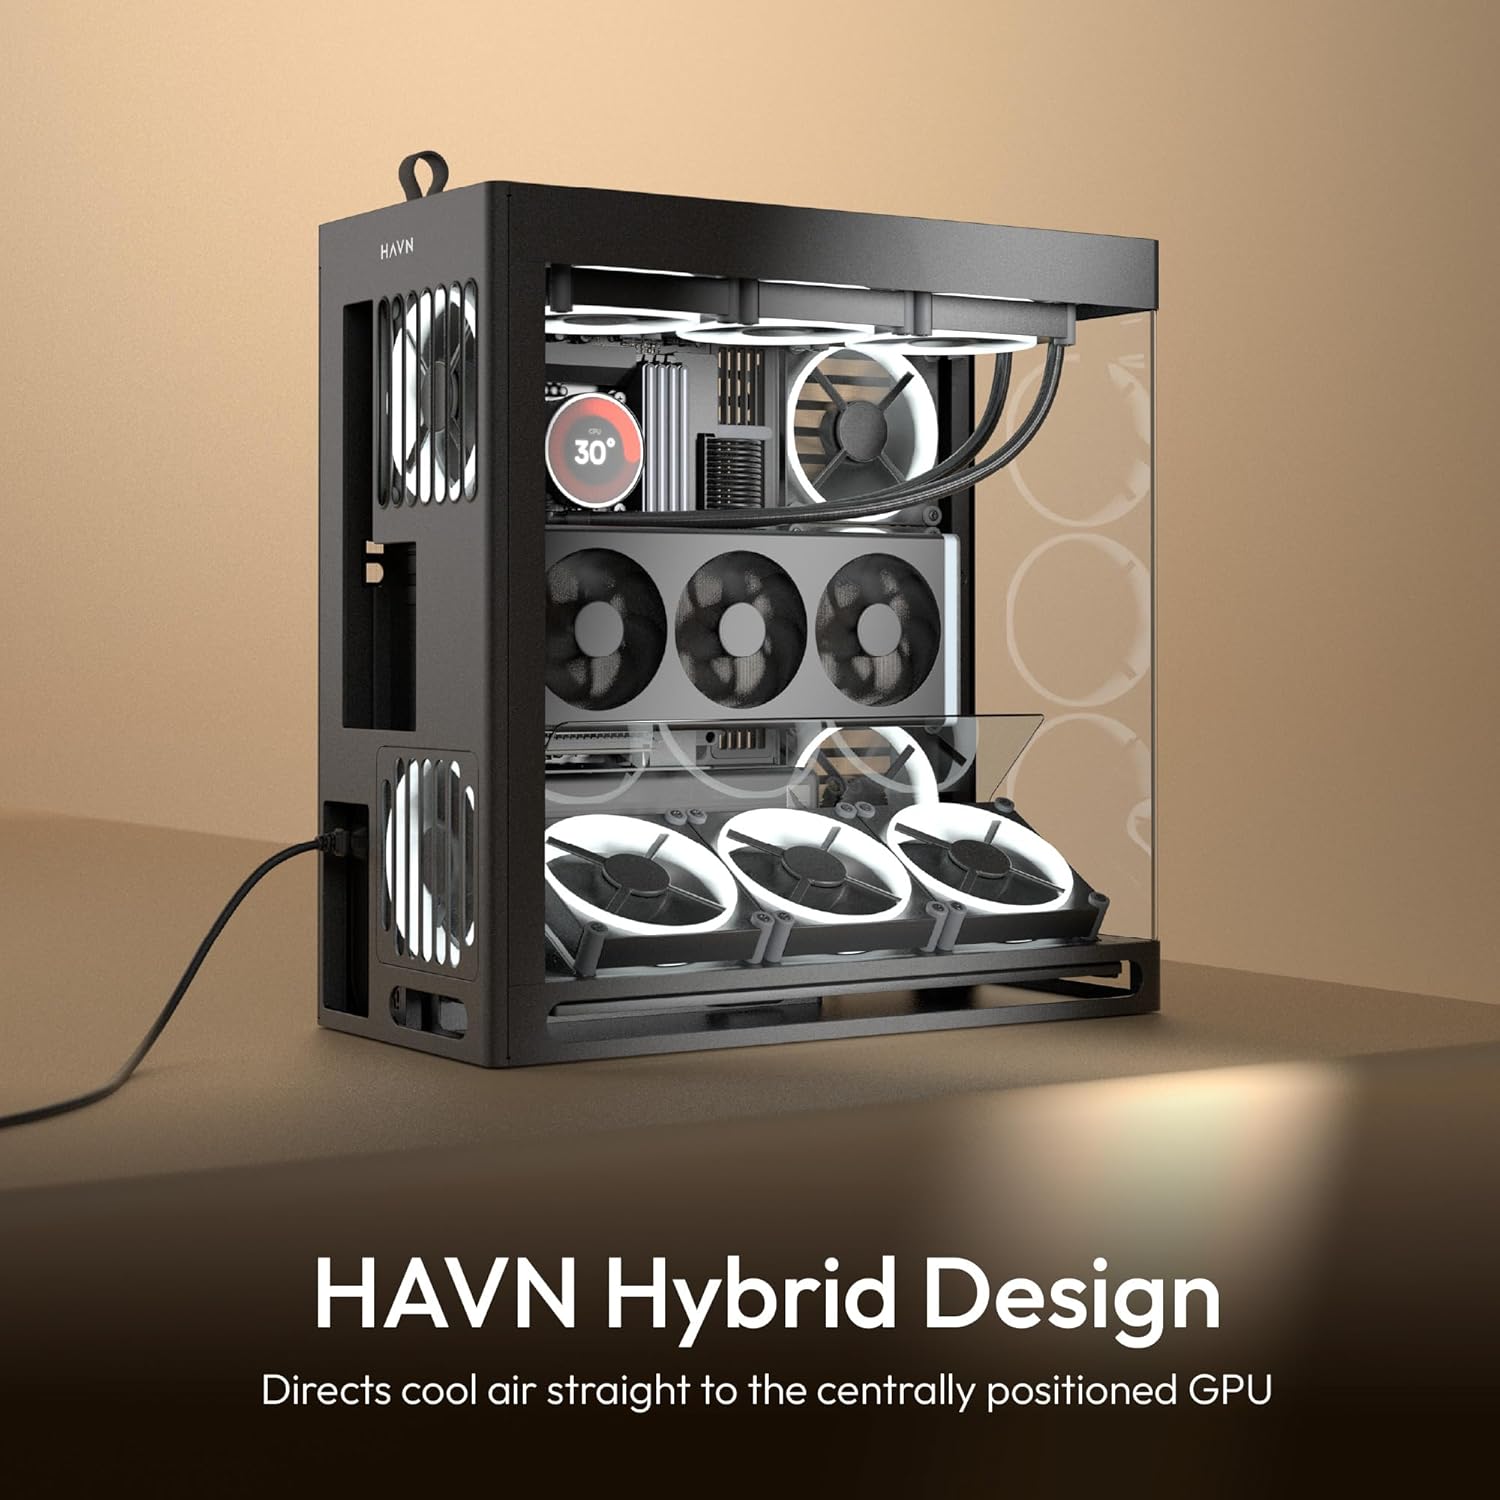
Figure 2.2: Illustration of the HAVN Hybrid Design, directing cool air directly to the centrally positioned GPU for optimal cooling.
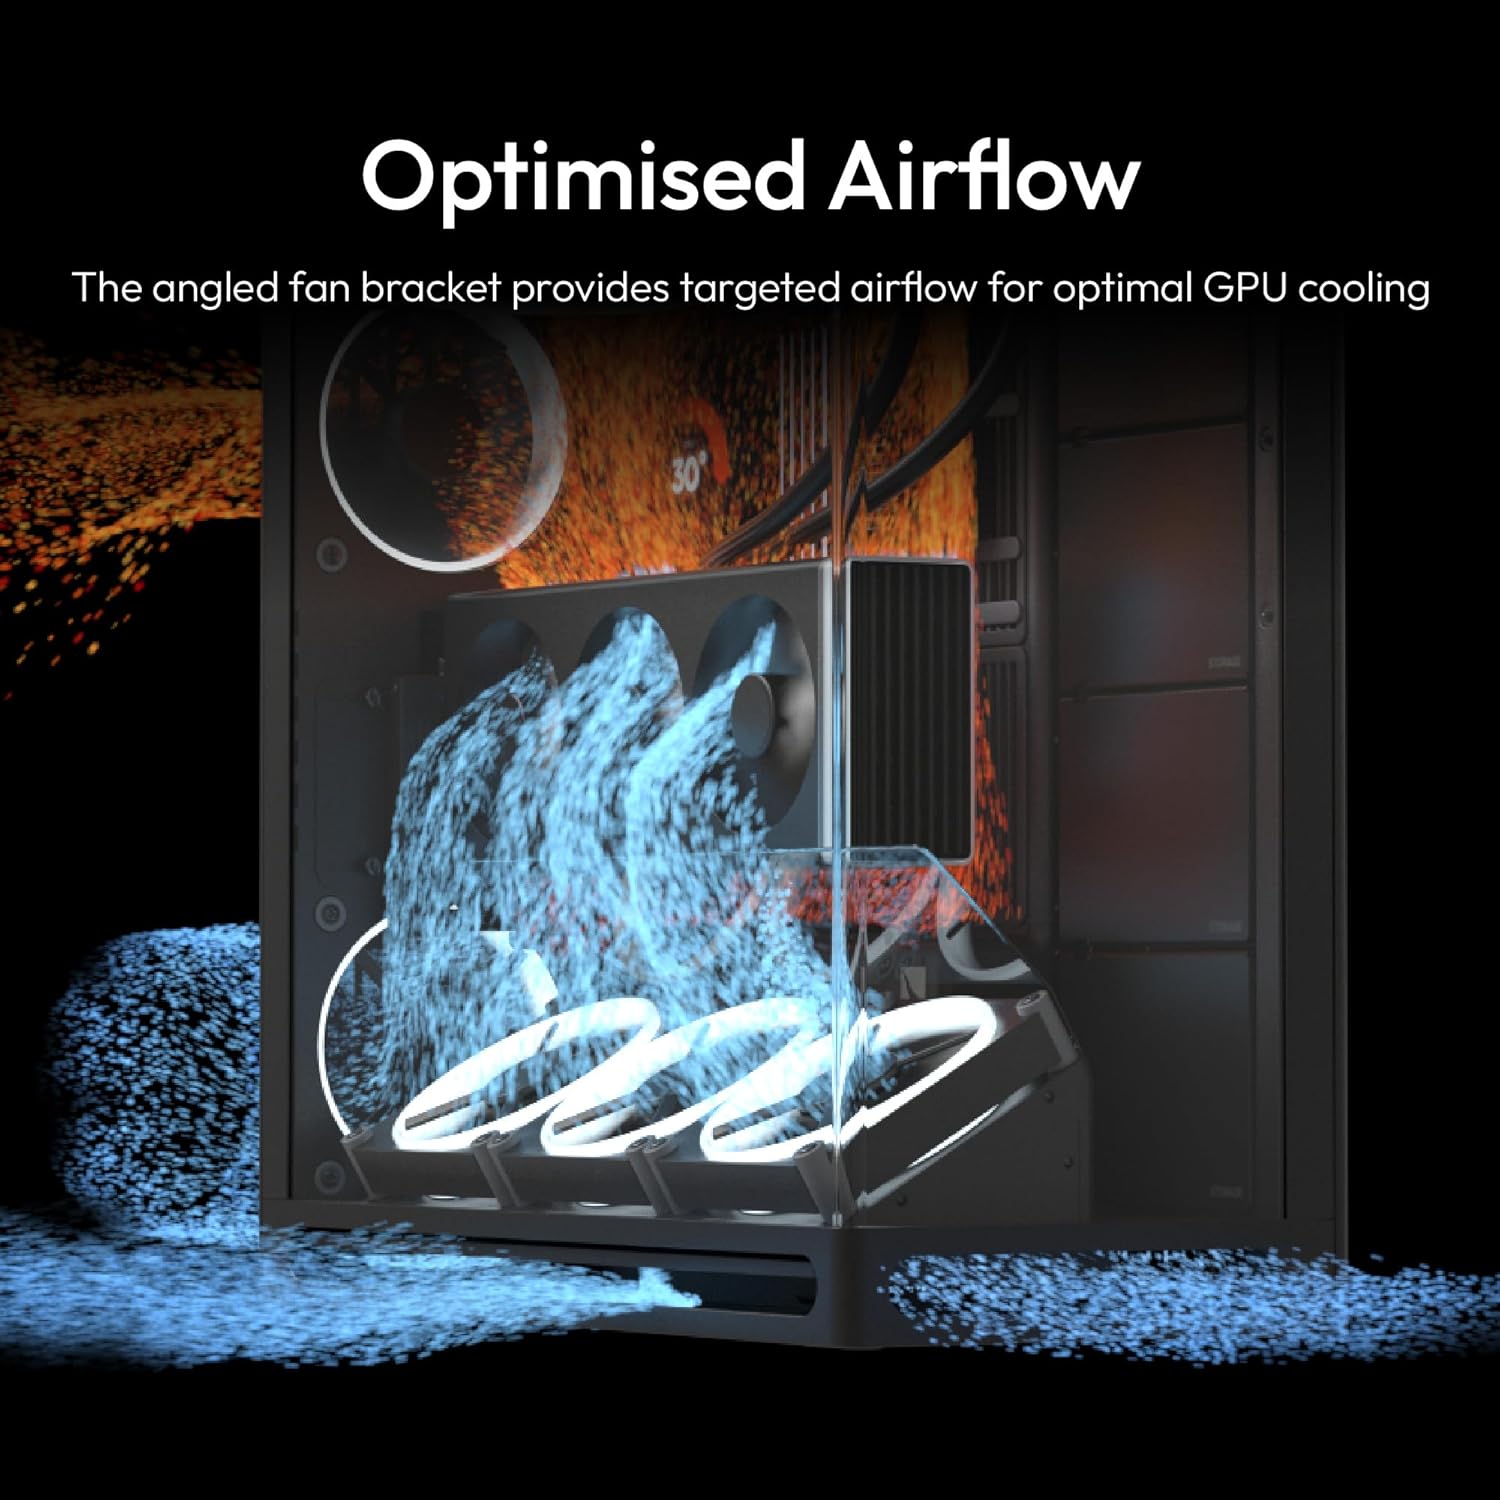
Figure 2.3: Visual representation of the optimized airflow within the case, highlighting the angled bottom fan bracket and glass guide.
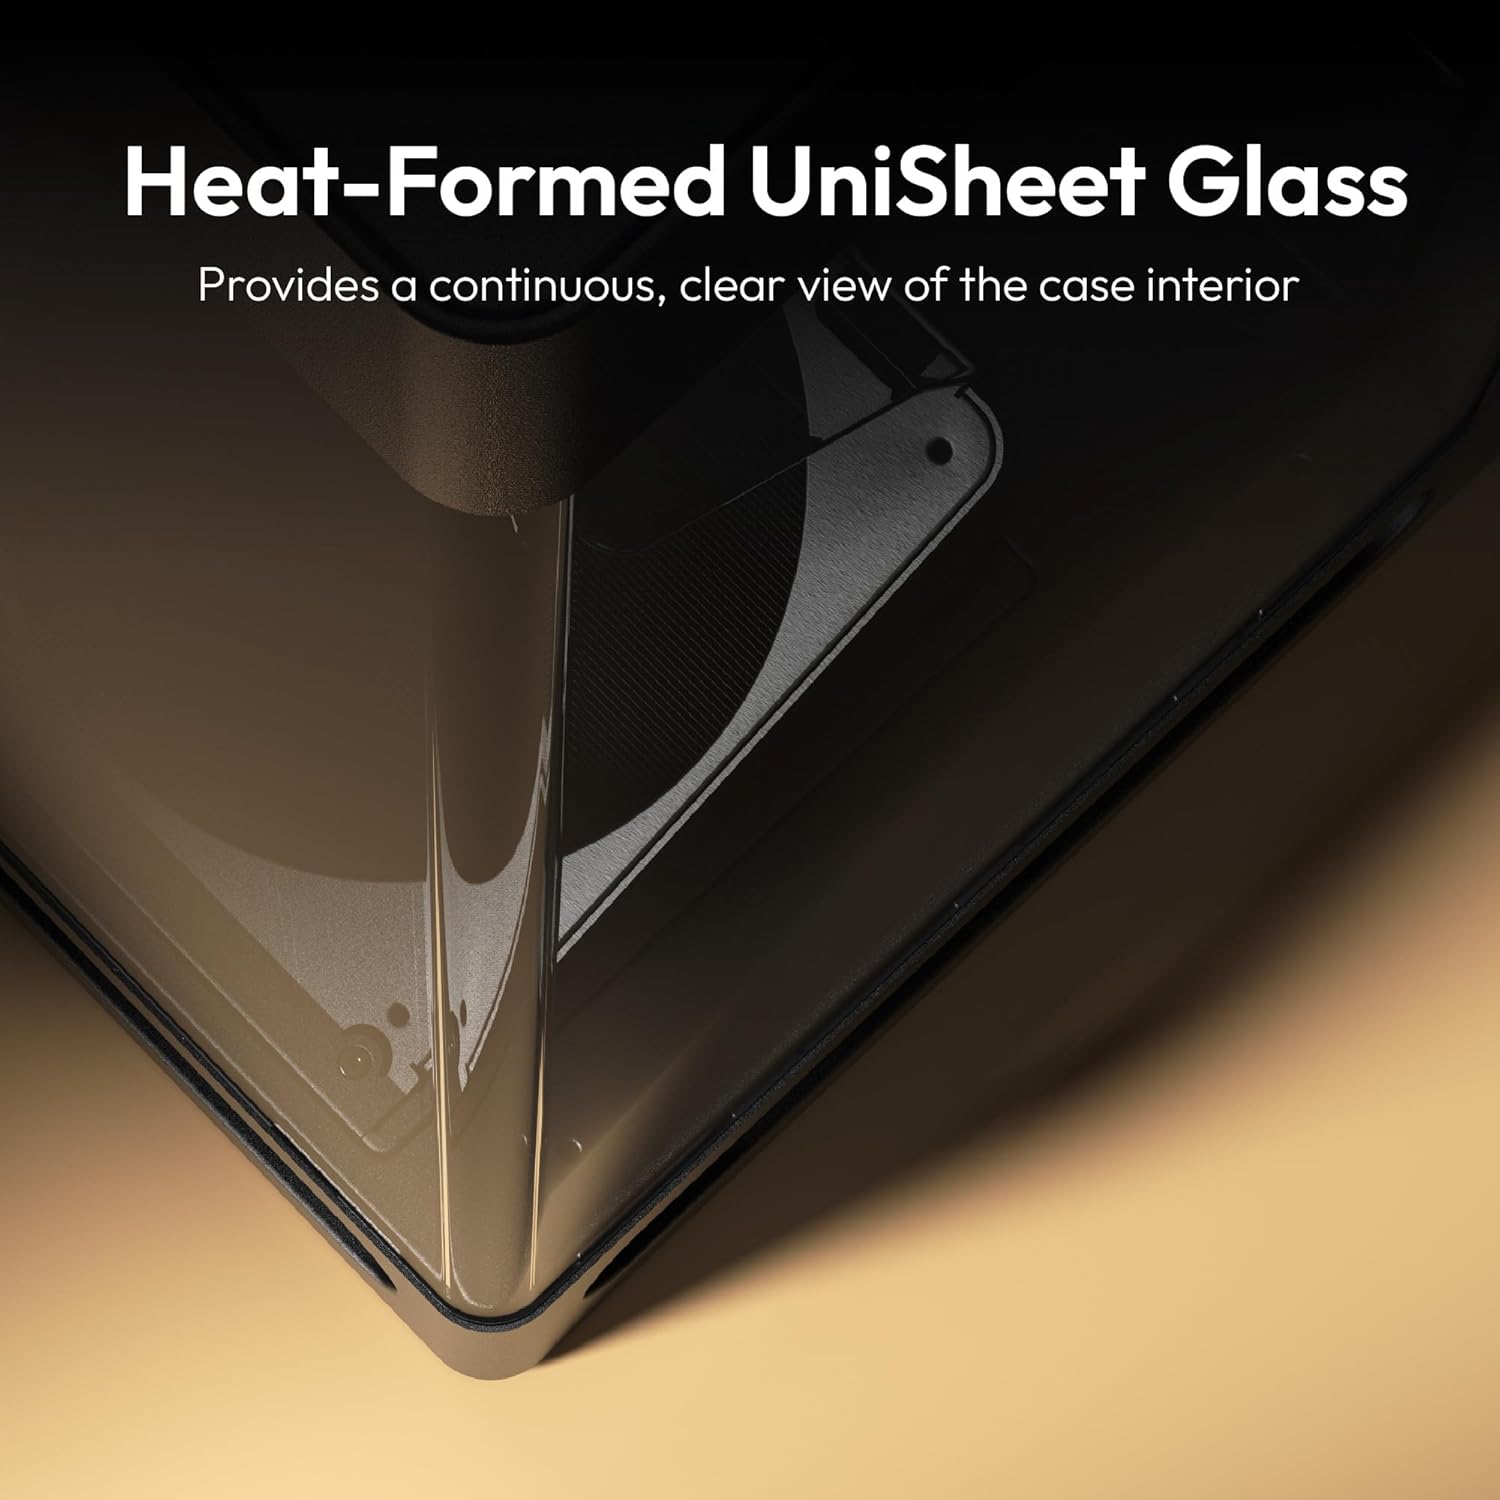
Figure 2.4: Close-up of the heat-formed UniSheet glass panel, emphasizing its minimal visual distortion for a panoramic view.

Figure 2.5: Detail of the SimpliCable routing system, showing vertical cable channels for tidy cable management.
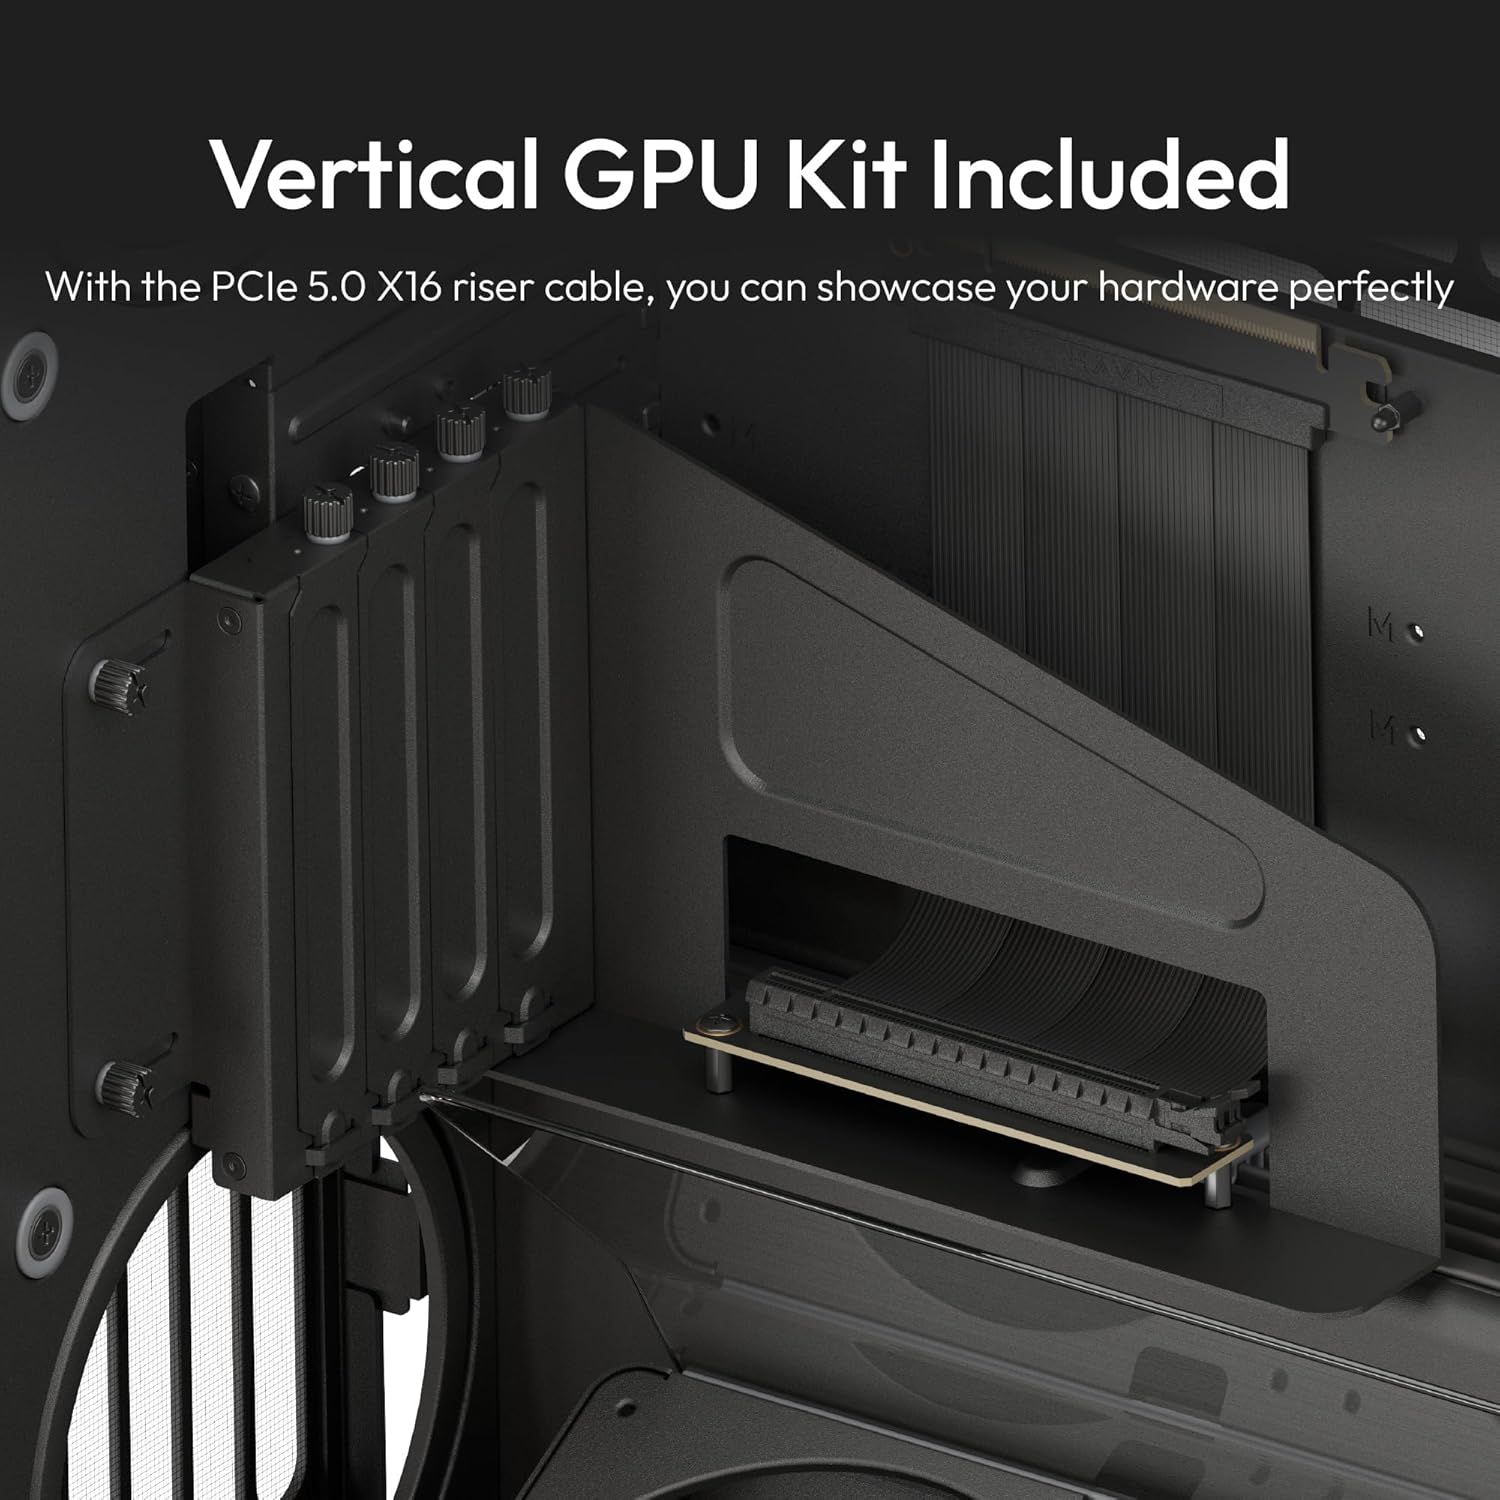
Figure 2.6: The included PCIe 5.0 x16 riser cable and vertical GPU mount, allowing for vertical GPU installation.
3. Assembly and Installation
Follow these steps to assemble your HAVN HS 420 VGPU PC case and install your components. Always refer to your component manuals for specific installation details.
3.1 Preparing the Case
- Carefully unpack the PC case and all accessories.
- Place the case on a stable, flat surface.
- Remove the tempered glass side panel by unscrewing the thumb screws at the rear and gently lifting the panel.
- Remove the rear metal side panel to access the cable management area.
3.2 Motherboard Installation
- Install the I/O shield (if not pre-installed) into the motherboard tray opening.
- Align your ATX motherboard with the standoffs in the case.
- Secure the motherboard using the provided screws.
3.3 GPU Installation (Vertical Mount)
The HAVN HS 420 VGPU includes a PCIe 5.0 x16 riser cable and vertical GPU mount for showcasing your graphics card.
- Install the vertical GPU mount into the designated slots.
- Connect the PCIe 5.0 x16 riser cable to your motherboard's primary PCIe slot.
- Secure your GPU to the vertical mount and connect it to the riser cable.
3.4 Fan and Radiator Installation
The case supports extensive cooling configurations.
- Install up to eleven 140mm fans in various positions (bottom, side, rear, top).
- Mount radiators up to 420mm on the top and right side brackets.
- Utilize the angled bottom fan bracket and glass airflow guide for optimal GPU cooling.
- Connect all fan cables to the integrated PWM fan hub for centralized control.
3.5 Storage Installation
The customizable space allows for flexible storage solutions.
- Install 2.5" SSDs or 3.5" HDDs into the designated drive bays or mounting points.
- Connect data and power cables to your storage devices.
3.6 Cable Management
Utilize the SimpliCable routing system for a clean build.
- Route all cables through the top-to-bottom grooved guides.
- Secure cables using cable ties or Velcro straps in the rear chamber.
- Connect the PWM fan hub to your motherboard's fan header for control.
Video 3.1: Overview of the HAVN HS 420 Dual-Chamber ATX Mid-Tower PC Case, demonstrating its features and internal layout.
4. Operating Instructions
Once all components are installed and secured, and all cables are connected, you can power on your system.
- Connect your PC to a power outlet and turn on the power supply switch.
- Press the power button on the case's front panel to start your computer.
- Monitor fan speeds and temperatures through your motherboard's software or BIOS settings.
5. Maintenance
Regular maintenance helps ensure optimal performance and longevity of your PC components.
- Dust Cleaning: Periodically clean dust filters and internal components using compressed air or a soft brush.
- Glass Panel Cleaning: Use a microfiber cloth and a mild glass cleaner to clean the tempered glass panels. Avoid abrasive materials.
- Cable Management Check: Occasionally inspect cable routing to ensure no cables are obstructing airflow or fan operation.
6. Troubleshooting
If you encounter issues, refer to the following common troubleshooting tips:
- System Not Powering On: Check all power connections, including the power supply, motherboard, and front panel connectors.
- Overheating Components: Ensure all fans are spinning correctly and are not obstructed. Verify proper airflow configuration.
- Fan Noise/Vibration: Check that all fan screws are tightened and that the vibration isolation pads are correctly installed.
- GPU Display Issues: Verify the GPU is correctly seated in the vertical mount and the PCIe riser cable is securely connected.
7. Specifications
| Feature | Detail |
|---|---|
| Brand | HAVN |
| Model Name | HS 420 VGPU |
| Case Type | Mid Tower |
| Motherboard Compatibility | ATX |
| Item Dimensions (LxWxH) | 21.3 x 10.2 x 21.5 inches |
| Item Weight | 41.8 pounds (19.01 Kilograms) |
| Color | Black |
| Material | Alloy Steel |
| Cooling Method | Air |
| Power Supply Mounting Type | Bottom Mount |
| Max Fan Slots | 11x 140mm |
| Max Radiator Support | 2x 420mm (Top & Right Side) |
| Included Riser Cable | PCIe 5.0 X16 |
8. Warranty and Support
For warranty information and technical support, please refer to the official HAVN website or contact your retailer. Keep your proof of purchase for warranty claims.
- Online Support: Visit the HAVN Store for FAQs and support resources.
- Protection Plans: Extended protection plans may be available for purchase.