1. Introduction
This manual provides detailed instructions for the assembly, operation, and maintenance of your HAVN HS 420 Dual-Chamber Mid Tower PC Case. Please read this manual thoroughly before beginning installation to ensure proper setup and optimal performance of your system.
2. Safety Information
Observe the following safety precautions during installation and operation:
- Always disconnect the power supply from the wall outlet before installing or removing any components.
- Handle components with care to prevent damage from electrostatic discharge (ESD). Consider using an anti-static wrist strap.
- Keep small parts and packaging materials away from children.
- Ensure proper ventilation around the PC case to prevent overheating.
- Avoid placing the case in direct sunlight or near heat sources.
- The tempered glass panel is fragile; handle with extreme care.
3. Package Contents
Verify that all components are present in the package:
- HAVN HS 420 Mid Tower PC Case
- Accessory Box (screws, standoffs, cable ties)
- User Manual (this document)
- VESA Display Mount
- GPU Support Bracket

Figure 3.1: Exploded view of HAVN HS 420 components, showing various panels, brackets, and accessories.
4. Setup and Installation
Follow these steps to assemble your PC within the HAVN HS 420 case.
4.1 Preparing the Case
- Place the case on a stable, flat surface.
- Carefully remove the tempered glass side panel by unlatching it and lifting it away.
- Remove the rear panel to access the cable management area.

Figure 4.1: HAVN HS 420 PC Case with the main tempered glass panel removed, showing the interior.
4.2 Motherboard Installation
- Install the I/O shield into the motherboard tray opening.
- Align the motherboard with the standoffs and secure it using the provided screws. The case supports ATX and Micro ATX motherboards.
4.3 Power Supply Installation
- Mount the power supply unit (PSU) in the bottom mount location.
- Secure the PSU with screws from the rear of the case.
- Route necessary cables through the SimpliCable routing system for tidy management.

Figure 4.3: The SimpliCable routing system, designed for organized cable management.
4.4 Cooling System Installation (Fans & Radiators)
The HS 420 supports extensive cooling configurations:
- Fan Support: Up to eleven 140mm fans can be installed.
- Radiator Support: Up to 420mm radiators can be mounted on the top, right, and bottom positions.
- Attach fans or radiators to the designated mounting points using appropriate screws.
- Connect fan cables to the integrated PWM fan hub for centralized control.
- Ensure fan brackets utilize the flexible rubber pads for vibration isolation.

Figure 4.4: Airflow diagram illustrating the hybrid structure for optimal GPU cooling.
4.5 Graphics Card (GPU) Installation
- Insert your graphics card into the appropriate PCIe slot on the motherboard.
- Secure the GPU with screws.
- Utilize the included 3-way adjustable GPU support bracket to prevent sag and provide stability for various card sizes.
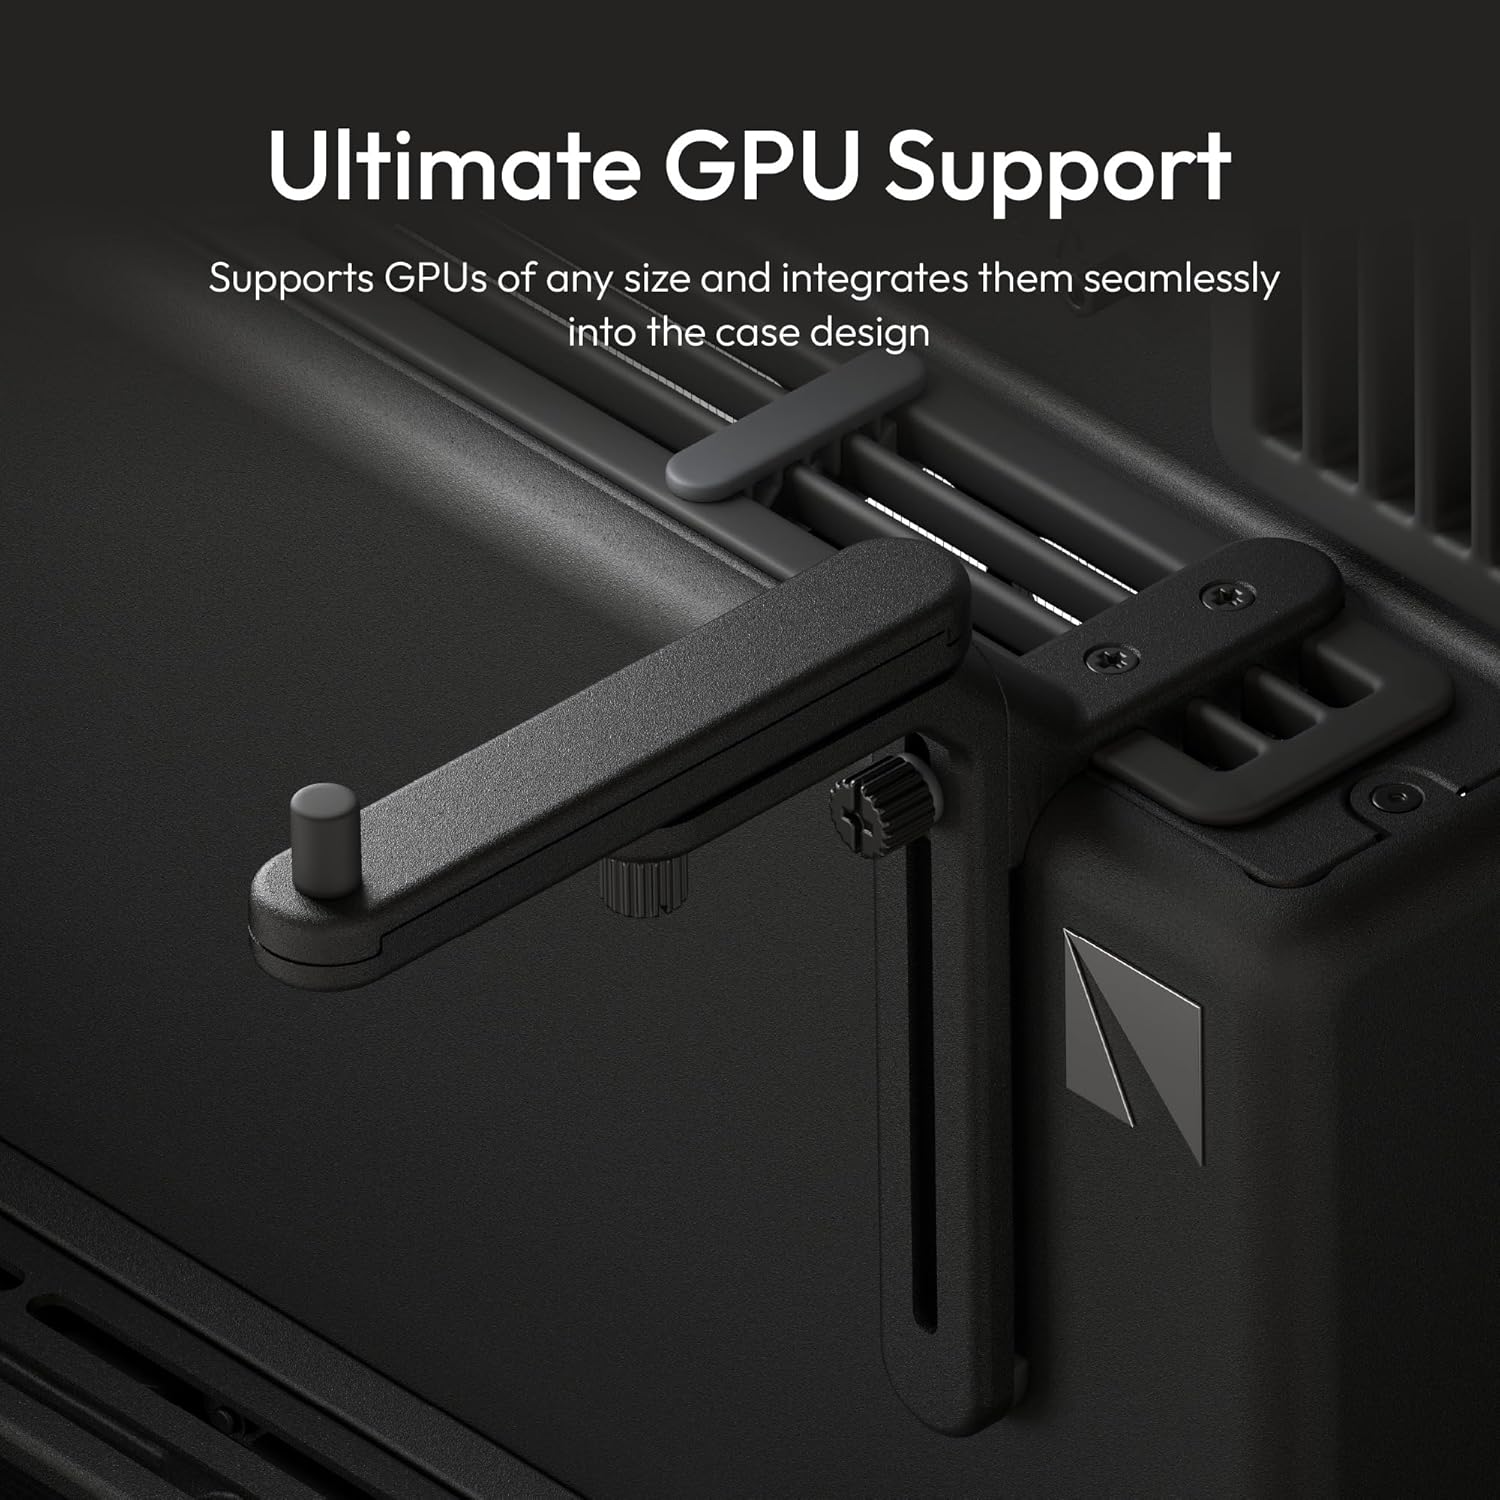
Figure 4.5: The adjustable GPU support bracket, designed for stability and integration.
4.6 Storage Device Installation
The case offers customizable space for various storage configurations.
- Mount SSDs or HDDs in the designated storage bays or customizable locations.
- Secure devices with the provided screws.

Figure 4.6: Customizable interior space allowing for various component layouts.
4.7 Final Assembly
- Connect all necessary power and data cables. Utilize the SimpliCable system for neat routing.
- Reattach the rear panel and the tempered glass side panel. Ensure the glass panel is securely latched.
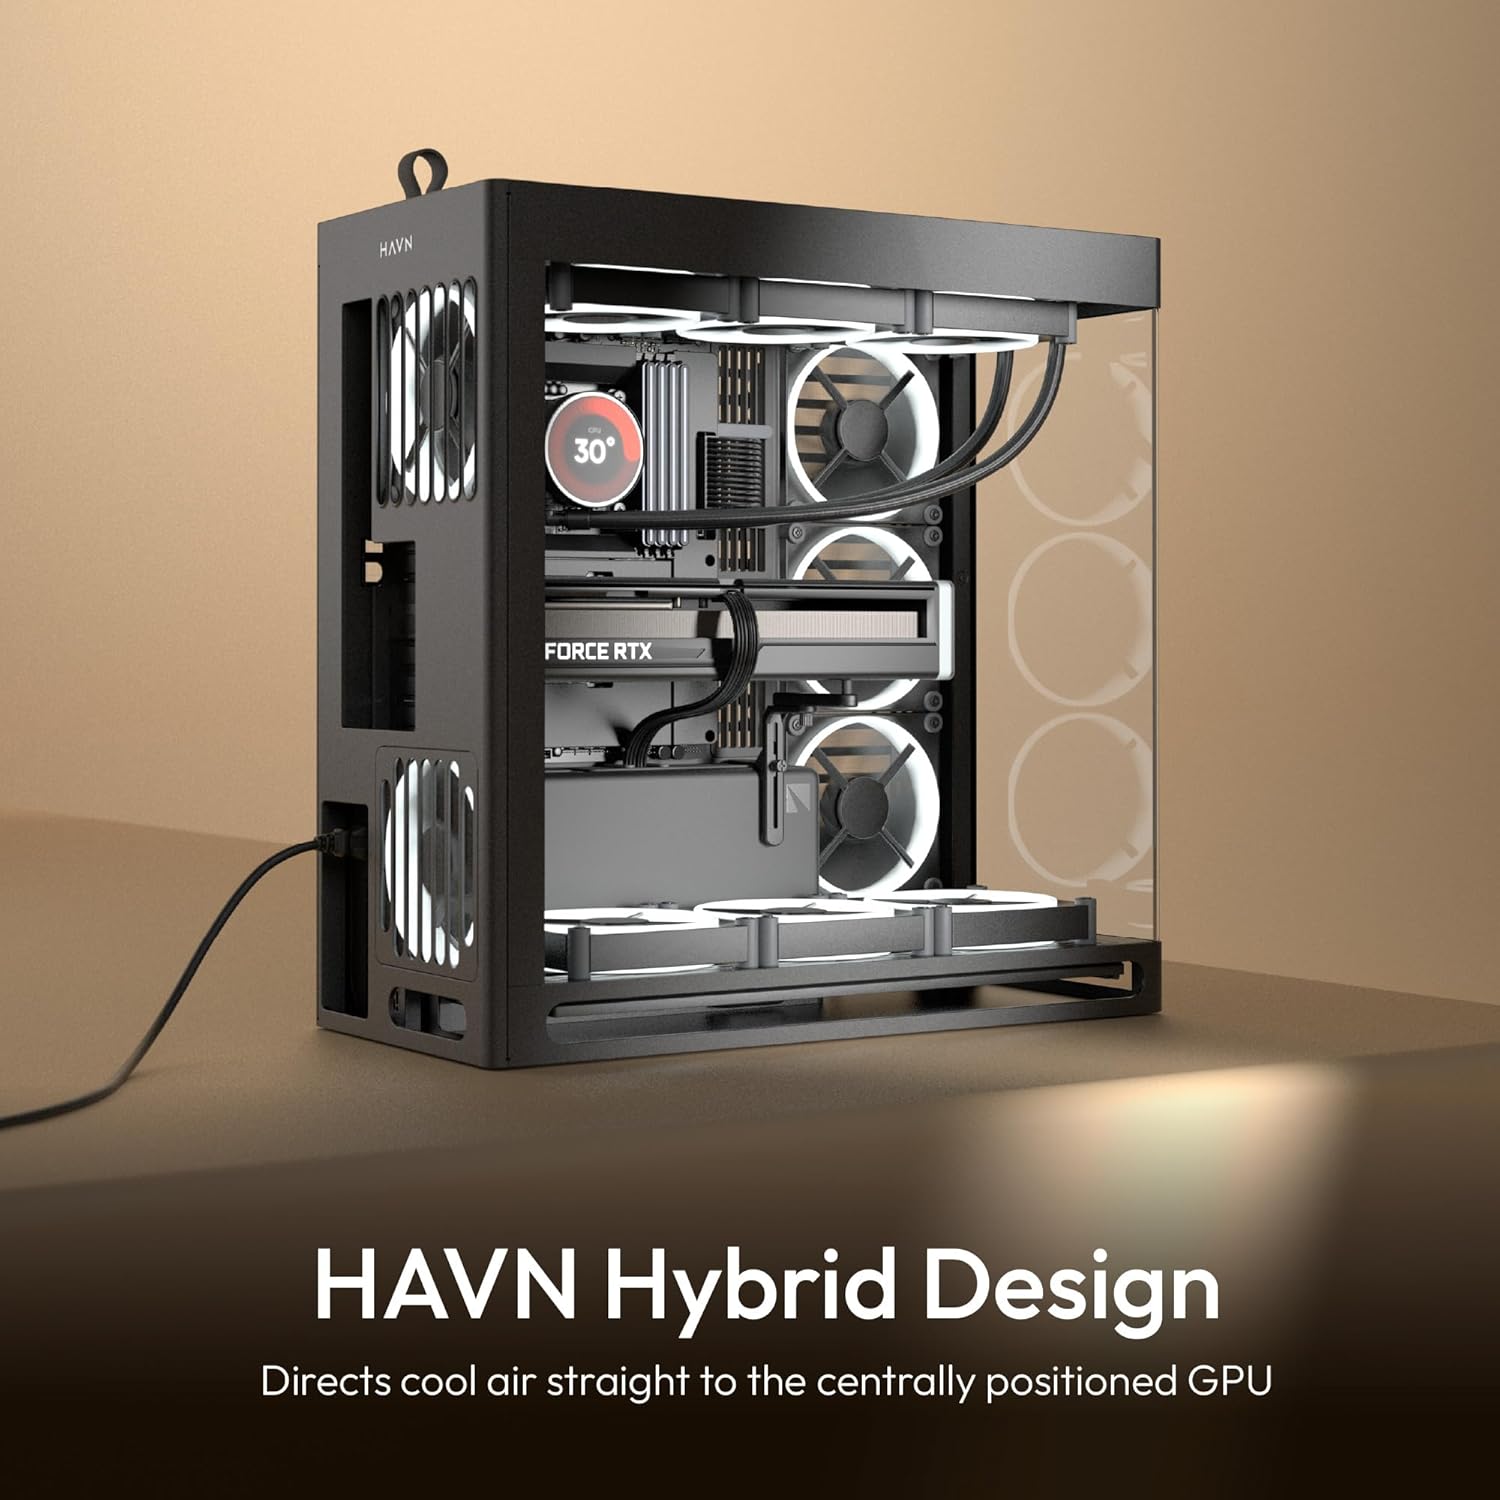
Figure 4.7: A fully assembled HAVN HS 420 PC case showcasing its hybrid design and internal components.
5. Operating Your PC Case
Once all components are installed and secured, connect your peripherals and power cable. Press the power button located on the case to start your system. The HAVN HS 420 is designed to provide optimal airflow and cooling for high-performance components.
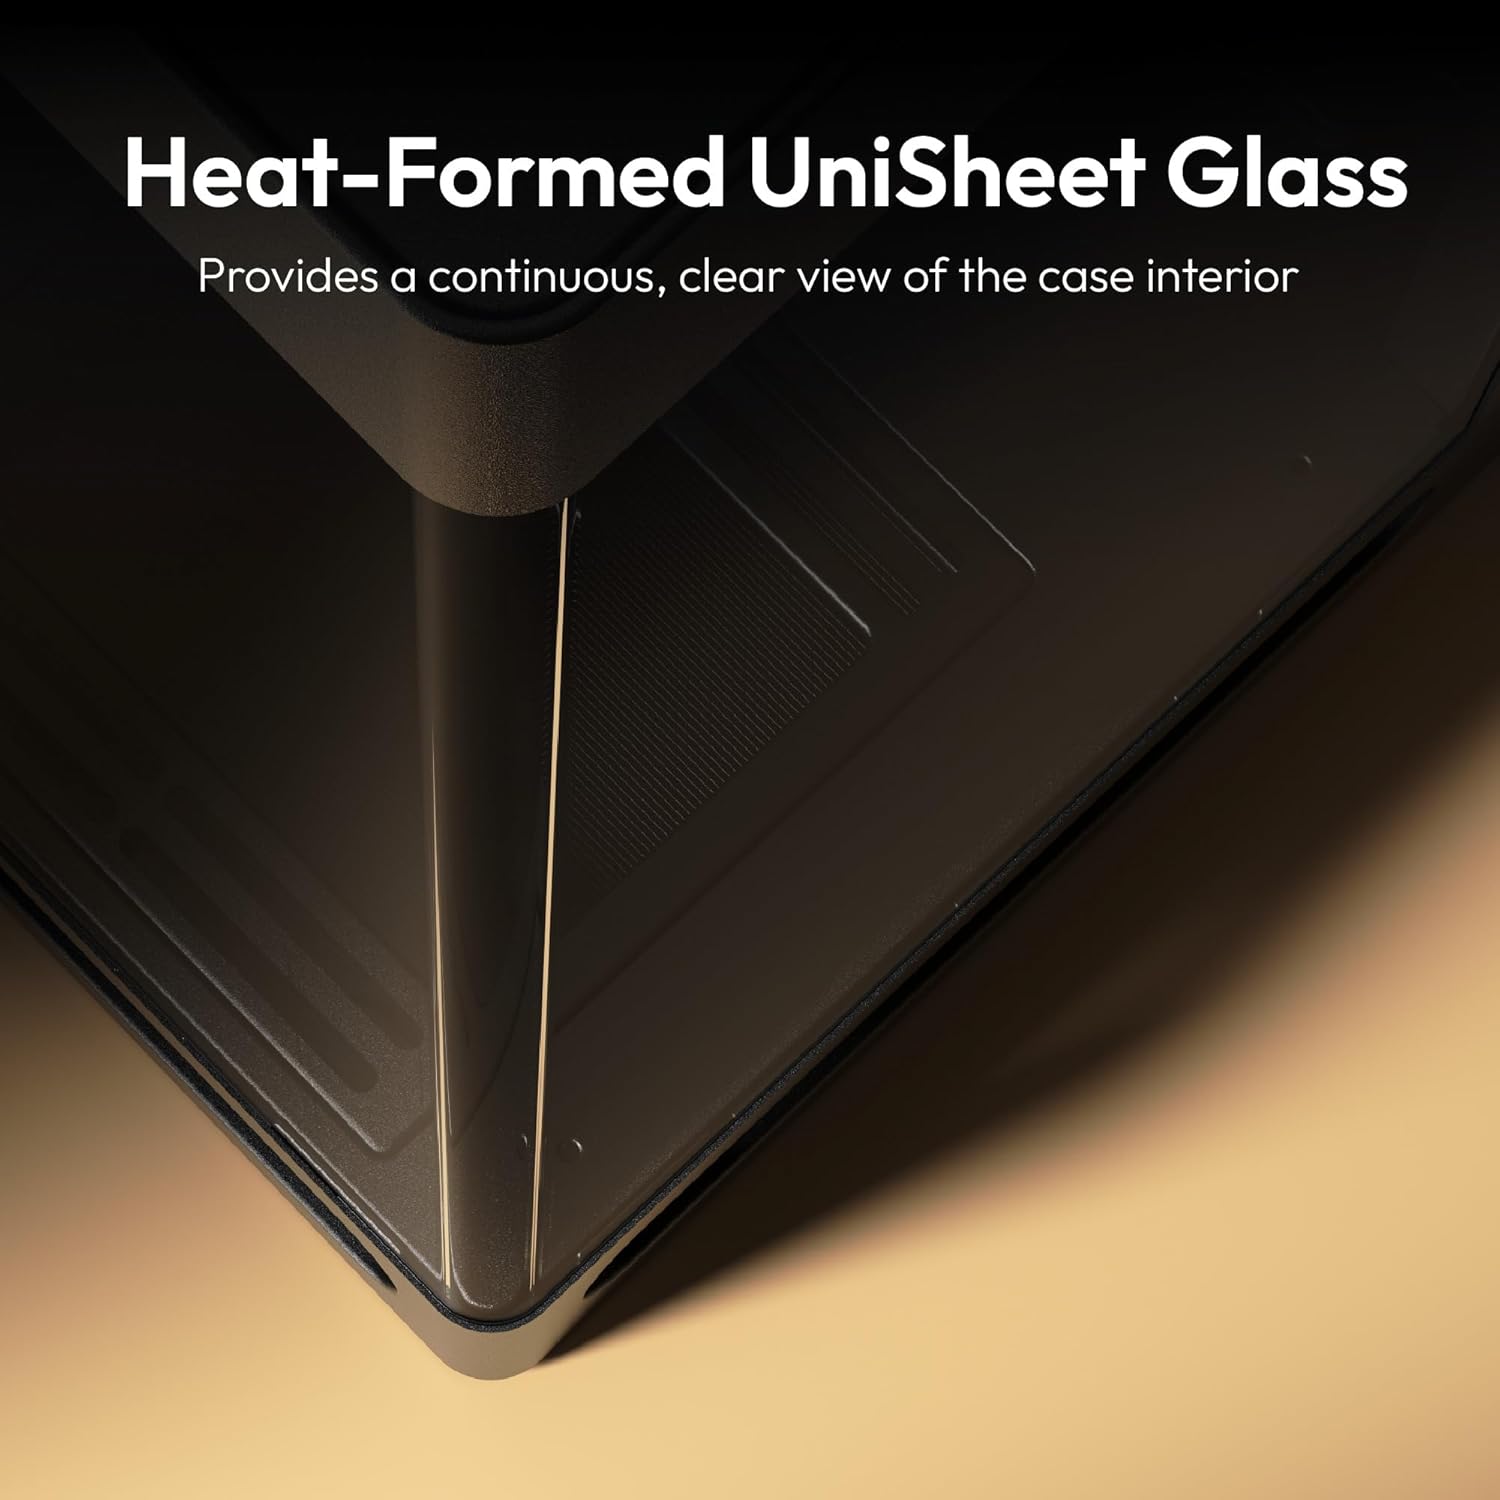
Figure 5.1: The UniSheet Glass panel provides a clear view of the interior.
6. Maintenance
Regular maintenance ensures the longevity and performance of your PC components.
- Dust Cleaning: Periodically clean dust filters and internal components using compressed air. Ensure the system is powered off and unplugged before cleaning.
- Cable Management: Occasionally check cable routing to ensure no cables are obstructing airflow or fan operation.
- Panel Security: Verify that all panels, especially the tempered glass, are securely attached.
7. Troubleshooting
This section addresses common issues you might encounter.
| Problem | Possible Cause | Solution |
|---|---|---|
| PC does not power on. | Power cables not connected, faulty PSU, front panel connectors incorrectly attached. | Check all power connections (wall, PSU, motherboard). Verify front panel header connections. Test PSU. |
| Overheating components. | Insufficient airflow, dust buildup, improperly installed fans/coolers. | Ensure all fans are operating correctly and oriented for optimal airflow. Clean dust filters. Verify cooler installation. |
| Excessive noise. | Loose components, fan vibration, faulty fan. | Check for loose screws. Ensure fan brackets use rubber pads. Identify and replace noisy fans if necessary. |
| GPU sag. | Heavy graphics card not properly supported. | Adjust and secure the included 3-way adjustable GPU support bracket. |
8. Specifications
| Feature | Detail |
|---|---|
| Model Name | HS 420 |
| Item Model Number | HVN-CA-HS420-06 |
| Case Type | Mid Tower, Dual-Chamber |
| Motherboard Compatibility | ATX, Micro ATX |
| Dimensions (LxWxH) | 21.3 x 10.2 x 21.5 inches |
| Item Weight | 39.2 pounds |
| Material | Tempered Glass, Metal |
| Color | Black |
| Fan Support | Up to eleven 140mm fans |
| Radiator Support | Up to 420mm (top, right, bottom) |
| USB 2.0 Ports | 2 |
| USB 3.0 Ports | 2 |
| Cooling Method | Air |
| Power Supply Mounting | Bottom Mount |
9. Warranty and Support
HAVN products are designed for quality and reliability. For warranty information and technical support, please refer to the official HAVN website or contact customer service through the details provided on your purchase receipt.
For further assistance, visit the official HAVN store: HAVN Store on Amazon.


