Introduction
This manual provides instructions for setting up and operating your AULCMEET KT-109 II Universal AC Remote Control. This remote is designed to be compatible with a wide range of air conditioner brands, including Daikin, Fujitsu, Hisense, Samsung, Gree, Haier, LG, Kelon, York, Toshiba, MIDEA, Mitsubishi Electric, CHIGO, Hyundai, PHILICO, AUX, AUCMA, Hitachi, NEC, and SANYO.
Please read this manual carefully before use to ensure proper functionality and to maximize the lifespan of your remote control.
Product Overview
The AULCMEET KT-109 II is a universal remote control for air conditioners, featuring an LCD display and various function buttons for comprehensive control.

Image: Front view of the AULCMEET KT-109 II Universal AC Remote Control, displaying the LCD screen, power button, set, enter, mode, auto-search, swing, dir, fan, quick cool, temp up/down, and timer on/off buttons.
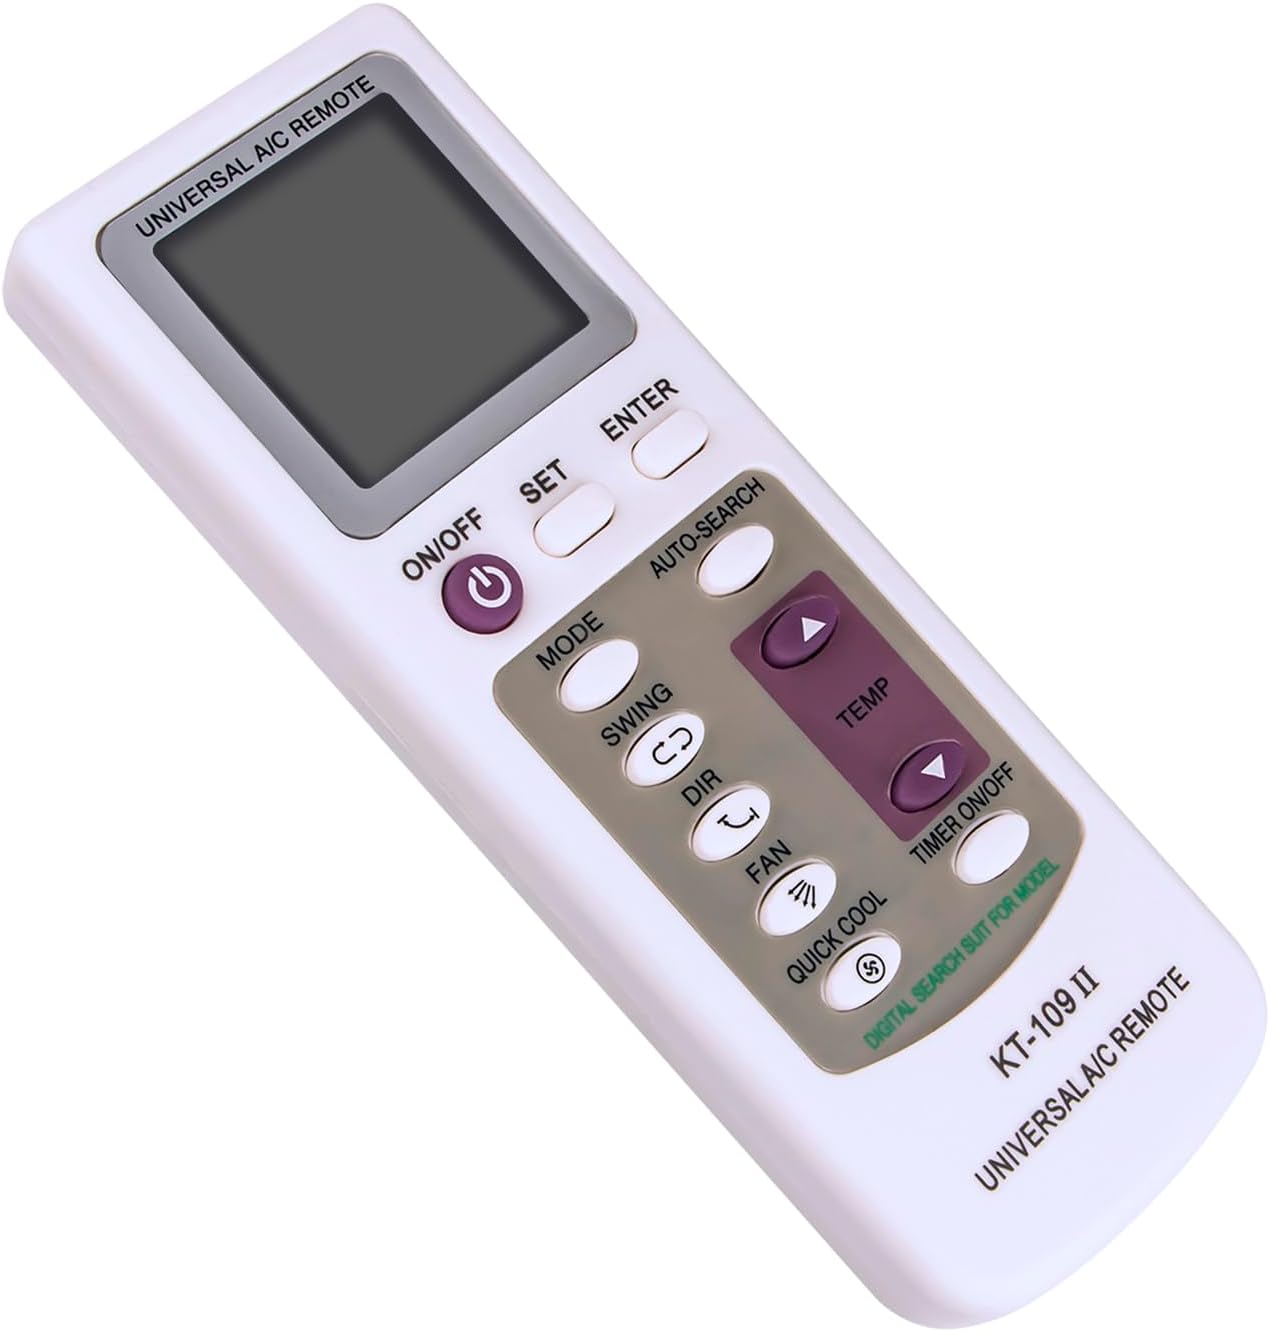
Image: Angled view of the AULCMEET KT-109 II Universal AC Remote Control, highlighting its shape and button layout from a side perspective.

Image: Front view of the AULCMEET KT-109 II Universal AC Remote Control with measurements indicating a width of 5.3 cm (2.09 in) and a height of 14.5 cm (5.71 in).
Battery Installation
The remote control requires two (2) AAA batteries for operation. Batteries are not included with the product.
- Open the battery compartment cover located on the back of the remote control.
- Insert two AAA batteries, ensuring that the positive (+) and negative (-) terminals align correctly with the markings inside the compartment.
- Close the battery compartment cover securely.

Image: Back view of the AULCMEET KT-109 II Universal AC Remote Control, showing the battery compartment cover and printed setup instructions.
Setup Instructions
To ensure proper functionality, the remote control must be programmed to your specific air conditioner brand. There are two methods for setup: Manual Setup and Auto-Searching.
Manual Setup Steps
- Find the Code: Refer to the code list (typically provided with the physical product or available from the manufacturer) to find the code corresponding to your air conditioner brand.
- Enter Setup Mode: Press the "SET" key. The code on the LCD display will begin to flash.
- Select Code: Press the "TEMP+" or "TEMP-" buttons repeatedly until the required brand code appears on the LCD display.
- Confirm: Press the "ENTER" key to confirm the selection. The setup process is now complete.
Auto-Searching Steps
- Power On AC: Manually power on your air conditioner unit.
- Initiate Auto-Search: Press and hold the "Auto-search" key until the code on the LCD display begins to flash.
- Confirm Signal: Point the remote directly at your air conditioner. When the air conditioner receives the correct signal and emits a "Buzzer" sound, immediately press any key on the remote control to confirm the code.
Important Notes for Setup
- During auto-searching, ensure the remote is aimed directly at the air conditioner. Confirm the code by pressing any key as quickly as possible after the A/C responds.
- If setting a timer, set "TIMER ON" when the A/C is off, and "TIMER OFF" when the A/C is on. After setting the timer, the remote must be aimed at the A/C receiver for the command to be sent.
Operating Instructions
Once programmed, your remote control can be used to operate your air conditioner. Familiarize yourself with the button functions below.
Button Functions
- ON/OFF: Powers the air conditioner on or off.
- MODE: Cycles through operating modes (e.g., Cool, Heat, Fan, Dry, Auto).
- TEMP+ / TEMP-: Adjusts the temperature setting.
- FAN: Adjusts the fan speed.
- SWING: Activates or deactivates the automatic louver swing function.
- DIR: Adjusts the louver direction manually.
- QUICK COOL: Activates a rapid cooling function.
- TIMER ON/OFF: Sets or cancels the timer for automatic power on/off.
Maintenance
- Cleaning: Wipe the remote control with a soft, dry cloth. Do not use liquid cleaners, solvents, or abrasive materials, as these can damage the remote's surface or internal components.
- Battery Replacement: Replace batteries when the remote's performance degrades, the display becomes dim, or the remote stops responding. Always replace both batteries at the same time with new ones of the same type (AAA).
- Storage: If the remote will not be used for an extended period (e.g., several weeks or months), remove the batteries to prevent leakage, which can cause damage to the remote control.
Troubleshooting
- Remote not responding:
- Check if batteries are inserted correctly and have sufficient charge. Replace if necessary.
- Ensure there are no obstructions between the remote control and the air conditioner's infrared receiver.
- Verify the remote is programmed correctly for your A/C unit. Re-attempt the setup process if unsure.
- Air conditioner not responding to commands:
- Confirm the remote is aimed directly at the A/C unit's receiver.
- Check if the A/C unit is powered on and functioning correctly.
- Ensure the remote's programmed code matches your A/C brand.
Specifications
- Model: KT-109 II
- Dimensions: 6 x 2 x 0.5 inches (approximately 15.24 x 5.08 x 1.27 cm)
- Weight: 1.9 ounces (approximately 53.86 grams)
- Power Source: 2 x AAA Batteries (not included)
- Compatibility: Universal, compatible with various AC brands including Daikin, Fujitsu, Hisense, Samsung, Gree, Haier, LG, Kelon, York, Toshiba, MIDEA, Mitsubishi Electric, CHIGO, Hyundai, PHILICO, AUX, AUCMA, Hitachi, NEC, SANYO.
- Special Feature: Universal compatibility, Quick Cool function.
Warranty Information
Specific warranty details for the AULCMEET KT-109 II Universal AC Remote Control are not provided within this instruction manual. For information regarding product warranty, terms, and conditions, please refer to the product packaging, contact the seller from whom you purchased the item, or visit the manufacturer's official website.
Customer Support
For further assistance, troubleshooting, or any inquiries regarding your AULCMEET KT-109 II Universal AC Remote Control, please contact the seller or the manufacturer directly. Refer to your purchase documentation for specific contact information.


