
1. Introduction
Thank you for choosing the ChooChoo Farmhouse Coffee Bar Cabinet, Model BR2401-2TBL. This versatile furniture piece is designed to enhance your kitchen, dining room, or living room with its multi-purpose storage and farmhouse aesthetic. It features a wide tabletop, tiered shelves, a storage cabinet, a hutch with hooks, and integrated power outlets for convenience. This manual provides detailed instructions for assembly, safe operation, and proper maintenance to ensure long-lasting use.
2. Safety Information
Please read and understand all instructions before assembling and using this product. Failure to follow these instructions may result in injury or damage to the product.
- Assembly: Ensure all parts and hardware are present before beginning assembly. Do not use power tools for assembly unless specifically instructed, as this may overtighten screws and damage the wood.
- Stability: Always place the cabinet on a flat, level surface. If possible, secure the unit to a wall using anti-tip hardware.
- Weight Capacity: Do not overload shelves or the tabletop. Refer to specific weight limits if provided in the assembly guide.
- Power Outlets: Use the integrated power outlets responsibly. Do not exceed the maximum wattage (1500W Max) and avoid plugging in damaged appliances. Keep liquids away from outlets.
- Children and Pets: Keep small parts away from children and pets during assembly. Do not allow children to climb on or play with the cabinet.
3. Package Contents
Before starting assembly, verify that all components listed below are included in your package. If any parts are missing or damaged, please contact customer support.
3.1. Parts List
- Engineered Wood Panels (various sizes for shelves, cabinet, hutch)
- Metal Frame Components
- Cabinet Doors
- 6 Hooks for hutch
- Integrated Power Outlet with USB ports
3.2. Hardware List
Assorted screws, dowels, and connectors required for assembly. Refer to the included assembly diagram for specific hardware identification.
4. Setup and Assembly
Follow these step-by-step instructions for proper assembly. It is recommended to have two people for certain steps to ensure stability and ease of construction.
4.1. Preparation
- Clear a spacious, clean, and level area for assembly.
- Lay out all parts and hardware, matching them to the parts list.
- Keep the assembly manual handy for reference.
4.2. Assembly Steps
- Assemble the Base Frame:
Begin by connecting the base panels using the specified screws and dowels. Ensure all connections are snug but do not overtighten.
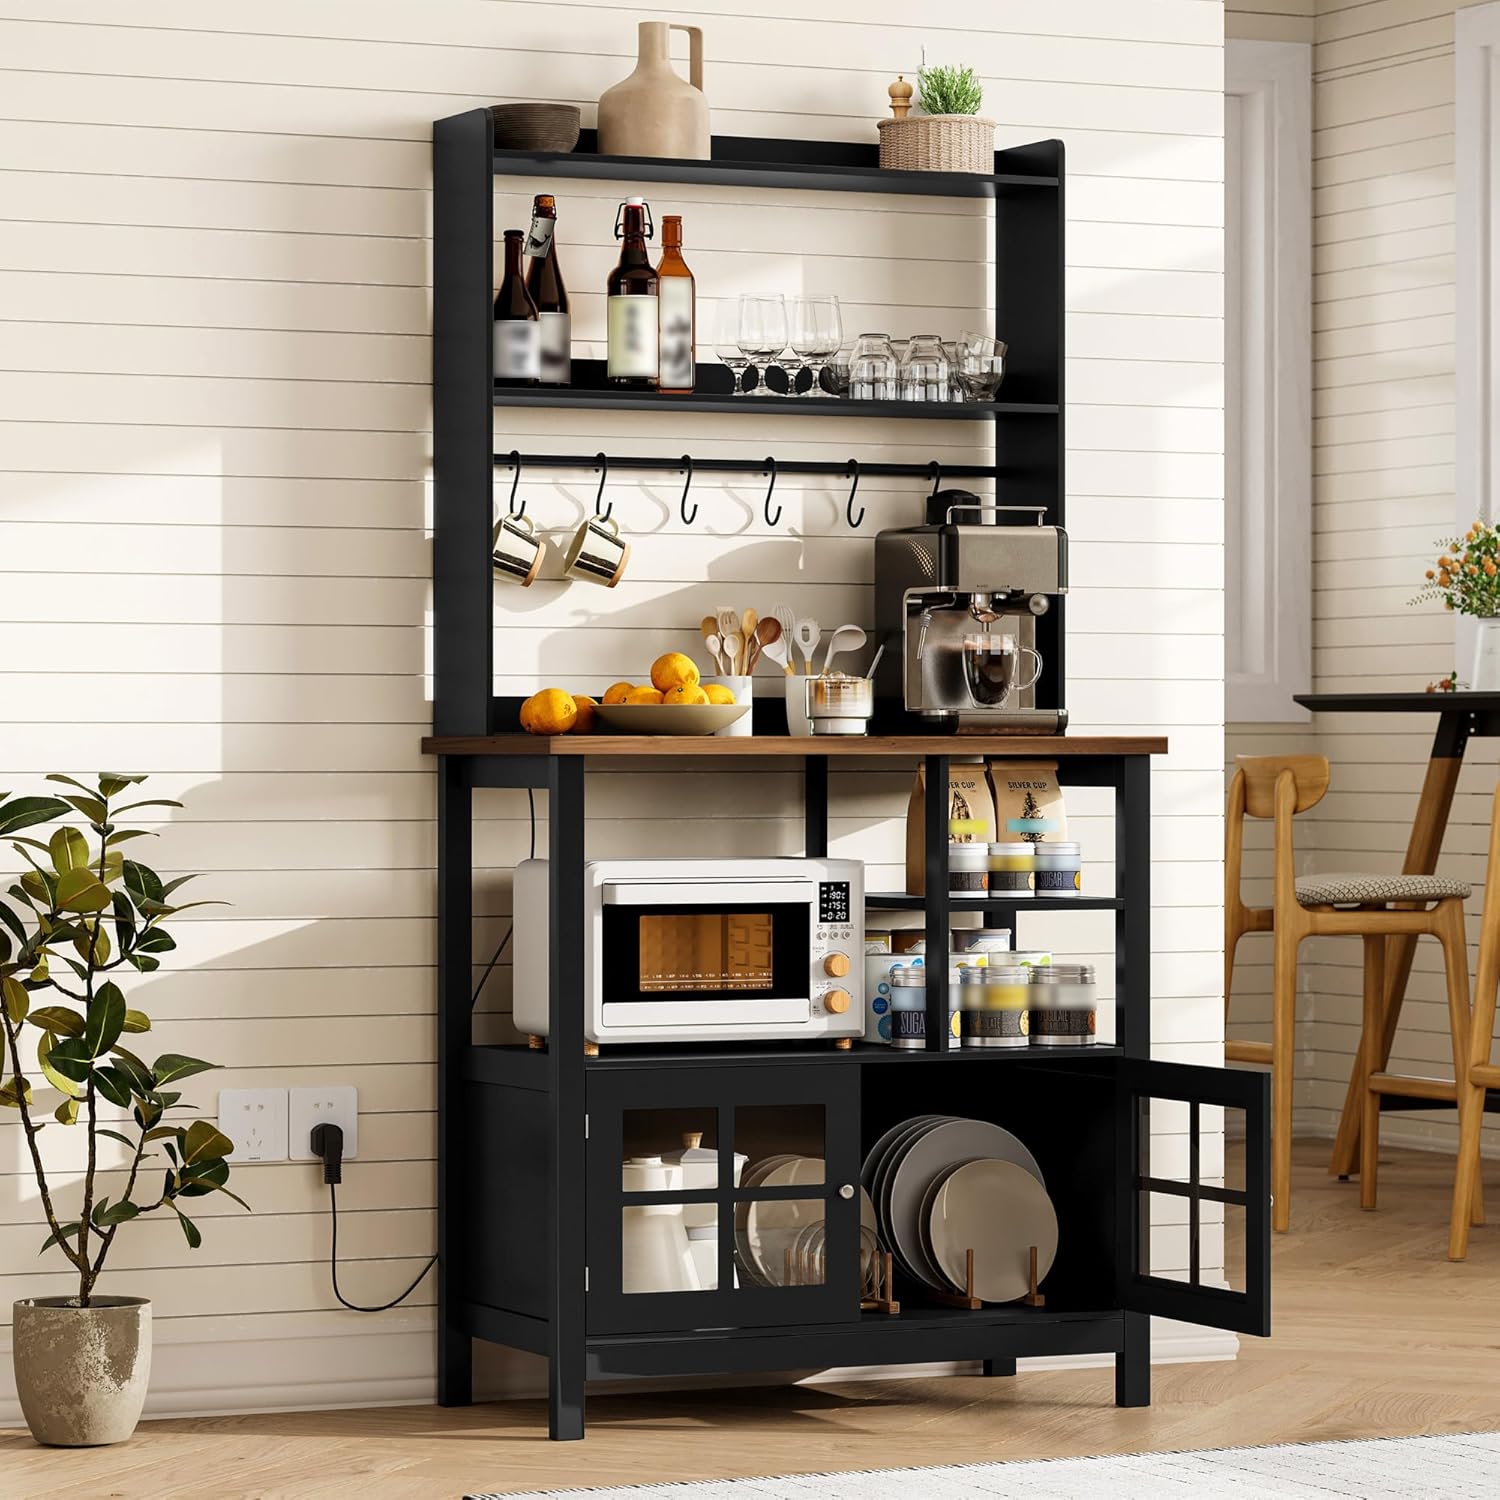
Image: Illustration of the base frame assembly, showing the initial connection of the bottom panels.
- Attach Side Panels and Shelves:
Secure the vertical side panels to the base. Then, install the lower shelves, ensuring they are correctly aligned with the pre-drilled holes.
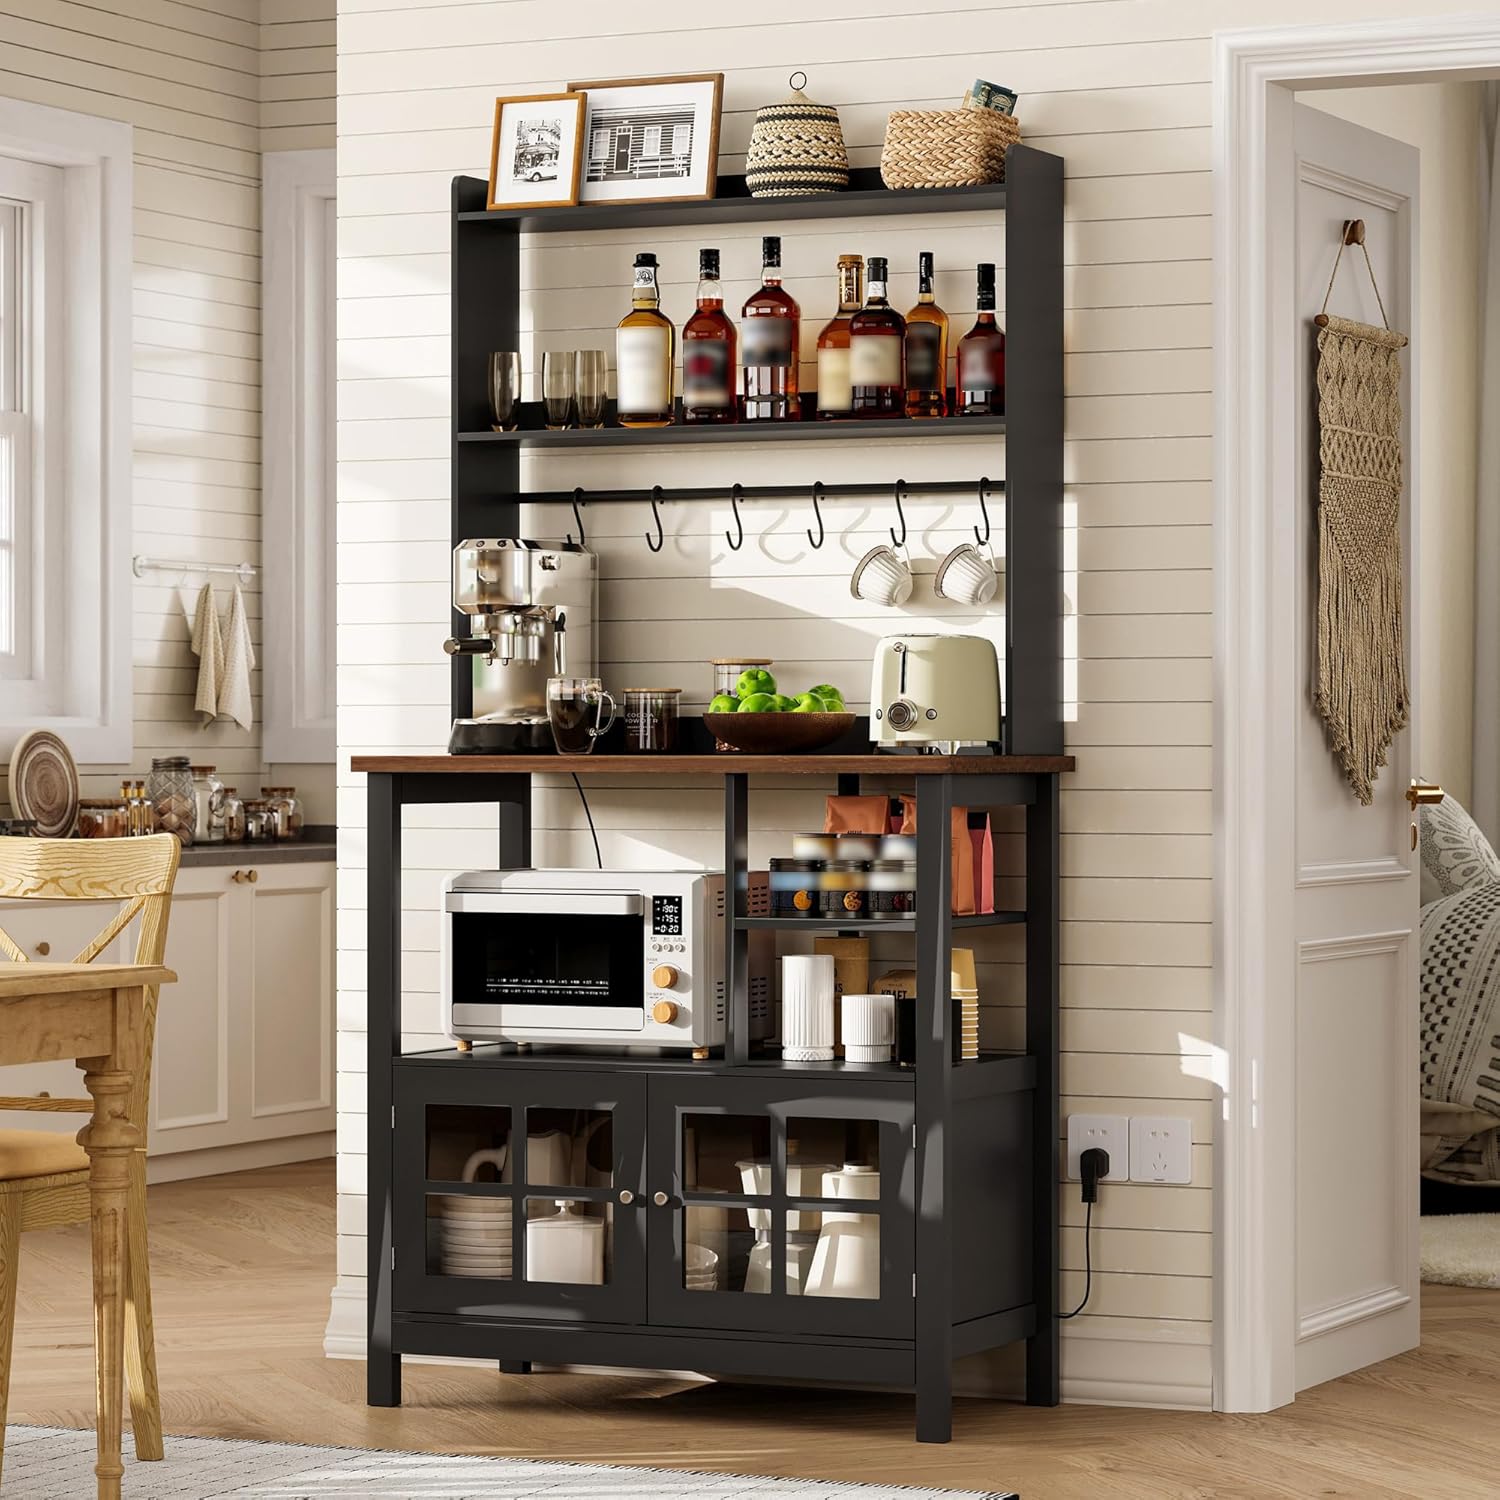
Image: View of the cabinet with side panels and lower shelves attached, showing the structural integrity.
- Install the Main Tabletop:
Carefully place the main tabletop onto the assembled lower section. Secure it with the appropriate hardware. This step may require two people.

Image: Close-up of the main tabletop being secured to the lower cabinet structure.
- Assemble the Hutch and Upper Shelves:
Construct the hutch frame and attach it to the main tabletop. Install the upper shelves and the rod for the hooks.

Image: The hutch with upper shelves and mug hooks installed, ready for use.
- Attach Cabinet Doors and Hooks:
Mount the cabinet doors using the provided hinges and attach the 6 hooks to the hutch rod.

Image: The completed cabinet with doors closed and hooks visible on the hutch.
- Install Power Outlets:
Carefully install the integrated power outlet unit into the designated slot on the tabletop. Ensure it is securely fastened.
Video: A demonstration of installing the power outlet into the cabinet's tabletop. This video is provided by ChooChoo Furniture, the seller.
5. Operating Instructions
The ChooChoo Farmhouse Coffee Bar Cabinet is designed for versatile use in various home settings. Here's how to best utilize its features:
- Power Outlets: The built-in power outlets (3 AC outlets, 1500W Max, and USB ports) are ideal for powering kitchen appliances such as coffee makers, microwaves, blenders, or charging mobile devices. Ensure appliances are turned off before plugging or unplugging.
- Storage:
- Top Shelves: Use for displaying decorative items, storing spices, or frequently used coffee accessories.
- Hutch with Hooks: Hang mugs, utensils, or small towels for easy access.
- Main Tabletop: Provides a spacious area for a coffee bar setup, microwave, or other small appliances.
- Lower Cabinet: The spacious storage cabinet with doors offers hidden storage for larger items like cookware, dishware, or small appliances.
- Open Shelves: Utilize the tiered open shelves for organizing cans, vinyl rolls, or other kitchen essentials.
- Adjustable Shelves: Some shelves may be adjustable to accommodate items of various sizes. Refer to the assembly diagram for specific adjustment options.
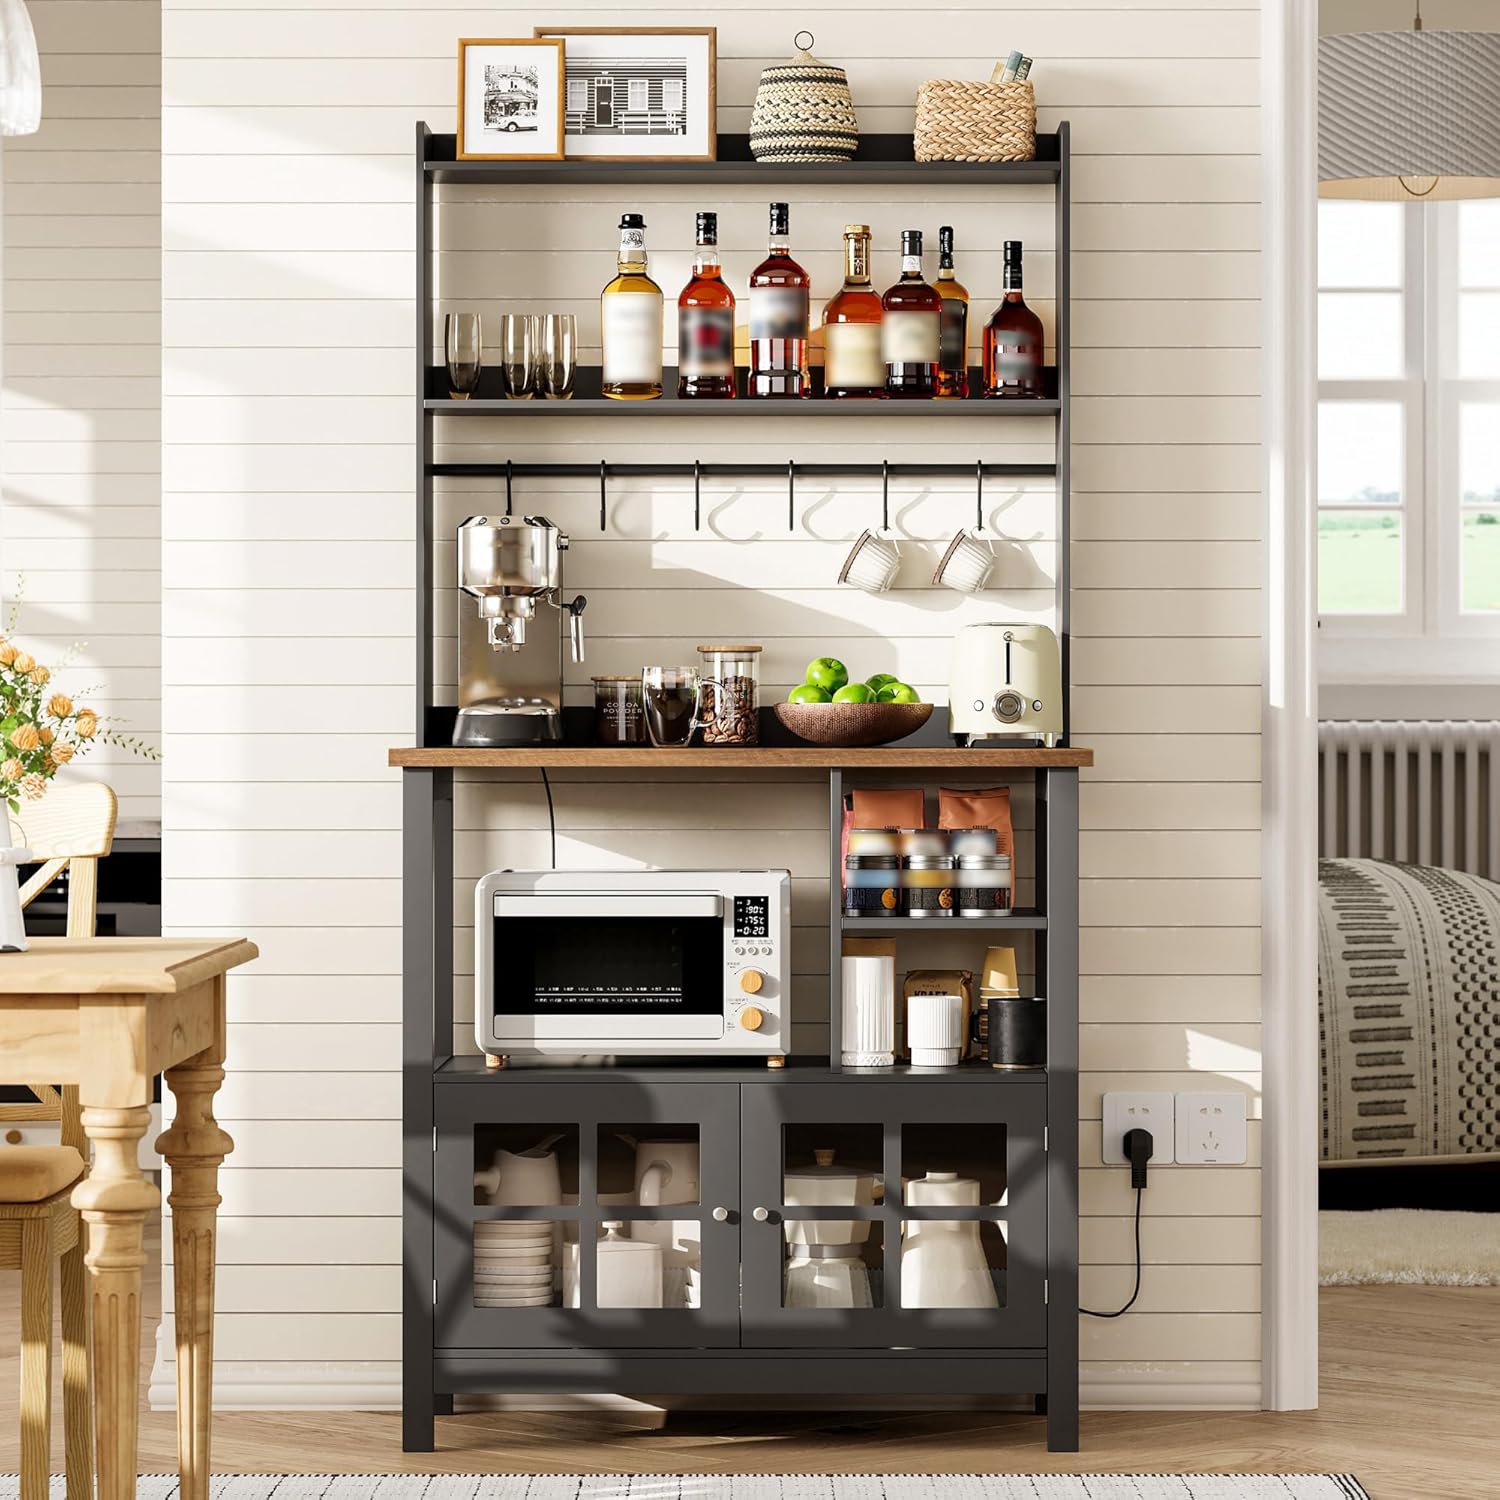
Image: The ChooChoo Farmhouse Coffee Bar Cabinet fully assembled and styled as a coffee bar, showcasing its storage capabilities and integrated power outlets.
6. Maintenance and Care
Proper care will extend the life and maintain the appearance of your ChooChoo Farmhouse Coffee Bar Cabinet.
- Cleaning: Wipe surfaces with a soft, damp cloth. Avoid harsh chemicals or abrasive cleaners, as they may damage the painted finish.
- Spills: Clean up spills immediately to prevent staining or damage to the engineered wood.
- Hardware: Periodically check all screws and connections to ensure they remain tight. Retighten if necessary.
- Sunlight and Heat: Avoid prolonged exposure to direct sunlight or extreme heat, which can cause fading or warping.
7. Troubleshooting
If you encounter any issues with your cabinet, refer to the following common solutions:
| Problem | Possible Cause | Solution |
|---|---|---|
| Wobbly or Unstable Unit | Loose screws or uneven floor. | Check and tighten all assembly screws. Ensure the unit is on a level surface; use shims if necessary. |
| Cabinet Doors Do Not Close Properly | Misaligned hinges or obstruction. | Adjust hinges as per assembly instructions. Check for any items blocking the door's path. |
| Power Outlets Not Working | Not plugged into wall, tripped breaker, or faulty connection. | Ensure the cabinet's main power cord is securely plugged into a functional wall outlet. Check your home's circuit breaker. Verify the internal connection of the power strip during assembly. |
If the problem persists after attempting these solutions, please contact ChooChoo customer support for further assistance.
8. Specifications
- Brand: ChooChoo
- Model Number: BR2401-2TBL
- Material: Engineered Wood
- Color: Black
- Product Dimensions: 15.75"D x 31.5"W x 59.8"H
- Item Weight: 43.8 Pounds
- Number of Shelves: 4
- Special Feature: Farmhouse Style, Integrated Power Outlets
- Room Type: Dining Room, Kitchen, Living Room
- Assembly Required: Yes
- Mounting Type: Floor Mount
- Power Outlet: 3 AC outlets, USB ports, 1500W Max
9. Warranty and Support
For warranty information, missing parts, or technical support, please refer to the contact details provided with your purchase documentation or visit the official ChooChoo Furniture store online:
Please have your model number (BR2401-2TBL) and purchase date ready when contacting support.