
Introduction
Thank you for choosing the MEIXISUE Modern Glass Chandelier. This instruction manual provides detailed guidance for the safe installation, operation, and maintenance of your new lighting fixture. Please read all instructions carefully before beginning installation and retain this manual for future reference.

Image: The MEIXISUE Modern Glass Chandelier elegantly illuminates a contemporary living room space.
Safety Information
WARNING: RISK OF ELECTRIC SHOCK. Disconnect power at the circuit breaker or fuse box before installation or servicing. Improper installation can result in electric shock or fire.
- All electrical connections must be in accordance with local codes, ordinances, or the National Electric Code (NEC). Consult a qualified electrician if you are unfamiliar with electrical wiring.
- Ensure the mounting surface can support the weight of the fixture.
- Do not connect this fixture to an ungrounded electrical system.
- Handle glass components with care to prevent breakage and injury.
- Do not exceed the maximum wattage specified for the bulbs.
Package Contents
Carefully unpack all components and inspect for any damage. Keep all packaging materials until you are satisfied with the product. The package should include:
- Chandelier Frame Assembly
- Mounting Canopy and Hardware
- Adjustable Chain
- Glass Balls (Quantity: 9 for 9-light model)
- Wire Connectors
- Instruction Manual
Note: E12 light bulbs are not included and must be purchased separately.
Specifications
| Feature | Specification |
|---|---|
| Brand | MEIXISUE |
| Model Number | C2150-4GD |
| Light Fixture Form | Chandelier |
| Color | Gold |
| Material | Glass, Metal |
| Product Dimensions | 31.1"L x 31.1"W x 70.4"H (Adjustable Height) |
| Number of Light Sources | 9 |
| Bulb Base | E12 (Bulbs not included) |
| Wattage | Max 360 Watts (40W per bulb) |
| Voltage | 110 Volts |
| Special Feature | Dimmable (with compatible bulbs and dimmer switch) |
| Installation Type | Ceiling Mount / Pendant |
| Certification | UL Listed |
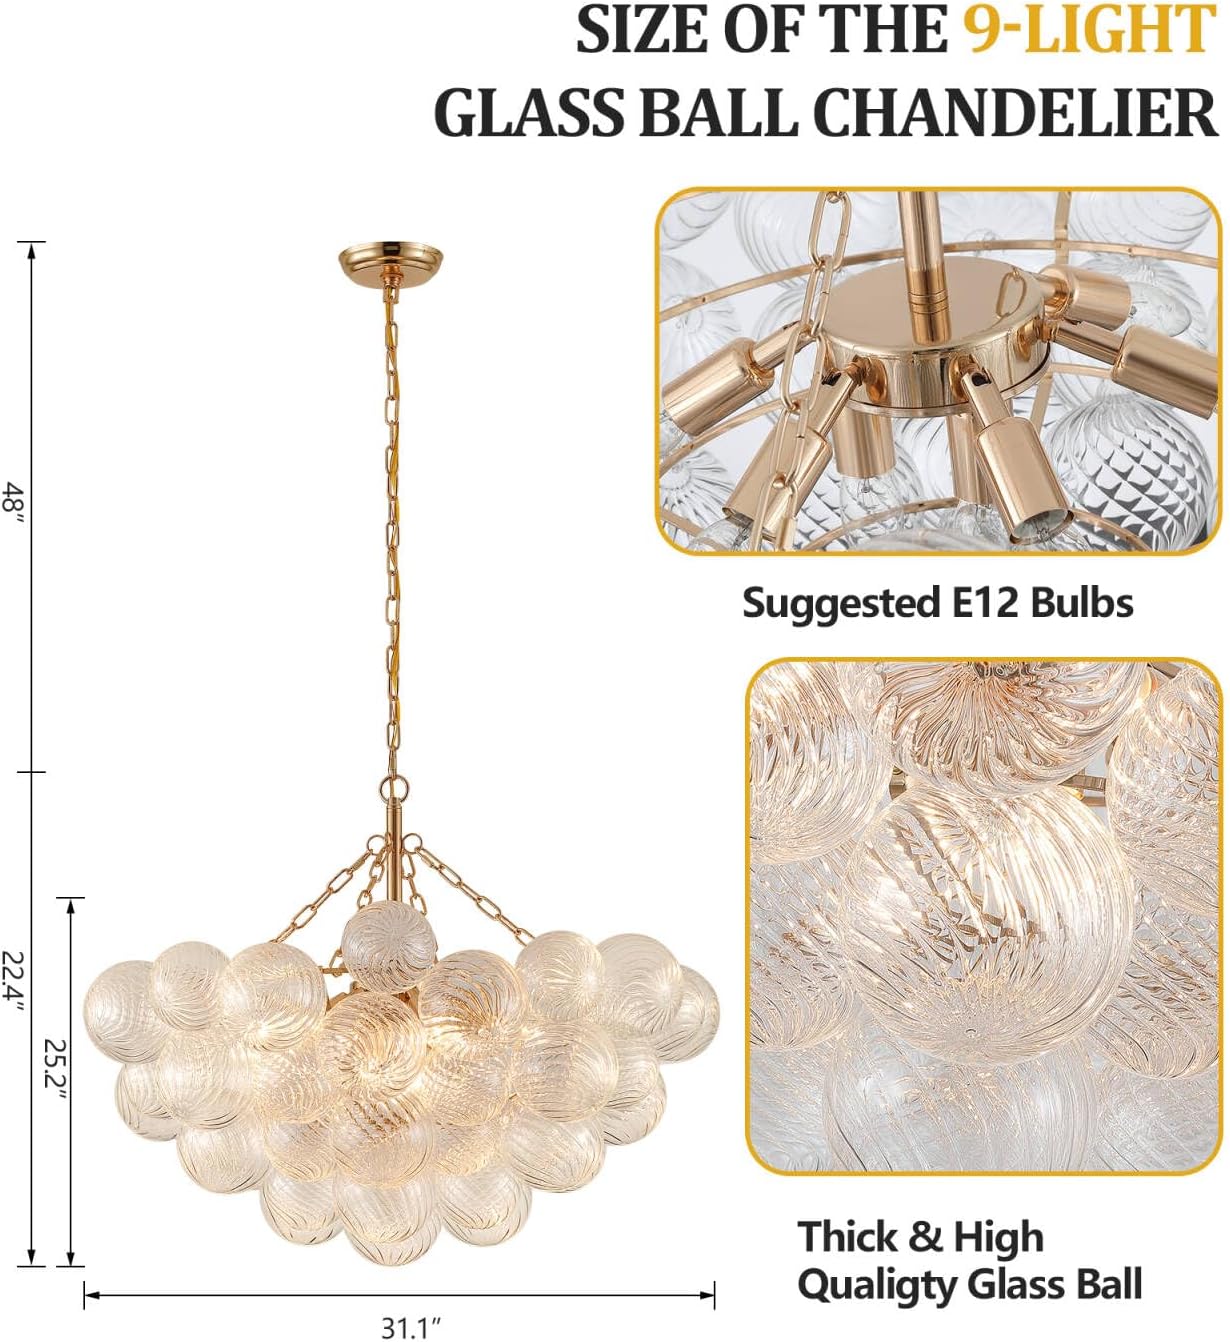
Image: Detailed dimensions of the 9-light chandelier, highlighting the E12 bulb sockets and the quality of the glass balls.
Setup and Installation
Professional installation is recommended. Ensure power is OFF before proceeding.
- Turn Off Power: Locate the circuit breaker controlling the light fixture's location and turn it OFF. Verify power is off using a voltage tester.
- Prepare Mounting Surface: Ensure the junction box is securely mounted and capable of supporting the chandelier's weight.
- Install Mounting Bracket: Attach the mounting bracket to the junction box using the provided screws.
- Adjust Chain Length: Determine the desired hanging height for your chandelier. Adjust the chain length by removing links as needed. Securely attach one end of the chain to the chandelier frame and the other to the canopy loop.
- Wire Connections: Carefully connect the electrical wires.
- Connect the fixture's live (black or smooth) wire to the house's live (black) wire.
- Connect the fixture's neutral (white or ribbed) wire to the house's neutral (white) wire.
- Connect the fixture's ground (bare copper or green) wire to the house's ground wire and the mounting bracket's ground screw.
- Secure Canopy: Carefully push the canopy up to the ceiling, covering the junction box and wiring. Secure it in place with the provided screws or nuts.
- Assemble Chandelier Frame: If the chandelier frame requires assembly, follow the specific instructions provided with your unit. Ensure all parts are securely fastened.
- Attach Glass Balls: Starting from the bottom rows and working upwards, carefully attach each glass bubble ball to its designated socket on the chandelier frame. Ensure they are securely seated.
- Install Bulbs: Screw E12 base bulbs (not included) into each socket. Do not exceed the maximum wattage of 40W per bulb.
- Restore Power: Once installation is complete, turn the power back ON at the circuit breaker.

Image: A detailed view of the chandelier's gold metal frame and the intricate swirled pattern on the glass bubble balls, illustrating the assembly points.
Operating Instructions
The MEIXISUE Modern Glass Chandelier is designed for ease of use. Once properly installed and powered, it can be operated via a standard wall switch. If using dimmable E12 bulbs and a compatible dimmer switch (not included), the light output can be adjusted to create various ambiances.
- Turning On/Off: Use your wall switch to turn the chandelier on or off.
- Dimming Function: If dimmable bulbs and a dimmer switch are installed, rotate or slide the dimmer switch to adjust the brightness level.
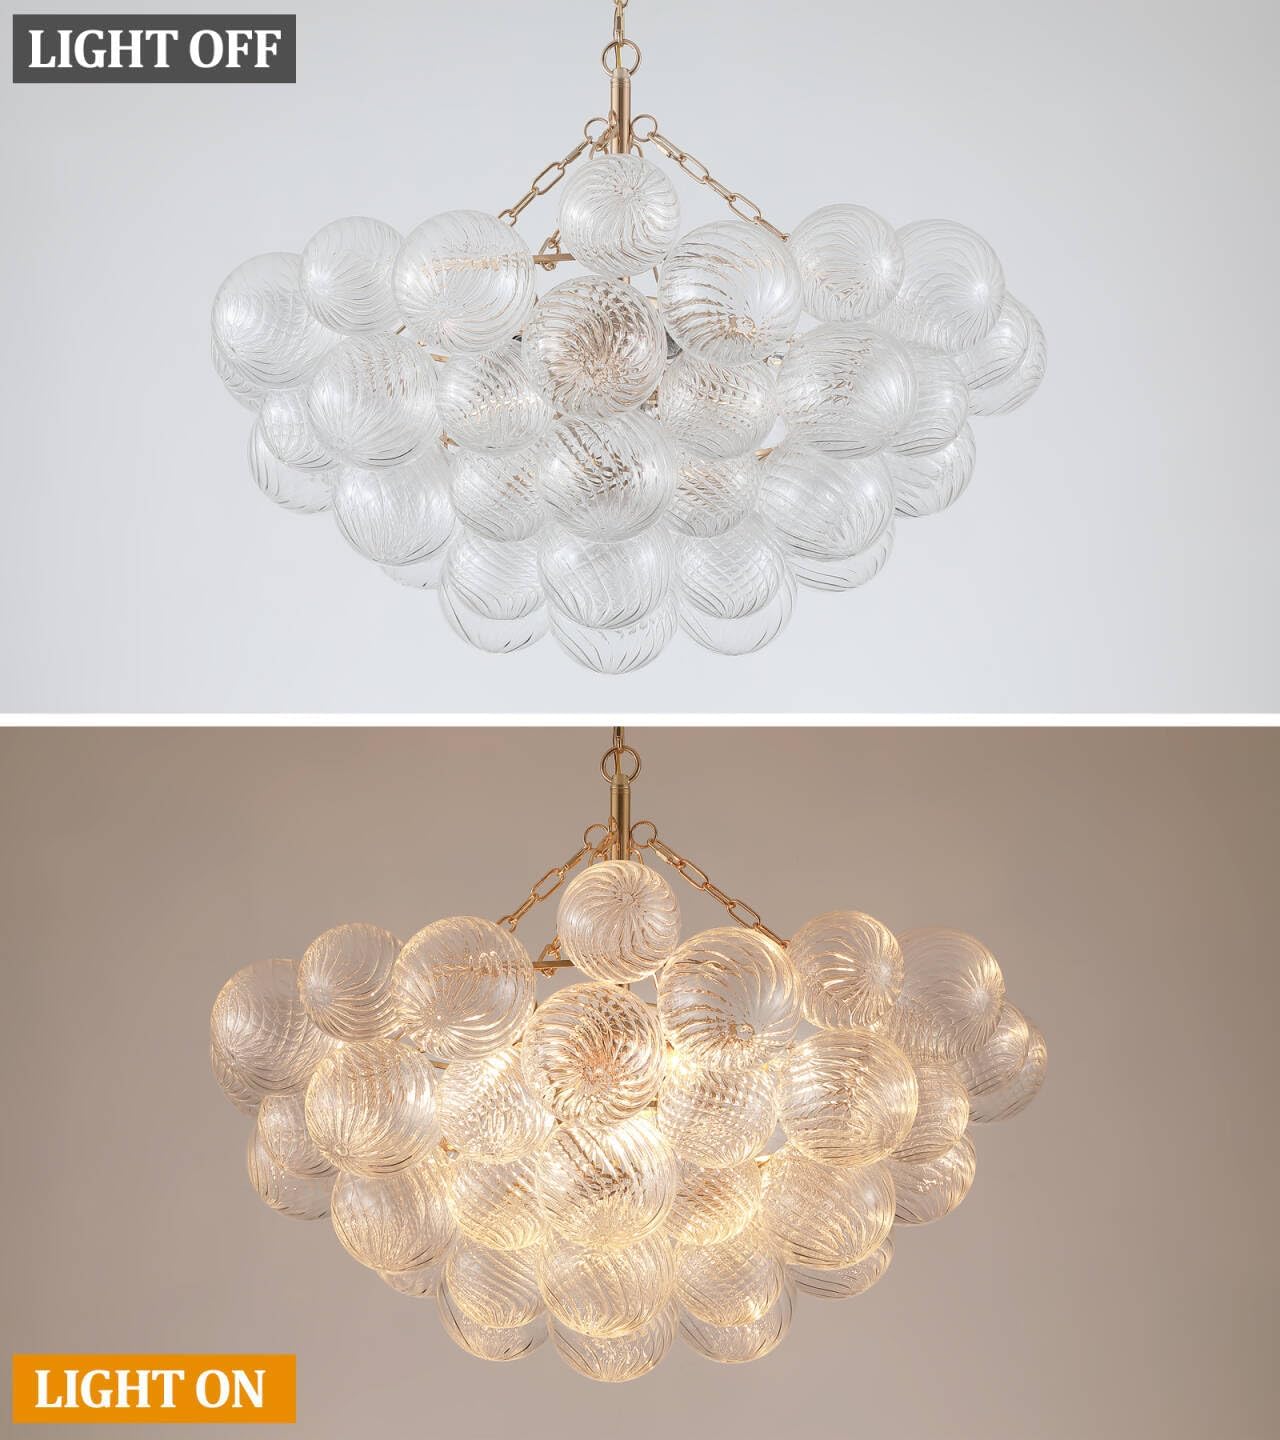
Image: A visual comparison of the chandelier with its lights off, showcasing the glass balls, and with its lights on, demonstrating the illumination.
Maintenance
Regular cleaning will help maintain the appearance and performance of your chandelier.
- Cleaning: Before cleaning, ensure the power to the fixture is turned OFF at the circuit breaker. Use a soft, dry, or slightly damp cloth to wipe down the metal frame. For the glass balls, use a soft cloth and a mild glass cleaner. Avoid abrasive cleaners or harsh chemicals that may damage the finish or glass.
- Bulb Replacement: Always turn off power before replacing bulbs. Allow bulbs to cool completely before handling. Replace with E12 base bulbs, ensuring the wattage does not exceed 40W per bulb.
Troubleshooting
If you encounter issues with your chandelier, refer to the following common problems and solutions:
| Problem | Possible Cause | Solution |
|---|---|---|
| Light does not turn on |
|
|
| Lights flicker |
|
|
| Chandelier hangs unevenly |
|
|
Warranty and Support
MEIXISUE provides a 2-year warranty for your purchase of the Modern Glass Chandelier (Model C2150-4GD). This warranty covers manufacturing defects and quality issues under normal use.
If you experience any issues or require assistance with your product, please contact MEIXISUE customer support. Our team is committed to providing satisfactory after-sales service and support.
For warranty claims or technical support, please refer to the contact information provided at the point of purchase or visit the official MEIXISUE website.