1. Introduction
Thank you for choosing the CNBINGO Rocker Light Switch. This manual provides essential information for the safe and correct installation, operation, and maintenance of your new switch. Please read these instructions thoroughly before beginning installation or use, and retain this manual for future reference.
The CNBINGO rocker light switch features a modern matte black design with large buttons for ease of use. It incorporates phosphor dots that glow faintly in the dark after absorbing light, aiding visibility. Constructed from high-quality, flame-retardant PC material and super-conductive phosphor copper, this switch is designed for durability and long-term performance.
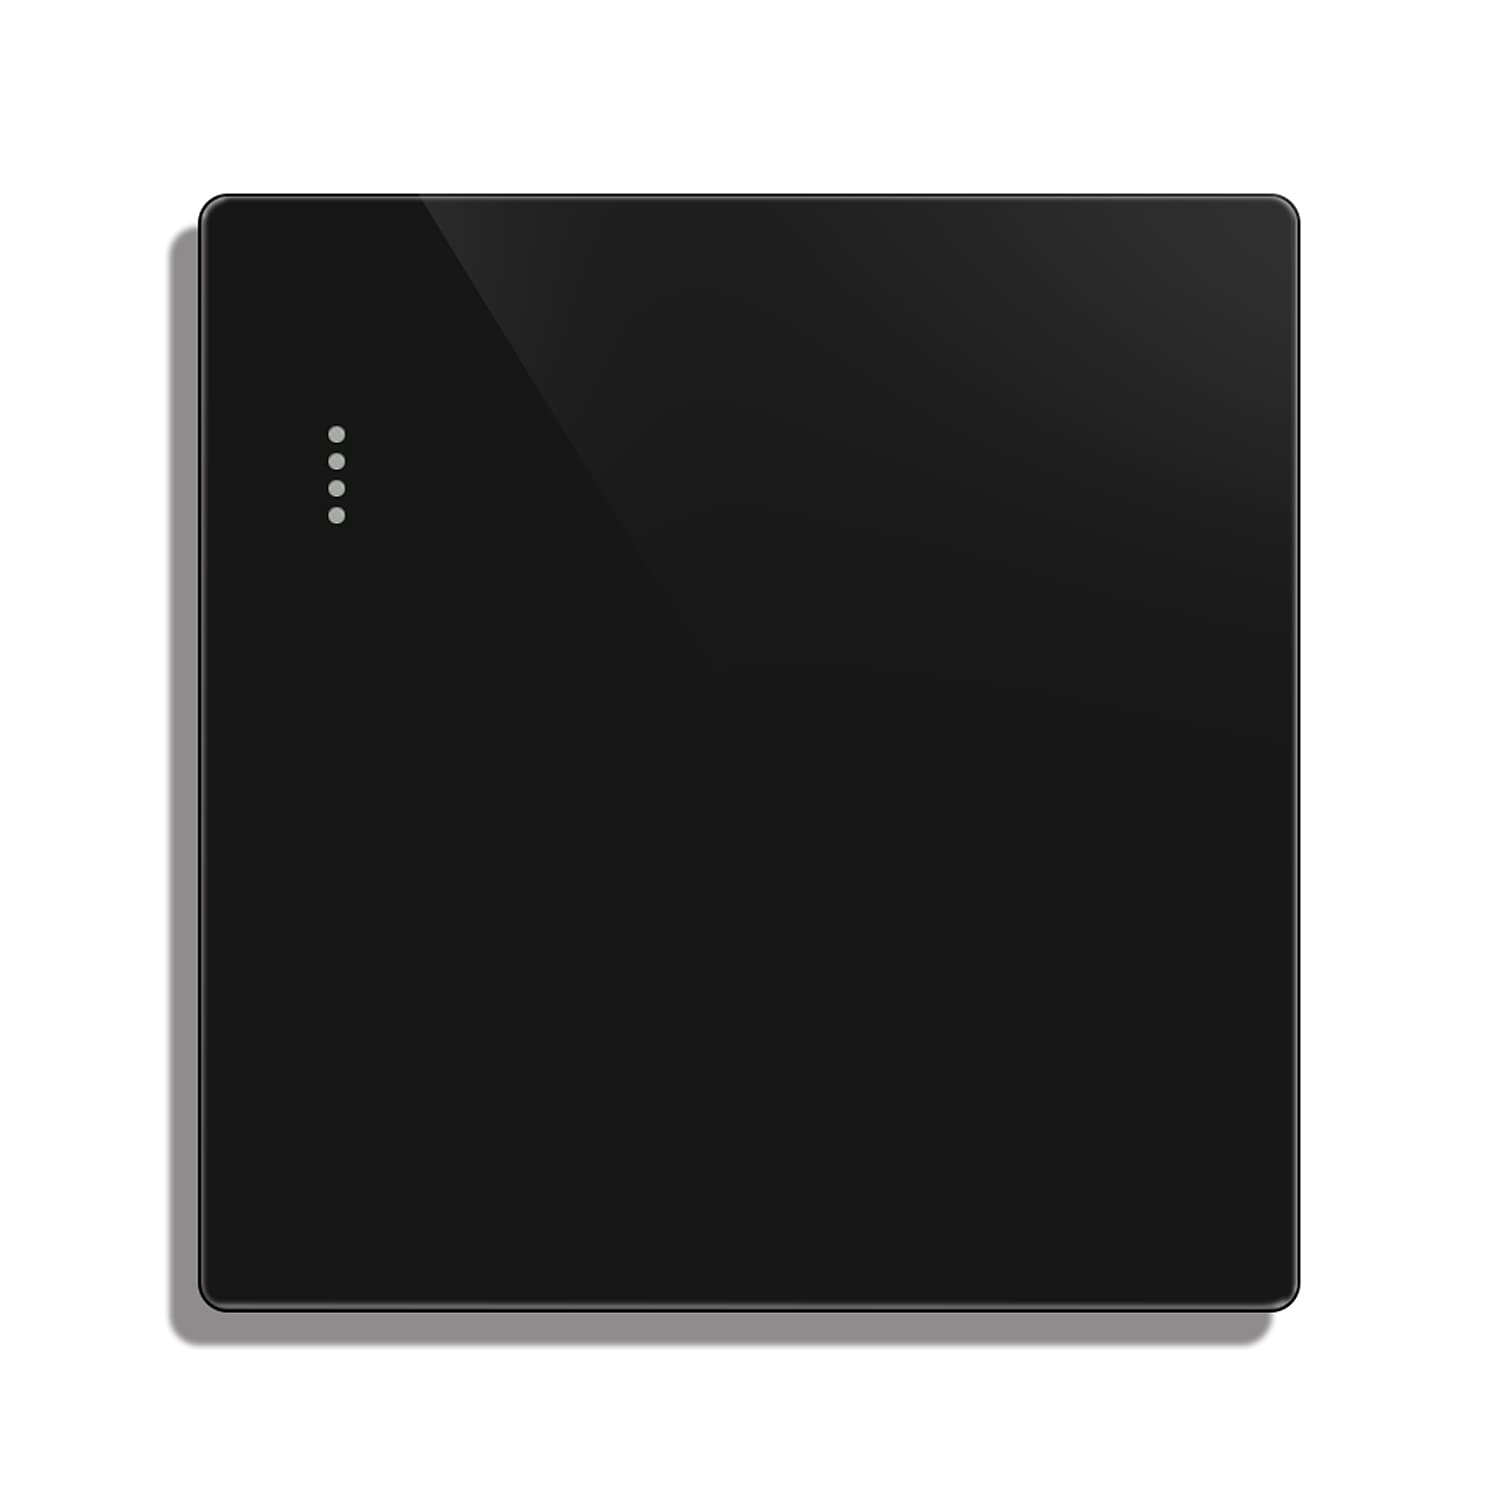
Image 1.1: Front view of the CNBINGO matte black rocker light switch. This image displays the sleek, minimalist design of the switch with its large rocker button and subtle phosphor dots on the left side.
2. Safety Information
- Electrical Hazard: Installation must be performed by a qualified electrician or a person with a thorough understanding of electrical wiring. Incorrect installation can lead to electric shock, fire, or serious injury.
- Disconnect Power: Always turn off the power at the circuit breaker or fuse box before installing, removing, or servicing the switch. Verify that the power is off using a voltage tester.
- Voltage and Current: This switch is rated for 16A, 250V. Do not exceed these ratings.
- Indoor Use Only: This product is designed for indoor use in dry locations. Do not install in areas exposed to water or excessive humidity.
- Material Safety: The switch housing is made of flame-retardant PC material. Do not attempt to modify or disassemble the switch beyond what is described in this manual.
3. Package Contents
Verify that all components are present in the package:
- 1 x CNBINGO Rocker Light Switch
- 1 x User Manual
- 2 x Mounting Screws
4. Specifications
| Feature | Specification |
|---|---|
| Model Number | MP001 |
| Operating Mode | ON-OFF |
| Rated Current | 16 Amperes |
| Operating Voltage | 250 Volts |
| Contact Type | Normally Closed |
| Connector Type | Screw Terminal |
| Switch Type | Rocker Switch |
| Material | Polycarbonate, Brass |
| Product Dimensions (L x W x H) | 8.6 x 8.6 x 3.6 cm |
| Mounting Box Depth Required | 17 mm |

Image 4.1: Side view of the CNBINGO rocker light switch, illustrating its standard dimensions of 86mm x 86mm and a depth of 3.6cm, suitable for a 17mm flush-mounted box.
5. Installation
Important: Ensure power is disconnected at the main circuit breaker before proceeding with installation.
- Prepare the Mounting Box: Ensure you have a standard 86mm x 86mm flush-mounted electrical box with a minimum depth of 17mm.
- Remove Old Switch (if applicable): Carefully remove the existing switch, noting the wiring connections.
- Wire Connections: Connect the Live Wire (typically red or brown) to the 'L' terminal and the Neutral Wire (typically blue or black) to the 'N' terminal on the back of the CNBINGO switch. For a 1-way switch, connect the load wire (to the light fixture) to the 'L1' terminal. Ensure all connections are secure.

Image 5.1: Wiring diagram for the CNBINGO rocker light switch. This diagram illustrates the connection points for the neutral wire (blue), live wire (red), and the load wire to the light fixture.
- Mount the Switch: Gently push the wired switch module into the wall box. Secure it using the provided mounting screws.
- Attach Faceplate: The switch features a screwless wall plate. Align the faceplate over the switch module and press firmly until it clicks into place.
- Restore Power: Once the installation is complete and secure, restore power at the circuit breaker.
- Test Functionality: Test the switch to ensure proper operation.
6. Operation
The CNBINGO rocker light switch operates as a standard ON/OFF switch. Simply press the large button to toggle the connected light fixture or appliance between its ON and OFF states.
- ON/OFF Function: Press the rocker button to turn the light ON or OFF.
- Phosphor Dots: The three green phosphor dots on the switch will glow faintly in low-light conditions after being exposed to light. This feature helps locate the switch in the dark.

Image 6.1: A hand gently pressing the large rocker button of the CNBINGO light switch, demonstrating its simple ON/OFF operation.
7. Maintenance
The CNBINGO rocker light switch requires minimal maintenance.
- Cleaning: To clean the switch, first ensure the power is turned off at the circuit breaker. Use a soft, damp cloth to wipe the surface. Avoid abrasive cleaners, solvents, or excessive moisture, as these can damage the finish or internal components.
- Inspection: Periodically inspect the switch for any signs of damage, loose connections, or discoloration. If any issues are observed, disconnect power and consult a qualified electrician.
8. Troubleshooting
If you encounter issues with your CNBINGO rocker light switch, refer to the following common problems and solutions:
| Problem | Possible Cause | Solution |
|---|---|---|
| Light does not turn ON/OFF | No power to the switch; Loose wiring connection; Faulty light bulb/fixture; Defective switch. | Check circuit breaker; Verify wiring connections (ensure power is off); Test light bulb/fixture; Replace switch if defective. |
| Switch is intermittent or difficult to operate | Loose internal connection; Mechanical issue with the rocker mechanism. | Disconnect power and check internal wiring connections; If the issue persists, the switch may be defective and require replacement. |
| Phosphor dots do not glow | Insufficient light exposure; Dots are not designed to be brightly illuminated. | Ensure the switch is exposed to ambient light during the day; The glow is designed to be faint for subtle visibility in the dark. |
If troubleshooting steps do not resolve the issue, contact CNBINGO customer support or a qualified electrician.
9. Warranty and Support
CNBINGO products are manufactured to high-quality standards and are designed for a long operational life. For specific warranty details, please refer to the warranty card included with your purchase or visit the official CNBINGO website.
For technical support, product inquiries, or assistance with installation, please contact CNBINGO customer service through the retailer where the product was purchased or via the contact information provided on the official CNBINGO website.
Manufacturer: CNBINGO


