
1. Introduction
Thank you for purchasing the Sainyer F300 Mini Projector. This compact and versatile home projector is designed to provide an immersive viewing experience with its 1080P HD resolution, 270° rotation, and various connectivity options. This manual will guide you through the setup, operation, and maintenance of your new projector.
2. Safety Information
- Power Supply: Use only the provided power adapter. Ensure the voltage matches the projector's requirements.
- Ventilation: Do not block ventilation openings. Ensure adequate airflow around the projector to prevent overheating.
- Placement: Place the projector on a stable, flat surface. Avoid placing it in direct sunlight, near heat sources, or in humid environments.
- Cleaning: Disconnect power before cleaning. Use a soft, dry cloth. Do not use liquid or aerosol cleaners.
- Eye Protection: Do not look directly into the projector lens when the lamp is on.
- Children: Keep the projector and its accessories out of reach of small children.
3. Package Contents
Verify that all items are present in your package:
- Sainyer F300 Mini Projector
- HDMI Cable
- User Manual
- Remote Control
- Power Cord
4. Product Overview
The Sainyer F300 is a compact and lightweight projector, weighing approximately 830g, making it highly portable. Its integrated stand allows for 270° rotation, offering flexible projection angles including ceiling projection.

Image: The back panel of the Sainyer F300 mini projector, detailing its HDMI, USB, and AUX ports, and illustrating various devices that can be connected, such as laptops, game consoles, and speakers.
Ports and Connections:
- HDMI Port: For connecting devices like TV Sticks, laptops, game consoles, and DVD players.
- USB Port: For connecting USB memory devices to play media files.
- AUX (3.5mm Audio Jack): For connecting external speakers or headphones.
- DC Power Input: For connecting the power adapter.
5. Initial Setup
- Power Connection: Connect the power cord to the projector's DC power input and then plug it into a power outlet.
- Power On: Press the power button on the projector or the remote control to turn on the device.
- Focus Adjustment: Use the manual focus ring on the projector to achieve a clear image.
- Placement: Position the projector at the desired distance from the projection surface. The recommended projection distance is 1.5-2.5 meters, capable of producing a screen size up to 300 inches. A 1-meter distance can achieve approximately a 40-inch screen.
6. Operating Instructions
6.1. General Operation
- Use the remote control to navigate the projector's menu and settings.
- The projector's integrated stand allows for 270° rotation, enabling flexible projection onto walls or ceilings.

Image: A family enjoys a movie projected onto the ceiling, showcasing the Sainyer F300 mini projector's 270° rotation capability for flexible viewing.
6.2. Automatic Sleep Function
The projector features an automatic sleep function to save energy. It will automatically power off after a specified period of inactivity. This ensures a quiet environment and reduces power consumption.
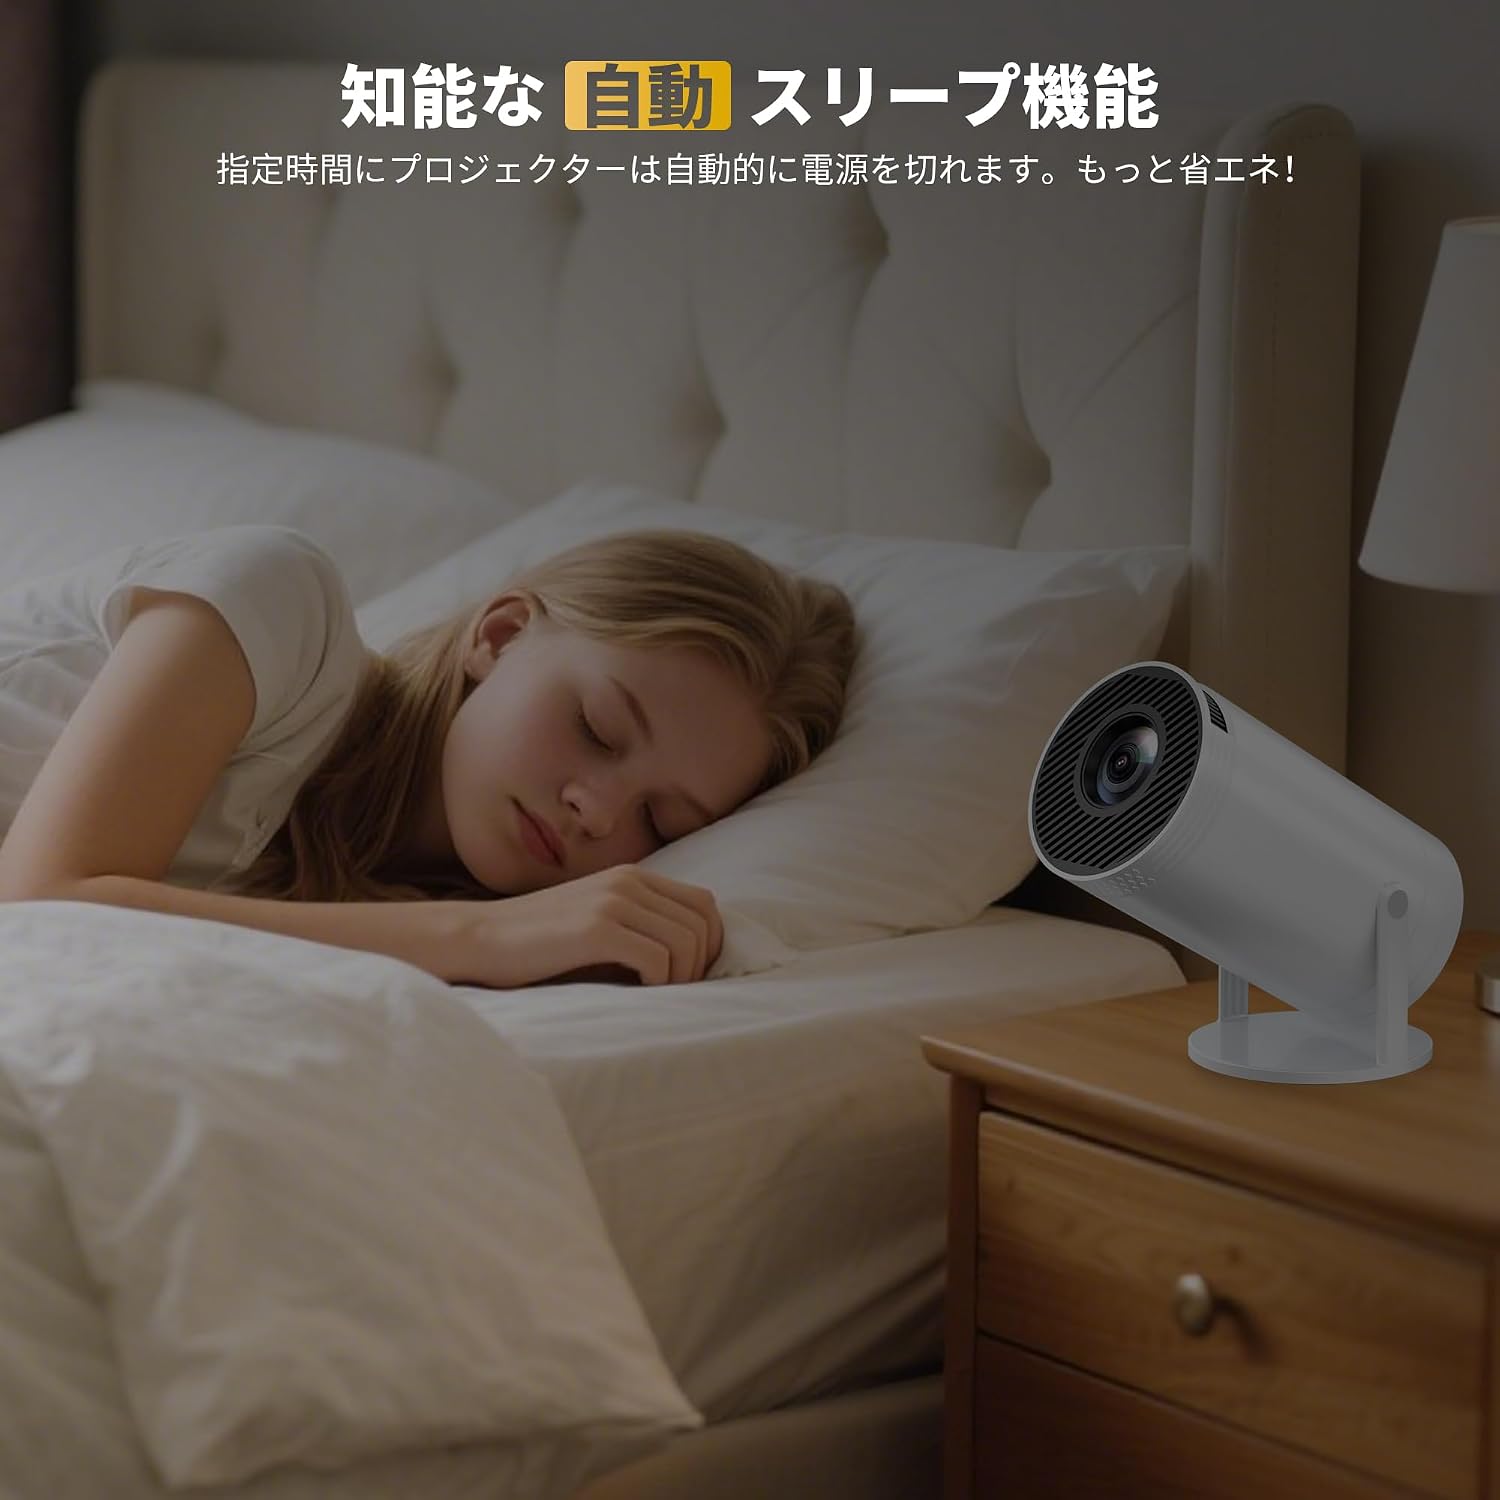
Image: The image depicts the projector's automatic sleep function, designed to save energy by turning off when not in use, ensuring a quiet environment.
7. Connectivity
7.1. Wired Connection (Android & iOS)
The projector supports wired connections for both Android and iOS smartphones. Use an original charging cable to connect your smartphone directly to the projector for stable screen mirroring. This method offers higher data transfer stability compared to wireless connections and eliminates concerns about wireless signal interference or disconnections.
Note:
- Due to copyright protection, app videos from Netflix, Prime Video, Disney+, etc., cannot be projected directly from a smartphone.
- Unsupported smartphone models (incomplete list): SHARP AQUOS, Google Pixel, Galaxy A, and Galaxy Z series.
7.2. HDMI Connection (TV Stick, PC, Game Console)
Connect devices such as TV Sticks, PCs, laptops, PS game consoles, or DVD players via the HDMI port for a wide range of entertainment options.
Video: This video provides a step-by-step guide on connecting a TV Stick to your Sainyer F300 mini projector, enabling access to various streaming services.
7.3. USB Connection
Insert a USB memory device into the USB port to play compatible media files directly from the projector.
7.4. AUX (3.5mm Audio Jack)
Connect external speakers or headphones to the 3.5mm audio jack for enhanced audio experience.
8. Image Adjustment
8.1. Electric Vertical Keystone Correction
The F300 projector features electric vertical keystone correction, allowing you to adjust the image shape using the remote control. If the projector is slightly tilted, you can easily correct the image to a perfect rectangle.
8.2. Zoom Function
The projector includes a zoom function, allowing you to adjust the screen size from 100% down to 50%. This feature provides flexibility to fit the projection to your environment.

Image: This image highlights the projector's electric keystone correction and 50% zoom features, allowing for easy image adjustment from various angles.
Note:
- If you cannot find the 'Zoom' function, please contact customer support for a software update.
9. Maintenance
- Lens Cleaning: Gently wipe the projector lens with a soft, lint-free cloth. Do not use abrasive cleaners.
- Exterior Cleaning: Clean the exterior of the projector with a soft, dry cloth.
- Storage: When not in use for extended periods, store the projector in a cool, dry place, away from dust and moisture.
10. Troubleshooting
10.1. No Image or Blurry Image
- Ensure the projector is powered on and the lens cap is removed.
- Adjust the focus ring until the image is clear.
- Check the input source selection (e.g., HDMI, USB) to ensure it matches your connected device.
- Adjust keystone correction if the image is distorted.
10.2. No Sound
- Check the volume settings on both the projector and the connected device.
- Ensure external speakers are properly connected to the AUX port if used.
- Verify that the audio output settings on your connected device are correctly configured.
10.3. Remote Control Not Working
- Ensure the batteries are correctly inserted and not depleted. Replace if necessary.
- Point the remote directly at the projector's IR receiver.
11. Specifications
| Feature | Description |
|---|---|
| Brand | sainyer |
| Model Number | F300 |
| Color | Glacier White |
| Recommended Uses | Gaming, Business, Home Cinema, Education |
| Features | Android/iOS Wired Connection, Portable, Built-in Speaker, Short Throw, Lightweight |
| Connectivity Technology | 3.5mm Jack, HDMI, USB |
| Native Resolution | 1920 x 1080 |
| Maximum Display Resolution | 1920 x 1080 Pixels |
| Display Type | LED |
| Lens Mount Type | Tabletop Mount |
| Wattage | 40 W |
| Controller Type | Remote Control |
| Compatible Devices | Game Console, Speaker, Smartphone, Tablet, Laptop |
| Contrast Ratio | 20000:1 |
| Maximum Projection Distance | 5 Meters |
| Light Source Operating Life | 50000 Hours |
| Maximum Image Size | 200 Inches |
| Management Method | Remote |
| Minimum Projection Distance | 1 Meter |
| Minimum Image Size | 30 Inches |
| UPC | 754970078995 |
| ASIN | B0DCZD443N |
| GTIN | 754970078995 |
12. Warranty and Support
The Sainyer F300 Mini Projector comes with a limited warranty. For warranty claims, technical support, or any inquiries regarding your product, please contact Sainyer customer service through the platform where you purchased the product. Please have your model number (F300) and purchase details ready when contacting support.