1. Introduction
The APC Smart-UPS SMT750C is an Uninterruptible Power Supply (UPS) designed to provide reliable power and surge protection for critical electronic equipment. This unit offers 750VA/500W of line-interactive pure sine wave power, making it suitable for servers, storage systems, network closets, business VoIP setups, desktop computers, and retail POS systems. It features Automatic Voltage Regulation (AVR) to correct voltage fluctuations and a SmartConnect Ethernet Port for cloud-based remote monitoring. This manual provides essential information for the safe and efficient installation, operation, and maintenance of your SMT750C UPS.
2. Safety Information
WARNING: Risk of electric shock. Refer to bottom of unit for warnings.
- Read all instructions carefully before installation and operation.
- This UPS contains internal batteries and may present a shock hazard even when disconnected from the AC power source.
- Do not open or disassemble the UPS. There are no user-serviceable parts inside except for the battery.
- Connect the UPS to a grounded outlet only.
- Do not use the UPS in direct sunlight, near heat sources, or in areas with excessive humidity.
- Ensure proper ventilation around the UPS. Do not block any ventilation openings.
3. Package Contents
Verify that all items are present upon unpacking:
- APC Smart-UPS SMT750C Unit
- 16GB USB 3.0 Drive
- User Manual (this document)
- USB Communication Cable
- Power Cord

Image: Included 16GB USB 3.0 Drive. This USB drive provides additional storage or file transfer capabilities.
4. Product Overview
Front Panel
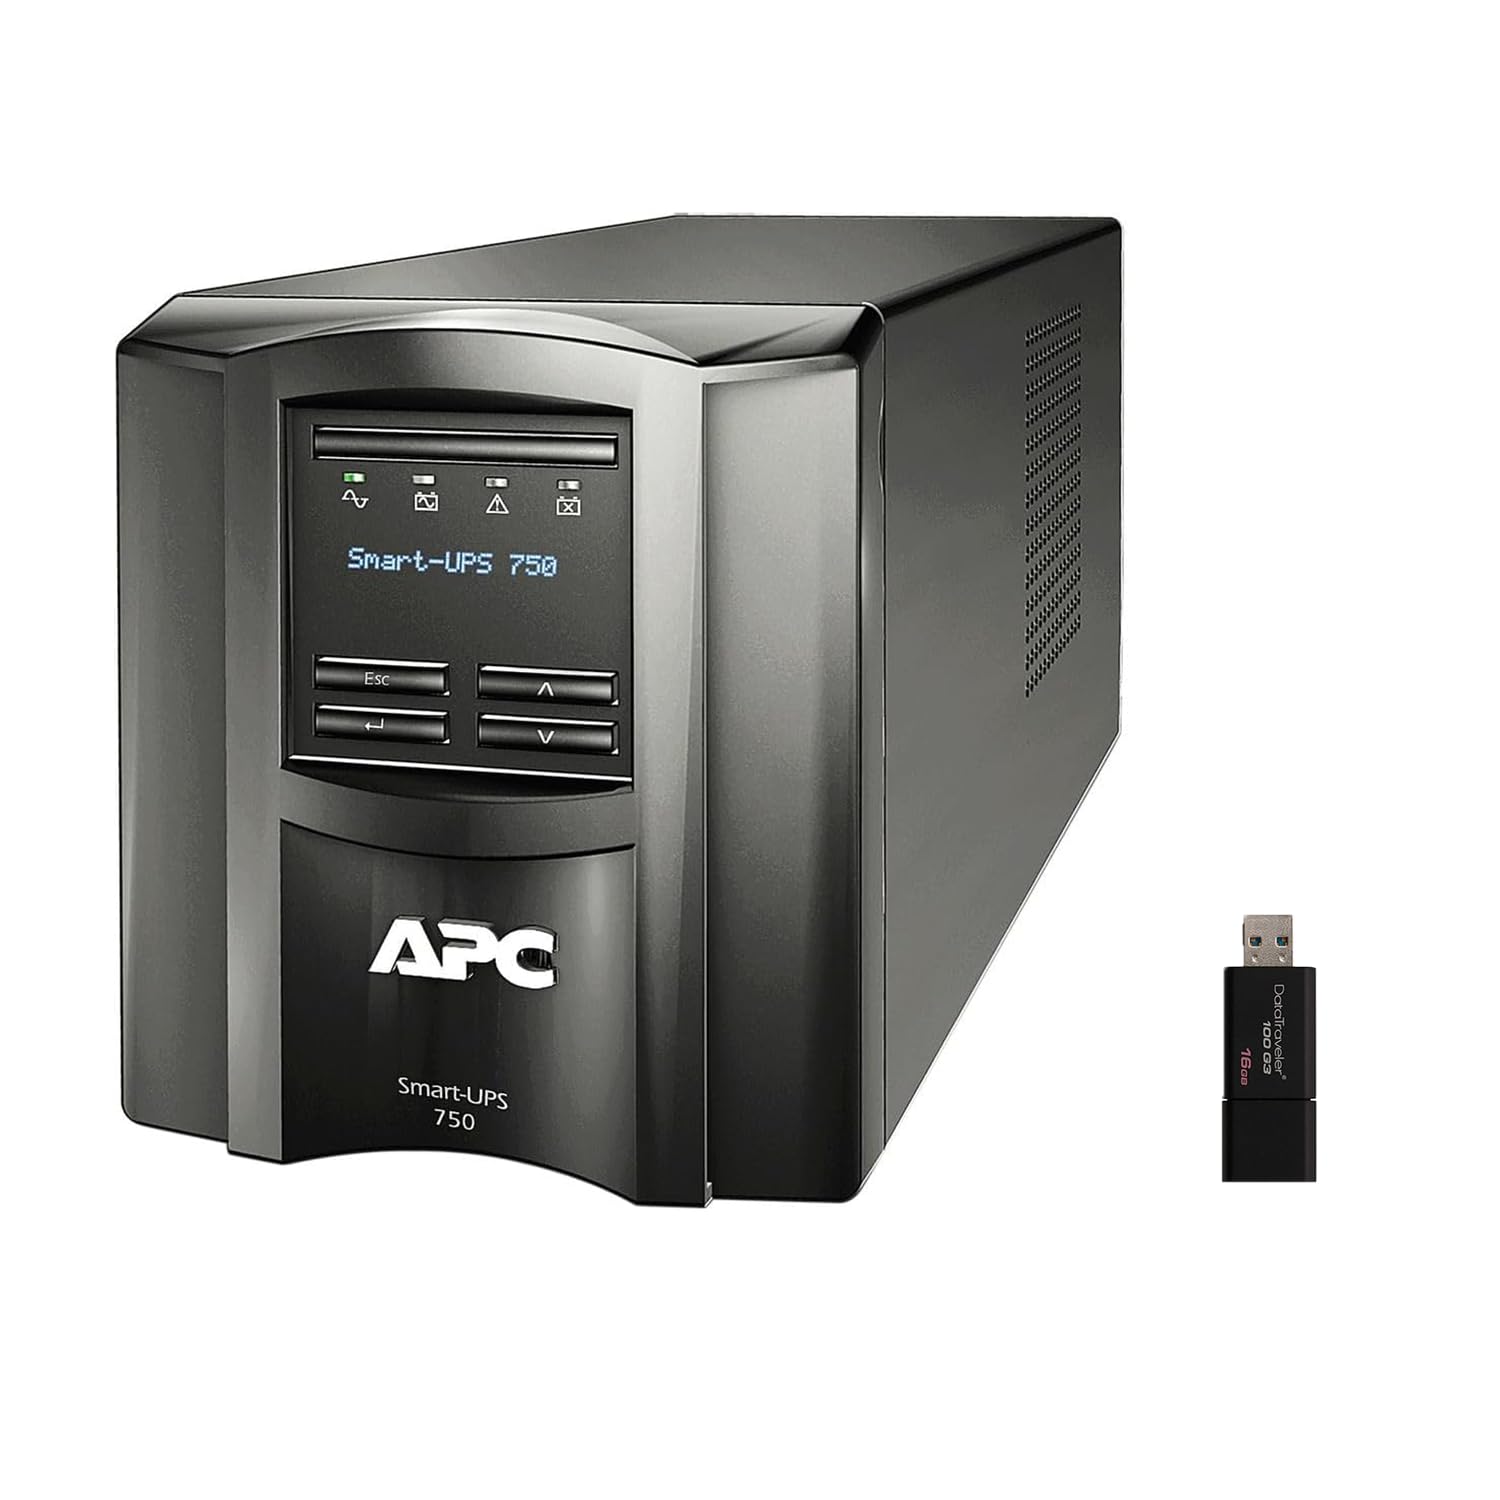
Image: Front and side view of the APC Smart-UPS SMT750C. This image displays the compact tower design of the UPS unit.
- Power Button: Controls the main power to the UPS.
- LCD Display: Provides real-time status information, load levels, battery charge, and estimated runtime.
- Navigation Buttons: Used to scroll through display menus and adjust settings.
Rear Panel
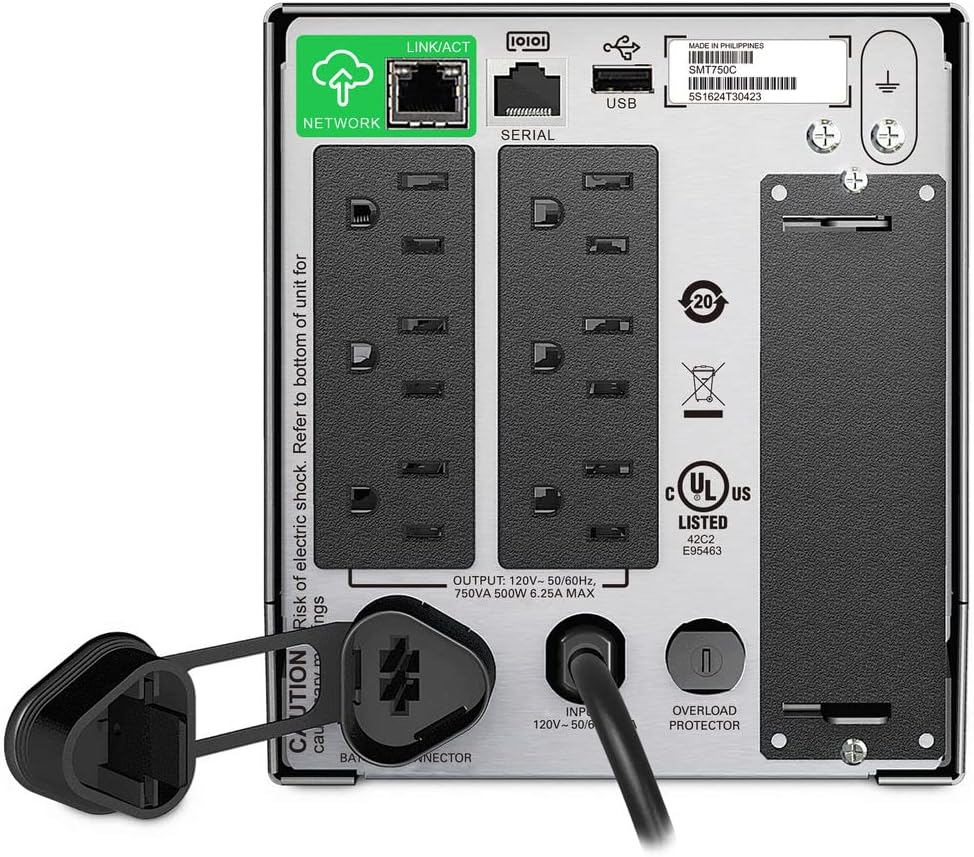
Image: Rear panel of the APC Smart-UPS SMT750C. This view highlights the various input/output ports, including NEMA 5-15R outlets, SmartConnect port, USB, and serial ports.
- NEMA 5-15R Outlets: Six outlets for connecting protected equipment.
- SmartConnect Ethernet Port: For cloud-based remote monitoring and management.
- USB Port: For communication with a computer for graceful shutdown via PowerChute Serial Shutdown software.
- Serial Port: Alternative communication port for graceful shutdown.
- SmartSlot: For optional Network Management Card (sold separately).
- Input Power Cord: Connects the UPS to the utility power.
- Overload Protector: Resettable circuit breaker.
5. Setup
5.1 Initial Battery Connection
Before initial use, the internal battery must be connected. The unit is shipped with the battery disconnected for safety during transit.
- Place the UPS on a stable surface.
- Locate the battery compartment cover, typically on the bottom or rear of the unit.
- Remove the cover to access the battery.
- Connect the red battery cable to the positive (+) terminal and the black battery cable to the negative (-) terminal. Ensure a secure connection.
- Replace the battery compartment cover.
5.2 Connecting to Utility Power
- Plug the UPS power cord into a grounded 3-prong AC outlet.
- Allow the UPS to charge for at least 24 hours before connecting critical equipment to ensure full battery capacity.
5.3 Connecting Equipment
- Connect your critical equipment (e.g., computer, monitor, network devices) to the NEMA 5-15R outlets on the rear panel.
- For graceful shutdown capabilities, connect the provided USB cable from the UPS to your computer and install the PowerChute Serial Shutdown software (available for download from APC's website).
- For remote monitoring, connect an Ethernet cable to the SmartConnect port and follow the instructions for cloud-based setup.
6. Operation
6.1 Powering On/Off
- To power on the UPS, press and hold the power button on the front panel until the unit beeps and the display illuminates.
- To power off the UPS, press and hold the power button until the unit beeps and the display turns off.
6.2 Automatic Voltage Regulation (AVR)
The SMT750C features AVR, which automatically corrects minor voltage fluctuations (sags and surges) without switching to battery power. This protects connected equipment from voltage irregularities and extends battery life.
6.3 Battery Backup Operation
During a power outage, the UPS will automatically switch to battery power, providing continuous power to connected equipment. The LCD display will show the estimated remaining runtime. When utility power returns, the UPS will automatically switch back to utility power and recharge its battery.
6.4 Remote Monitoring (SmartConnect)
The SmartConnect port allows for cloud-based remote monitoring of your UPS. This feature enables IT professionals and network administrators to:
- Monitor UPS status and performance.
- Perform firmware upgrades.
- Conduct remote diagnostics.
- Receive proactive email notifications with recommended actions.
7. Maintenance
7.1 Battery Replacement
The internal battery is a user-replaceable component. When the battery reaches the end of its service life, the UPS will indicate a battery fault. To replace the battery:
- Ensure the UPS is powered off and disconnected from utility power.
- Remove the battery compartment cover.
- Disconnect the battery cables (red and black).
- Carefully slide out the old battery.
- Insert a genuine APC replacement battery (model RBC154, sold separately).
- Connect the battery cables, ensuring correct polarity (red to positive, black to negative).
- Replace the battery compartment cover.
- Recycle the old battery responsibly.
7.2 Cleaning
Periodically clean the exterior of the UPS with a soft, dry cloth. Do not use liquid or aerosol cleaners. Ensure ventilation openings are free from dust and debris.
8. Troubleshooting
| Problem | Possible Cause | Solution |
|---|---|---|
| UPS does not turn on | Battery not connected or low charge | Ensure battery cables are connected. Plug UPS into AC outlet and allow to charge. |
| UPS beeps continuously | Overload or on battery power | Reduce connected load. Check utility power. |
| Battery symbol blinking | Battery needs to be flipped (initial setup) or is failing | For new units, ensure battery is correctly oriented and connected. For older units, consider battery replacement. |
| No power to outlets | UPS is off, circuit breaker tripped, or utility power lost | Turn on UPS. Reset circuit breaker. Check utility power. |
9. Specifications
- Model: SMT750C
- Output Power Capacity: 500 Watts / 750 VA
- Output Connections: 6 x NEMA 5-15R
- Input Connections: NEMA 5-15P
- Nominal Input Voltage: 120V
- Nominal Output Voltage: 120V
- Battery Type: Lead Acid
- Form Factor: Tower
- Dimensions (H x W x D): 6.34 in (16.1 cm) x 5.43 in (13.8 cm) x 14.53 in (36.9 cm)
- Net Weight: 27.56 lb (12.5 kg)
- Color: Black
- Material: Metal
- Included Accessories: 16GB USB 3.0 Drive
10. Warranty and Support
APC provides a standard warranty for this product. For specific warranty terms and conditions, please refer to the warranty card included with your product or visit the official APC website. For technical support, product registration, or to purchase replacement parts, please visit www.apc.com or contact APC customer service.
Protection plans are available for extended coverage. For example, a 3-Year Protection Plan is available.