1. Introduction
This manual provides detailed instructions for the installation, operation, maintenance, and troubleshooting of your aVT Full HD 1080P Dash Camera. Please read this manual thoroughly before using the device to ensure proper functionality and safety. Keep this manual for future reference.

Image 1.1: The aVT Full HD 1080P Dash Camera with its suction cup mount, displaying a road scene on its screen.
2. Product Overview
2.1 Key Features
- Full HD 1080p Resolution: Captures crystal-clear footage at 1920x1080p.
- 170° Wide-Angle Lens: Provides comprehensive road coverage and reduces blind spots.
- 2.4-Inch LCD Screen: For real-time viewing, playback, and menu navigation.
- Night Vision Capability: Ensures clear footage in low-light conditions.
- G-Sensor Technology: Automatically locks video files upon sudden impact to prevent overwriting.
- Seamless Loop Recording: Overwrites older footage for continuous recording.
- Motion Detection: Automatically records when motion is detected around the vehicle while parked.
2.2 Package Contents
Upon unpacking, please ensure all items listed below are present:
- aVT Full HD 1080P Dash Camera
- Car Mount (Suction Cup)
- Car Charger (12V Adaptor)
- User Manual (this document)

Image 2.1: The contents of the product box, showing the dash camera, car charger, car mount, and user manual.
2.3 Device Layout

Image 2.2: A detailed diagram illustrating the various components and ports of the aVT Dash Camera, including the loudspeaker, LED indicator, USB interface, AV interface, HDMI interface, TF card slot, and control buttons (Up, Down, Mode, Toggle, Switch/Confirm).
3. Setup
3.1 Inserting a Memory Card
- Ensure the dash camera is powered off.
- Locate the TF card slot on the side of the camera (refer to Image 2.2).
- Gently insert a Class 10 or higher MicroSD card (not included) into the slot until it clicks into place.
- To remove, push the card in again until it springs out.
Note: It is recommended to format the memory card within the camera's settings before first use and periodically thereafter to ensure optimal performance.
3.2 Mounting the Dash Camera
- Clean the desired area on your vehicle's windshield, preferably behind the rearview mirror, to ensure a clear view of the road and minimal obstruction to your driving view.
- Attach the suction cup mount to the camera.
- Press the suction cup firmly against the cleaned windshield surface and flip the lever to secure it.
- Adjust the camera angle to ensure the lens captures the road ahead clearly.
3.3 Power Connection
- Connect the provided car charger to the camera's USB interface (refer to Image 2.2).
- Plug the other end of the car charger into your vehicle's 12V power outlet (cigarette lighter socket).
- The camera will typically power on automatically when the vehicle's ignition is turned on and begin recording.
4. Operating Instructions
4.1 Basic Recording
Once powered on, the camera will automatically start recording. The recording indicator (usually a flashing red dot or icon) will appear on the LCD screen.
4.2 Loop Recording
The camera records video in continuous loops (e.g., 1, 3, or 5-minute segments). When the memory card is full, the oldest unlocked files are automatically overwritten by new recordings. This ensures continuous operation without manual memory management.
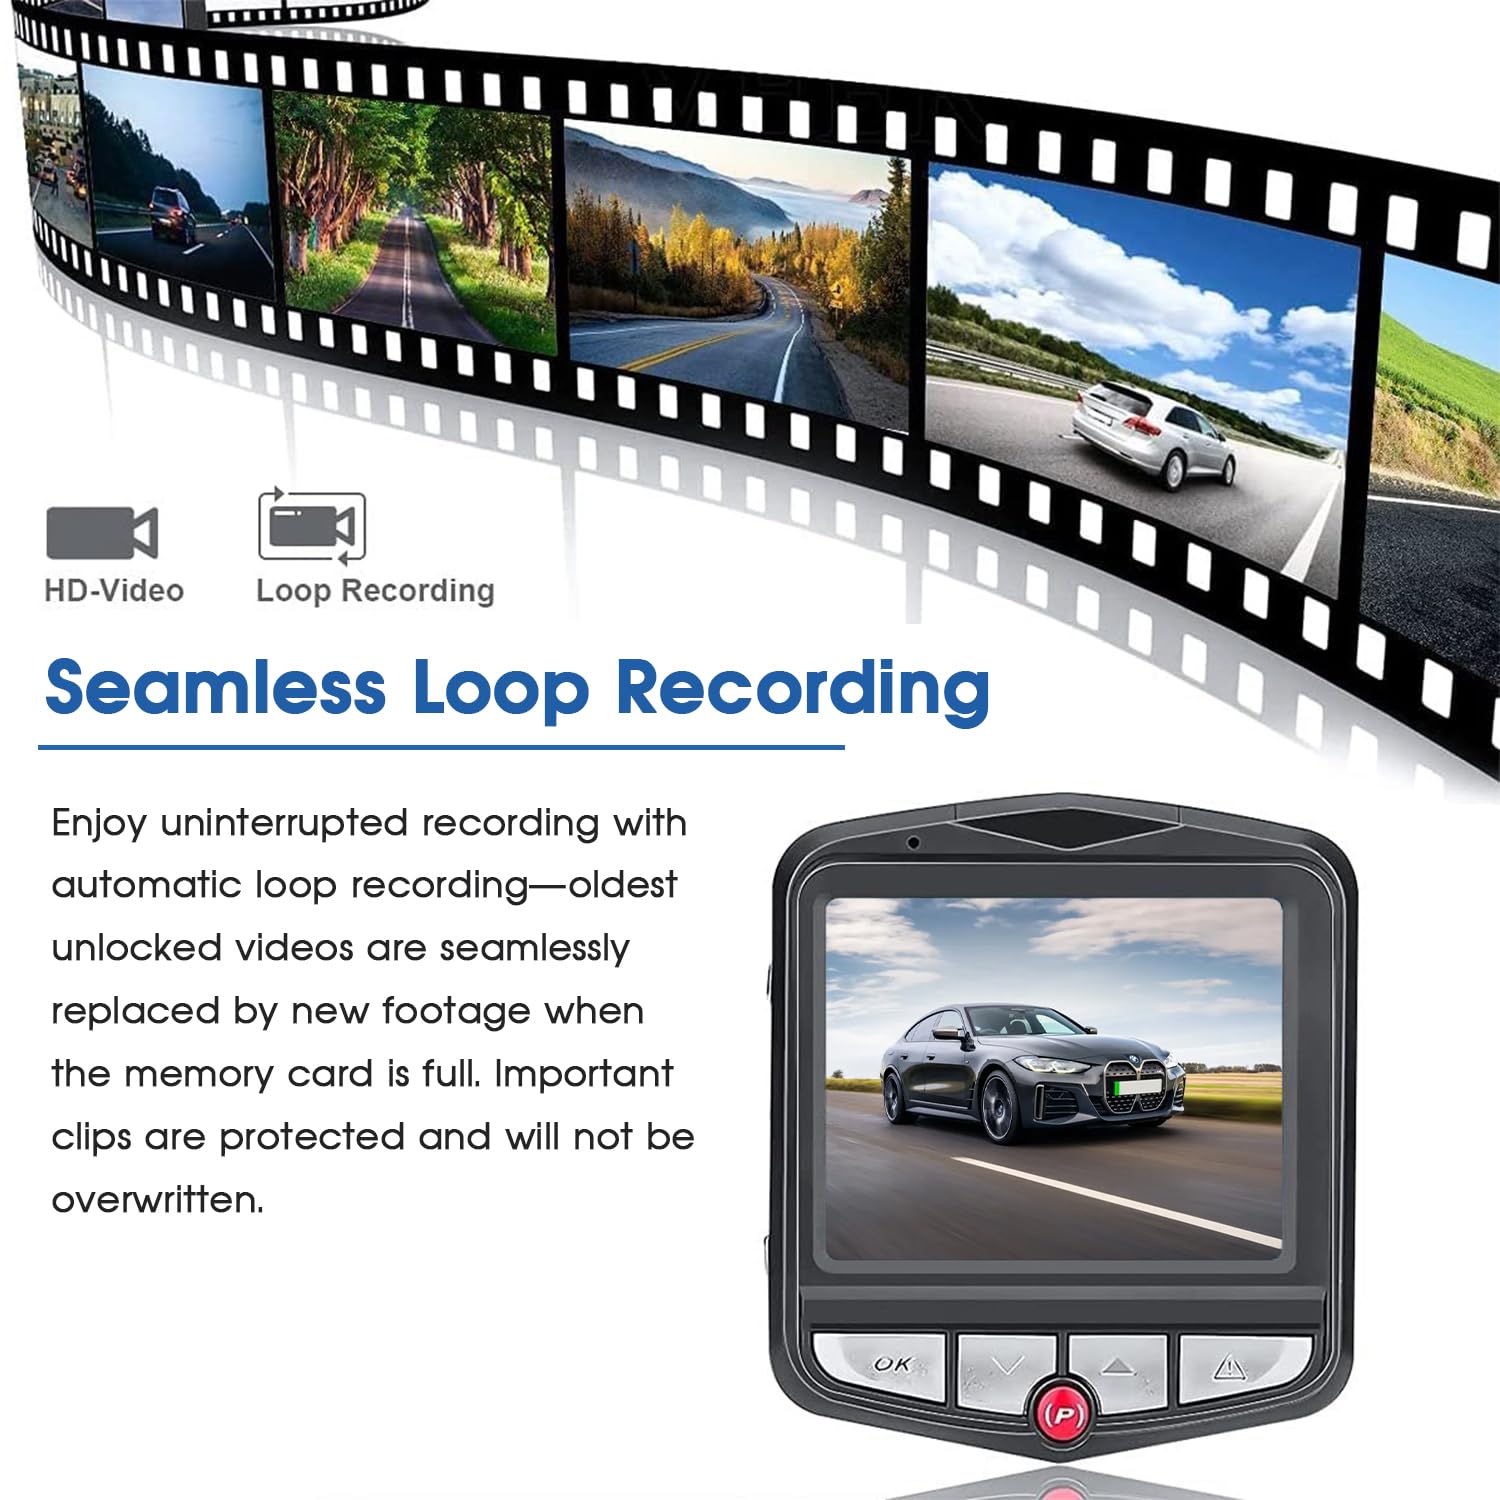
Image 4.1: Seamless Loop Recording feature, showing how older, unlocked video files are automatically replaced by new footage when the memory card capacity is reached.
4.3 G-Sensor (Emergency Recording)
The built-in G-Sensor detects sudden impacts or sharp movements (e.g., during a collision). When triggered, it automatically locks the current video segment, preventing it from being overwritten by loop recording. These locked files are stored in a separate folder on the memory card.

Image 4.2: The Smart G-Sensor feature, which detects sudden impacts or sharp movements and automatically locks the video footage to prevent overwriting, providing crucial evidence in case of an accident.
4.4 Motion Detection (Parking Monitoring)
When enabled, the camera will automatically start recording for a short period if it detects motion around your parked vehicle. This feature provides additional security and monitoring when the vehicle is unattended.
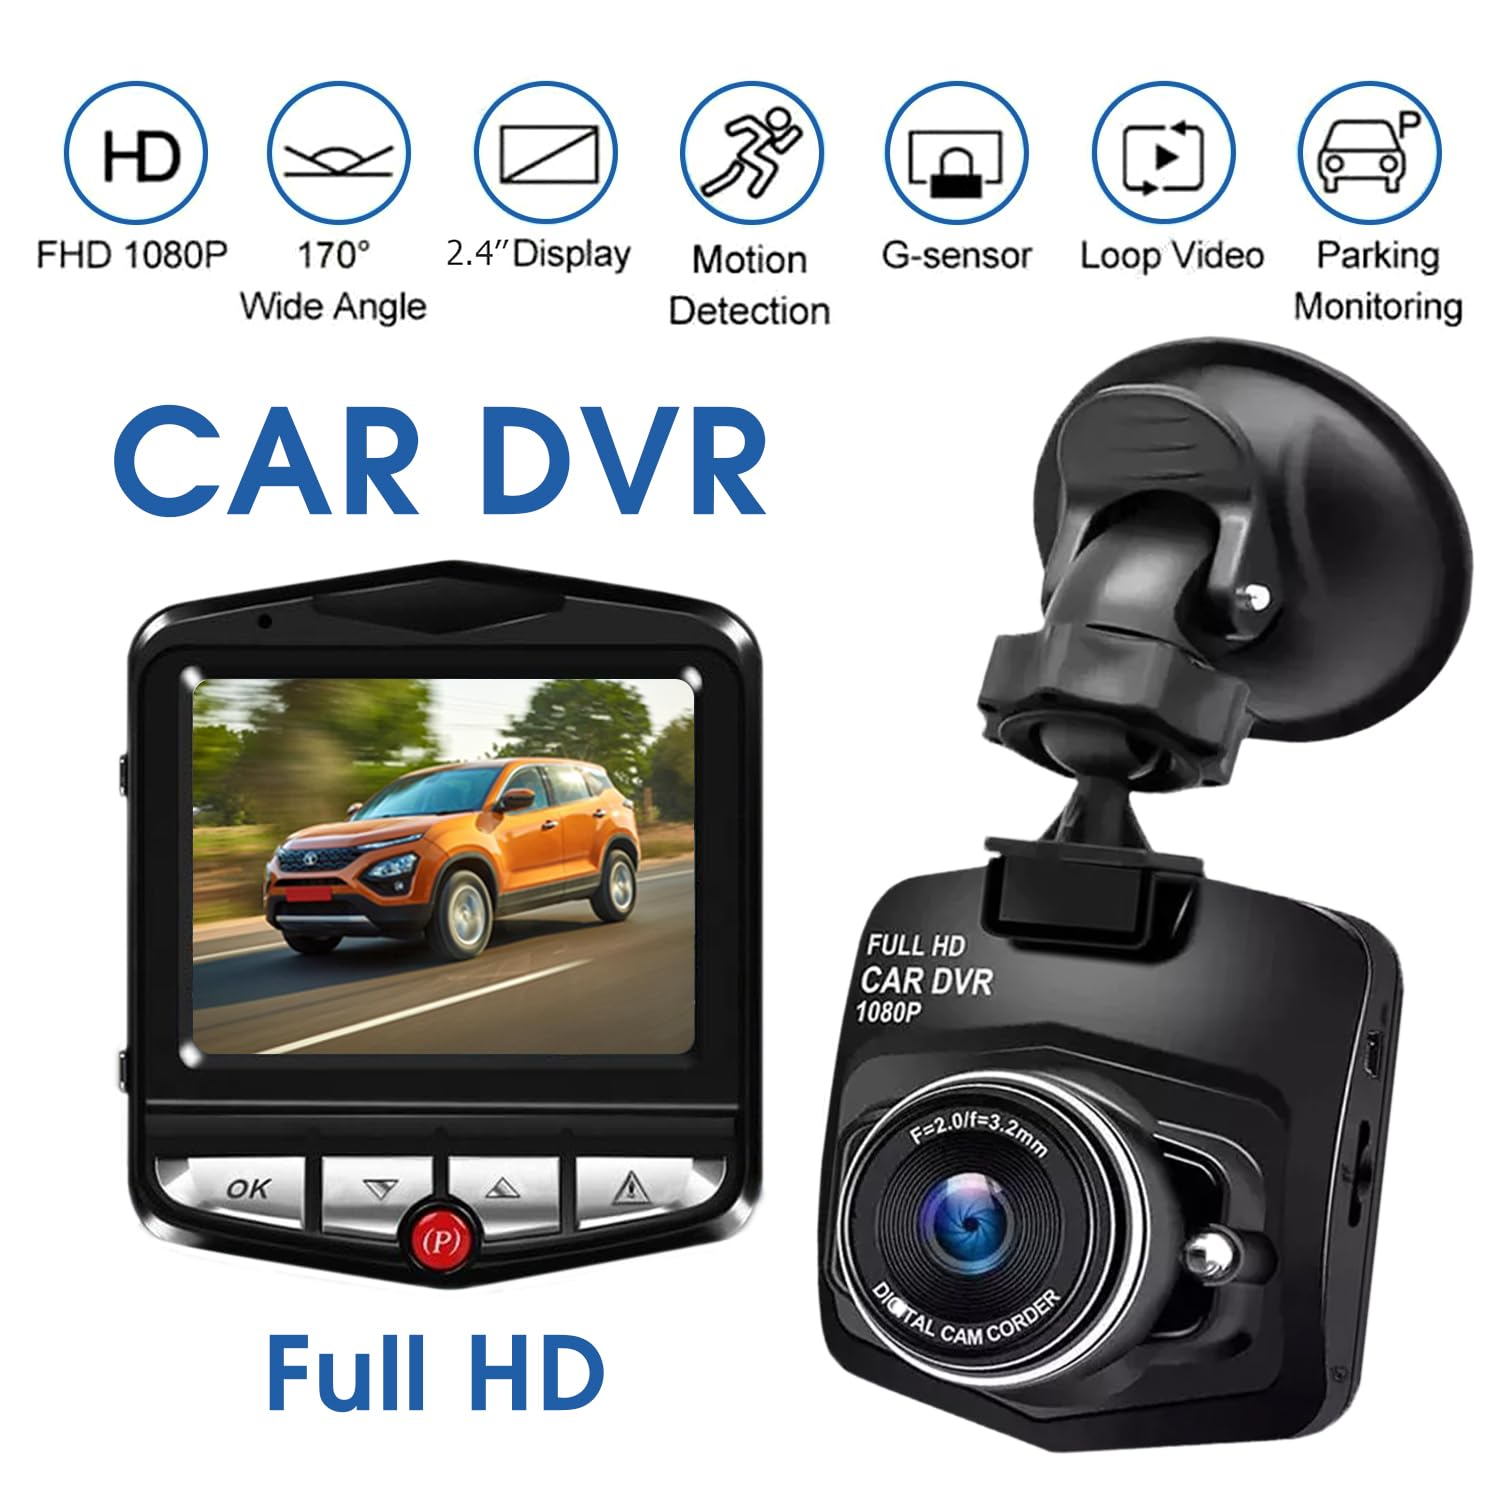
Image 4.3: The 24 Hours Parking Monitoring feature, which automatically activates and records a 30-second video if it detects any shock to your car while parked.
4.5 Night Vision
The dash camera is equipped with advanced night vision technology to capture clear footage even in low-light conditions, ensuring reliable performance day and night.
4.6 Menu Navigation
Use the buttons below the 2.4-inch LCD screen (refer to Image 2.2) to navigate through the camera's settings. Typically, there are buttons for 'OK' (confirm), 'Up', 'Down', 'Mode', and 'Toggle' or 'Switch'.

Image 4.4: A visual representation of the 170-degree wide-angle view provided by the dash camera, as seen from inside a vehicle.
5. Maintenance
5.1 Cleaning the Camera
- Ensure the camera is powered off and disconnected from power before cleaning.
- Use a soft, dry cloth to wipe the camera body.
- For the lens, use a specialized lens cleaning cloth and solution to avoid scratches.
- Do not use harsh chemicals or abrasive cleaners.
5.2 Memory Card Management
- Regularly format the MicroSD card (e.g., once a month) through the camera's settings to maintain optimal recording performance and prevent data corruption.
- Back up any important video files to a computer before formatting.
6. Troubleshooting
If you encounter issues with your aVT Dash Camera, please refer to the following common problems and solutions:
| Problem | Possible Cause | Solution |
|---|---|---|
| Camera does not power on. | No power supply; faulty car charger; vehicle power outlet issue. | Check car charger connection. Ensure vehicle's 12V outlet is functional. Try a different charger if available. |
| Camera stops recording. | Memory card full (if loop recording is off); memory card error; power interruption. | Ensure loop recording is enabled. Format the memory card. Check power connection. Replace memory card if corrupted. |
| Video footage is blurry or unclear. | Protective film on lens; dirty lens; incorrect focus (rare). | Remove any protective film. Clean the lens carefully. |
| G-Sensor is too sensitive/not sensitive enough. | G-Sensor sensitivity setting. | Adjust G-Sensor sensitivity in the camera's settings menu. |
| Date/Time is incorrect. | Date/Time settings not configured. | Set the correct date and time in the camera's settings menu. |
If the problem persists after trying these solutions, please contact customer support.
7. Specifications
| Feature | Detail |
|---|---|
| Brand | Generic |
| Manufacturer | aVT |
| Model Name | aVT |
| Product Dimensions | 13 x 15 x 8 cm |
| Item Weight | 200 g |
| Compatible Devices | Car, Bus, Truck |
| Display Type | LCD |
| Standing Screen Display Size | 2.4 Inches |
| Video Capture Resolution | 1080p Full HD |
| Actual Viewing Angle | 170 Degrees |
| Mounting Type | Dashboard Mount (Suction Cup) |
| Special Features | 1080P FHD Camera, Advanced WDR & Night Vision, Seamless Loop Recording, Automatic Incident Detection, G-Sensor with Emergency Lock, Motion Detection, Easy Installation |
| Included Components | Car Charger, Car Mount, User Manual |
| Colour | Black |
| Control Method | Buttons |
8. Warranty and Support
8.1 Warranty Information
This product comes with a 1 Month Warranty from the date of purchase. Please retain your proof of purchase for warranty claims. The warranty covers manufacturing defects but does not cover damage caused by misuse, accidents, unauthorized modifications, or normal wear and tear.
8.2 Customer Support
For technical assistance, warranty claims, or any other inquiries, please contact your retailer or the manufacturer directly. Refer to your purchase documentation for specific contact details.


