
Introduction
This manual provides detailed instructions for the setup, operation, and maintenance of your MIZISNR IME-4000 Wireless In-Ear Monitor System. This system is designed for professional audio monitoring in various settings, including live performances, stage, and studio environments, offering reliable UHF wireless transmission and high-fidelity sound.
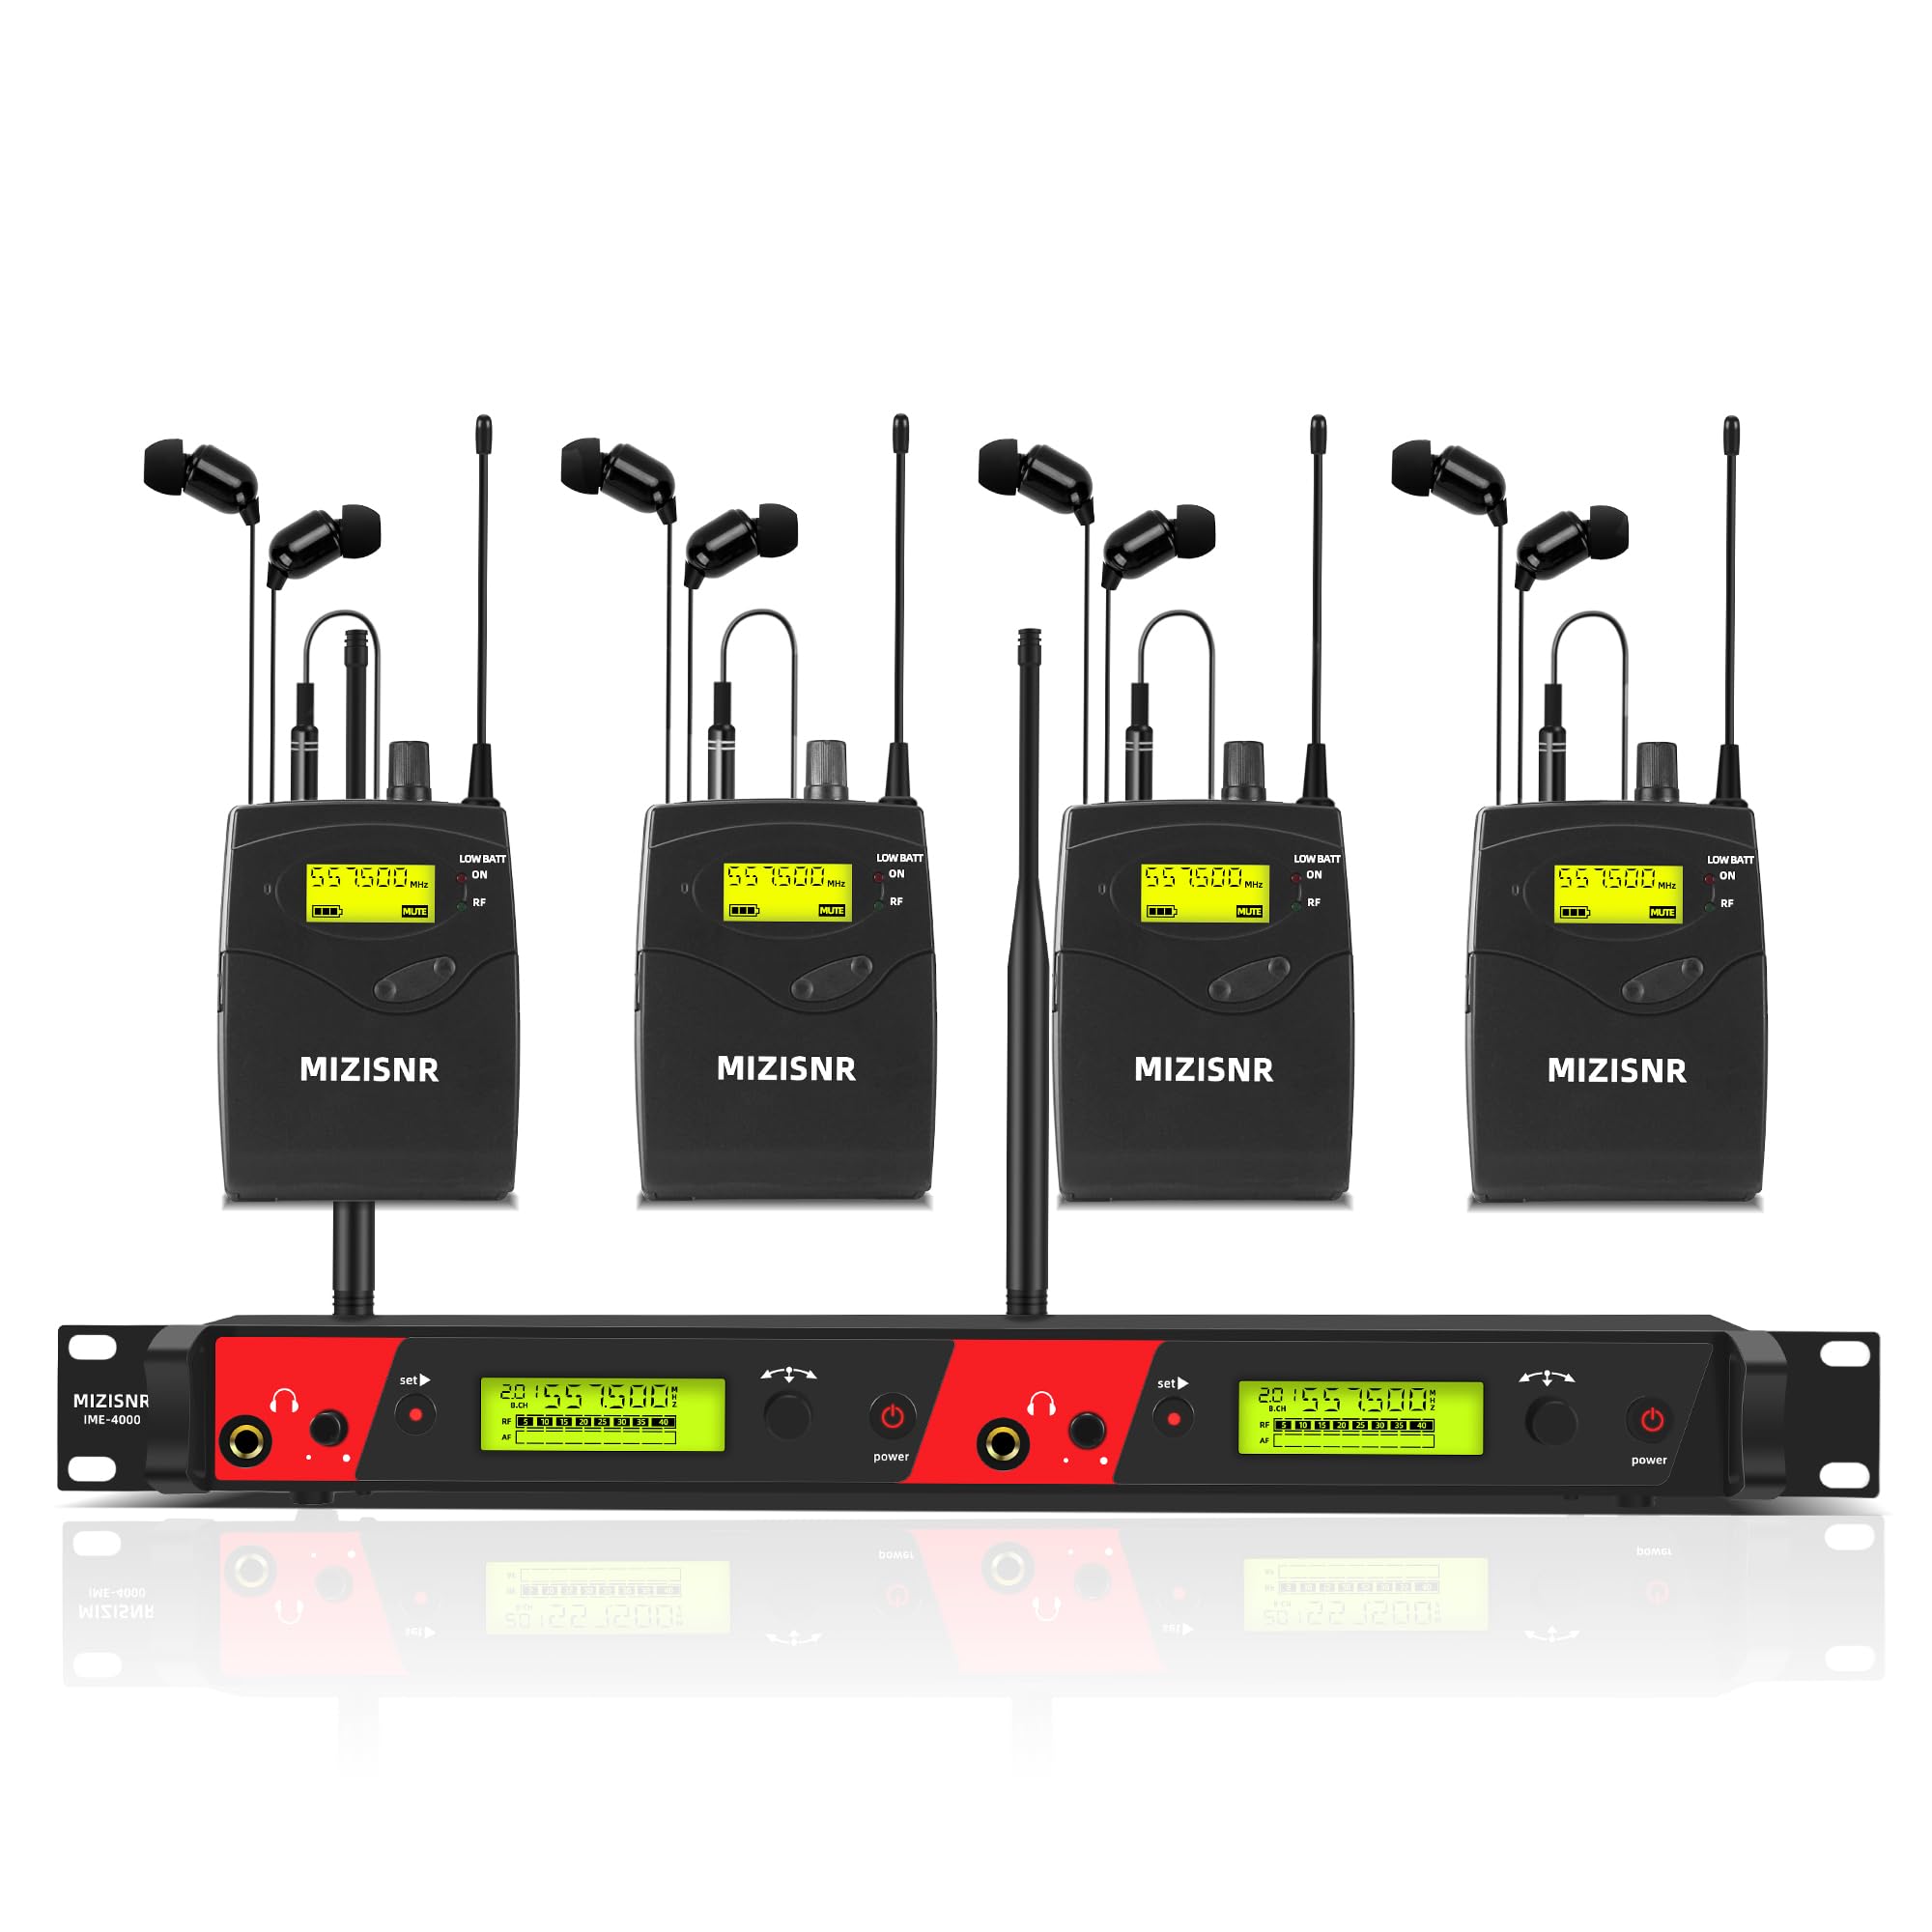
Figure 1: System Overview. This image displays the complete MIZISNR IME-4000 Wireless In-Ear Monitor System, including the transmitter and multiple bodypack receivers with earphones.
Product Overview
Box Contents
The MIZISNR IME-4000 system includes the following components:
- 1 x Wireless IEM Transmitter
- 4 x Bodypack Receivers
- 4 x In-Ear Earphones
- 1 x Power Adapter
- 2 x Antennas
- 1 x User Manual

Figure 2: Package Contents. This image displays all items included in the MIZISNR IME-4000 Wireless In-Ear Monitor System package, including the transmitter, bodypack receivers, earphones, power adapter, antennas, and user manual.
Key Features
- UHF Wireless IEM System: Utilizes Phase Lock Loop (PLL) technology for stable, interference-free transmission and clear, high-fidelity sound with zero latency.
- Flexible Frequency Options: Features 2x40 preset frequencies within the 520 MHz-580 MHz band, with IR sync for quick receiver connection.
- Exceptional Mono Monitoring: Designed to minimize delay, feedback, and ambient noise, offering reliable coverage up to 330 feet (100 meters) in open spaces.
- Durable and User-Friendly Design: Includes a metal transmitter and lightweight ABS plastic bodypack receivers. The transmitter has an LCD display and control buttons, while receivers feature low-battery and RF signal indicators.
Setup Instructions
1. Transmitter Installation and Connection
Place the wireless IEM transmitter in a suitable location, preferably in a rack mount. Connect the antennas to the rear panel of the transmitter.
- Connect the power adapter to the DC Power Socket and plug it into an electrical outlet.
- Connect your audio source (e.g., mixing console) to the Left and Right Channel Inputs on the rear panel using 6.35mm audio cables.
- For direct monitoring, connect headphones to the 6.35mm Headphone Output on the front panel.

Figure 3: Wireless Desktop Transmitter. This image highlights the various controls and connection points on the transmitter, including the power switch, headphone output, volume controls, function setting buttons, LED HD display, DC power socket, and audio inputs.
2. Bodypack Receiver Setup
Each bodypack receiver requires two AA batteries (not included). Open the battery compartment, insert the batteries with correct polarity, and close the compartment.
- Connect the provided in-ear earphones to the headphone output on the bodypack receiver.
- Turn on the bodypack receiver using the power switch/volume control.

Figure 4: Wireless Portable Receiver. This image shows the bodypack receiver, detailing the battery compartment, antenna, LED HD display, low voltage indicator, RF indicator light, Up/Down selection buttons, function setting button, exit button, power switch, volume control, and headphone output.
3. Frequency Synchronization
The system supports 2x40 channel groups. To synchronize the bodypack receivers with the transmitter:
- Turn on the transmitter and the bodypack receiver.
- On the transmitter, use the "SET" button to select the desired group and channel.
- Align the IR sensor on the bodypack receiver with the IR sensor on the transmitter. The system will automatically synchronize the frequencies.
- Repeat for all bodypack receivers.

Figure 5: Multiple Connections and Frequency Adjustment. This diagram illustrates how the monitoring device can connect to multiple bodypacks and provides instructions for manual frequency adjustment using the SET and UP/DOWN buttons on the transmitter.
Setup and Connection Video Guide
Video 1: UHF Wireless In-Ear Monitor System Setup. This video demonstrates the process of connecting the 6.35mm monitor headphone input, adjusting headphone volume, and installing 2AA batteries into the bodypack receivers.
Operating Instructions
1. Power On/Off
- To power on the transmitter, press the Power Switch on the front panel.
- To power on a bodypack receiver, rotate the Power Switch & Volume Control knob clockwise.
- To power off, reverse the steps.
2. Adjusting Volume
- Transmitter Headphone Output: Use the Headphone Volume Control knob on the transmitter's front panel to adjust the monitoring volume for wired headphones.
- Bodypack Receiver: Use the Power Switch & Volume Control knob on the bodypack receiver to adjust the volume of the in-ear earphones.
- Input Level: Adjust the Left and Right Volume Controls on the transmitter to set the input level from your audio source.
3. Monitoring Audio
Once the transmitter and receivers are powered on and synchronized, audio from your source will be transmitted wirelessly to the bodypack receivers. Ensure the RF signal indicator on the bodypack is lit, indicating a stable connection.

Figure 6: UHF Wireless Technology. This image illustrates the long-range reception capability of the system, showing the transmitter and a bodypack receiver operating wirelessly up to 330 feet (100 meters).
Maintenance
- Cleaning: Use a soft, dry cloth to clean the surfaces of the transmitter and receivers. Avoid using liquid cleaners or solvents.
- Battery Replacement: Replace bodypack receiver batteries when the low-battery indicator is active to ensure uninterrupted performance.
- Storage: When not in use for extended periods, store the system in a dry, cool place. Remove batteries from bodypack receivers to prevent leakage.
- Antennas: Handle antennas with care to avoid bending or breaking.
Troubleshooting
| Problem | Possible Cause | Solution |
|---|---|---|
| No sound from earphones |
|
|
| Interference or signal drops |
|
|
| Distorted audio |
|
|
Specifications
| Feature | Detail |
|---|---|
| Brand | MIZISNR |
| Model Number | IME-4000 |
| Wireless Technology | UHF |
| Frequency Range | 520 MHz-580 MHz |
| Selectable Frequencies | 2x40 |
| Operating Range | Up to 330 feet (100 meters) in open spaces |
| Transmitter Material | Metal |
| Receiver Material | ABS Plastic |
| Receiver Power | 2 x AA Batteries (not included) |
| Headphone Jack | 6.35 mm (Transmitter), 3.5 mm (Receiver) |
| Control Method | Push Button, Rotary Knob |
| Item Weight | 2.4 Kilograms (total package) |
| Specific Uses | Stage Performance, Sound Broadcasting, Music Production |

Figure 7: Product Dimensions. This image provides key dimensions for the wireless desktop transmitter, wireless bodypack receiver, and in-ear earphones, including the line length of the earphones.
Warranty and Support
The MIZISNR IME-4000 Wireless In-Ear Monitor System comes with a 2-Year Warranty from the date of purchase.
For technical support, troubleshooting assistance, or warranty claims, please contact MIZISNR customer service through the official MIZISNR website or your retailer.
For additional information and product updates, visit the MIZISNR Store on Amazon.