1. Introduction
This manual provides detailed instructions for the operation and maintenance of your Audiocrazy Retro AM/FM Digital Clock Radio with Bluetooth. Please read this manual thoroughly before using the product to ensure proper function and longevity.
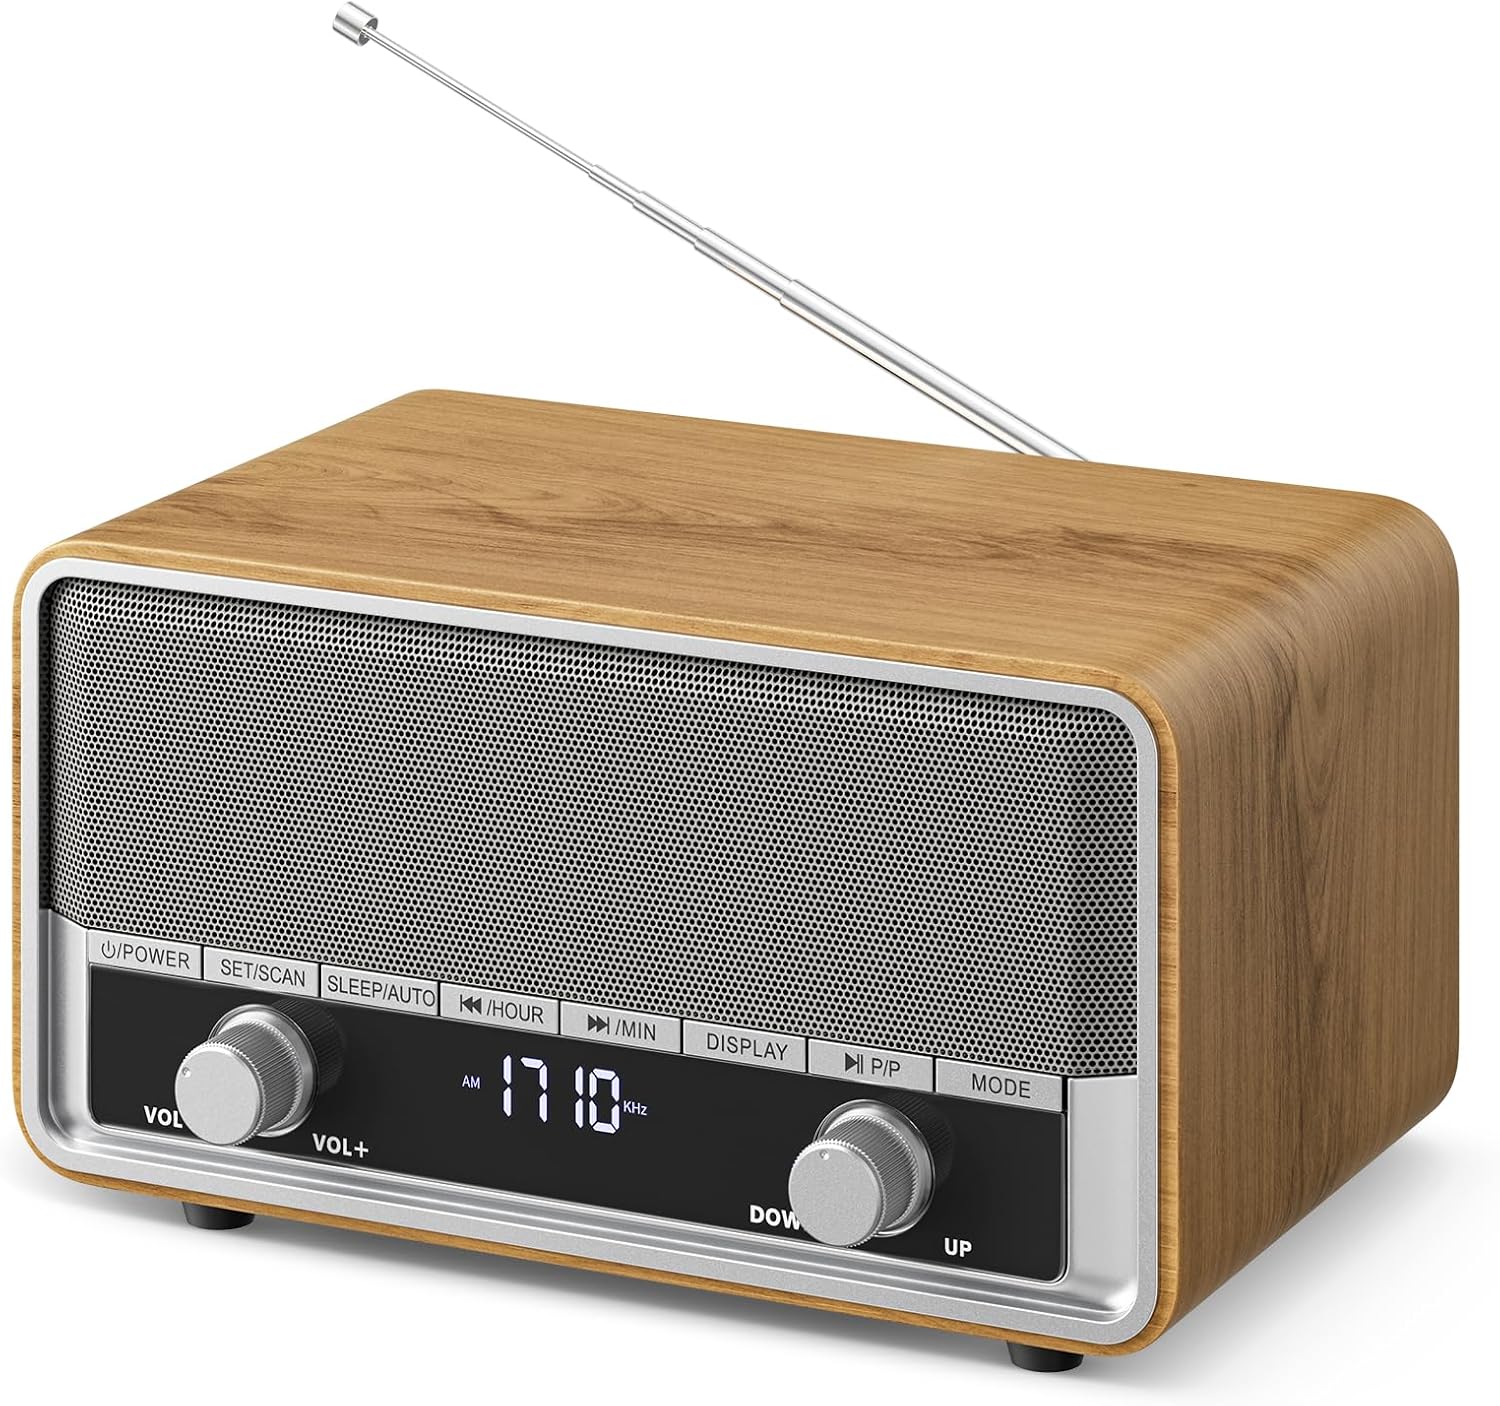
Image 1: Front view of the Audiocrazy Retro AM/FM Digital Clock Radio.
2. Setup
2.1 Power Connection
The radio operates using a standard AC power cord. Connect the power cord to the AC input port on the back of the radio and then plug it into a wall outlet. This device is designed for corded electric operation.

Image 2: The radio connected to a power outlet via its AC charging cable.
2.2 Battery Backup
For time retention during power outages, install two AAA batteries (not included) into the battery compartment located on the back of the unit. This ensures the clock settings are preserved.

Image 3: Rear view of the radio showing the battery compartment for backup power.
2.3 Antenna Adjustment
Extend the telescopic antenna on the back of the radio for optimal AM/FM reception. Adjust its position to achieve the clearest signal.

Image 4: The radio with its telescopic antenna extended, indicating AM/FM dual-band capability.
2.4 Time Setting
To set the time:
- Ensure the device is turned off.
- Long press the "SET/SCAN" button to enter time setting mode.
- Use the "<< /HOUR" or ">> /MIN" buttons to select between 12-hour or 24-hour format. Press "SET/SCAN" to confirm.
- Use "<< /HOUR" to set the hour and ">> /MIN" to set the minutes.
- Press "SET/SCAN" again to finalize the time setting.
Video 1: Demonstrates the steps for setting the time on the radio's digital display.
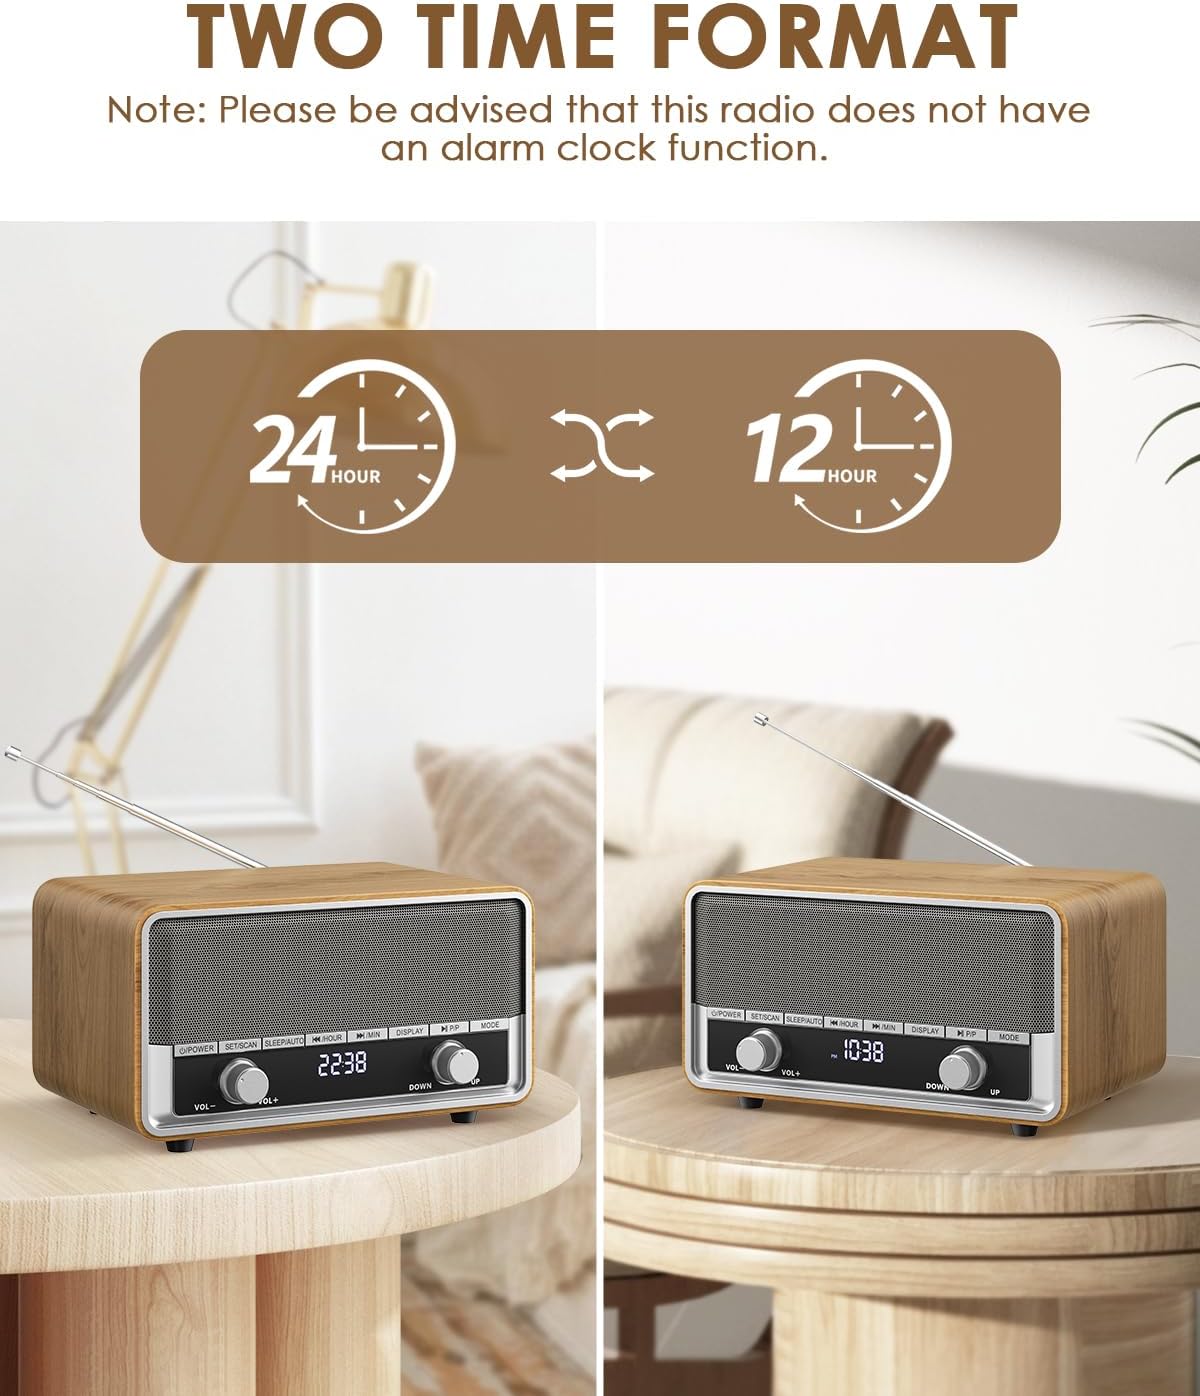
Image 5: The radio's display showing both 12-hour and 24-hour time formats.
3. Operating Instructions
3.1 Power On/Off
Press the "U/POWER" button to turn the radio on or off.
3.2 Mode Selection
Press the "MODE" button to cycle through available modes: AM, FM, and Bluetooth.
3.3 AM/FM Radio Tuning
There are several ways to tune into radio stations:
- Auto Scan: In FM or AM mode, long press "SLEEP/AUTO" to start an automatic scan. The radio will save all detected stations and play the first one.
- Semi-Auto Scan: Long press ">> /MIN" to scan up or "<< /HOUR" to scan down. Scanning stops once a station is detected.
- Tuning by Button: Press ">> /MIN" to scan up step by step, or "<< /HOUR" to scan down step by step.
- Tuning by Knob: Turn the "DOWN/UP" tuning knob clockwise to search higher frequencies or counter-clockwise to go lower.
Video 2: Illustrates the various methods for tuning AM/FM radio stations, including auto scan and manual tuning.
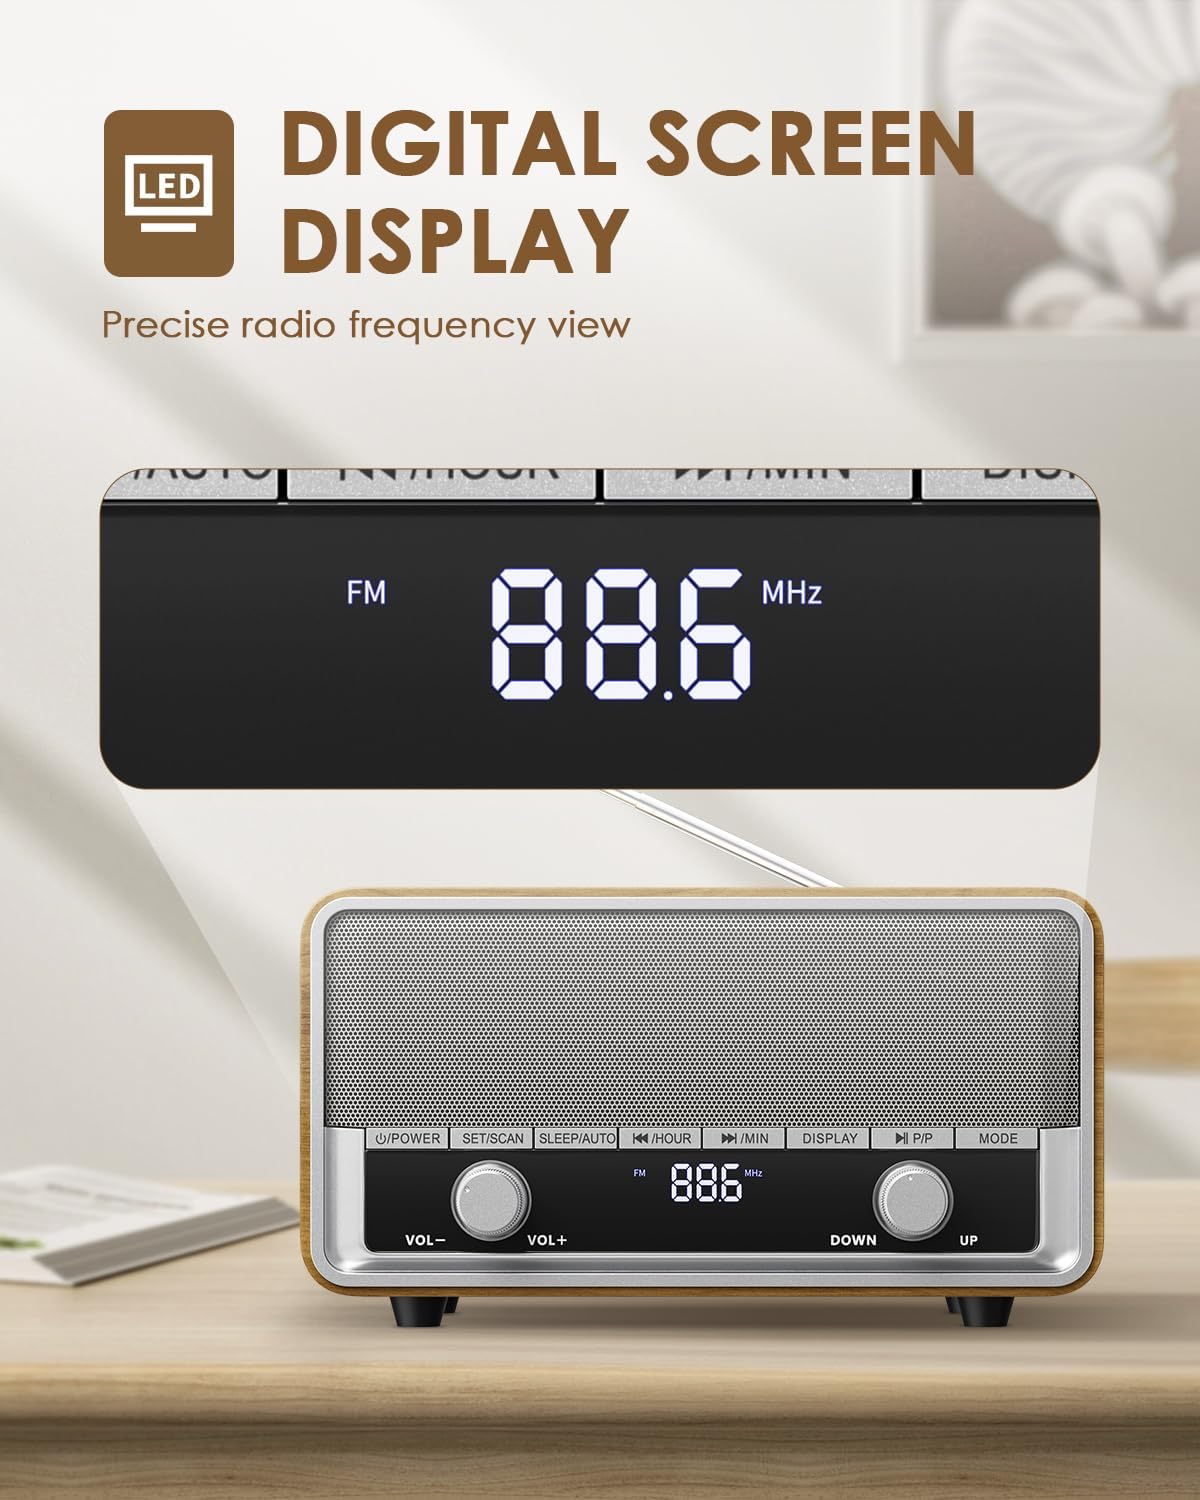
Image 6: Close-up of the radio's digital screen displaying the current radio frequency.
3.4 Preset Stations
The radio supports up to 40 preset stations.
- Saving a Preset: Long press "SET/SCAN" to enter preset saving mode. Use "<< /HOUR" or ">> /MIN" to select a preset number (P01-P40). Press "SET/SCAN" to confirm.
- Recalling a Preset: Press "SET/SCAN" to recall presets. Use "<< /HOUR" or ">> /MIN" to scroll backward or forward through your saved stations.
Video 3: Guide on how to set and recall AM/FM preset stations on the radio.

Image 7: A hand demonstrating the use of the tuning knob to select preset radio stations.
3.5 Bluetooth Pairing
To connect your device via Bluetooth:
- Switch the radio to Bluetooth mode using the "MODE" button. The display will show "bt".
- On your mobile device, enable Bluetooth and search for available devices.
- Select "AC-RC87BT" from the list to pair. A confirmation sound will indicate a successful connection.
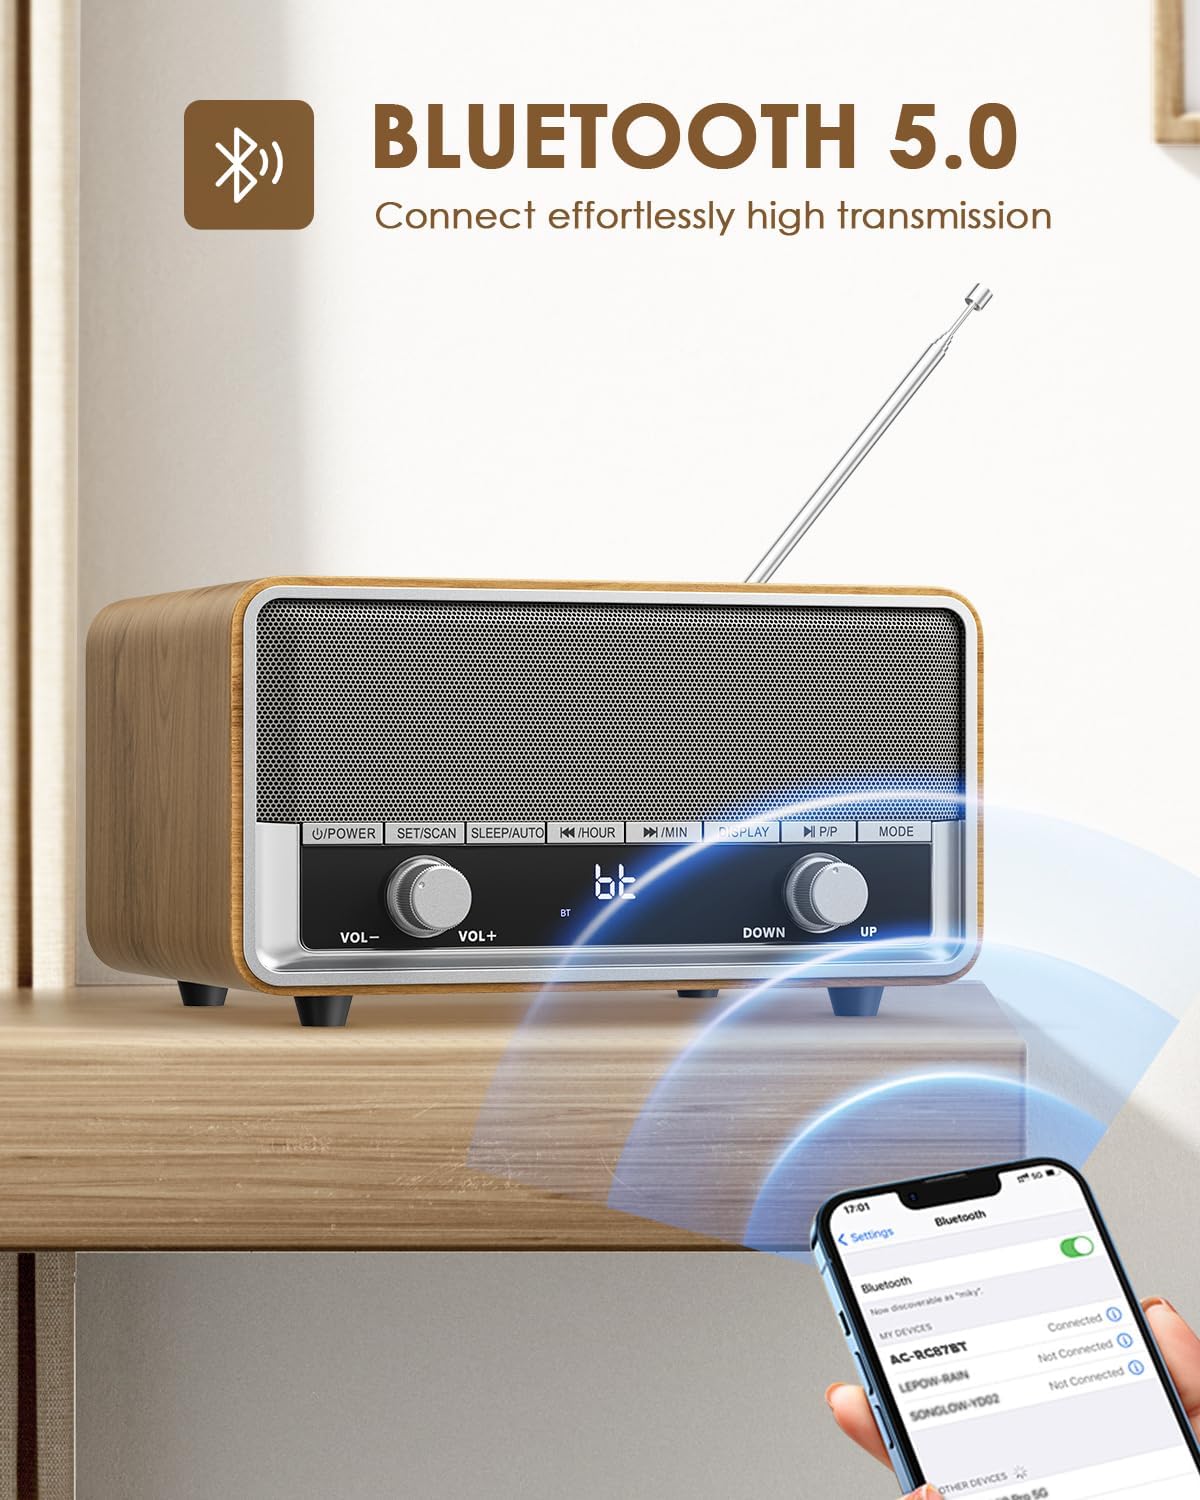
Image 8: The radio in Bluetooth mode, ready for pairing with a smartphone.
3.6 Volume Control
Adjust the volume by turning the "VOL-" or "VOL+" knob on the front of the radio.
3.7 Sleep Timer
The sleep timer allows you to set a duration after which the radio will automatically turn off. Long press the "SLEEP/AUTO" button to activate and adjust the sleep timer duration (e.g., 10-90 minutes).

Image 9: The radio set to sleep mode, providing a peaceful environment.
4. Maintenance
4.1 Cleaning
Wipe the exterior of the radio with a soft, dry cloth. Do not use liquid cleaners or abrasive materials, as they may damage the finish.
4.2 General Care
Avoid exposing the radio to extreme temperatures, direct sunlight, or high humidity. Keep it away from water and other liquids. Ensure proper ventilation to prevent overheating.
5. Troubleshooting
- No Power: Ensure the AC power cord is securely plugged into both the radio and a working wall outlet. Check if the power outlet is functional.
- Poor Radio Reception: Fully extend and adjust the telescopic antenna. Try repositioning the radio to a different location to improve signal strength.
- Bluetooth Pairing Issues: Ensure the radio is in Bluetooth mode. Turn off and on Bluetooth on your mobile device. Make sure no other devices are currently paired with the radio.
- No Sound: Check the volume level on both the radio and your connected Bluetooth device. Ensure the correct mode (AM/FM/Bluetooth) is selected.
- Clock Not Retaining Time: Verify that two fresh AAA batteries are correctly installed in the battery backup compartment.
6. Specifications
| Feature | Specification |
|---|---|
| Model Number | Audiocrazy-001 |
| Product Dimensions | 8.15"L x 4.53"W x 3.39"H |
| Item Weight | 3.43 pounds |
| Power Source | Corded Electric |
| Radio Bands Supported | AM/FM |
| Connectivity Technology | Bluetooth |
| Special Features | Built-In AM Antenna, Built-In Clock, Sleep Timer |
| Included Components | Power Cord, Bluetooth Stereo |
7. Warranty and Support
This product comes with a 12-month limited warranty from the date of purchase. For warranty claims or technical support, please contact Audiocrazy customer service through the retailer where the product was purchased. Keep your proof of purchase for warranty validation.


