
1. Introduction
This manual provides detailed instructions for the safe and efficient operation, setup, and maintenance of your AZZUNO MIG-155A Aluminum Welder. Please read this manual thoroughly before operating the machine to ensure proper usage and to prevent injury or damage.
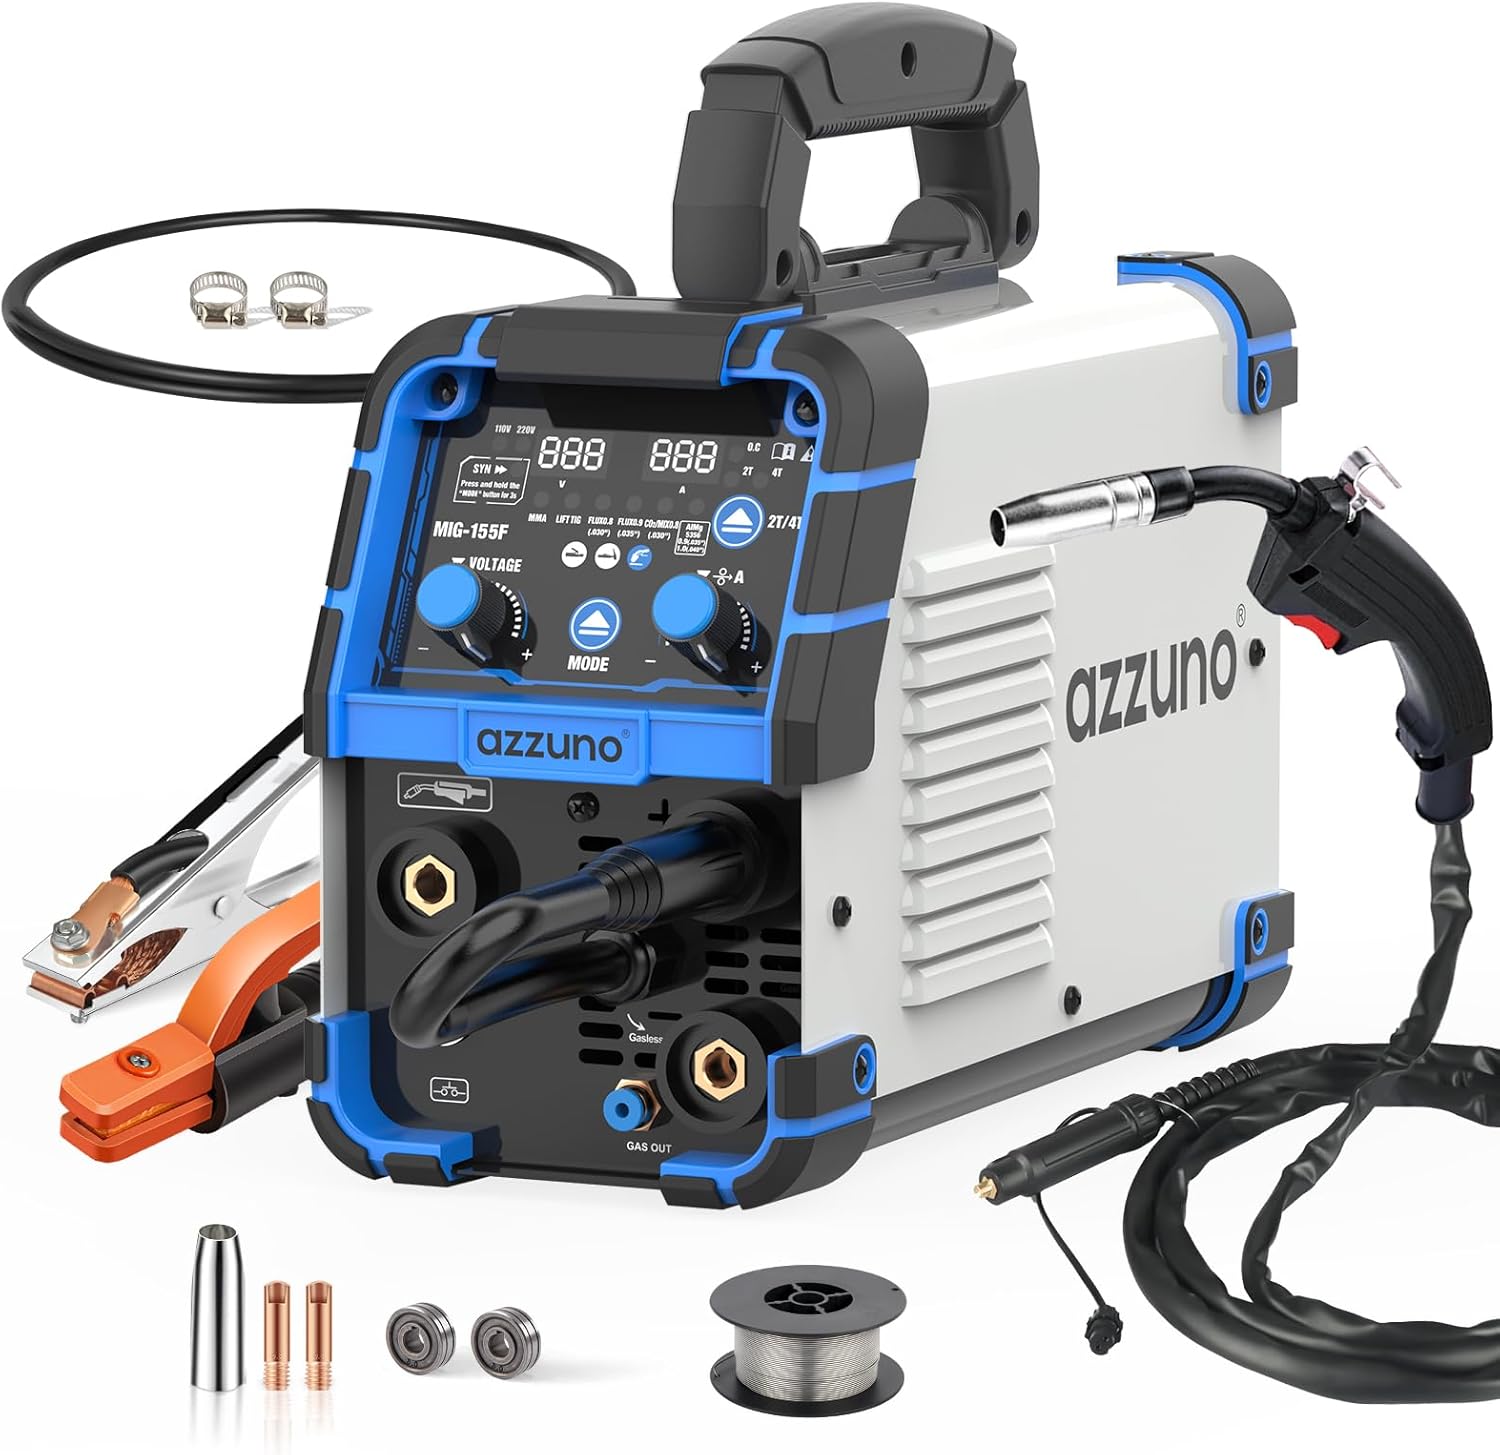
Figure 1: AZZUNO MIG-155A Aluminum Welder and included accessories.
2. Setup
2.1 Package Contents
Upon opening the package, verify that all components are present and undamaged. The standard package includes:
- AZZUNO Aluminum MIG Welder (MIG-155F)
- MIG Torch
- Electrode Holder
- Ground Clamp
- 0.030" / 2lbs Flux-cored Wire
- Gas Hose
- Hose Band (x2)
- Contact Tip 0.030" (x1) + 0.035" (x1)
- Nozzle (x1)
- V Groove Drive Roller 0.030" (x1)
- U Groove Drive Roller 0.035" / 0.040" (x1)
- Brush & Hammer

Figure 2: Visual representation of included accessories.
2.2 Initial Connections
Connect the MIG torch, electrode holder, and ground clamp to the appropriate terminals on the front panel of the welder. Ensure all connections are secure.

Figure 3: Front Panel Introduction showing connection points.
For specific welding modes, polarity may need to be adjusted. Refer to the welding mode section for details. For gas-shielded welding, connect the gas hose to the "GAS IN" port on the rear of the machine and the gas connector on the front panel.

Figure 4: Flux MIG Welding Connection.

Figure 5: Gas MIG Welding Connection.

Figure 6: Stick Welding Connection.

Figure 7: Lift TIG Welding Connection.
2.3 Wire Installation
The welder supports 1 lb to 2 lbs spools of welding wire. Open the side panel to access the wire spool compartment. Ensure the wire is pulled from the bottom of the spool to prevent kinking during feeding. Select the appropriate drive roller (K-groove for flux core, V-groove for solid wire, U-groove for AlMg5356 wire) based on your wire type and diameter.

Figure 8: Wire spool and drive roller options.
Feed the wire through the guide and into the MIG torch. Ensure the wire feeds smoothly before beginning operation.
3. Operating Instructions
3.1 Control Panel Overview
The user-friendly control panel allows for easy selection of welding modes and adjustment of parameters. It features digital displays for voltage and amperage, mode selection buttons, and adjustment knobs.

Figure 9: User-Friendly Control Panel.
The panel includes indicators for power, overheat, SYN mode, 2T/4T mode, and various welding modes (MMA, Lift TIG, Flux 0.8, Flux 0.9, CO2/MIX 0.8, AlMg 0.9, AlMg 1.0).
3.2 Welding Modes
The AZZUNO MIG-155A offers five primary welding modes:
- Gasless MIG (Flux Core): Ideal for outdoor use or when gas shielding is not practical.
- Gas MAG: For welding steel with gas shielding.
- Aluminum MIG: Specialized mode for aluminum welding.
- Stick (MMA): For welding with coated electrodes.
- Lift TIG: For precise welding with a tungsten electrode.
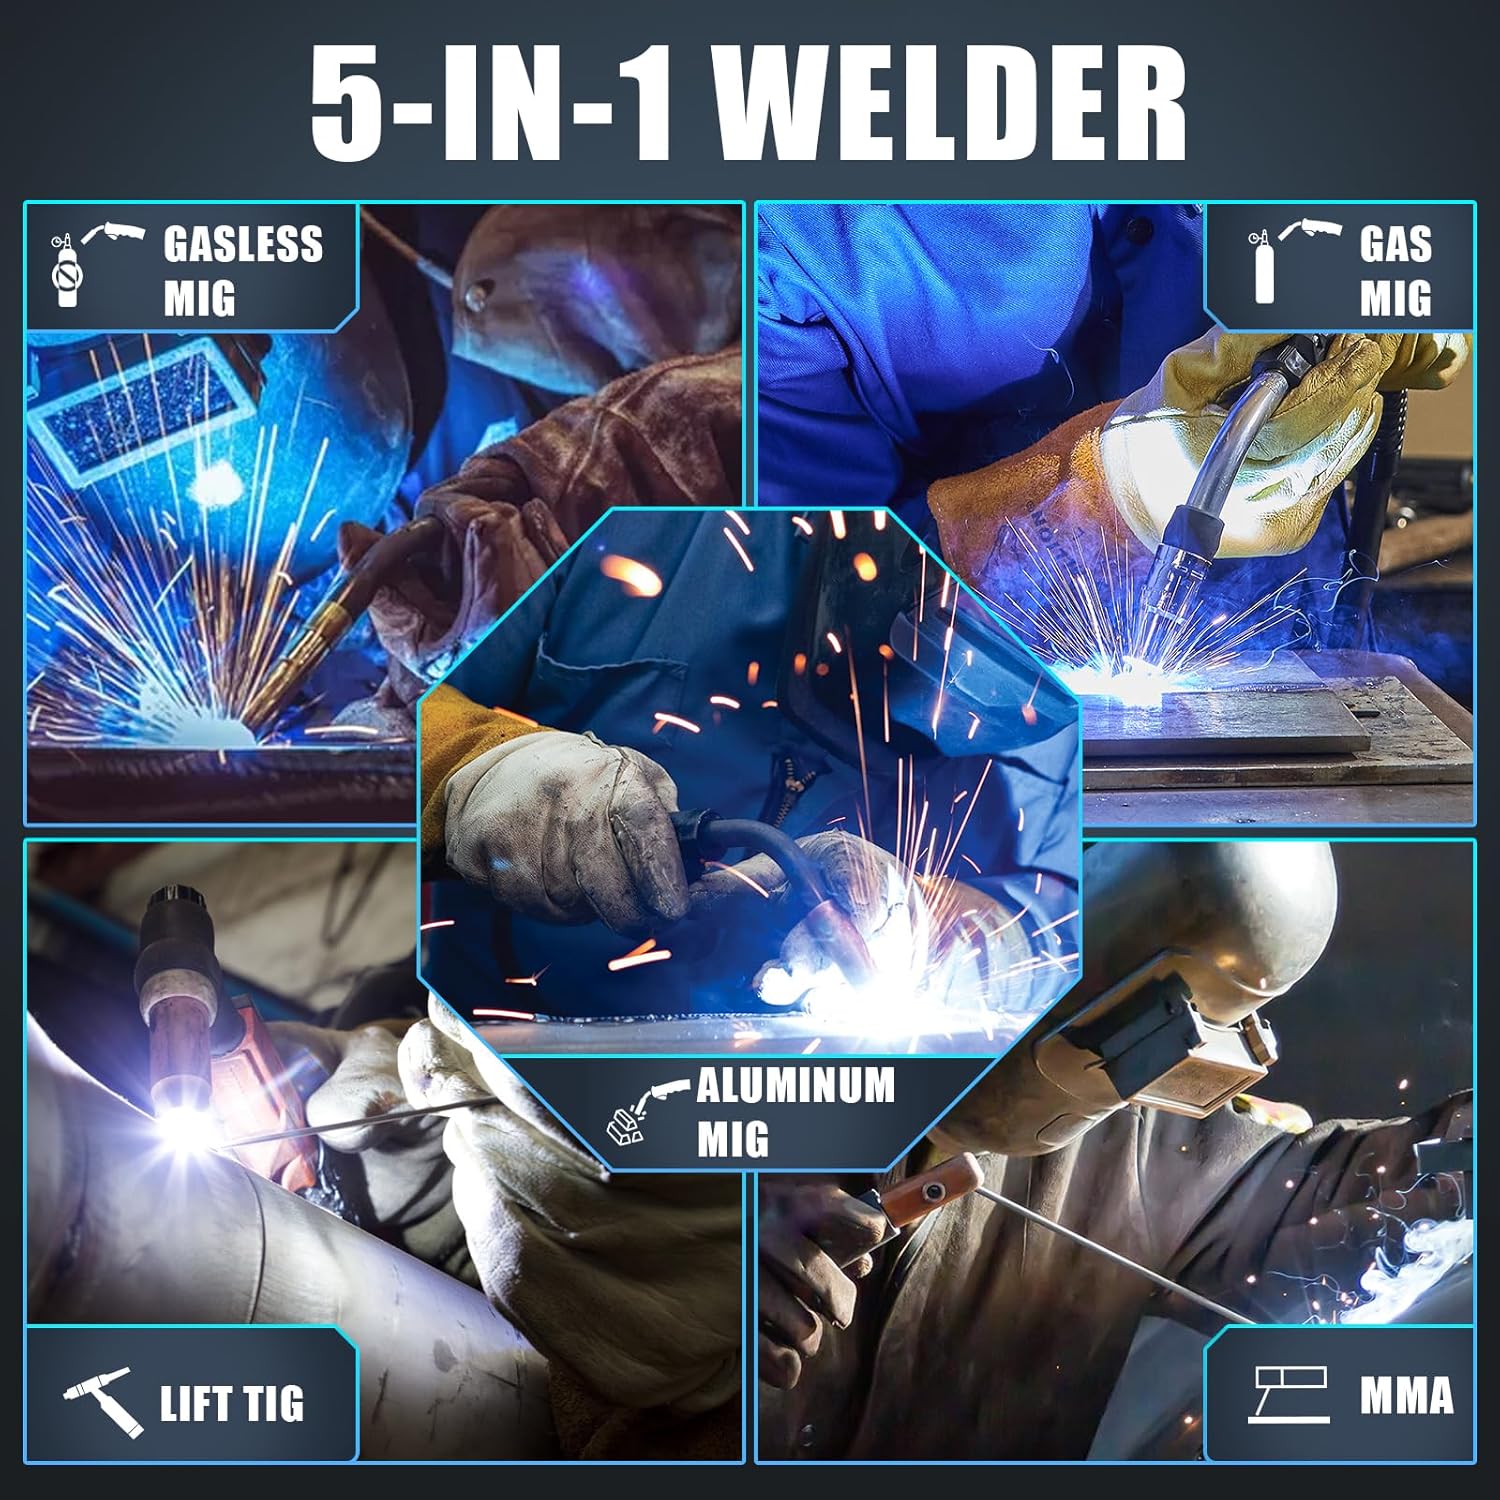
Figure 10: The 5-in-1 Welder capabilities.
Use the MODE button to cycle through the available welding processes. The SYN (Synergic) mode automatically adjusts settings for optimal results. 2T and 4T modes provide flexibility for trigger control: 2T for momentary welding, 4T for continuous welding without holding the trigger.
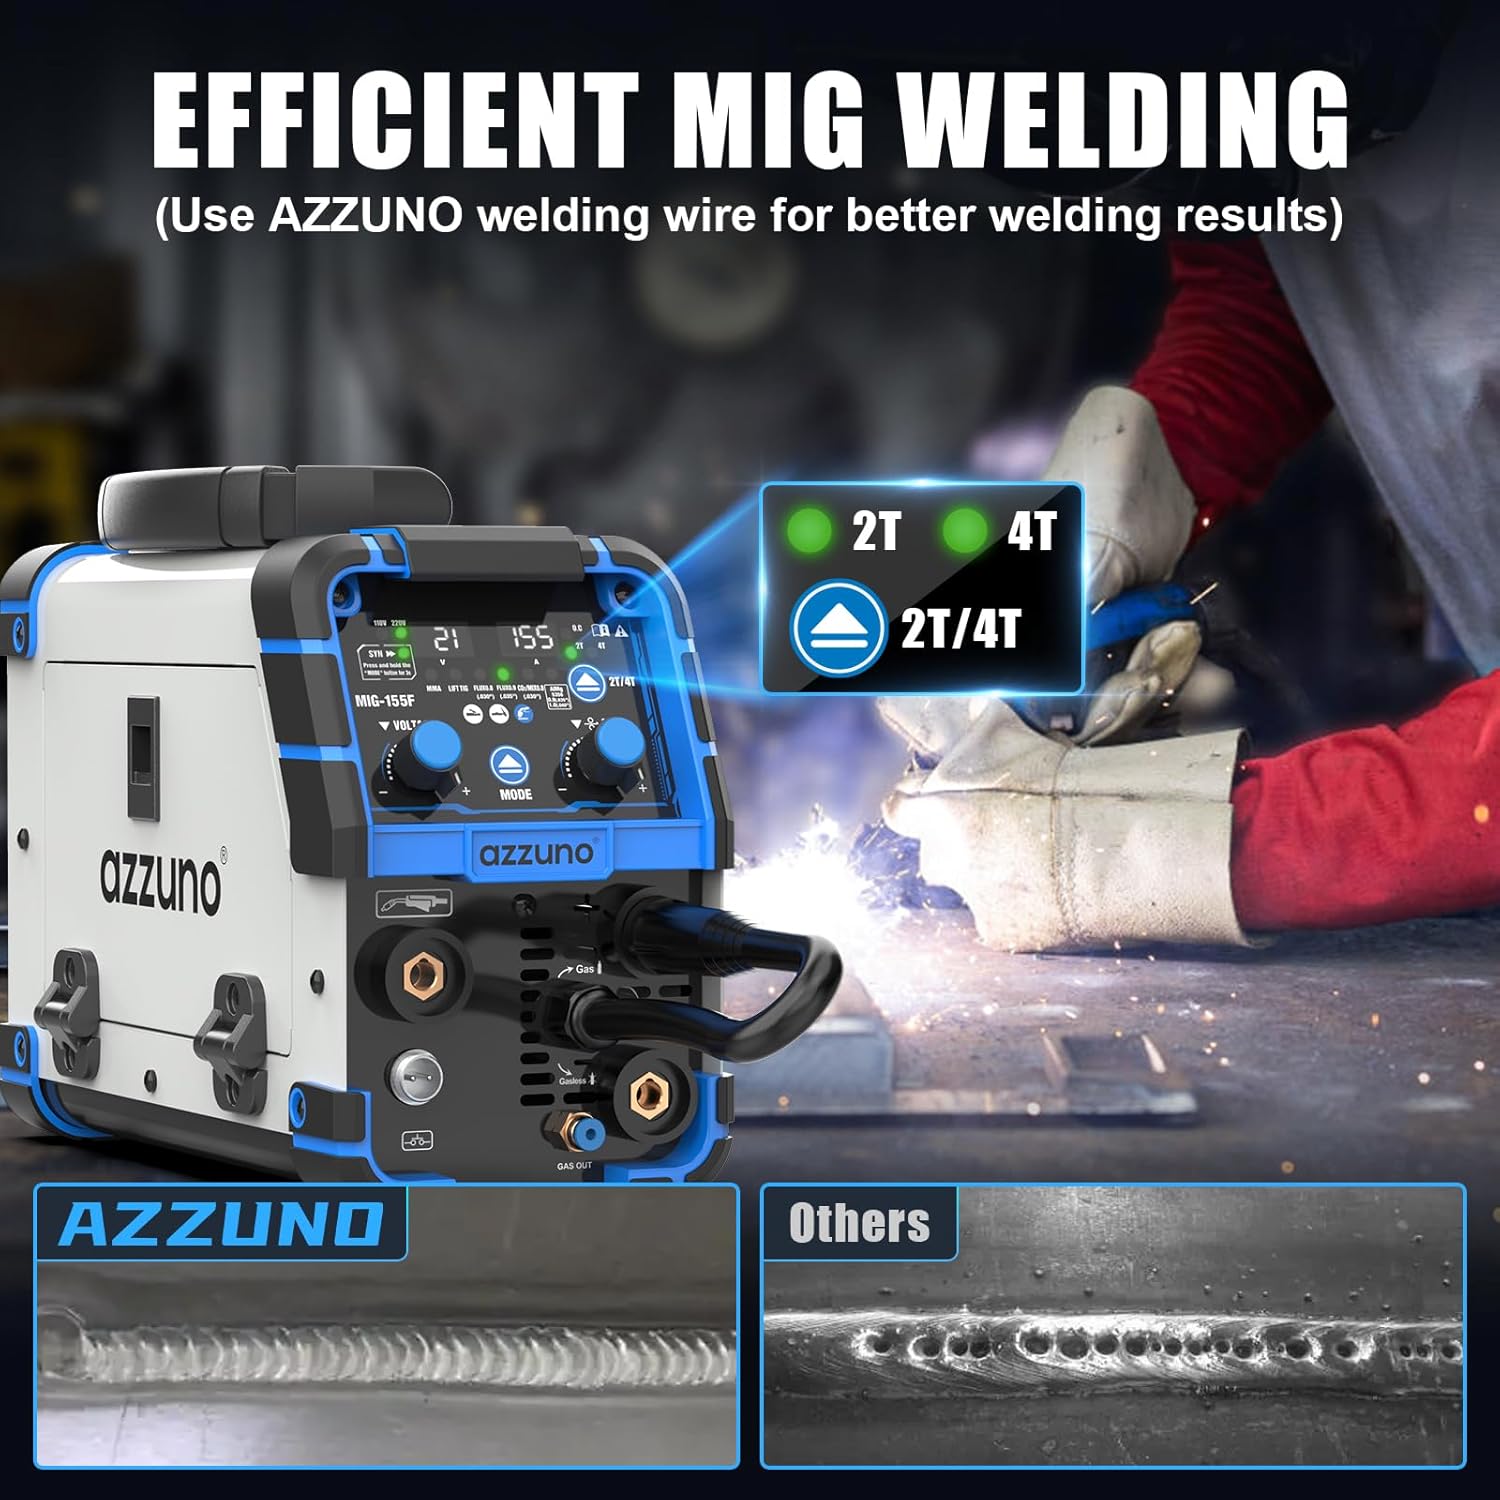
Figure 11: Efficient MIG Welding options.
3.3 Aluminum Welding
This welder is designed for streamlined aluminum MIG welding without requiring a Teflon liner or spool gun. For best results, use ER5356 AlMg welding wire, with a recommended diameter of 0.040". Position the welding torch facing left and weld from right to left.

Figure 12: Simplified Aluminum Welding.
3.4 Basic Welding Operation
Ensure proper safety gear is worn, including a welding helmet, gloves, and protective clothing. Prepare the workpiece by cleaning any rust, paint, or contaminants. Select the appropriate welding mode and adjust voltage and amperage settings according to the material thickness and wire type. Initiate the arc and maintain a consistent travel speed and angle for optimal weld quality.
Video 1: Demonstration of the AZZUNO Multi-process MIG Welder in operation, showcasing various welding tasks and machine features.
4. Maintenance
Regular maintenance ensures the longevity and optimal performance of your welder. Keep the machine clean and free from dust and debris. Periodically check all cables and connections for wear or damage. Replace contact tips and nozzles as needed to maintain consistent wire feeding and arc quality. Store the welder in a dry, clean environment when not in use.
5. Troubleshooting
If you encounter issues with your welder, refer to the following common troubleshooting tips:
- No Arc/Poor Arc: Check power supply, ground clamp connection, wire feed speed, and contact tip. Ensure proper polarity for the selected welding mode.
- Overheat Indicator On: Allow the machine to cool down. Ensure proper ventilation and avoid exceeding the duty cycle.
- Wire Feeding Issues: Check for tangled wire, correct drive roller tension, and proper contact tip size.
- Excessive Spatter: Adjust voltage and wire feed speed. Ensure proper gas flow (if applicable) and clean workpiece.
For persistent issues, contact AZZUNO customer support.
6. Specifications
Below are the technical specifications for the AZZUNO MIG-155A Aluminum Welder:
| Feature | Specification |
|---|---|
| Model Number | MIG-155F-2 |
| Item Weight | 9.5 pounds |
| Package Dimensions | 17 x 12 x 10.5 inches |
| Style | MIG-155A Aluminum Welder |
| Dual Voltage | 110V/220V |
| Max Amperage | 155 Amp |
| Welding Modes | Gasless MIG, Gas MAG, Aluminum MIG, Stick, Lift TIG |
| Supported Wire Spools | 1 lb to 2 lbs |

Figure 13: Detailed specifications from manufacturer.

Figure 14: MIG Welding Parameters.
7. Warranty & Support
For warranty information, technical support, or service inquiries, please visit the official AZZUNO store or contact their customer service department. Keep your purchase receipt as proof of purchase for warranty claims.
Visit the AZZUNO Store on Amazon for more products and support.


