Introduction
This manual provides essential information for the safe and efficient operation of your GLACER 12000 BTU Mini Split Air Conditioner and Heater. Please read all instructions carefully before installation and use. Proper installation and maintenance are crucial for optimal performance and longevity of the unit.
Product Overview & Features
The GLACER 12000 BTU Mini Split Air Conditioner and Heater is designed to provide year-round comfort with its robust cooling and heating capabilities. This 22 SEER2 Inverter AC unit is suitable for spaces up to 750 square feet.
- Efficient Cooling & Heating: 12,000 BTU cooling capacity and 12,300 BTU heating capacity, ideal for areas up to 750 sq. ft.
- Multiple Operating Modes: Features Cold, Hot, Dry, and Fan modes to suit various seasonal needs.
- Ultra-Quiet Operation: Indoor noise level as low as 25 dB for minimal disturbance.
- Smart Control: WiFi connectivity allows control via mobile app or voice assistant.
- Advanced Efficiency: 22 SEER2 and 9.5 HSPF2 ratings for energy-saving performance.
- Easy Maintenance: Equipped with self-cleaning functions and removable, washable filters.
- Automatic Defrosting: Ensures continuous heating performance in cold weather.

Figure 1: Cooling and Heating Coverage Area (up to 750 sq. ft.)

Figure 2: Available Operating Modes and Features
Package Contents
Verify that all components are present in the package before beginning installation:
- 1 x Indoor Unit
- 1 x Outdoor Unit
- 1 x 13 ft Copper Connection Pipe - Liquid Pipe
- 1 x 13 ft Copper Connection Pipe - Air Pipe
- 1 x 8 ft Power Line
- 1 x 15 ft Communication Wire
- 1 x 6.5 ft Drain Hose
- 1 x Remote Control with 2 Batteries
- 1 x Tape
- 1 x Wall Sleeve
- 1 x Putty
- 1 x User Guide

Figure 3: All-Inclusive Package Contents
Installation Guide
Installation of a mini split system requires careful attention to detail and adherence to local electrical and HVAC codes. It is recommended to consult with a qualified professional for installation. A dedicated electrical line is required for this unit.
- Mounting the Indoor Unit: Securely attach the indoor unit's mounting bracket to a sturdy wall, ensuring it is level and has adequate clearance from the ceiling for optimal airflow.
- Drilling Wall Hole: Drill a hole through the wall for the line set, drain hose, and electrical wiring. Ensure proper angle for drainage.
- Connecting Line Set: Route the copper connection pipes, communication wire, and drain hose through the wall hole. Connect the line set to both the indoor and outdoor units, tightening connections securely. Use a digital torque wrench if available to ensure proper tightness according to specifications.
- Electrical Wiring: Connect the electrical wires (ground, black, white, yellow) to their corresponding terminals on both the indoor and outdoor units. Ensure the outlet box is powered off before connecting.
- Vacuuming the Lines: Use appropriate vacuum equipment to evacuate air and moisture from the refrigerant lines. Monitor the micron reading closely.
- Opening Valves: Slowly open the high-side (top) valve, then quickly open the low-side (bottom) valve on the outdoor unit to release refrigerant into the system.
- Power On: Restore power to the unit and test its operation.

Figure 4: GLACER Mini Split System Components

Figure 5: Unit Dimensions for Installation Planning
Video 1: General Installation Steps for a Mini Split Unit (DELLA brand shown, principles apply)
Operating Instructions
Your GLACER mini split offers various functions for personalized comfort. Use the remote control or the mobile app for convenient operation.
- Mode Selection: Cycle through Cold, Hot, Dry, and Fan modes using the 'Mode' button on the remote or app.
- Temperature Adjustment: Use the up/down arrows to set your desired temperature between 60.8°F (16°C) and 89.6°F (32°C).
- Fan Speed: Select from Low, Mid, High, or Turbo fan speeds to control airflow intensity.
- 4D Auto Swing: Activate the auto swing feature for even air distribution throughout the room.
- 24-Hour Timer: Program the unit to turn on or off automatically at specific times for energy efficiency.
- Sleep Mode: Engages ultra-quiet operation and adjusts temperature for comfortable sleep.
- ECO Mode: Optimizes settings for reduced energy consumption.
- WiFi Control: Connect the unit to your home WiFi network to control it remotely via the dedicated mobile app or voice assistants like Alexa and Google Assistant.
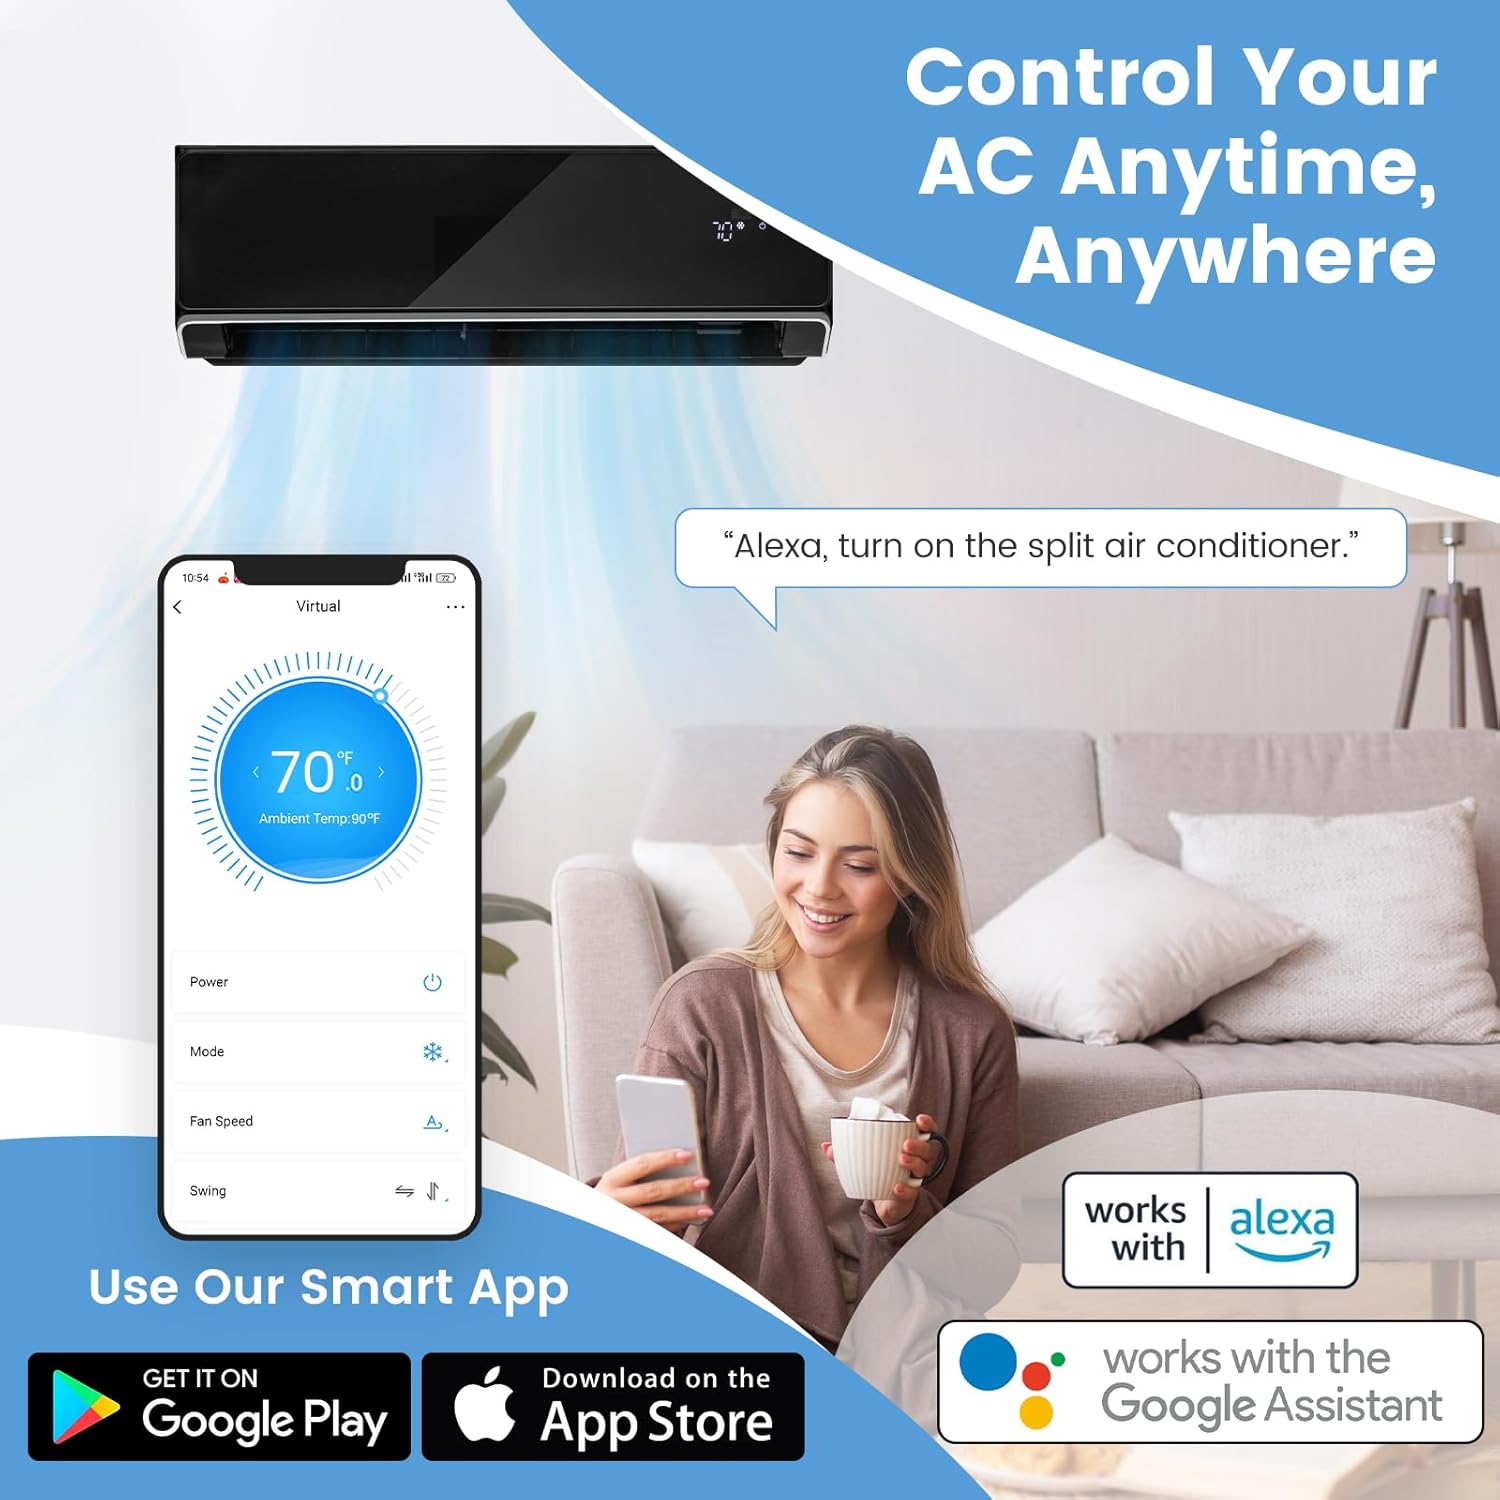
Figure 6: Quiet Operation in Sleep Mode

Figure 7: Control Your AC Anytime, Anywhere with the Smart App
Maintenance
Regular maintenance ensures the efficiency and longevity of your mini split system.
- Self-Cleaning Function: The unit features a powerful 134.6°F high-temperature self-cleaning function to maintain internal hygiene and ensure fresh air.
- Removable & Washable Filter: The air filter can be easily removed and washed to prevent dust and debris buildup, improving air quality and unit performance. Clean the filter regularly, especially during periods of heavy use.
- Auto Defrost: The outdoor unit automatically defrosts when temperatures drop, preventing ice buildup and maintaining heating efficiency.

Figure 8: Self-Cleaning and Removable Filter for Fresh Air
Troubleshooting
If you encounter issues with your unit, refer to the following common troubleshooting tips. For complex problems, contact customer support.
- Unit Not Turning On: Check power supply, circuit breaker, and ensure the remote control batteries are functional.
- Insufficient Cooling/Heating: Verify temperature settings, ensure filters are clean, and check for any obstructions to airflow.
- Unusual Noises: Minor operational noises are normal. If loud or unusual sounds occur, inspect for loose parts or contact support.
- Water Leakage: Ensure the drain hose is properly installed and not clogged.
Specifications
| Feature | Specification |
|---|---|
| Cooling Capacity | 12000 BTU |
| Heating Capacity | 12300 BTU |
| Voltage | 208-230V~60Hz/1PH |
| Coverage Area | 750 sq. ft. |
| SEER (Seasonal Energy Efficiency Ratio) | 22 |
| HSPF (Heating Seasonal Performance Factor) | 9 |
| Indoor Noise Level | 25 dB |
| Outdoor Noise Level | 50 dB |
| Refrigerant | R32 |
| Product Dimensions (Indoor Unit) | 7.5"D x 34.5"W x 12"H |
| Item Weight | 78 pounds (Total Net Weight) |
| Model Number | KT-107 |
Warranty & Support
The GLACER Mini Split Air Conditioner and Heater comes with a comprehensive warranty:
- Parts Replacement: 5 years
- Compressor Coverage: 8 years
For technical support, warranty claims, or any questions regarding your unit, please refer to the contact information provided in your purchase documentation or visit the official GLACER website.


